To get cleaner 3D scans without professional equipment, focus on proper setup: stabilize your scanner and object, control lighting with diffuse or natural sources, and use matte surfaces to reduce reflections. Regularly calibrate your device and clean the object beforehand. Post-process with free software like MeshLab or Meshmixer to remove noise, fill gaps, and smooth surfaces. Mastering these simple techniques can markedly improve your results—keep exploring for even more tips.
Key Takeaways
- Properly calibrate your scanner regularly to ensure accurate data capture and improve scan quality.
- Use diffuse, even lighting and matte surfaces to minimize reflections and glare during scanning.
- Stabilize both the scanner and object to prevent movement and distortions in the data.
- Clean and prepare surfaces by removing dirt, grease, and debris for clearer scans.
- Post-process scans with free software like MeshLab or Meshmixer to remove noise, fill gaps, and enhance clarity.

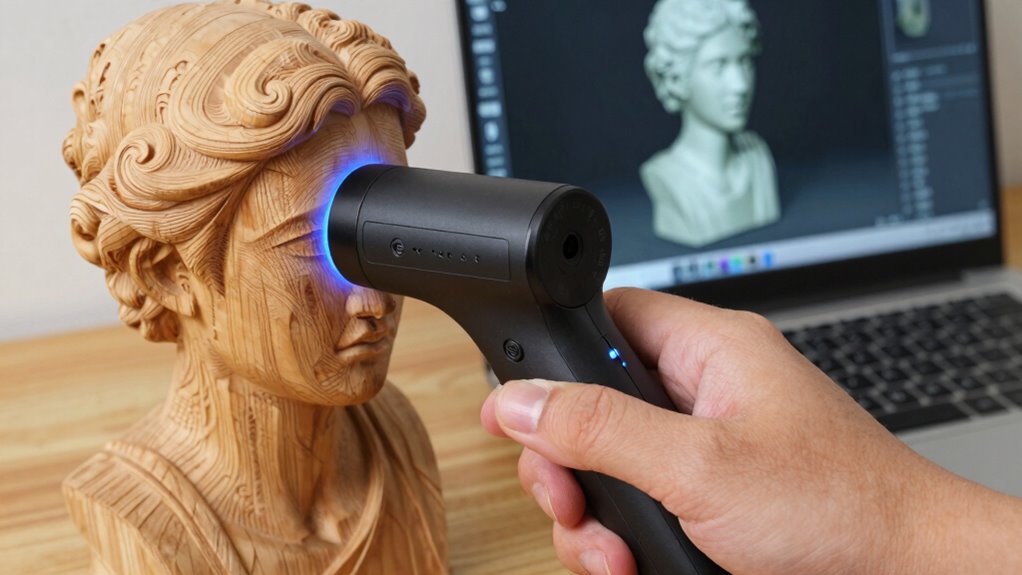
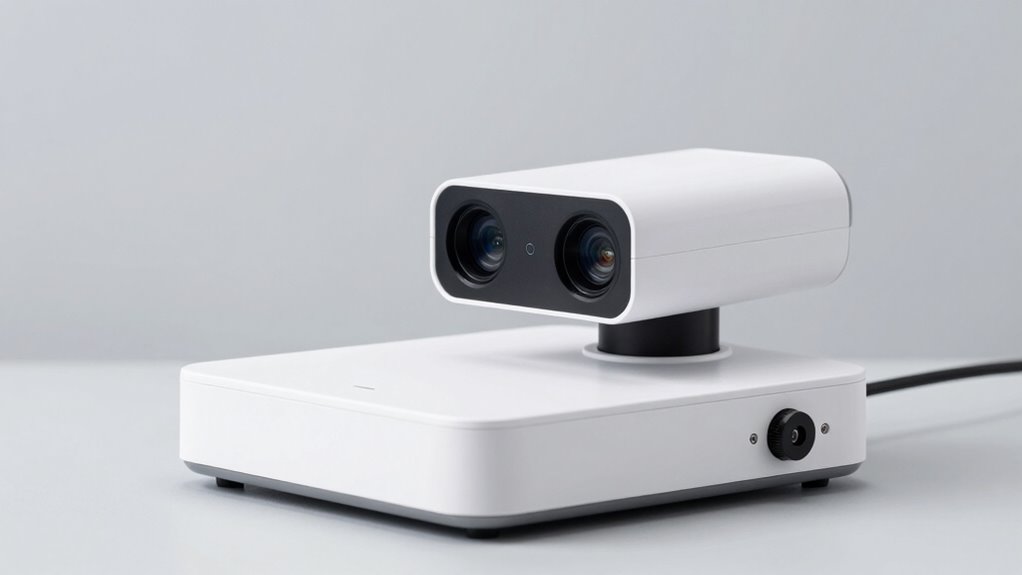
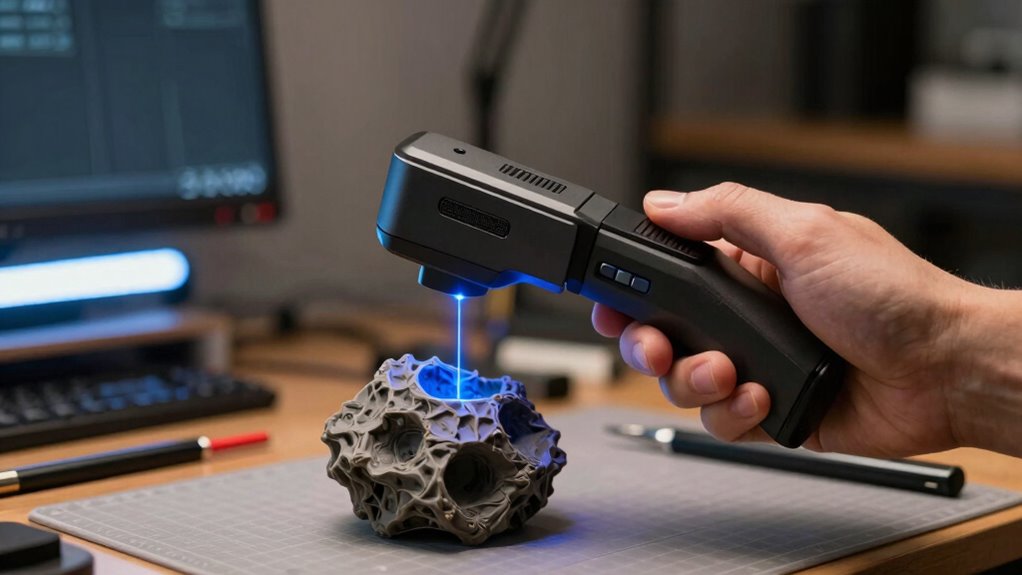
Revopoint INSPIRE 2 3D Scanner for 3D Printing Handheld, Up to 0.03mm Precision, Multi-Line Laser/Structured Light, Wireless/Outdoor Scanning, Full-Color Scan, for iOS/Android/Win/macOS, Standard
Wireless Scanning & Interactive Streaming: Built-in WiFi 6.0 enables on-the-go, structured light mobile scanning or real-time PC-to-mobile interactive…
As an affiliate, we earn on qualifying purchases.
As an affiliate, we earn on qualifying purchases.
Learn the Fundamentals of Budget 3D Scanning
If you’re new to 3D scanning and want to get started without breaking the bank, understanding the basics of budget 3D scanning is essential. Start by ensuring your scanner is properly calibrated; this step, known as scanner calibration, guarantees accurate measurements and reliable scans. Many affordable scanners come with user-friendly calibration procedures, making it easier for beginners. Next, check software compatibility—make sure the scanning software works smoothly with your device and supports your scanner’s file formats. Compatibility issues can cause frustration or data loss, so research before purchasing. Budget scanners may not have all the advanced features of high-end models, but with proper calibration and compatible software, you can achieve clean, precise scans without overspending.

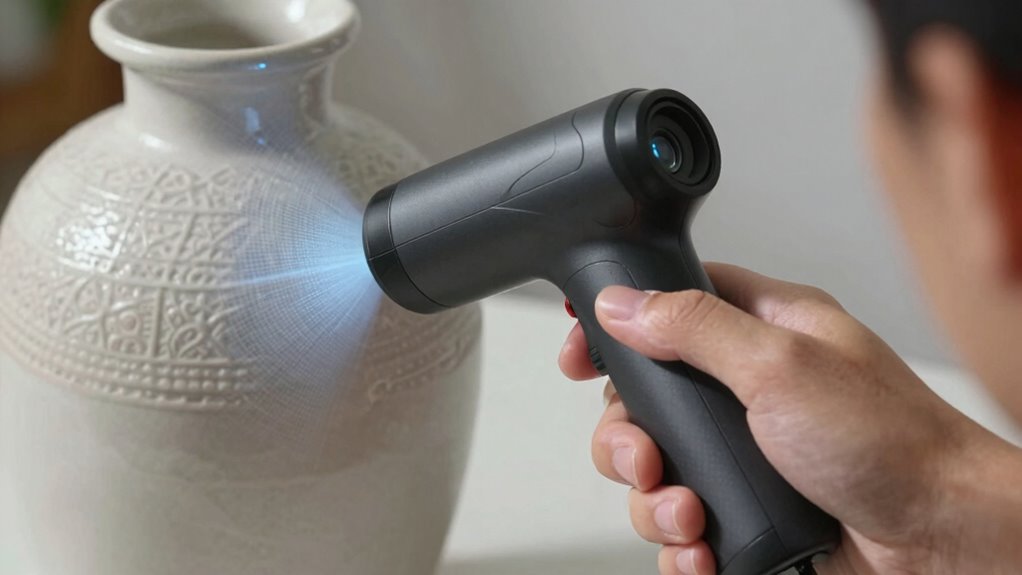
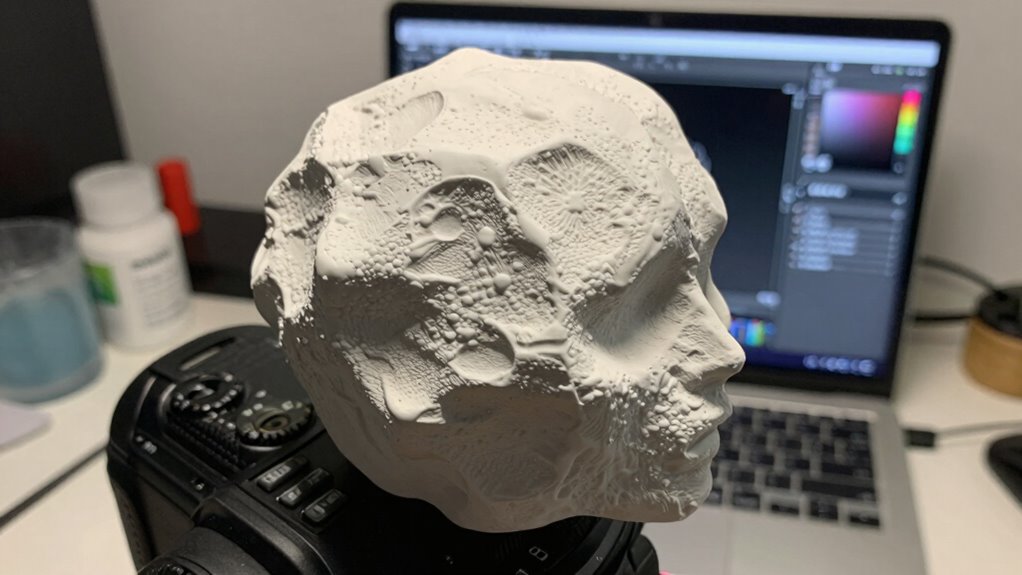
3DMakerpro Mole 3D Scanner for 3D Printing – 3D Printer Accessories 0.05mm Accuracy 0.1mm Resolution 10FPS Handheld & Turntable Scan, NIR Light & Visual Tracking Technology, Free 3D Scanning Software
0.05 mm Ultra-high Precision Scanning to Capture Object Details: 3DMakerpro 3D scanner scanning lens adopts the most advanced…
As an affiliate, we earn on qualifying purchases.
As an affiliate, we earn on qualifying purchases.
Pick the Best Affordable 3D Scanner for Your Needs
Finding an affordable 3D scanner that fits your needs is easier with options designed for various budgets. Compare feature sets carefully to guarantee the scanner you choose can handle your projects effectively. Consider what’s most important for your work to pick a device that offers the right balance of price and performance. Additionally, understanding scan resolution helps ensure your scans will be sufficiently detailed for your intended application. For improved results, look for scanners that incorporate energy-efficient technology, aligning with sustainable practices while providing high-quality data. Incorporating advanced calibration can also enhance accuracy and consistency in your scans. Being aware of free floating capabilities can provide greater flexibility in complex scanning environments.
Budget-Friendly Options Available
Are you searching for an affordable 3D scanner that fits your budget without sacrificing quality? There are several budget-friendly options that provide decent scanning accuracy and reliable hardware durability. Entry-level scanners like the EinScan-SE or Revopoint POP offer solid performance for hobbyists and small projects, without the hefty price tag. While they may not match high-end professional models, they still deliver respectable results for their cost. These scanners are built with durable components, ensuring they withstand regular use. Keep in mind that lower-cost devices might have limitations in scanning accuracy or resolution, but they’re ideal for learning, prototyping, or casual use. With careful selection, you can find a device that balances affordability with dependable hardware, making 3D scanning accessible to everyone. Understanding hardware durability can help you choose a device that lasts through frequent use. Additionally, considering user reviews and feedback can provide insights into real-world performance and longevity of the scanner. Recognizing cost-to-performance ratios can help in selecting the most suitable device within your budget. A good understanding of hardware durability can also inform your decision if you want to ensure your device remains reliable over time.
Feature Set Comparison
When choosing an affordable 3D scanner, comparing their features helps you find the best fit for your specific needs. Focus on sensor accuracy, which directly impacts scan detail and precision. A more accurate sensor captures finer surface textures and reduces errors, making your scans more reliable. Additionally, consider software compatibility—ensure the scanner works seamlessly with your preferred 3D modeling or editing programs. Some scanners come with proprietary software, while others support popular platforms like MeshLab or Blender. Compatibility affects your workflow efficiency and ease of use. By evaluating these features side by side, you can select a scanner that balances sensor accuracy and software support, giving you cleaner, more precise scans without overspending on unnecessary extras. Moreover, understanding the navigation and mapping capabilities of a scanner helps you achieve comprehensive coverage and consistency in your scans. Having a good understanding of sensor specifications can also help you determine the overall quality and suitability of a scanner for detailed work.
Suitability for Projects
Choosing the right affordable 3D scanner depends on your specific project requirements. Consider material compatibility to guarantee the scanner can accurately capture surfaces like plastics, metals, or textiles. Material compatibility is crucial to ensure precise scans across different surface types. Understanding the capabilities of various scanning technology options can help you select the most suitable device for your needs. Size limitations are also critical; some scanners handle small objects well, but struggle with larger items. Think about your project scale and material diversity before selecting a device. Additionally, understanding fundamental scanning principles can help you select equipment that aligns with your goals. Having knowledge of scanning technology advancements can also guide you toward more efficient and future-proof solutions.
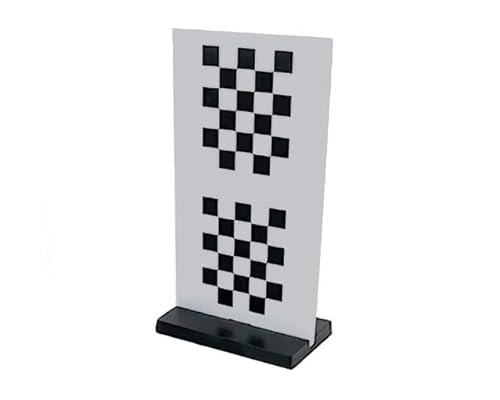
Matter & Form 3D Scanner Replacement Calibration Card
1x Calibration Card
As an affiliate, we earn on qualifying purchases.
As an affiliate, we earn on qualifying purchases.
Prepare Your Object and Environment for Better Scanning Results
To get the best scan, start by thoroughly cleaning your object’s surface to remove dirt and debris. Make sure the lighting is consistent and controlled, avoiding harsh shadows or glare. These simple steps can considerably improve your scanning accuracy and detail. Additionally, choosing the right scanning environment, similar to selecting a reputable Gold IRA Market, can help ensure your results are both reliable and precise. For optimal results, consider environmental factors such as ambient temperature and airflow, which can impact scan quality.
Clean Surface Thoroughly
Have you ever noticed how dirt or smudges can ruin a 3D scan? Proper surface preparation is essential for clear results. Before scanning, thoroughly clean your object’s surface to remove dust, grease, or fingerprints. Debris removal is critical; even tiny particles can cause inaccuracies or gaps in the scan. Use a soft cloth, mild detergent, or compressed air to wipe down the surface. Avoid harsh chemicals that might damage the material. Make sure the surface is dry and free of any residues. Taking these steps ensures your scanner captures every detail accurately. Remember, a clean, debris-free surface minimizes errors and improves the overall quality of your scan. Proper surface preparation is the foundation for successful, high-quality 3D scans. Additionally, understanding credit card security measures can help protect digital assets associated with your scanning projects.
Control Lighting Conditions
Controlling lighting conditions is essential for achieving accurate 3D scans. Bright, even ambient lighting reduces shadows and highlights, making details clearer. Avoid harsh, direct light that can create glare or uneven reflections. Reflective surfaces pose a challenge because they can distort scan data, so consider applying matte spray or masking shiny areas. Keep the environment consistent; fluctuating lighting affects scan quality. If possible, use diffused light sources or turn off competing lights to minimize reflections and shadows. Proper lighting ensures your scanner captures true surface details without distortions caused by inconsistent illumination. Additionally, controlling lighting conditions enhances overall scan precision by minimizing errors caused by inconsistent illumination. Maintaining a stable environment helps prevent scan errors and improves the reliability of your results. Being aware of the impact of AI on various fields can help you adapt your skills to emerging job opportunities. Consistent lighting also reduces noise in the scan data, leading to clearer and more accurate 3D models. Incorporating light control techniques can further optimize scan quality and reduce post-processing time.

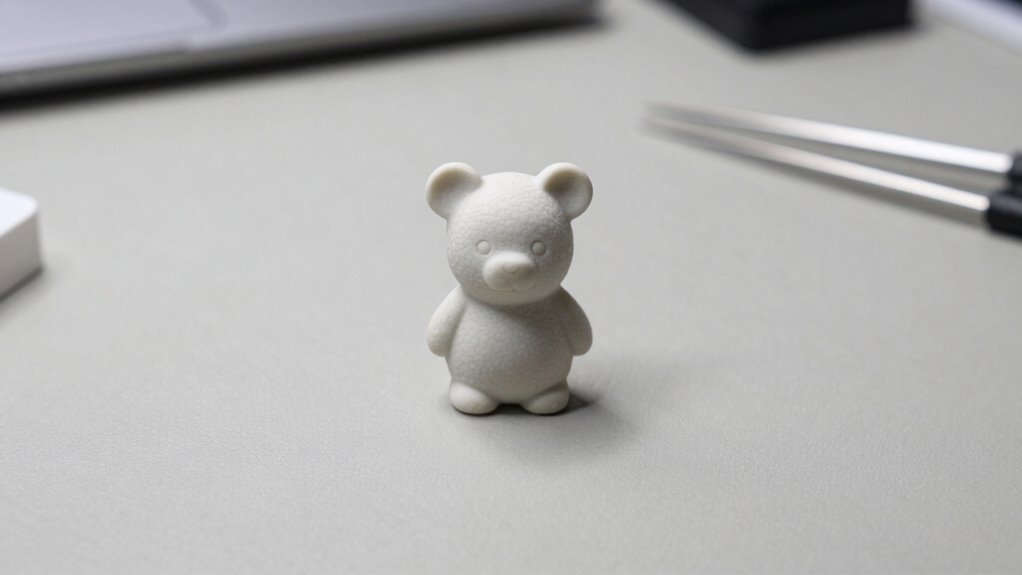
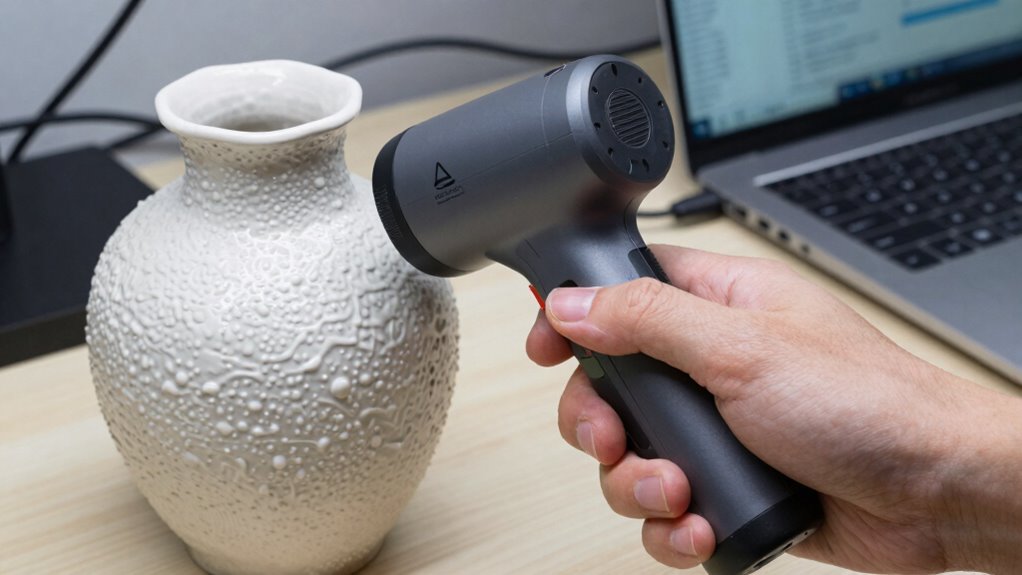
Revopoint Auto Turntable for 3D Scanners, Easy Scanning of Featureless and Small and Medium Objects, Equipped with Marked Top Cover
Easier Scans: Quickly and easily 3D scan small to medium-sized objects without moving the scanner
As an affiliate, we earn on qualifying purchases.
As an affiliate, we earn on qualifying purchases.
Optimize Lighting and Backgrounds to Improve Scan Quality
Lighting and background conditions play a crucial role in capturing high-quality 3D scans, as poor illumination or distracting backgrounds can introduce errors and reduce detail. To optimize your scan quality, focus on a consistent lighting setup that minimizes shadows and glare, ensuring even illumination on the object. Use natural light or soft diffused sources to avoid harsh reflections. When selecting a background, choose a plain, neutral-colored surface that contrasts with your object, reducing visual noise and helping the scanner distinguish edges more accurately. Remove clutter or textured backgrounds that can interfere with the scan process. Proper lighting and background selection make your scans clearer and more precise, preventing issues caused by inconsistent illumination or distracting surroundings. Additionally, understanding how lighting and background impact scan accuracy can help you troubleshoot common problems and achieve better results. Ensuring a controlled environment minimizes variables that could affect scan quality, leading to more reliable and detailed 3D captures. Using consistent environmental conditions can also help maintain measurement accuracy across multiple scans. Maintaining a stable setup helps prevent scan errors caused by environmental fluctuations. Paying attention to environmental consistency ensures your scans remain precise over time.
Master Simple Techniques for Better 3D Scans

Mastering simple techniques can considerably improve your 3D scan quality without complex equipment or procedures. Focus on material selection, as smooth, matte surfaces reduce reflections and glare, resulting in clearer scans. Choose scanning environments with consistent lighting and minimal background clutter to avoid shadows and noise. Guarantee your object remains still during scanning to prevent distortions.
Simple techniques like matte surfaces and steady positioning significantly boost 3D scan clarity.
To make your scans better:
- Select materials that absorb light instead of reflecting it
- Scan in controlled environments with diffuse lighting
- Keep objects steady and avoid moving parts or vibrations
These straightforward steps help you achieve cleaner, more accurate 3D scans without needing advanced gear. By paying attention to material and environment, you’ll see a noticeable difference in scan quality and detail.
Use Free or Low-Cost Software to Clean and Process Your Scans
Once you’ve captured your scan with the right techniques, the next step is to clean and refine it using free or low-cost software options. These tools streamline your software workflows, making it easier to remove noise, fill gaps, and smooth surfaces. Many free programs like MeshLab or Meshmixer offer powerful features for data optimization, helping you improve scan quality without costly investments. Focus on cleaning up artifacts and reducing unnecessary data to make your model more manageable. Proper processing not only enhances visual clarity but also prepares your scan for further use, such as 3D printing or detailed analysis. By leveraging accessible software, you can efficiently refine your scans and achieve professional results on a budget.
Avoid Common Mistakes When Scanning on a Budget
When you’re scanning on a budget, it’s easy to make mistakes that compromise your results, but many of these can be avoided with careful planning. First, confirm your scanner is properly calibrated; neglecting calibration can lead to inaccurate data resolution and poor model quality. Second, pay attention to your scanning environment—avoid clutter and bright reflections that can distort scans. Third, don’t rush the process; take your time to capture multiple angles and verify scan details before moving on. Additionally, keep your equipment clean and stable to prevent data inaccuracies. By focusing on proper calibration, maintaining a controlled environment, and managing your scanning speed, you’ll improve your results without spending extra on professional gear. Small adjustments make a big difference in achieving cleaner, more accurate scans.
Post-Processing Tips to Enhance Your 3D Models
After completing your scan, the real work begins: enhancing your 3D model through effective post-processing. Start with post processing techniques like cleaning up noise and filling gaps to improve accuracy. Use software optimization tools to smooth surfaces, reduce unnecessary polygons, and refine details. Most 3D scanning software offers filters and editing features; leverage these to enhance your model’s clarity. Focus on removing artifacts and optimizing mesh quality without sacrificing detail. Keep your workflow efficient by applying the right adjustments early. Remember, small tweaks can considerably improve your final result. With proper post-processing, your model will look cleaner, more accurate, and ready for presentation or further use. This step is essential for turning a basic scan into a professional-quality 3D asset.
Troubleshoot Frequent 3D Scanning Issues Without Professional Equipment
Many common 3D scanning issues can be resolved even without professional equipment by understanding and addressing their root causes. If your scans are blurry or inconsistent, start with sensor calibration—ensure your device’s sensors are properly aligned. For unstable scans, focus on scan stabilization: use a steady hand or stabilize your object to reduce movement. Additionally, check lighting conditions; poor lighting can cause noise and inaccuracies.
Many scanning issues stem from calibration, stabilization, and lighting—simple fixes for clearer, more accurate 3D scans.
- Regularly calibrate your scanner to keep sensors accurate.
- Use a tripod or stabilize your hand to prevent motion blur.
- Improve lighting or scan in well-lit environments for clearer results.
Addressing these factors helps you troubleshoot frequent issues effectively, producing cleaner scans without the need for pro gear. Small adjustments can make a big difference in scan quality and reliability.
Frequently Asked Questions
Can I 3D Scan Moving Objects Without Professional Gear?
Yes, you can 3D scan moving objects without professional gear. To minimize motion blur, use stabilization techniques like keeping your camera steady or using a tripod. Adjust your camera settings for faster shutter speeds, which helps freeze motion. Additionally, scan in short bursts and from multiple angles to improve accuracy. With patience and proper stabilization, you’ll get clearer, more reliable scans even with basic equipment.
What Are the Best Handheld Scanners for Beginners?
You should consider beginner-friendly devices like the EinScan Sparc or the Creality CR-Scan 01. These handheld scanners are easy to use, portable, and affordable, making them perfect for newcomers. They offer quick setup and intuitive interfaces, so you can start scanning right away. With these options, you get reliable results without needing professional-grade equipment, helping you learn and improve your 3D scanning skills efficiently.
How Do I Ensure Color Accuracy in Scans?
To guarantee color accuracy in your scans, start with proper color calibration by using a color reference chart during scanning. This helps your scanner capture true colors. Additionally, focus on texture mapping, which allows you to align colors accurately with the surface details. Keep your scanner steady and consistent lighting conditions, and regularly calibrate your device to maintain the best color fidelity in your scans.
Is It Possible to Scan Large Objects With a Budget Setup?
You can scan large objects on a budget, but be aware of scanning limitations and equipment constraints. While affordable gear may struggle with size or detail, you can still get decent results by breaking the object into sections and stitching scans together. Use a sturdy tripod, good lighting, and overlap scans for better accuracy. Patience and proper technique will help you maximize your setup’s potential without breaking the bank.
How Can I Improve Scan Resolution Without Expensive Equipment?
To improve scan resolution without spending a fortune, focus on resolution enhancement by adjusting your scanner’s settings for higher detail. Use consistent lighting to minimize noise and employ noise reduction techniques in post-processing software. Keep the object steady and scan from multiple angles to fill gaps. These steps will help you achieve clearer, more detailed scans without needing expensive equipment, making your 3D scans sharper and more accurate.
Conclusion
Just like an artist refines their masterpiece, your 3D scans improve with patience and practice. With the right tools and techniques, you can achieve cleaner, more accurate results without breaking the bank. Think of it as channeling your inner Da Vinci—every tweak and adjustment brings your model closer to perfection. Keep experimenting, stay curious, and soon you’ll be creating stunning scans that rival even the pros’ work.