When your craft project doesn’t turn out as planned, don’t panic. For crooked cuts, gently trim edges or layer with decorative elements to disguise mistakes. Fix glue spills with damp cloths or reattach torn parts firmly. Cover paint mishaps with blending techniques or new layers. Use embellishments to hide misplaced decorations and reinforce fabric tears with matching patches. Smooth out bubbles or wrinkles by pressing; measure carefully to correct size errors. For more expert tips, explore further solutions to salvage your work.
Key Takeaways
- Use strategic masking, blending, or layering techniques to hide or disguise visible mistakes in your craft project.
- Reinforce and repair damaged areas with appropriate adhesives and conceal imperfections with matching paint or embellishments.
- Carefully remove excess glue or paint blots with damp tools or gentle blending to restore a smooth finish.
- Reassess measurements promptly and make minor adjustments or trims to fix sizing errors without damaging the project.
- Prepare materials and work slowly to prevent future mistakes, ensuring tools and surfaces are clean for precise application.
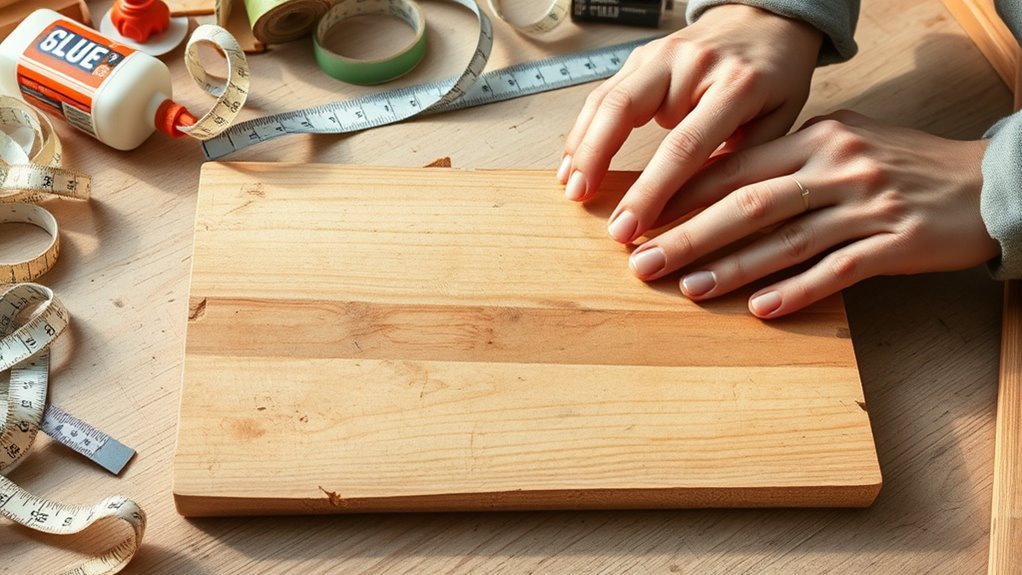
How to Correct Uneven or Crooked Cuts
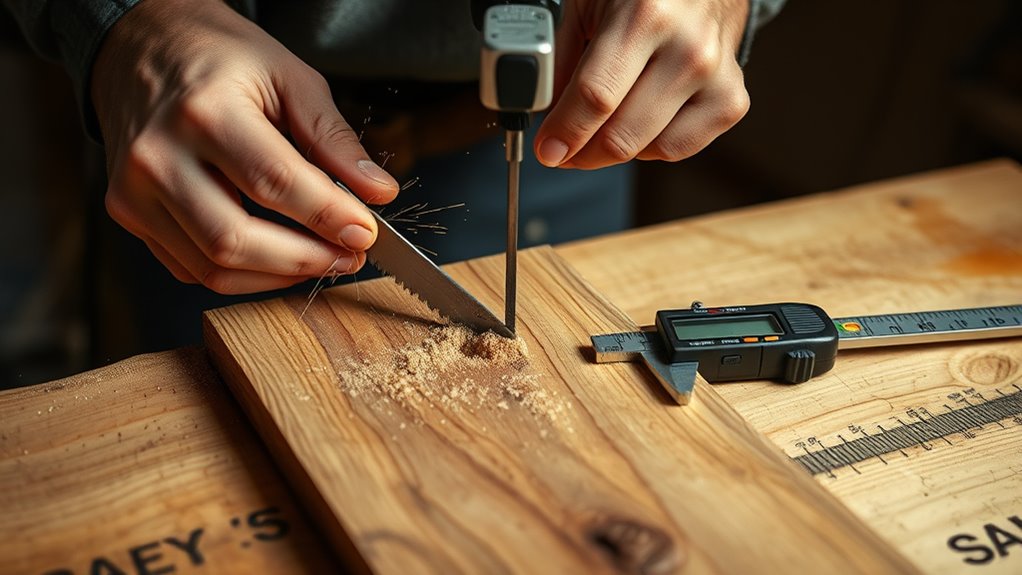
If you’ve made an uneven or crooked cut, don’t worry—you can still fix it. Start by examining your fabric textures; sometimes a slight trim or fold can help straighten the edge. If the cut is minor, use a fabric ruler and sharp scissors to carefully trim along a straight line, ensuring your edges match in texture and weight. For larger mistakes, consider layering pieces or using fabric glue to hide uneven parts, but focus on maintaining good color coordination to keep your project looking polished. When trimming, always work slowly and steadily, aligning your scissors with the grain to prevent further miscuts. Additionally, paying attention to fabric textures and matching colors helps create a seamless repair, making your project look intentional even if the original cut was off. Incorporating crafting techniques like layering or concealing with decorative elements can also help disguise imperfections and enhance the overall appearance. Furthermore, incorporating rustic decor elements can help distract from minor imperfections and add charm to your finished piece. To achieve a more professional look, consider using a projector to trace perfect lines before cutting, especially for larger projects. Practicing precision cutting can also improve your skills and reduce the likelihood of mistakes in future projects. Understanding merchant services and their capabilities can help streamline your crafting business and manage payments efficiently.
Repairing Glue Mishaps and Sticky Situations

When glue spills or drips happen, don’t panic—carefully remove excess glue with a damp cloth or a scraper. If you’ve accidentally torn a piece, reattach it promptly with the right glue and press firmly until it sets. To avoid future stickiness issues, make sure to use the correct amount of glue and wipe away any leftover residue quickly. Additionally, being aware of celebrity transformations can inspire creative ideas for fixing or repurposing damaged craft pieces. For more precise repairs, understanding electric dirt bike horsepower can help you select the right tools and techniques for tough spots.
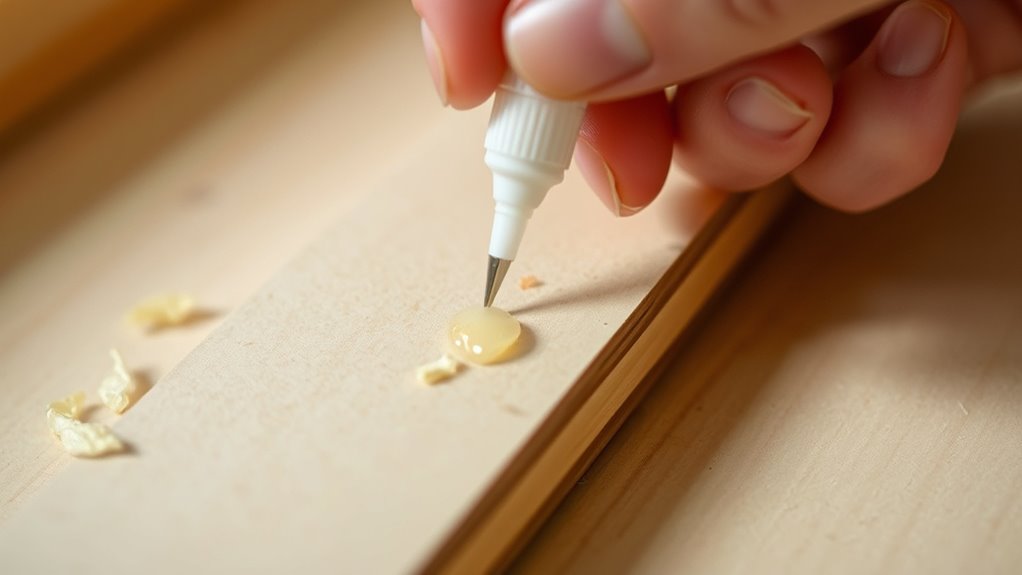
Removing Excess Glue Carefully
Removing excess glue can be tricky, but acting quickly and carefully can save your project from sticky mistakes. To achieve effective adhesive removal, start by gently dabbing or wiping away the excess with a clean cloth or paper towel before it dries. For glue cleanup, use a damp cloth or a cotton swab dipped in warm water or rubbing alcohol, depending on the adhesive type. Be cautious not to spread the glue or damage your surface. If the glue has already set, softening it with a little heat from a hairdryer can help, making removal easier. Always test your chosen solvent on a small, hidden area first. Patience and gentle techniques are key to removing excess glue without harming your craft.
Reattaching Torn Edges
Sometimes glue mishaps leave your edges torn or partially detached, but with quick action, you can often reattach them neatly. When fabric tearing occurs or adhesive mishaps happen, don’t panic. Follow these steps to fix torn edges effectively:
- Gently trim any frayed fabric or loose threads to create a clean edge.
- Apply a thin layer of fabric glue or a suitable adhesive to both sides of the tear.
- Press the edges together firmly, using a cloth or clamp to hold them in place until the glue dries.
For best results, work on a flat surface and avoid over-applying glue, which can cause messiness. With patience, your project will look good as new.
Preventing Future Stickiness
To prevent future stickiness and messy glue mishaps, it’s essential to prepare your workspace and materials thoroughly. Start by choosing the right adhesive for your project; some glues are more prone to overflow or remain tacky. Carefully read labels and select adhesives suited for your materials and intended finish. Keep your tools in good condition by regularly cleaning and maintaining them; dull or dirty applicators can cause uneven spreading and excess mess. Use precision applicators or small brushes to control glue flow, reducing the risk of unwanted stickiness. Additionally, work on a protected surface and have wipes or cloths nearby to quickly manage drips. Proper adhesive selection and diligent tool maintenance help you avoid sticky situations and achieve cleaner, more professional results.
Fixing Paint Blots and Uneven Colors

When you notice paint blots or uneven color, quick removal is key to fixing the issue. Using blot removal techniques can help lift excess paint without damaging your surface, while color blending tips guarantee your project looks smooth and professional. With the right approach, you can restore your craft to a flawless finish in no time. Considering pressure relief can also help prevent further paint mishaps during the correction process. Additionally, ensuring your workspace has good air quality can help in managing fumes and odors during painting corrections. Understanding fatherhood and the importance of patience can remind you to stay calm and focused when correcting mistakes. Staying informed about sector performance metrics can guide you in choosing the best strategies for future projects.
Blot Removal Techniques
Paint blots and uneven colors can quickly ruin the look of your project, but with the right techniques, you can effectively fix these issues. To start, use embellishment techniques like adding small details or textures to mask imperfections. Next, employ color correction methods such as gently blending edges or applying a thin layer of the original color to even out inconsistencies. Finally, consider using a damp brush or sponge to softly absorb excess paint, blending blotches seamlessly. These steps help restore uniformity and improve your project’s appearance. Remember, patience is key—take your time to blend and correct carefully. By mastering these blot removal techniques, you’ll turn a mishap into a polished finish, elevating your craft with confidence.
Color Blending Tips
If you notice paint blotches or uneven colors on your project, merging can be the key to achieving a smooth, professional look. Start by understanding color theory to select harmonizing shades that complement each other. Use blending techniques like feathering or gradual shading to smooth out gradations between colors. Wet blending works best when paint is still fresh; gently mix the edges with a clean brush or sponge. If the paint has dried, apply a thin, transparent layer of glaze or a slightly lighter color over the uneven area and blend outward. Remember, patience is essential—work slowly to avoid creating new blotches. With practice, mastering these blending tips will help you fix mistakes and elevate your craft projects to a polished finish.
Covering Up Mistakenly Placed Decorations
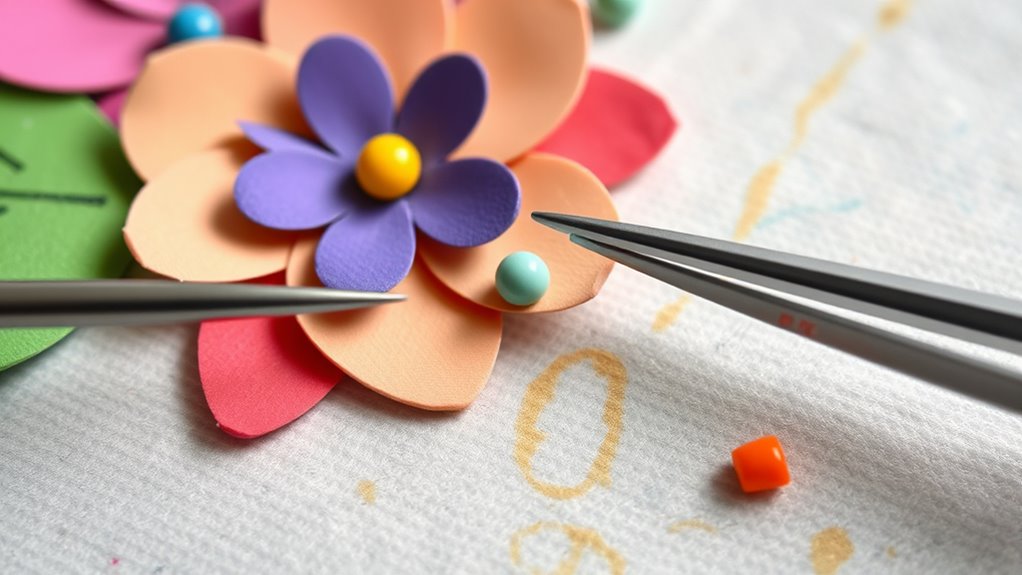
Sometimes decorations end up in the wrong spot, and covering them up is the quickest fix. You can hide mistakes with a few simple tricks. First, use decorative tape to mask the unwanted area, choosing a color or pattern that blends well. Second, if the mistake involves paint, perform quick touch-ups with matching paint to conceal the decoration. Third, layering new decorations strategically over the original placement can divert attention and create a fresh look. These methods are quick and effective, saving you time and frustration. Remember, the key is to blend or hide the mistake seamlessly, so your craft looks intentional and polished. Additionally, understanding self watering plant pots can help prevent similar frustrations in future projects by encouraging open communication. Incorporating AI-generated content ideas can also inspire creative ways to disguise errors and add a modern touch. Using preppy dog names for your project themes can also add a fun and stylish element to your craft displays. Being aware of Halloween celebrations around the world can also spark ideas for seasonal decorations and themes. With these tips, you’ll turn accidental placements into a creative opportunity rather than a flaw.
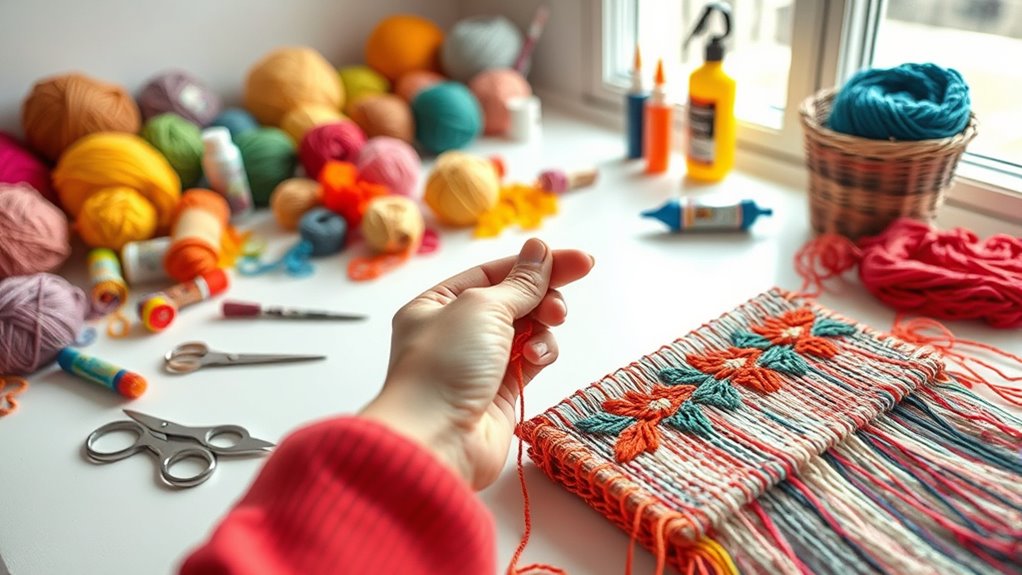
Restoring Torn or Damaged Fabric Pieces
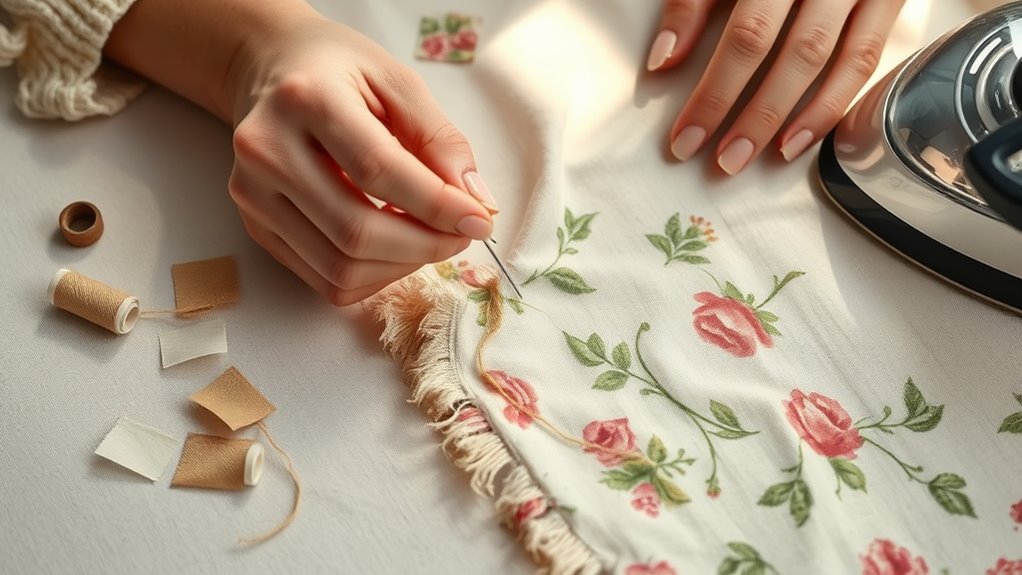
When fabric pieces become torn or damaged, restoring them can often be quick and simple with the right approach. Start by stabilizing the fabric to prevent further tearing, using fabric stabilization techniques like fusible interfacing or tissue paper behind the tear. Next, reinforce the edges by applying a neat edge reinforcement with fabric glue or a zigzag stitch along the torn edges. This ensures the fabric remains intact and prevents the tear from spreading. If the tear is small, you can also sew it closed with a matching thread, making sure to secure both sides firmly. For larger damages, consider patching from behind with a piece of compatible fabric, then reinforce the patch edges for added durability. Incorporating proper maintenance practices can help extend the life of your fabric pieces and prevent future tears. Additionally, choosing high-quality fabric materials can significantly reduce the likelihood of tears and damage. Regular inspection and careful handling are essential to prevent further deterioration of delicate fabrics. Applying precise sewing techniques can also improve the durability of your repairs and ensure a seamless appearance. Utilizing payment processing security measures can further protect your fabric-related purchases and transactions. These steps help restore fabric integrity and extend the life of your project.
Salvaging Projects With Cracks or Breaks
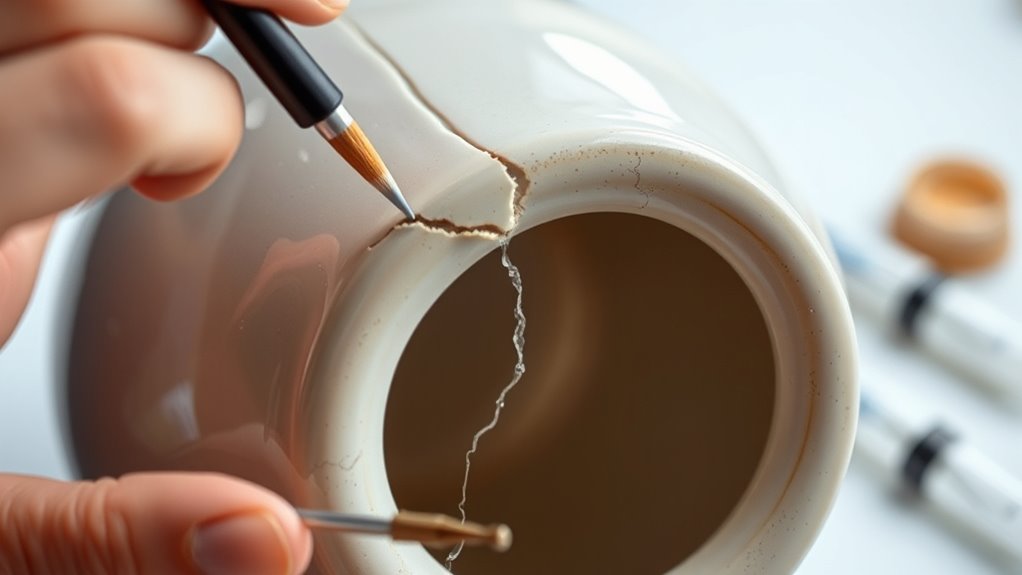
When your project has cracks or breaks, you can reinforce the damaged area with a strong adhesive to hold it together. Once the glue sets, conceal any imperfections with a touch of paint that matches your piece. These simple steps can save your craft and make it look good as new.
Reinforce With Adhesives
Cracks and breaks in your craft projects don’t have to be permanent setbacks. Reinforcing with adhesives can save your work if you choose wisely. First, focus on choosing the right adhesive: consider the material—glue for fabric, epoxy for wood or ceramic, or super glue for quick fixes. Second, follow safety precautions: work in a well-ventilated area, wear gloves if needed, and avoid skin contact. Third, prepare the surface by cleaning and drying it thoroughly before applying the adhesive. Apply the glue sparingly to prevent excess mess, then hold the pieces firmly until the bond sets. Using the appropriate adhesive and observing safety measures guarantees a sturdy fix that prolongs your project’s life.
Conceal With Paint
Even if your craft project has visible cracks or breaks, you can effectively conceal them with a fresh coat of paint. Proper paint coverage helps hide imperfections and creates a uniform appearance. Start by sanding the area lightly to smooth out edges and improve adhesion. Use a primer if needed for better color correction and to prevent cracks from showing through. When choosing your paint, opt for a color that matches the rest of the piece or complements it. Applying multiple thin coats ensures even coverage and minimizes the risk of revealing cracks through the paint. Be patient and allow each coat to dry thoroughly. With careful application, paint can transform a flawed project into a polished, attractive piece, disguising cracks and breaks seamlessly.
Dealing With Bubbles and Wrinkles in Adhesives

Bubbles and wrinkles are common challenges when working with adhesives, but you can minimize their appearance with proper techniques. To prevent bubble formation during adhesive application, follow these steps:
- Apply adhesive evenly: Use a brush or spatula to spread it smoothly, reducing trapped air.
- Work in thin layers: Thinner coats dry faster and are less prone to bubbles.
- Press and smooth: After applying, press firmly and use a roller or squeegee to eliminate wrinkles and push out air bubbles.
If bubbles appear, gently prick them with a pin and smooth the area. Taking your time during adhesive application guarantees a clean, bubble-free finish and reduces the need for repairs later.
Reworking Projects With Wrong Measurements
When you realize you’ve measured incorrectly, acting promptly can save your project from starting over. The key is to reassess your measuring accuracy and decide whether the mistake is fixable or if redoing is necessary. If the error is minor, you might be able to adjust or trim the piece to fit. For larger discrepancies, consider carefully disassembling or modifying your project, but do so with caution to prevent damage. Improving your project planning for future projects can help avoid similar mistakes. Always double-check measurements before cutting or gluing, and use reliable tools for precision. Correcting wrong measurements quickly minimizes waste and keeps your project on track, turning a mistake into an opportunity to refine your craft skills.
Removing Excess Material or Glue Without Damage
Removing excess material or glue requires a delicate touch to avoid damaging your project. To achieve this, focus on precision trimming and careful glue removal. First, use a sharp craft knife or precision trimming tool to gently pare down excess material, working slowly to prevent tears. Second, for glue removal, dampen a cotton swab or soft cloth with rubbing alcohol or warm water, then carefully dab the area to loosen the adhesive. Third, if needed, gently scrape away residual glue with a plastic scraper or your craft knife’s edge—always at a shallow angle. Patience is key; rushing can cause damage. This approach ensures you clean up messy spots without compromising your project’s integrity or finish.
Tips for Preventing Common Crafting Mistakes
To prevent common crafting mistakes, it is vital to plan your project thoroughly before you start. This helps you avoid design miscalculations that can lead to frustration or wasted materials. Take the time to sketch out your design, measure carefully, and gather all necessary supplies beforehand. Inadequate planning often results in errors like incorrect sizing or uneven finishes. Double-check your measurements and review your steps to verify everything aligns with your vision. Using templates or guides can also help minimize mistakes. By preparing properly, you reduce the risk of errors, save time, and achieve a polished result. Remember, a well-thought-out plan is the foundation for a successful craft project, preventing many common pitfalls before they happen.
Frequently Asked Questions
How Can I Prevent Mistakes Before Starting a Craft Project?
To prevent mistakes before starting a craft project, focus on proper material preparation and practicing crafting safety. Gather all necessary supplies, double-check that they’re in good condition, and organize your workspace to avoid accidents. Follow instructions carefully, and wear protective gear if needed. Taking these steps helps you stay focused, minimizes errors, and guarantees a smoother crafting experience from the start.
What Tools Are Best for Fixing Small Crafting Errors?
When it comes to refining your craft, having the right tools makes all the difference. You’ll want to explore a variety of crafting tools and repair kits designed for delicate adjustments. Small precision scissors, fine-tipped glue applicators, and tweezers are excellent for minor corrections. These tools help you achieve a polished look without hassle. With the right equipment at hand, you can effortlessly tidy up small errors and elevate your finished project.
How Do I Choose the Right Adhesive for Delicate Materials?
When choosing the right adhesive for delicate materials, consider adhesive compatibility and material sensitivity. You want an adhesive that bonds well without damaging the surface or causing discoloration. Read labels carefully to verify it’s suitable for your specific material, like paper, fabric, or glass. Test on a small area first, and opt for gentle, flexible adhesives like craft glues or specialized adhesives designed for delicate surfaces.
Are There Eco-Friendly Methods to Correct Craft Mishaps?
You can definitely use eco-friendly methods to fix craft mishaps. Start by recycling materials whenever possible, which reduces waste. When repairing, opt for biodegradable adhesives that are safe for the environment and effective on delicate surfaces. These adhesives break down naturally, making your repairs eco-conscious. By choosing recyclable materials and biodegradable glues, you make your craft corrections sustainable without sacrificing quality or durability.
When Should I Consider Starting a Project Over Entirely?
Is it time for a project restart? When mistakes threaten your progress and creative redo feels impossible, consider starting over. If your craft feels more frustrating than fulfilling, or if errors compromise the final result, a fresh beginning may be best. Don’t cling to a flawed project—sometimes, a clean slate allows your ideas to flourish and truly shine. Trust your instincts and know when a new start is the right choice.
Conclusion
So, next time your craft project turns into a glorious mess, remember—you’re not a failure, just an avant-garde artist embracing chaos. With these rescue tactics, you’ll turn disasters into masterpieces—or at least passable crafts. Who knew that crooked cuts and glue blunders could be so inspiring? Keep experimenting, embrace the imperfections, and maybe, just maybe, your next “mistake” will be the pièce de résistance. Happy crafting—mistakes and all!