
To get started with polymer clay, you need to condition it by kneading until it’s soft and pliable. Shape your design, then bake it in an oven at the recommended temperature to set your work securely. Once cooled, seal your piece with varnish or a sealant to protect and enhance its finish. Proper conditioning, baking, and sealing guarantee your creation lasts longer and looks professional. Keep exploring to discover more tips for perfecting your projects.
Key Takeaways
- Proper conditioning involves kneading the clay until soft and pliable for easier shaping and better adhesion.
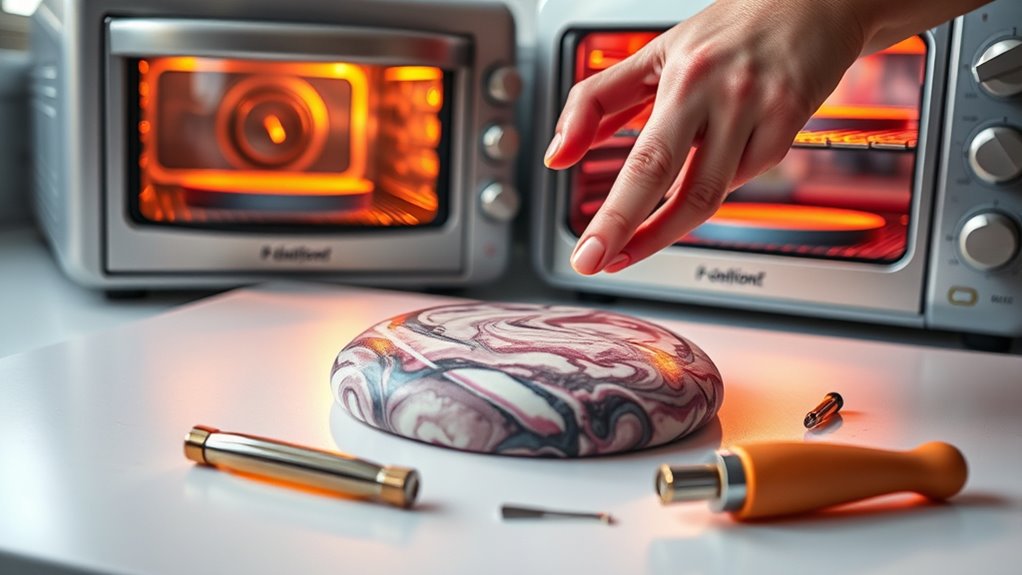
- Bake polymer clay at the recommended temperature and time to ensure durability without burning.
- Use a dedicated oven thermometer to monitor temperature accuracy during baking.
- Seal finished projects with a varnish or sealant to protect surfaces and enhance appearance.
- Ensure the clay is fully cooled before sealing to prevent warping or damage.
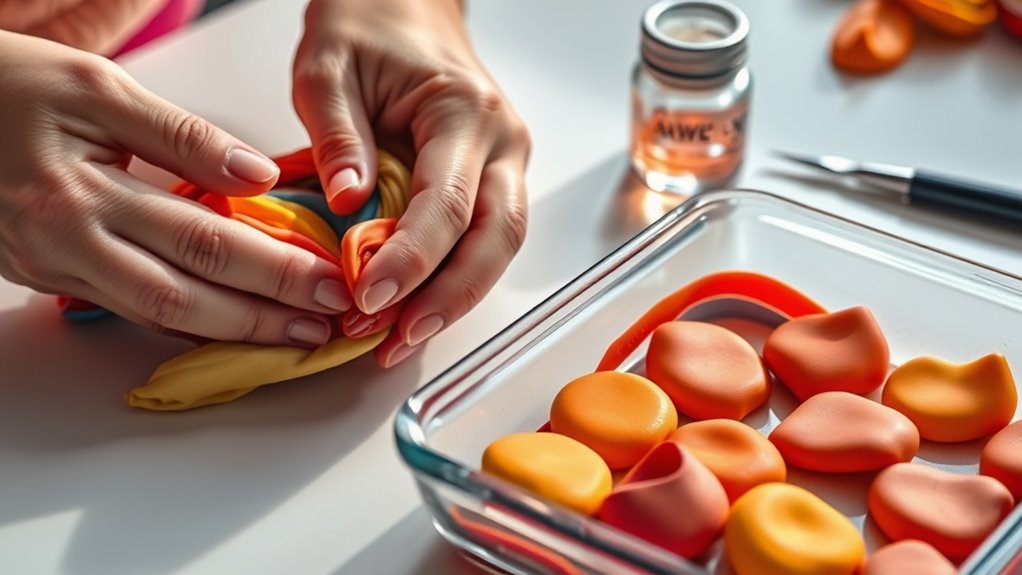
Have you ever wondered what makes polymer clay so popular among crafters and artists? It’s the incredible versatility it offers, especially when it comes to creating vibrant, unique designs. One pivotal aspect that helps you achieve stunning results is understanding color blending. When working with polymer clay, you can mix different colors to create custom shades that match your vision perfectly. Start by choosing the right colors and kneading them together thoroughly. As you blend, you’ll notice how the colors seamlessly merge into new hues, allowing for subtle gradients or bold contrasts. To enhance this process, use tools like blades, silicone-tipped tools, or even your fingers to manipulate the clay, ensuring smooth transitions. The right tool selection is essential because it empowers you to control the blending process with precision, whether you’re softening the clay, mixing colors, or creating detailed patterns. Don’t underestimate the importance of having a variety of tools on hand—each can help you achieve different effects and textures, making your work more refined.
As you experiment with color blending, you’ll discover that certain tools are better suited for specific tasks. For blending large areas, a soft rubber or silicone tool can help smooth out colors without leaving marks. For more detailed work, a sharp blade or needle tool enables you to carve or create intricate designs. When mixing colors, some artists prefer to knead the clay by hand for a more organic blend, while others use a pasta machine to combine colors evenly and efficiently. The key is to select tools that suit your style and project needs. Choosing the proper tools not only improves your control but also speeds up your workflow, making the process more enjoyable and less frustrating. Additionally, understanding the best tools for polymer clay can significantly enhance your creative process and results.
Frequently Asked Questions
Can Polymer Clay Be Recycled After Baking?
No, polymer clay can’t be recycled after baking. Once you bake it, the material hardens permanently, making clay reuse impossible. Instead, focus on recycling techniques like reconditioning unused or leftover clay by conditioning it again, or mixing it with new clay for fresh projects. To avoid waste, plan your projects carefully and store unused clay properly. Remember, baked clay stays solid, so recycling isn’t an option once it’s cured.
What Are the Best Storage Methods for Unused Clay?
Storing unused clay is like tucking a treasure safely away. You should keep it in airtight clay storage containers to prevent drying out. Also, use humidity control methods like silica gel packs or a sealed plastic bag with a damp cloth to avoid moisture loss or excess. Store your clay in a cool, dark place, away from sunlight, to maintain its softness and color for your next creative project.
How Do Temperature and Humidity Affect Curing?
Temperature and humidity greatly impact your curing process. If the curing temperature is too high or too low, your clay may not develop the right texture or might crack or warp. High humidity can cause excess moisture, leading to a sticky texture and uneven curing. To guarantee proper curing, keep your workspace at a stable temperature and low humidity, so your clay achieves the perfect texture and cures evenly.
Are There Eco-Friendly Polymer Clay Options Available?
Yes, you can find eco-friendly alternatives to traditional polymer clay. Look for biodegradable options or brands that focus on sustainable materials. These eco-friendly options often use fewer chemicals and are designed to break down more easily in the environment. By choosing biodegradable polymer clay, you reduce your ecological footprint while still creating beautiful crafts. Always check product labels to verify they meet your sustainability goals and are safe for both you and the planet.
Can Polymer Clay Be Painted After Sealing?
Absolutely, you can paint polymer clay after sealing—think of it as giving your masterpiece a dazzling new wardrobe! Use gentle painting techniques like acrylics with fine brushes, and guarantee the surface is fully sealed with the right sealing methods to protect your artwork. Wait for the sealant to cure completely before adding paint, and you’ll achieve vibrant colors that last while keeping your creation safe from damage.
Conclusion
Now that you’ve learned the basics of conditioning, baking, and sealing, you’re ready to turn your ideas into vibrant, lasting creations. Think of polymer clay as a blank canvas, waiting for your personal touch to bring it to life. With patience and practice, your skills will bloom like a garden in full bloom. So, keep experimenting and let your imagination be the guiding star—your masterpiece is just a knead away from reality.