
To start needle felting, you need sharp, barbed felting needles, a foam pad for safety, and high-quality wool roving. To shape your project, stab the wool repeatedly but gently, building layers gradually for smooth, detailed forms. Always handle needles carefully and avoid pressing too hard to prevent lumps or injuries. Using the right tools and techniques makes your felting safer and neater, and mastering these basics will help you create fantastic designs—more tips await as you continue.
Key Takeaways
- Use a barbed felting needle and foam pad to safely shape wool by stabbing repeatedly without pressing too hard.
- Develop control and patience to gradually build and refine shapes, avoiding rushing or uneven surfaces.
- Keep needles sharp and replace bent or dull ones to ensure safety and effective felting.
- Work in a clutter-free area, store needles safely, and handle tools carefully to prevent injuries.
- Refer to proper tool maintenance guides and tutorials to extend needle lifespan and improve technique.

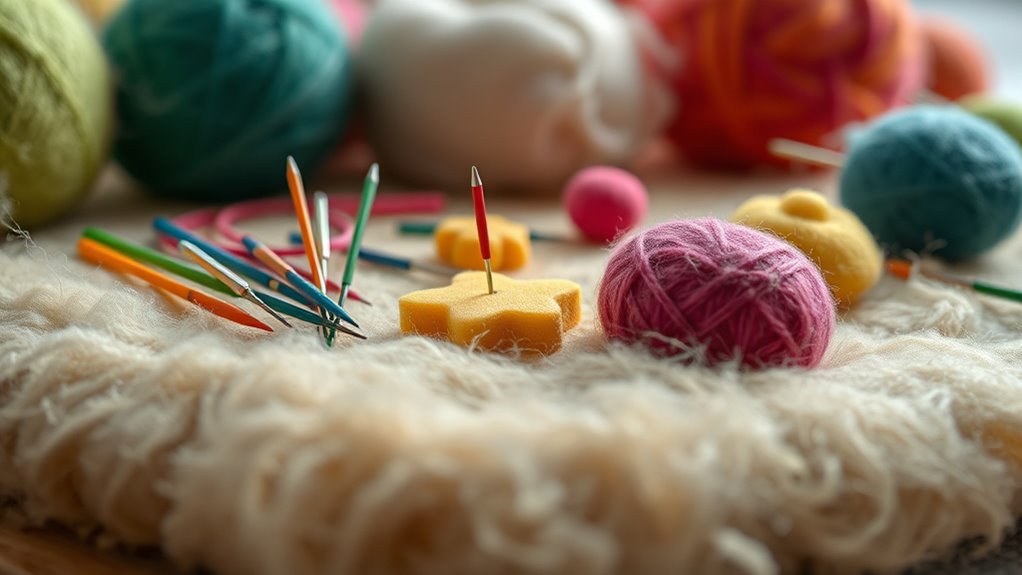
Have you ever wondered how to transform loose wool into a detailed, three-dimensional sculpture? If so, understanding the basics of needle felting is essential. Starting with a techniques overview will help you grasp the core process: repeatedly stabbing wool roving with a barbed needle to interlock the fibers, gradually building up your desired shape. The technique involves layering wool, shaping it carefully, and refining details as you go along. But even with a solid grasp of the techniques, it’s easy to fall into common mistakes that can hinder your progress. For example, pressing too hard or stabbing too quickly can cause the wool to become lumpy or even break apart. Rushing through the process often results in uneven surfaces and less refined details. It’s important to work patiently, letting the fibers mesh naturally while maintaining control over your stabbing motion.
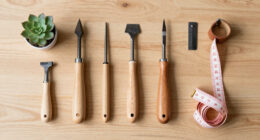
One of the most crucial aspects of needle felting is using the right tools. A good felting needle with a sharp, barbed tip is your primary instrument. The needles come in various sizes—finer needles are better for delicate details, while thicker ones help shape larger areas. Foam pads or felting mats provide a safe surface to work on and protect your needles from breaking. Keep your tools organized and always handle them carefully; the barbs on the needles are sharp and can cause injury if mishandled. Additionally, using high-quality, soft wool roving ensures easier felting and a smoother finish. You may also want to keep a pair of small scissors handy for trimming stray fibers or refining small details.
Safety should never be overlooked. Needle felting involves sharp needles that can easily puncture your skin if you’re not cautious. Always work with a steady hand and avoid rushing, especially when working on intricate parts. When you’re finished, store your needles in a safe container and keep your workspace clear of clutter to prevent accidental injuries. If you notice your needles bending or becoming dull, replace them promptly to avoid damage to your work and your tools. As you gain experience, you’ll develop better control and technique, but always prioritize safety to prevent injuries. Remember, patience and attentiveness are key. By mastering the techniques overview and avoiding common mistakes, you’ll become more confident in your felting skills and create beautiful, detailed sculptures with ease.
Additionally, understanding the importance of proper tool maintenance helps ensure the longevity of your needles and maintains your safety throughout your felting projects.

IMZAY Needle Felting Tools, Wool Felting Supplies, Needle Felting Kit with 60 Pcs Needles, Foam Mat, Wooden Handle, Scissors, Perfect for DIY Felting Wool Projects
- Complete Felting Kit: Includes tools, needles, foam pad, and scissors
- Ergonomic Wooden Handle: Supports 1 to 8 needles for efficiency
- Durable Metal Needles: High-quality, long-lasting felting needles
As an affiliate, we earn on qualifying purchases.
As an affiliate, we earn on qualifying purchases.
Frequently Asked Questions
Can Needle Felting Be Done With Synthetic or Natural Fibers Only?
You can definitely do needle felting with both synthetic and natural fibers, depending on your material selection. Natural fibers like wool or alpaca are popular for their easy felting properties, but synthetic fibers such as acrylic can also be used if you prefer. Just keep in mind that fiber types influence the final look and feel of your project. Choose your materials wisely to achieve the desired effect and guarantee safety during your felting process.
How Do I Fix Mistakes or Uneven Areas in My Felting Project?
To correct felting mistakes or fix uneven areas, you should carefully re-needle those spots with a new felting needle. Focus on gently blending the fibers to even out the surface. If needed, add small amounts of fiber and felt them in gradually. Take your time, and don’t rush the process. This approach helps you seamlessly correct felting mistakes and achieve a smooth, even finish on your project.
Are There Eco-Friendly or Biodegradable Needle Felting Tools Available?
Like planting a seed for future growth, choosing eco-friendly tools benefits both your craft and the planet. Yes, biodegradable needles and eco-friendly tools are available, crafted from sustainable materials that decompose naturally. These options reduce plastic waste and minimize environmental impact, making your felting projects more sustainable. By selecting these environmentally conscious tools, you’re nurturing your creativity while respecting nature’s delicate balance, ensuring your artistry leaves a positive footprint.
What Are the Best Storage Methods for Needle Felting Supplies?
To keep your needle felting supplies organized, use clear storage solutions like plastic bins or stackable containers so you can easily see everything. Label each container to separate needles, wool, and felting mats. Implement organization tips like drawer dividers or small compartment boxes for smaller tools. Store everything in a dry, cool place away from direct sunlight to prevent damage, ensuring your supplies stay in top condition for your creative projects.
How Long Does It Typically Take to Complete a Detailed Felting Piece?
On average, a detailed felting piece takes about 10 to 20 hours to complete, but your project timeline depends on your skill level. Beginners might need more time to perfect details, while experienced felters can finish faster. Did you know that some artists spend over 50 hours on intricate projects? So, be patient and enjoy the process, tailoring your timeline to your pace and the complexity of your design.
Conclusion
Now that you know the basics of needle felting, delve into details with dedication and daring. With patience and practice, you’ll perfect your shapes, sharpen your skills, and stay safe along the way. Remember, mastering the mindful art of needle felting is a marvelous mix of movement, mindfulness, and mastery. So, take your tools, trust your talent, and turn tiny fibers into beautiful, bold creations—your felting journey has just begun!