
To prevent resin bubbles, mix slowly and thoroughly using gentle circular motions, scraping the sides to avoid air entrapment. Pour steadily from a low height and in thin layers to reduce surface disturbances. Work in a warm, draft-free environment to promote smooth flow. Immediately after pouring, use a torch or heat gun held 6-8 inches above the surface to burst any trapped bubbles. Keep exploring these techniques for flawless, bubble-free finishes.
Key Takeaways
- Mix resin slowly and thoroughly using gentle, circular motions to reduce air entrapment.
- Pour resin steadily from a low height to minimize surface disturbance and prevent bubbles.
- Work in a warm, draft-free environment to promote smooth flow and bubble escape.
- Use a heat torch or heat gun immediately after pouring, holding it 6-8 inches above the surface to burst bubbles.
- Maintain consistent temperature and avoid sudden changes during curing to prevent air entrapment and surface defects.
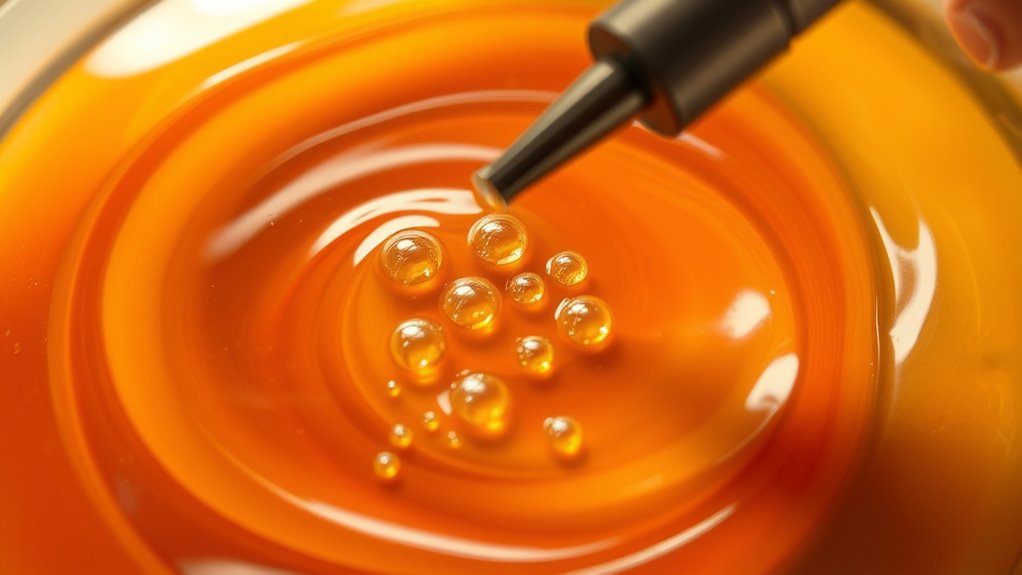
Dealing with bubbles in resin can be frustrating, but you can prevent them with proper techniques. Air entrapment is one of the main causes of bubbles, and it often leads to surface defects that ruin your project’s finish. To minimize air entrapment, start by mixing your resin slowly and thoroughly. Rapid stirring introduces excess air, which becomes trapped as bubbles. Instead, stir gently in a slow, circular motion, scraping the sides and bottom of your container to ensure complete mixing without incorporating unnecessary air. Once mixed, let the resin sit for a few minutes to allow larger bubbles to rise and pop naturally before pouring. This resting period substantially reduces the number of bubbles that will surface during curing.
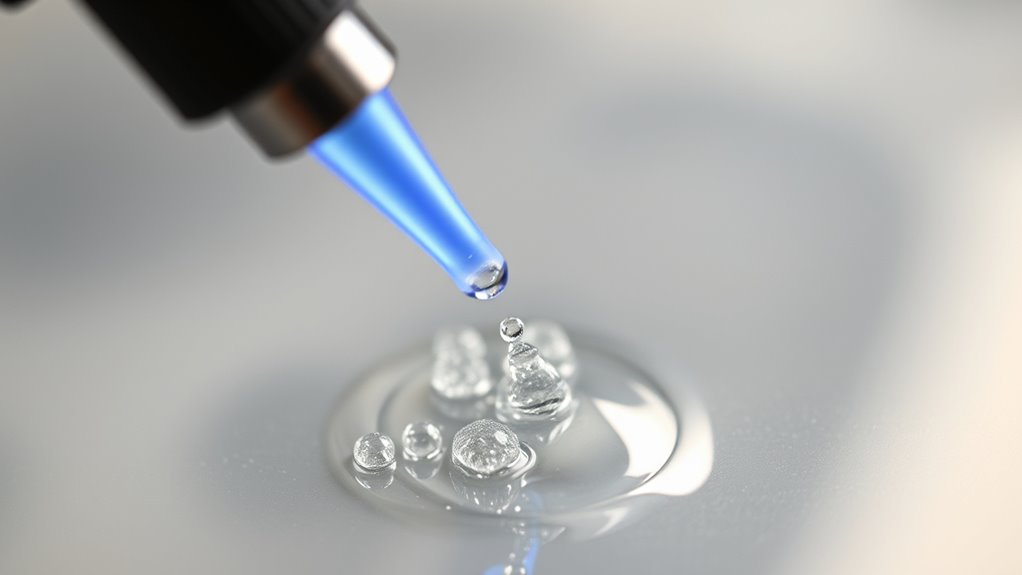
When pouring the resin, do so in a steady, controlled manner, pouring from a low height to limit the disturbance of the surface. Avoid pouring directly onto surfaces or objects that might cause splashing, which can introduce new bubbles. If you’re working with a multi-layered project, pour in thin layers rather than thick pools. Thin pours allow bubbles to escape more easily and reduce the risk of surface defects caused by trapped air. Keep in mind that temperature plays a role as well; working in a warm, draft-free environment helps the resin flow smoothly and reduces air entrapment.
Using a torch or a heat gun is an effective way to eliminate surface bubbles right after pouring. Hold the torch about 6 to 8 inches above the resin and move it continuously over the surface. The heat causes the bubbles to rise and burst, creating a smoother, clearer finish. Be cautious not to hold the torch in one spot for too long, as excessive heat can cause surface imperfections or even damage the resin. For additional safety and precision, some artists prefer using a small but precise lighter or a butane torch, which offers better control. Always work in a well-ventilated area when using heat tools, and keep a fire extinguisher nearby as a precaution.
Frequently Asked Questions
How Does Resin Temperature Affect Bubble Formation?
Resin temperature directly affects bubble formation by influencing resin viscosity; warmer resin has lower viscosity, making it easier for bubbles to escape, while cooler resin is thicker and traps bubbles more easily. To minimize bubbles, maintain consistent temperature control during mixing and pouring, ensuring the resin stays within the recommended temperature range. This helps reduce trapped air and results in a clearer, smoother finish.
Can Using Additives Reduce Bubbles in Resin?
Using additives can be effective for bubble reduction, but their effectiveness varies. You might find that some additives, like defoamers or surfactants, help break surface tension and reduce bubbles during mixing or pouring. However, not all additives work equally, so it’s essential to test them first. Proper application and dosage are key to maximizing additive effectiveness, ensuring fewer bubbles and a clearer resin finish.
What Environmental Factors Influence Resin Bubble Development?
You might be surprised to learn that high humidity levels, above 70%, can increase resin bubble formation by trapping moisture. Air circulation plays an essential role too; poor airflow allows bubbles to linger, while good ventilation helps them escape faster. To minimize bubbles, work in a controlled environment with low humidity and guarantee proper air circulation. This creates ideal conditions, reducing trapped air and resulting in a smoother, bubble-free finish.
Is There a Difference in Bubble Prevention Between Different Resin Brands?
Yes, different resin brands can vary in bubble prevention due to resin consistency and curing times. You might find some brands have a thinner or more viscous consistency, which affects how easily bubbles form and escape. Shorter curing times can also help you work faster before bubbles settle or harden. Always read the manufacturer’s instructions to optimize bubble prevention, and consider experimenting with small batches to find the best brand for your project.
How Long Should Resin Cure Before Inspecting for Bubbles?
Think of curing time as nature’s way of settling a storm; give your resin at least 24 to 48 hours to fully cure before inspecting. During this period, the resin’s clarity reveals true perfection, and bubbles naturally rise and disappear. Rushing this process can trap bubbles and cloud the finish. Patience guarantees your resin’s clarity shines through, free of surface imperfections and hidden bubbles.
Conclusion
To keep your resin bubbles at bay, remember to mix slowly, pour gently, and use a torch to eliminate surface bubbles. Did you know that resin bubbles can reduce the strength of your final piece by up to 30%? By following these simple tips, you’ll guarantee a smooth, flawless finish every time. With a little patience and attention, you’ll be creating stunning resin creations that are both beautiful and durable. Happy crafting!