
To fix smudges, cuts, and misalignment on your thermal label printer fast, start by inspecting and cleaning the print head and rollers with isopropyl alcohol and soft cloths. Reposition or replace the label roll to guarantee proper alignment and smooth feeding. Adjust printer settings like speed, density, and calibration for clearer prints. Regular maintenance can prevent future issues. Keep these tips in mind, and you’ll be prepared to troubleshoot your printer effectively.
Key Takeaways
- Regularly clean the print head, rollers, and sensors with isopropyl alcohol to prevent smudges and misalignment.
- Check and adjust label alignment guides for proper positioning to fix cuts and misfeeds.
- Inspect and replace damaged or warped labels to ensure smooth feeding and accurate printing.
- Calibrate print density, speed, and margins to improve print quality and reduce smudges or misalignments.
- Perform routine maintenance and component checks to prevent recurring issues and maintain optimal printer performance.
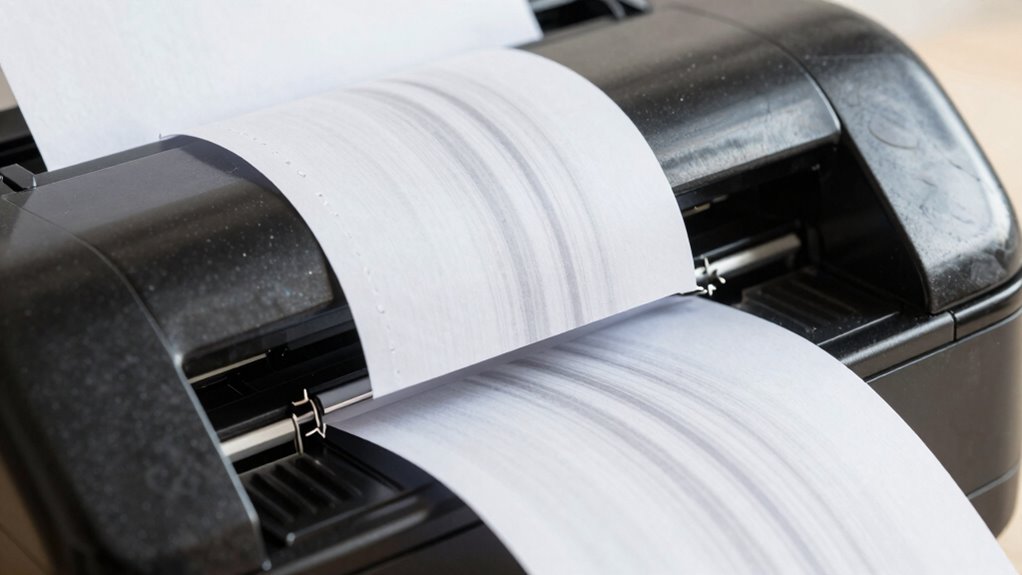
How to Identify Smudges and Cuts on Your Labels

To spot smudges and cuts on your labels, start by inspecting them closely under good lighting. Look for label defects such as uneven edges, tears, or missing sections that indicate cuts. Pay attention to ink smudging, which appears as blurry or smeared areas on the print. These issues often result from a misaligned print head or dirty rollers. Carefully examine the entire label surface, especially around the edges and corners, where cuts are most likely to occur. If you notice inconsistent print quality or irregularities, these are signs of underlying problems affecting label integrity. Identifying these visual cues early helps you determine whether the issue stems from physical damage like cuts or printing errors such as ink smudging, so you can take appropriate steps to fix them. Additionally, understanding how contrast ratio impacts image quality can help you troubleshoot display issues that may appear similar to label defects. Recognizing how print head alignment influences print clarity can prevent recurring issues with smudges and misprints.
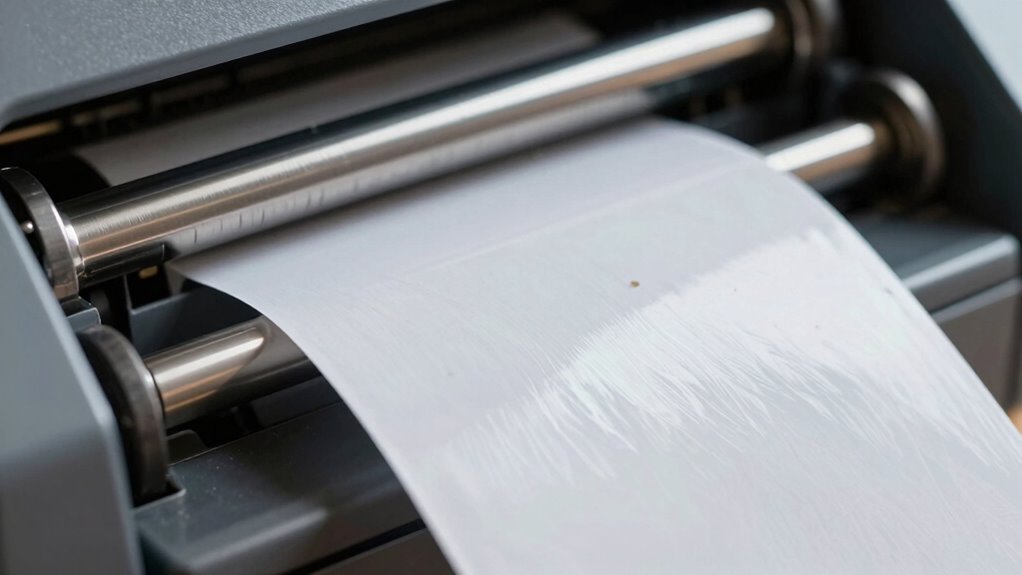
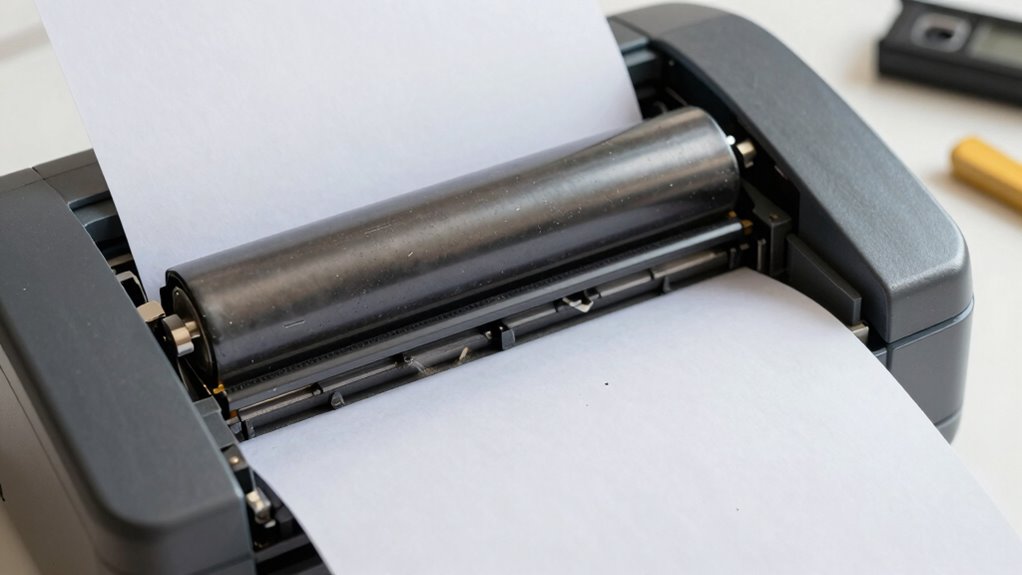
Inspect and Clean Your Print Head and Rollers
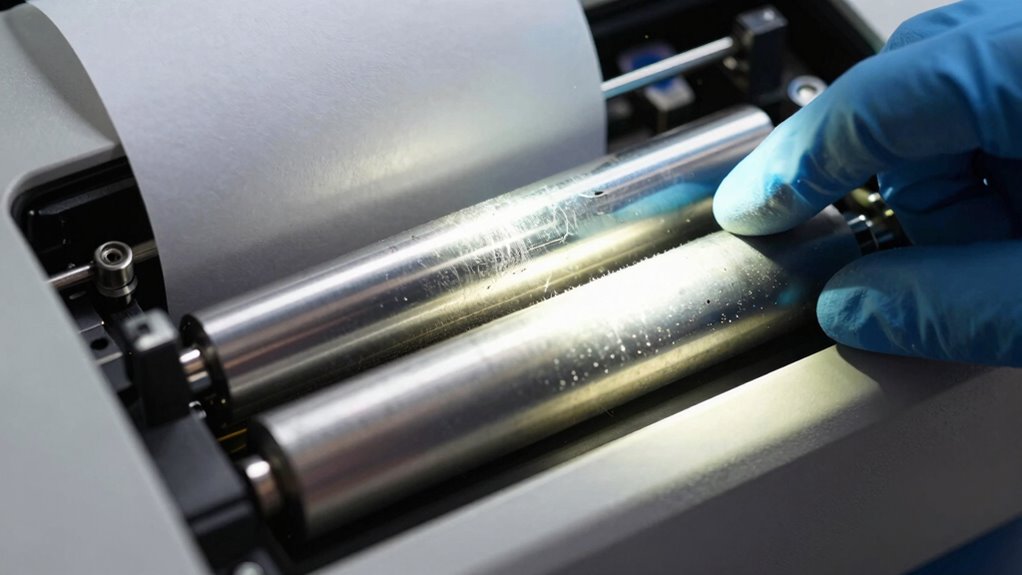
Have you checked your print head and rollers lately? Regular inspection is crucial for optimal printing. Start with an inspection checklist: look for dust, debris, or buildup that can cause smudges and misprints. Use appropriate cleaning solutions—usually isopropyl alcohol and a soft cloth or swabs—to gently clean the print head and rollers. Avoid harsh chemicals that can damage delicate parts. While cleaning, ensure the rollers spin freely and aren’t worn out. Pay special attention to any residue or streaks that might interfere with the print quality. Regular maintenance prevents common issues like misalignment and smudges, saving you time and frustration. A clean, well-maintained print head and rollers are essential for crisp, accurate labels every time. Additionally, understanding proper maintenance can help extend the life of your printer and ensure consistent performance. Proper care and routine inspections are key to avoiding costly repairs and downtime. Incorporating scheduled cleaning into your printer care routine further enhances longevity and print quality. Regularly checking for wear and tear can help identify issues early before they worsen.
Reposition or Replace the Label Roll for Better Alignment
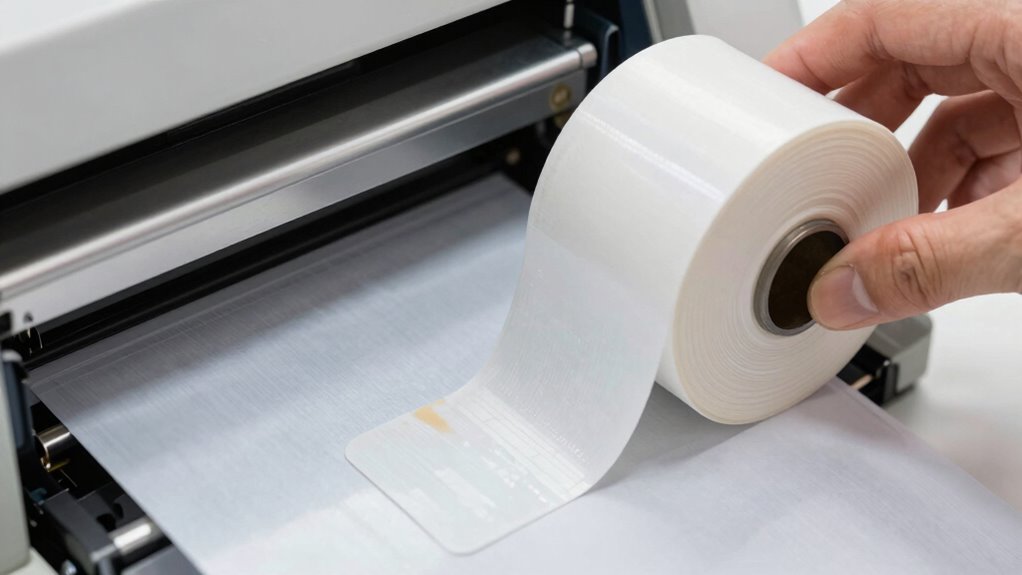
Misaligned labels often result from the label roll not being properly positioned or replaced. To fix this, start by carefully removing the current roll and inspecting it for damage or wrinkles. Reposition the label roll by ensuring it sits securely in the roll holder, with the labels feeding smoothly through the print path. Make sure the roll is aligned with the guides and that the labels unwind evenly. If the roll is damaged or warped, perform a label roll replacement. A fresh roll with properly aligned edges helps prevent misprints and cuts. Always check that the label roll is centered and snug but not too tight. Properly aligning the label roll using guides and rollers can significantly improve print quality. Additionally, consulting the printer’s manual for specific alignment procedures can help fine-tune the setup. Ensuring the label roll is correctly loaded and positioned prevents common issues like smudges and misalignment. Regularly inspecting the label roll for debris or dust can also maintain optimal printing performance. Using proper tension during loading can further enhance print accuracy. Correct label roll repositioning or replacement can notably improve print alignment and overall print quality.
Adjust Printer Settings to Fix Print Quality Problems
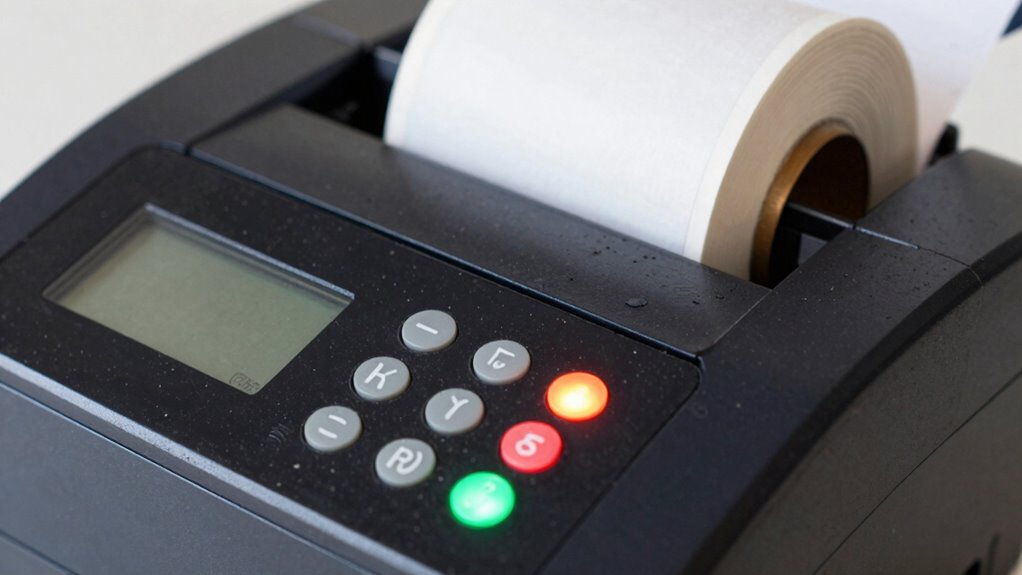
To enhance print quality, you need to calibrate your printer settings. Start by calibrating the print density to ensure the images are clear and dark enough. Then, tweak the print speed and change the print mode if necessary to achieve the best results. Additionally, adjusting your printer’s settings for organization and routine can help maintain consistent print quality over time.
Calibrate Print Density
If your labels are blurry or faint, adjusting the print density settings can often resolve the issue. Proper calibration techniques help you set the right print density, guaranteeing crisp, clear prints. Begin by accessing your printer’s menu or control panel, then locate the print density or darkness setting. Increase or decrease the setting gradually, printing test labels after each adjustment. This fine-tuning allows you to find the ideal balance, preventing faint prints or smudges. Remember, too high a print density can cause smudging, while too low results in faint images. Regular calibration ensures consistent print quality and minimizes the need for costly repairs or replacements. Taking the time to calibrate your printer correctly is a simple, effective way to fix print quality problems quickly. Additionally, understanding printer maintenance best practices can help prolong your device’s lifespan and maintain optimal performance, including cleaning print heads, inspecting for worn parts, and ensuring proper print head alignment.
Adjust Print Speed
Adjusting the print speed on your thermal label printer can considerably improve print quality, especially if labels appear streaked or incomplete. If your prints have inconsistent darkness or smudging, slowing down the print speed allows the print head to apply heat more precisely, resulting in clearer images and text. Conversely, if labels are faint or missing, increasing the print speed can help, but be careful not to go too fast, which can cause misalignment. Proper label positioning depends on setting the right print speed; too fast can lead to misaligned prints, while too slow may cause smudging. Printer calibration is also essential for optimal results, ensuring that the printer settings match the specific labels and ribbons used. Adjust these settings through your printer’s control panel or software, testing different speeds until you achieve ideal print quality and accurate label positioning. Additionally, correct film and ribbon compatibility can influence overall print clarity and durability.
Change Print Mode
Changing the print mode on your thermal label printer can considerably enhance print quality when you’re experiencing issues like faint images, banding, or smudging. Adjusting the print mode guarantees your printer uses the correct settings for your media type, whether direct thermal or thermal transfer labels. If your labels are smudging or fading, switching to a higher quality print mode can improve image clarity. Conversely, if your prints are too dark or smudged, selecting a lower quality mode may reduce heat and prevent damage. Always verify that the media type matches your labels’ specifications, as incompatible media can lead to poor print results. Fine-tuning the print mode helps optimize your printer’s performance, resulting in sharper, more consistent labels. Proper thermal printer calibration ensures your settings align with your printing environment for optimal results, reducing errors and improving overall efficiency. Regularly checking and adjusting the printhead temperature can also help prevent issues like smudging or fading. Additionally, understanding the media compatibility can prevent common printing problems and ensure high-quality output. For best results, consider performing routine maintenance procedures, such as cleaning the printhead and rollers, to keep your printer functioning at peak performance.
Correct Label Misalignment for Precise Printing
Misaligned labels can cause significant printing errors, making your labels look unprofessional and wasting materials. To fix this, focus on proper label placement and margin calibration. Ensure the labels are correctly aligned on the roll and that the printer’s settings match your label size. Adjust the margin calibration to align the print head accurately with the label edges. This prevents skewed or off-center prints. Also, check for any label wrinkles or misfeeds that disrupt alignment. Regularly recalibrate the margins whenever changing label types or batches. Fine-tuning these settings helps achieve precise printing and reduces material waste. Remember, consistent label placement and accurate margin calibration are key to professional-looking labels and efficient operation. Additionally, being aware of media literacy can help you better understand and troubleshoot issues related to digital and physical content.
Perform Regular Maintenance to Prevent Future Issues

Regular maintenance is essential to keep your thermal label printer operating smoothly and to prevent costly issues down the line. Follow consistent cleaning routines by gently removing dust, debris, and adhesive buildup from the print head, rollers, and sensors. This helps prevent smudges, misalignments, and jams. Additionally, stay current with software updates from the manufacturer, which often include bug fixes, performance improvements, and compatibility enhancements. Regularly updating your printer’s firmware ensures it functions efficiently and reduces the risk of glitches that can cause print errors. Combining proper cleaning routines with timely software updates prolongs your printer’s lifespan, maintains print quality, and minimizes downtime. Implementing routine maintenance procedures can significantly extend the life of your printer and improve reliability. Dedicate a few minutes weekly to maintenance, and you’ll keep your printer running reliably for all your labeling needs. Understanding cleaning appliances and systems can help you develop an effective routine that keeps your printer in top condition.
When and How to Replace Key Printer Components
Knowing when to replace key components is essential for maintaining your thermal label printer’s peak performance. If you notice frequent smudging, misaligned labels, or inconsistent print quality, it’s time to check your ink cartridge and paper quality. Replacing worn or empty ink cartridges ensures sharp, clear prints, especially if your printer uses one. Poor paper quality can cause jams, cuts, or uneven printing, so switching to higher-quality labels may be necessary. Keep an eye on these indicators:
- Low ink levels or fading prints
- Visible damage or wear on the ink cartridge
- Frequent paper jams or misfeeds
- Deterioration in label print clarity
Regular maintenance and understanding printer component lifespan can prevent unexpected issues and extend the life of your device. Being aware of wear and tear helps in scheduling timely replacements, which can save you time and money. Promptly replacing these components avoids downtime and keeps your printer operating efficiently.
Tips for Producing Clean, Professional Labels Every Time
To guarantee your labels look professional every time, focus on proper label alignment, which prevents skewed or crooked prints. Adjust your printer settings for ideal clarity and ink flow, matching the label type and material. Regular maintenance, like cleaning the print head and replacing worn parts, keeps your printer running smoothly and your labels sharp.
Proper Label Alignment Techniques
Ensuring proper label alignment on your thermal printer is essential for producing clean and professional results every time. Accurate label positioning prevents smudges, misprints, and wasted labels. Start by adjusting the margin calibration to align the print head correctly with the label. Check that the labels are centered and feed smoothly through the printer. Use the printer’s guides to set the label width precisely. Regularly calibrate your margins to accommodate different label sizes and guarantee consistent alignment. Properly aligned labels reduce misprints and improve overall print quality.
- Double-check label placement before printing
- Adjust margin calibration for different label sizes
- Use guides or alignment markers on the printer
- Periodically test and fine-tune label positioning
Optimal Printer Settings Adjustment
Adjusting your printer settings correctly is essential for achieving sharp, professional labels. Start by selecting the right label material, as different surfaces require specific settings to produce clear prints. Make certain your print resolution matches the label material; higher resolution often results in crisper images and text, but may slow down printing. If your labels appear smudged or faded, try increasing the print density or adjusting the darkness setting. Conversely, if cuts or smudges occur, lowering the print speed or resolution can help. Always consult your printer’s manual for recommended settings based on your label material. Fine-tuning these parameters ensures consistent, high-quality output, reducing waste and reprints. Proper adjustment guarantees your labels look professional and durable every time.
Regular Maintenance Practices
Regular maintenance is key to producing clean, professional labels every time. Consistent cleaning routines prevent dust, residue, and smudges that can compromise print quality. Follow your printer’s calibration schedules to guarantee accurate alignment and prevent cut or misaligned labels. Regularly check the print head and clean it gently with recommended solutions to avoid smudging and poor image quality. Keep the rollers free from debris to ensure smooth operation. Additionally, verify that the sensors are clean and properly aligned for precise label positioning. Establish a routine maintenance schedule to catch issues early and maintain peak performance. Proper care reduces downtime, extends your printer’s lifespan, and guarantees every label looks sharp and professional.
Frequently Asked Questions
How Often Should I Perform Maintenance on My Thermal Printer?
You should perform maintenance on your thermal printer every 1 to 2 weeks, especially if you use it frequently. Regularly check label calibration and adjust print speed settings to guarantee ideal print quality. Clean the printhead and rollers, and verify that the labels are loaded correctly. Consistent maintenance helps prevent smudges, misalignments, and cuts, keeping your printer running smoothly and extending its lifespan.
Can Using Incompatible Labels Cause Print Quality Issues?
Using incompatible labels can definitely cause print quality issues. If the labels aren’t compatible with your printer, you might experience smudges, misalignment, or cuts. Adhesive issues can also arise if the label’s adhesive isn’t suited for your printer type or application, leading to jams or poor print adhesion. Always check label compatibility before printing to guarantee smooth operation and high-quality results.
What Signs Indicate the Print Head Needs Replacement?
If your print quality declines despite cleaning, it’s a sign the print head may need substitution. Look for faint or inconsistent prints, smudges, or missing sections, which indicate you’re approaching the end of the print head lifespan. Replacement indicators also include frequent print head errors or increased maintenance. When these issues occur, replacing the print head ensures your printer continues to produce sharp, clear labels efficiently.
Are There Specific Cleaning Solutions Recommended for Thermal Printers?
Did you know regular maintenance can extend your thermal printer’s lifespan by up to 30%? When it comes to cleaning solutions, avoid harsh chemicals; instead, use isopropyl alcohol (70%) and a soft cloth for safe, effective cleaning. Follow a consistent maintenance schedule, ideally weekly, to prevent smudges and misalignments. Proper cleaning solutions and routine upkeep keep your printer running smoothly and your labels flawless.
How Does Ambient Temperature Affect Print Quality?
Temperature fluctuations can considerably affect your print quality, causing inconsistent results or smudging. Humidity effects also play a role, as high humidity can lead to poor adhesion or smudging, while low humidity may cause static issues. To maintain ideal print quality, keep your printer in a stable environment with consistent temperature and humidity levels. Regularly monitor these conditions to prevent print defects and ensure clear, professional labels.
Conclusion
Think of your thermal printer as a trusted companion on your labeling journey. When it encounters smudges, cuts, or misalignments, you’re the captain steering it back on course. Regular care and quick fixes keep your labels shining like a lighthouse guiding ships safely home. With a little attention, your printer becomes a reliable partner, turning every label into a beacon of professionalism. Keep it maintained, and your labels will always tell the right story.