
To create V-carve signs that look expensive, choose elegant fonts with clean lines and subtle details, like serif or modern sans-serif styles, and pair them with the right carving depth. Use shallower cuts for softer woods and deeper ones for materials like acrylic or metal to add contrast and shadows. Testing different depths and font combinations on scrap material helps you refine the look. Keep exploring for tips to perfect your high-end sign craft.
Key Takeaways
- Choose clean, elegant fonts like serif or modern sans-serif with subtle decorative flourishes for a sophisticated look.
- Match carving depth to material; deeper cuts (1/8″ to 1/4″) create shadows and contrast that enhance perceived luxury.
- Use high-quality materials and smooth finishes to elevate the overall appearance and reinforce an expensive feel.
- Test various font and depth combinations on scrap to find the optimal balance of clarity and refinement.
- Ensure consistent carving depth and crisp edges through proper calibration and finishing for a polished, high-end result.

USCutter 34 inch MH 871 Vinyl Cutter Kit with Software, Free Video Training Course, Starter Signmaking Kit
Two fully adjustable pinch-rollers allow you to use a flexible range of materials.
As an affiliate, we earn on qualifying purchases.
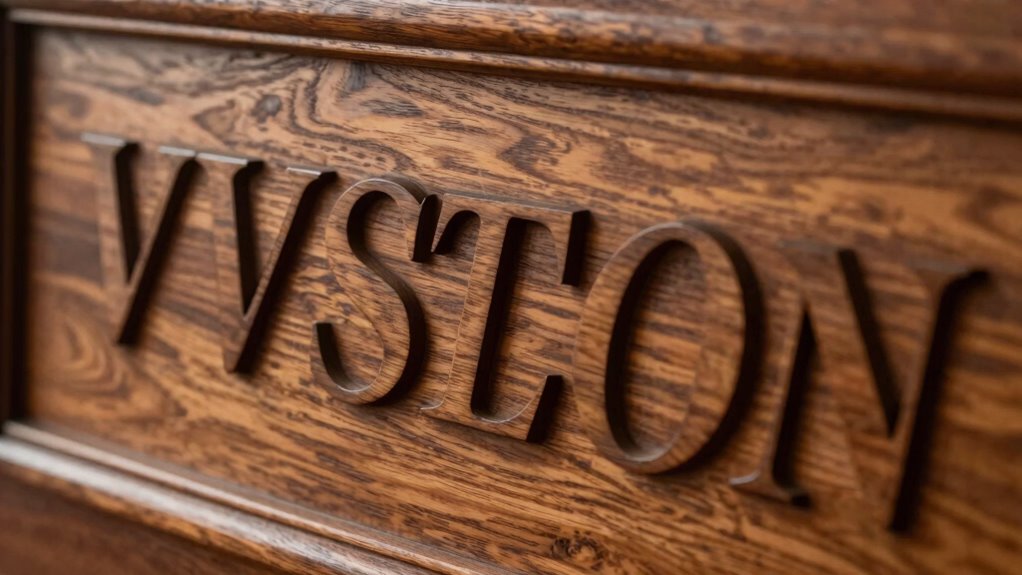
Why Choosing the Right Font Elevates Your Sign’s Look
Have you ever noticed how a well-chosen font can instantly make a sign more appealing? The right font transforms your message, making it look professional and inviting. Pay attention to letter pairing, as some fonts naturally connect letters in a way that feels seamless, enhancing readability. Proper font spacing, or kerning, also plays a vital role; tight spacing can make your sign look cluttered, while too much space can seem disconnected. When you select a font with balanced letter pairing and appropriate spacing, your V-carve sign will appear polished and high-end. Additionally, understanding Free Floating design principles can help create a sense of openness and elegance in your signage. These details might seem small, but they profoundly impact how viewers perceive your sign’s quality and style. Incorporating herbalism principles such as natural, balanced elements into your design can evoke a sense of harmony and sophistication. To achieve a truly professional look, paying attention to font selection and its influence on overall aesthetics is essential. Moreover, selecting fonts that are aligned with Gold IRA markets can subtly reinforce a sense of trust and stability in your branding. Exploring font psychology can also guide you in choosing typefaces that evoke the desired emotional response from viewers. Ultimately, choosing the right font elevates your entire design, making it more attractive and effective.

VEVOR Vinyl Cutter 34 Inch Bundle, Vinyl Cutter Machine Manual Vinyl Plotter Cutter with Signmaster Software for Design and Cut, with Supplies and Tools
Cutting Capacity: With maximum paper feed of 870mm (34.3"), maximum cutting width of 780mm (30.7"), cutting precision of...
As an affiliate, we earn on qualifying purchases.
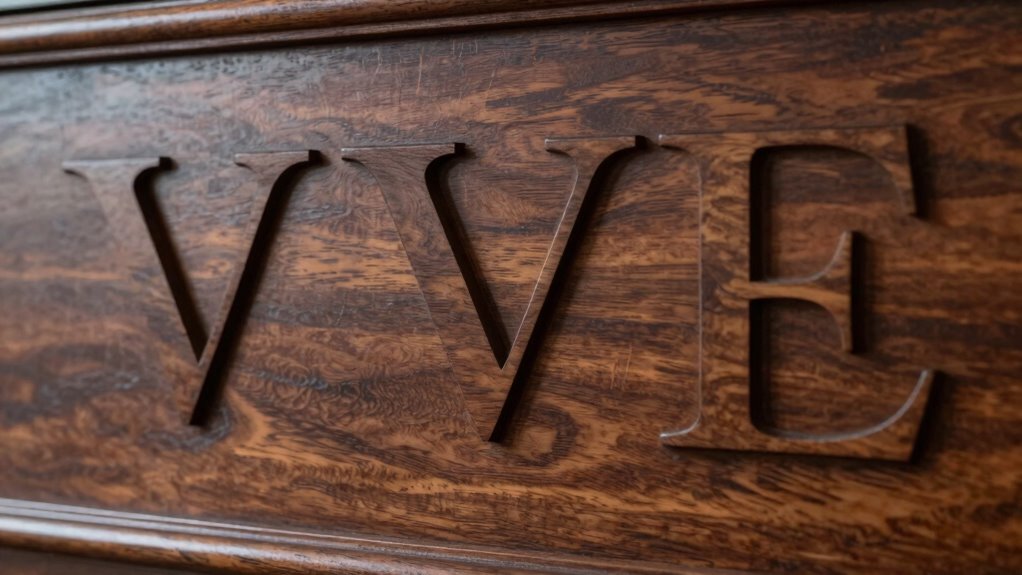
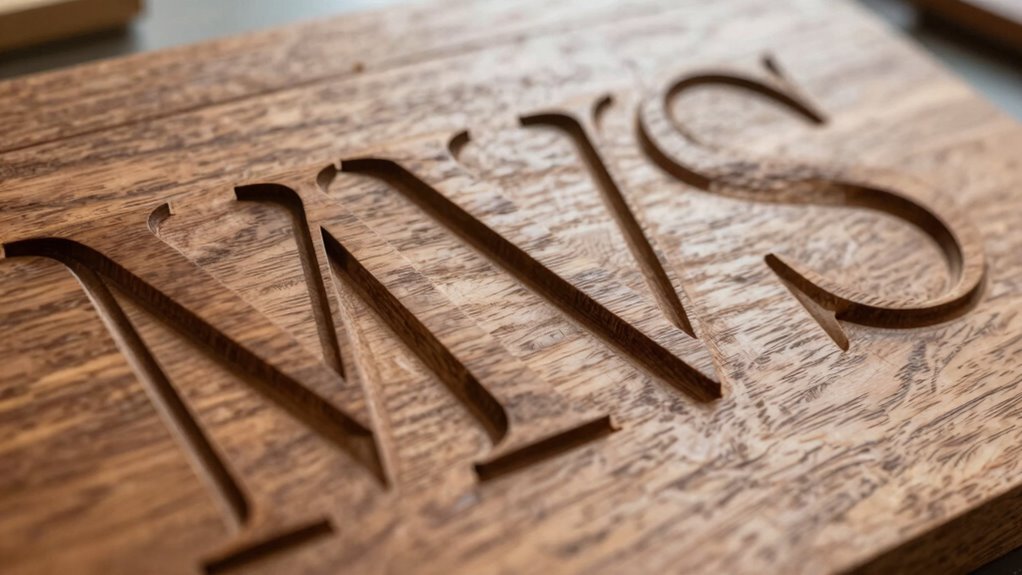
Best Font Styles for a High-End V-Carve Sign
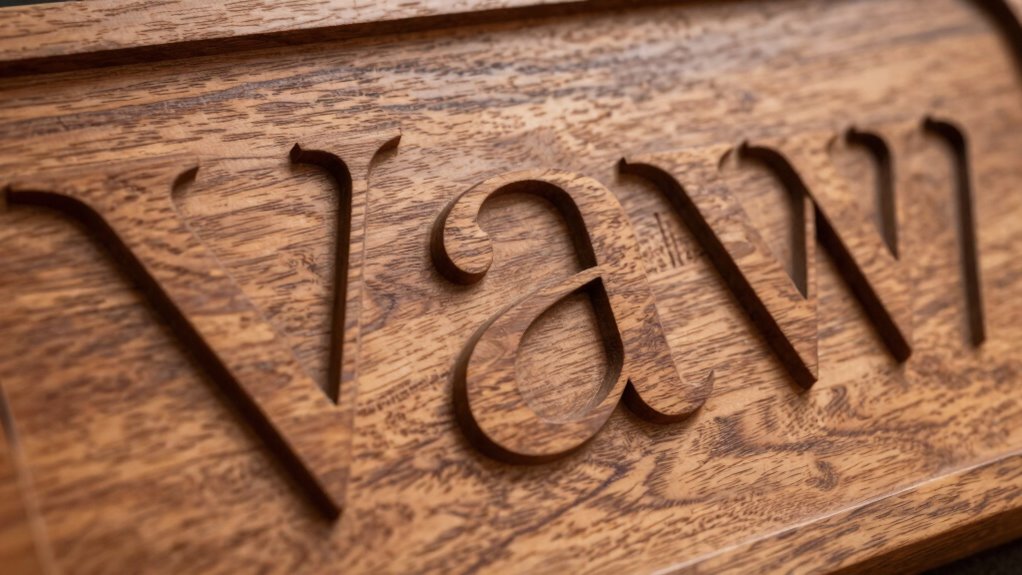
Choosing the right font style is essential for creating a high-end V-carve sign that exudes sophistication and professionalism. Opt for fonts that feature clean lines and elegant proportions, such as serif or modern sans-serif styles. Incorporate hand lettering with subtle decorative flourishes to add a bespoke touch without overwhelming the design. These flourishes can enhance the sign’s visual appeal, making it look more refined and custom. Avoid overly ornate or complex fonts that can clutter the carving or reduce readability. Instead, focus on simple, stylish fonts that balance clarity with sophistication. Combining a well-chosen font with delicate decorative flourishes helps your sign look polished, expensive, and tailored to a high-end aesthetic.

VEVOR Vinyl Cutter 53 Inch Vinyl Cutter Machine Semi-Automatic DIY Vinyl Printer Cutter Machine Manual Positioning Sign Cutting with Floor Stand Signmaster Software
🎅[CUTTING CAPACITY] - Vinyl printer with a maximum paper feed of 1350mm (53.1"), maximum cutting width of 1260mm...
As an affiliate, we earn on qualifying purchases.
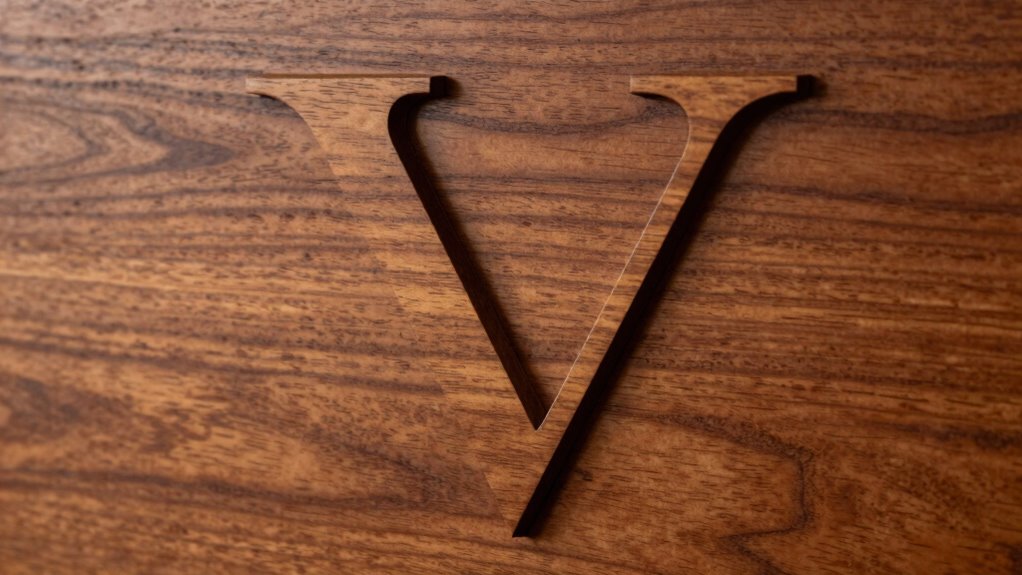
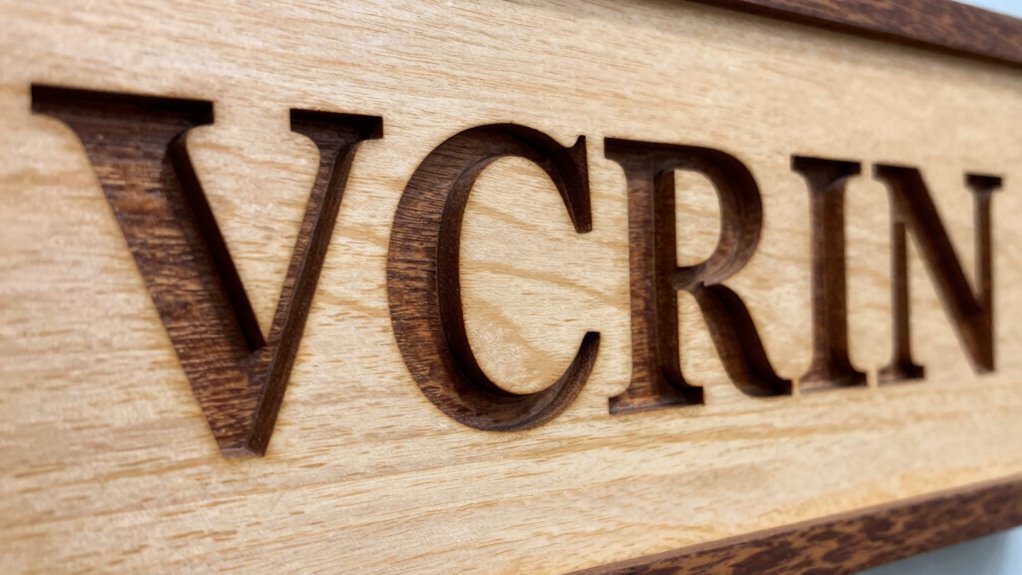
How to Select the Perfect Carving Depth for Your Material
Selecting the right carving depth is essential for achieving a professional and durable V-carve sign. To do this, focus on your material’s texture, as softer woods require shallower depths to prevent chipping, while harder materials can handle deeper cuts for more definition. Consider your desired engraving precision; a deeper cut enhances contrast and visibility but can risk losing fine details if too aggressive. Start with a shallow depth and gradually increase, monitoring how your material responds. Consistency is key—uneven depths can look unpolished. Remember, the right depth balances clarity and durability, ensuring your sign looks expensive and lasts. Adjust based on material type and project goals, always testing on scrap before committing to the final piece. Incorporating carving techniques can inspire unique textures and finishes that elevate your signage. Additionally, understanding material properties can help you choose the optimal depth for different projects. Recognizing material hardness is crucial to prevent over- or under-cutting, which can compromise the sign’s appearance and longevity.

Photo Booth Neon Sign for Wall Decor Photo Booth Sign Neon Photo Booth Lights Photo Studio Led Light Photography Light Up Signs for Wedding Guestbook Open Engagement Party Business Reception
PHOTO BOOTH NEON SIGN:Photo Booth led sign creates visual highlights with bright colors and simple fonts.Whether it is...
As an affiliate, we earn on qualifying purchases.
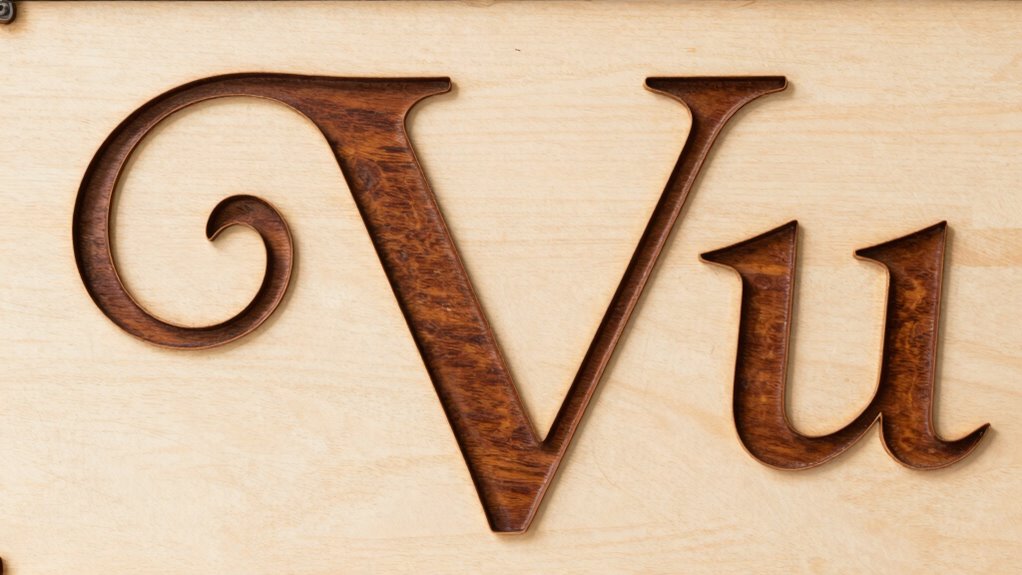
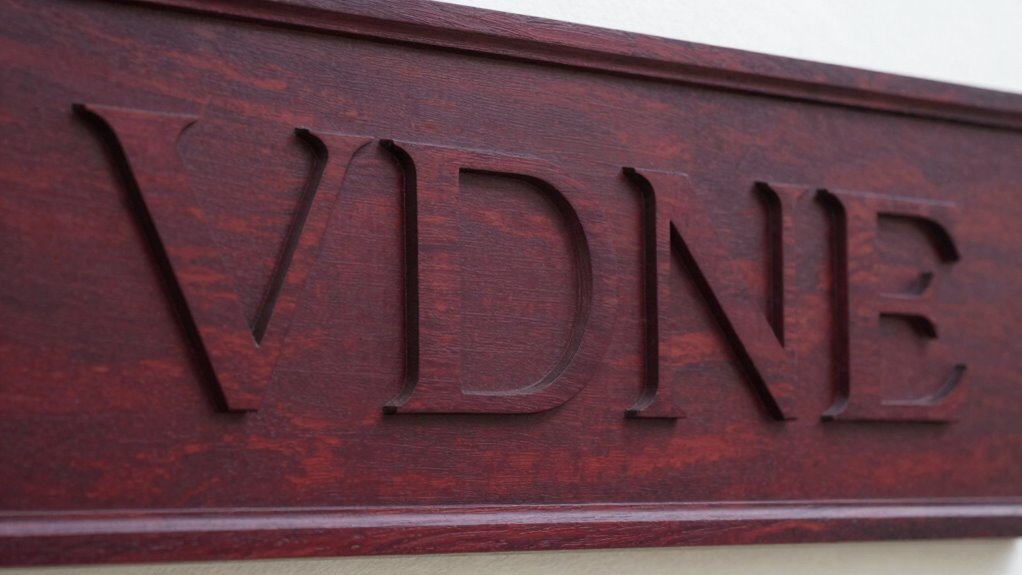
How Font Style and Carving Depth Work Together to Create a Luxurious Finish
When you pair the right font style with appropriate carving depth, you can substantially enhance the luxury feel of your V-carve sign. The typography color plays a key role here—deeper carvings create rich shadows that make elegant fonts pop, giving a sense of depth and sophistication. Choose fonts with clean lines and refined details to complement the carved depth; ornate or overly intricate styles can look cluttered. Material texture also influences the overall finish; smooth surfaces reflect light evenly, highlighting the carved typography, while textured materials add an organic, high-end feel. Adjusting the carving depth to match the material’s texture guarantees the typography stands out beautifully, creating a balanced, luxurious appearance that commands attention and exudes quality. typography color and the interplay of light and shadow can further enhance the perceived luxury of your design, especially when combined with design harmony principles.
Tips for Testing and Adjusting Depth Before Final Carving
Before you start your final carving, it’s crucial to test your settings first. Use test samples to see how different depths turn out and adjust incrementally until you get it right. Comparing your test results helps guarantee your final carving will look sharp and professional. Simplify Your Decisions by focusing on clear, actionable adjustments rather than complicated guesswork. Incorporating precise depth calibration can help ensure consistency across projects.
Use Test Samples First
Have you ever carved a sign only to find the depth was off and the details got lost? Testing with small samples helps you avoid this mistake. Use scrap material with similar texture and color contrast as your final piece. Carve different depths on each sample to see how they highlight the design. This way, you can identify which depth makes your font pop and details stand out without losing clarity. Additionally, understanding the contrast ratio of your carving depth can further enhance the visual impact. Ensuring your carving depth aligns with the visual hierarchy can make your sign look more professional and polished.
| Sample | Depth | Result |
|---|---|---|
| Sample 1 | Shallow | Soft details |
| Sample 2 | Medium | Clear contrast |
| Sample 3 | Deep | Bold impact |
| Sample 4 | Varies | Best balance |
| Sample 5 | Extra deep | Over-carved |
Testing helps you adjust the depth precisely, ensuring your sign looks professional and expensive.
Adjust Depth Incrementally
To guarantee your carved sign achieves the perfect balance between detail and impact, it’s essential to adjust the depth gradually rather than in large jumps. Using incremental depth adjustments allows you to better evaluate how engraving techniques affect material textures and overall appearance. Start by carving a small test area at a shallow depth, then increase gradually to see how each step influences the detail and shadowing. This approach helps prevent over-carving and preserves the integrity of fine features. Pay close attention to how different depths reveal texture variations in your material—whether wood, acrylic, or metal—and refine accordingly. Incorporating controlled depth adjustments ensures you can fine-tune your carving process for a professional, high-end look that highlights the font and depth combo perfectly.
Compare Carving Results
Comparing carving results is a essential step to guarantee your final sign looks professional and polished. Before committing to the final carve, test different depth settings on scrap material. Pay close attention to how the font pairing appears—shallow depths can make details faint, while too deep may cause loss of clarity. Adjust the depth incrementally to find the balance that enhances the font’s elegance and maintains legibility. Also, evaluate the color contrast—higher contrast between the carved areas and background creates a striking, sophisticated look. Take photos of each test run to compare how the depth affects the overall appearance. This process helps you fine-tune your settings, ensuring your sign has the right depth for that expensive look you’re aiming for.
Common Mistakes That Make Signs Look Cheap (And How to Avoid Them)
One of the easiest ways to make your signs look cheap is by neglecting the details that elevate their appearance. Poor color contrast can make text hard to read and dull the overall look, so choose colors that stand out against the background. Additionally, material selection plays a vital role; using low-quality or mismatched materials can cheapen the sign’s feel. Avoid clashing textures or flimsy surfaces that don’t hold up over time. Instead, opt for quality materials that complement your design and enhance durability. Skimping on these aspects results in signs that look unfinished or generic. Paying attention to color contrast and material choice guarantees your sign appears polished, professional, and worth the investment. These small details make a big difference in perceived quality, especially when considering material durability and how it influences overall appearance. Properly selecting and combining fonts with appropriate depth can also significantly elevate the sign’s visual impact. For example, incorporating font pairing techniques can help create more visually engaging and harmonious designs.
Tools and Techniques for Consistent V-Carving Depth and Detail
Achieving consistent V-carving depth and detail requires using the right tools and applying precise techniques. Start with sharp bits and adjustable depth controls to maintain uniformity. Proper lighting techniques help you see subtle differences in depth, ensuring accuracy. To enhance color contrast, consider the interplay of shadows and highlights created by consistent carving depths. Use the table below to understand key tools and techniques:
| Tool/Technique | Purpose |
|---|---|
| V-bit with adjustable depth | Ensures uniform carving depth |
| Proper lighting setup | Reveals subtle depth variations and details |
| Calibrated CNC settings | Maintains consistent carving speed and depth |
| Light-colored background | Enhances contrast and visibility of carved details |
| Consistent bit pressure | Prevents uneven depths and maintains detail |
Additionally, selecting the appropriate filtration can help protect your tools and ensure cleaner cuts during the carving process. Paying attention to machine calibration also plays a vital role in achieving precise and consistent results. Regularly checking your tool sharpness is essential for maintaining optimal carving quality and preventing unnecessary wear. Incorporating these techniques and tools consistently will significantly improve your carving precision and overall finish quality.
What’s the Best Carving Depth for Different Sign Materials?
Selecting the appropriate carving depth depends on the sign material you’re working with, as each surface reacts differently to the cutter. For softer woods, shallow depths around 1/8″ can enhance color contrast without sacrificing detail. Harder materials like acrylic or metal require deeper cuts—up to 1/4″ or more—for clear visibility and sharpness. Consider the material texture; rough surfaces may need shallower depths to prevent rough edges, while smooth surfaces can handle deeper carving for more dimension. To optimize your results, it’s essential to understand how different materials react to carving and adjust your depth accordingly. Additionally, understanding the indigenous traditions and natural remedies related to the material can help inform more culturally respectful and sustainable carving practices. – Adjust depth based on material hardness. – Prioritize higher contrast for detailed fonts. – Use shallower cuts for textured surfaces. – Deepen carvings for smoother materials. – Balance depth to avoid losing intricate details.
Adjust carving depth based on material hardness and texture for sharp, vibrant signs.
Understanding the material’s reaction to carving helps in choosing the right depth for a professional look. This approach ensures your signs stand out with vibrant color contrast and precise detail.
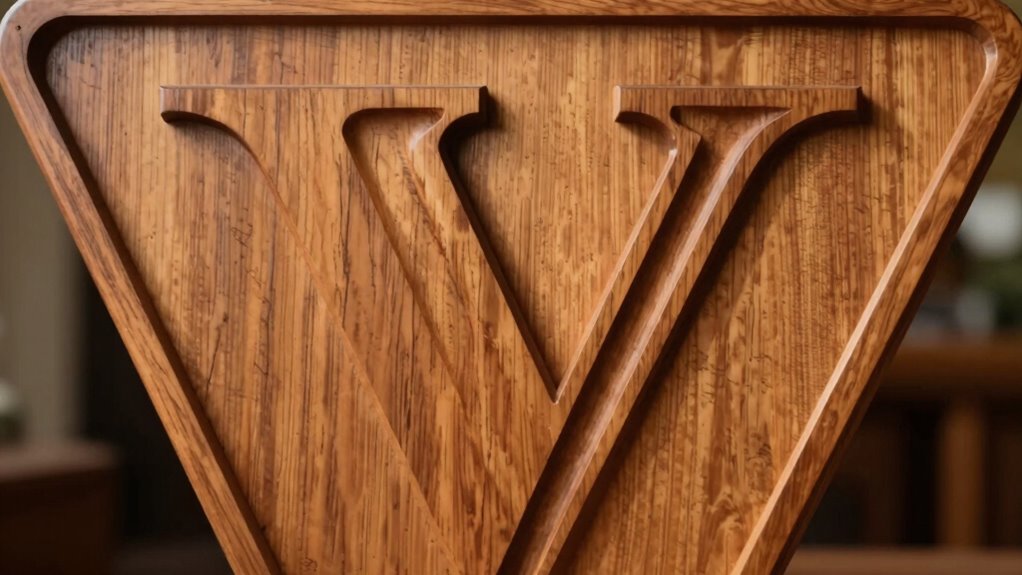
Final Tips for Making Your V-Carve Signs Look Expensive
To make your V-carve signs look more expensive, pay attention to the finishing details and overall presentation. Material selection plays a critical role—choose high-quality woods or premium materials for a refined look. Surface finishing also enhances perceived value, so sand thoroughly, then apply a smooth stain, paint, or clear coat. This creates a sleek, professional appearance.
| Tip | Action |
|---|---|
| Material selection | Opt for durable, attractive materials like hardwoods |
| Surface finishing | Sand well and use finishes that highlight depth |
| Consistent depth | Maintain uniform carving depth for elegance |
| Clean edges | Remove dust and debris for crisp details |
Focusing on these details elevates your signage, making it look expensive and polished.
Frequently Asked Questions
Can Color Choices Influence the Perceived Value of V-Carve Signs?
Yes, your color choices can considerably influence how valuable your v-carve signs appear. Using color psychology, you can select hues that evoke feelings of luxury or professionalism, like gold or deep blue. Coupled with thoughtful material selection, these colors enhance perceived quality. Bright or overly vibrant colors may seem cheap, while subtle, elegant tones create a sense of sophistication, making your signs look more expensive and appealing.
How Does Lighting Affect the Appearance of Carved Signs?
Think of your carved sign as a stage, where lighting sets the mood. Ambient illumination highlights the intricate details, making the sign look more polished. Shadow play adds depth, creating contrast that accentuates your carvings. Proper lighting enhances perceived value by making the design pop and look more professional. Focus on strategic placement of lights to maximize these effects, turning an ordinary sign into a mesmerizing visual statement.
What Are the Best Finishing Techniques for an Upscale Look?
To achieve an upscale appearance, you should focus on high-quality finishing techniques like hand sanding, applying a smooth primer, and using a glossy or satin topcoat. Consider adding a subtle stain or a touch of metallic paint for elegance. These finishing techniques enhance the sign’s details, giving it a refined, professional look. Properly finished signs attract attention and convey sophistication, making your project stand out with a luxurious touch.
How Can I Incorporate Custom Graphics Into V-Carve Signs?
To incorporate custom graphics into your V-carve signs, start with precise digital design tips by creating or sourcing high-quality graphics that match your sign’s style. Use software that supports vector files for seamless custom graphic integration, ensuring clean, crisp results. Carefully position your graphics within your design, adjusting depth and spacing to enhance visual impact. This approach guarantees your signs look professional and personalized, elevating their overall appearance effortlessly.
Is There a Recommended Maintenance Routine to Preserve Sign Quality?
You should establish a regular cleaning schedule to keep your sign looking its best, using a soft cloth and gentle cleaners to avoid damage. Applying protective coatings, like sealants or varnishes, helps preserve the finish and prevents fading or corrosion over time. Reapply these coatings annually or as needed, especially if your sign faces harsh weather conditions. Consistent maintenance guarantees your sign maintains its high-end appearance longer.
Conclusion
By choosing the right font and carving depth, you can turn a simple sign into a luxurious masterpiece. Think of it like tuning a fine instrument—you want every detail to resonate perfectly. Experiment, test, and refine your approach to achieve that high-end look. With patience and attention, your signs will stand out like a diamond in a sea of stones, showcasing your craftsmanship and elevating your work to a whole new level.