
To weed vinyl without rage, focus on using high-quality, durable vinyl and sharp tools like craft picks or knives for precision. Organize your workspace, keep everything dust-free, and apply even pressure during transfer. Maintain consistent peeling at a shallow angle, and warm stubborn areas with a heat gun if needed. Proper technique guarantees clean, residue-free removal every time. Keep exploring tips and tricks to perfect your process for frustration-free vinyl projects.
Key Takeaways
- Use high-quality, durable vinyl and proper tools like sharp picks for precise, clean weeding.
- Apply even pressure and lift vinyl at a shallow angle to prevent tearing and ensure smooth removal.
- Warm stubborn areas with a heat gun to loosen adhesive and facilitate easier peeling.
- Organize your workspace and tools to reduce mistakes and improve workflow efficiency.
- Maintain blades and tools regularly for sharpness and cleanliness, ensuring consistent, professional results.

NEWOWNDS Craft Storage Cabinet with LED Lights – 72" Adjustable Shelves Sewing Organizer, Multi-Purpose Sewing Cabinet for Craft Room/Home Office Storage
Multi-Functional Craft Organizers and Storage Cabinet: This 30"W x 16"D x 72"H craft storage cabinet doubles as a...
As an affiliate, we earn on qualifying purchases.
What Is Vinyl Weeding and Why Does It Matter?
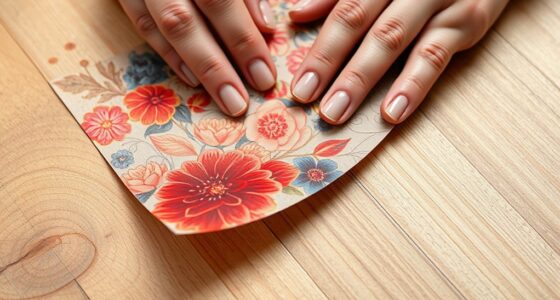
Have you ever wondered what vinyl weeding is and why it’s so essential? Vinyl weeding is the process of removing excess material from your design after cutting it from a vinyl sheet. This step is vital because it ensures your final product looks clean and professional. The key to easy weeding lies in understanding vinyl durability and adhesive strength. High-quality vinyl with good durability will resist tearing during removal, making the process smoother. Strong adhesive backing helps the vinyl stick firmly to the backing paper but releases cleanly when you weed it, preventing damage to your design. Additionally, choosing reliable vinyl materials can contribute to more sustainable crafting practices. Mastering vinyl weeding means you’ll avoid frustration, save time, and achieve crisp, precise results every time.

Sew Ready Foldable Hobby and Cutting Grid Table - 58.75" W x 36.5" D White Arts and Crafts Table with Grid Top and Silver Storage Drawers
FOLDABLE HOBBY & CUTTING GRID TABLE: Stylish design features a grid top and spacious tabletop; Perfect for creative...
As an affiliate, we earn on qualifying purchases.
Choosing the Best Vinyl and Tools for Easy Weeding
Choosing the right vinyl and tools can make your weeding process much easier and more efficient. When selecting vinyl, consider color options that suit your project’s design and vinyl durability to guarantee longevity. Durable vinyl resists tearing and makes weeding smoother, especially for intricate designs. The tools you use also matter; sharp weeding picks and craft knives help lift small pieces easily. Additionally, selecting vinyl with a long-lasting material can reduce the need for rework and ensure your project stays intact over time. Incorporating proper storage techniques can also help maintain your vinyl’s quality for future projects, and understanding the contrast ratio of your projectors can help you choose the best environment for viewing your finished work. To further improve your weeding process, choosing vinyl with optimal flexibility allows for cleaner, more precise removal of small pieces. Considering the vinyl’s adhesive strength can also aid in achieving smoother weeding, especially with delicate designs.

Rollaway II Compact Portable Folding Sewing Table, Silver/White
FOLDING ROLLAWAY SEWING TABLE: Stylish design features a 40.50" wide tabletop with Convenient Sticker with Inch and Centimeter...
As an affiliate, we earn on qualifying purchases.
Preparing Your Design and Workspace for Smooth Weeding
To guarantee smooth weeding, start by thoroughly preparing your design and workspace. Proper workspace organization minimizes errors and enhances efficiency. Ensure your surface is clean and free of dust, which can interfere with vinyl adhesion. When customizing your design, double-check for accuracy and clarity, making adjustments before cutting. Use a well-lit area to see details clearly. Keep tools like weeding picks and squeegees within reach. Arrange your materials systematically, perhaps with labels or containers for scraps. Consider a dedicated workspace for each project to prevent cross-contamination. Additionally, understanding vinyl adhesion and its factors can help you achieve cleaner weeding results. Proper lighting can influence adhesion quality and ease of the weeding process. Being aware of load calculations can also help ensure your equipment works effectively during setup, reducing errors. Paying attention to material compatibility can further improve your results and prevent peeling or miscuts. For optimal results, familiarizing yourself with cleaning and maintenance of your tools can extend their lifespan and maintain their performance. Here’s a quick visual guide:
| Workspace Organization | Design Customization | Tools & Materials |
|---|---|---|
| Clean surface | Check design details | Pick & squeegee |
| Adequate lighting | Adjust design layout | Tweezers |
| Clear workspace | Resize if needed | Cutting mat |
| Proper storage | Confirm color scheme | Scissors |
| Accessibility | Preview design | Transfer tape |

USCutter 34 inch MH 871 Vinyl Cutter Kit with Software, Free Video Training Course, Starter Signmaking Kit
Two fully adjustable pinch-rollers allow you to use a flexible range of materials.
As an affiliate, we earn on qualifying purchases.
How to Weed Vinyl Like a Pro (Techniques and Tips)
To weed vinyl like a pro, start by using proper transfer tape to keep your design intact. Apply even pressure when pressing down to prevent slipping or tearing. Practice precise peeling to remove excess vinyl smoothly and avoid frustration. Consistent technique ensures better results and reduces errors during the weeding process. Additionally, maintaining a steady hand and taking your time can significantly improve the quality of your vinyl weeding results. Incorporating proper workspace organization can also help minimize mistakes and streamline your workflow, much like the importance of skincare device maintenance in achieving optimal performance.
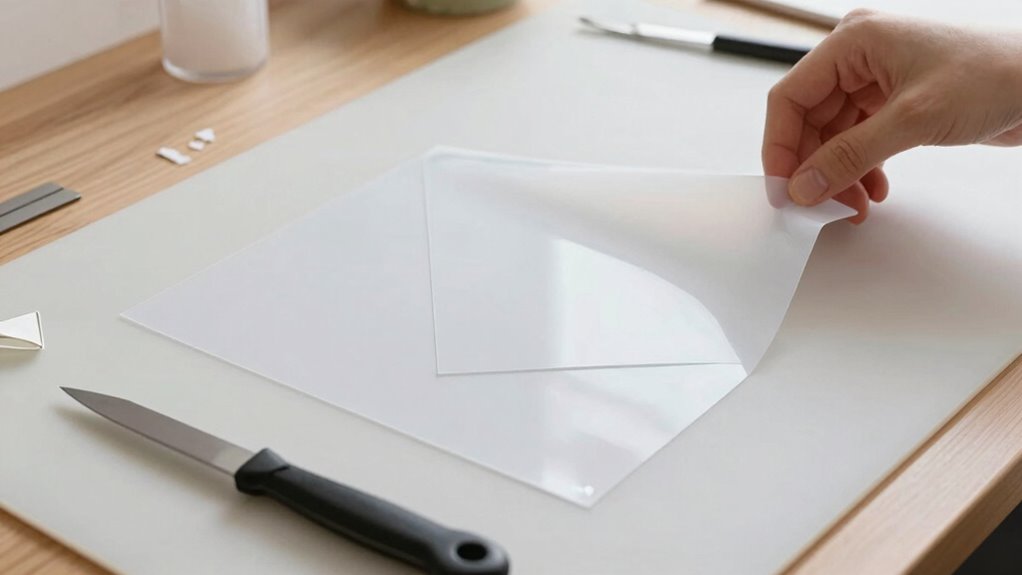
Use Proper Transfer Tape
Using proper transfer tape is essential for a clean and precise vinyl application. Selecting the right transfer tape involves considering transfer tape selection and adhesive strength. A good tape should hold the vinyl firmly without being too sticky, which could cause tearing. Additionally, understanding the horsepower of electric dirt bikes can help in choosing the appropriate tools and techniques for handling different types of vinyl projects, especially larger or more intricate designs. When choosing transfer tape, keep these tips in mind: – Opt for tape with a moderate adhesive strength for easy lifting. – Choose a transfer tape compatible with your vinyl type. – Use clear transfer tape to see your design during placement. – Ensure the tape is of adequate width for your project. – Remember that proper application techniques can also significantly influence the quality of your finished design. Proper transfer tape ensures your design stays intact during application and peels cleanly afterward. Additionally, paying attention to paint spray techniques can improve the overall finish of your vinyl projects, especially when working near painted surfaces. To further enhance your results, consider practicing vinyl cutting precision to achieve cleaner edges and more professional-looking designs.
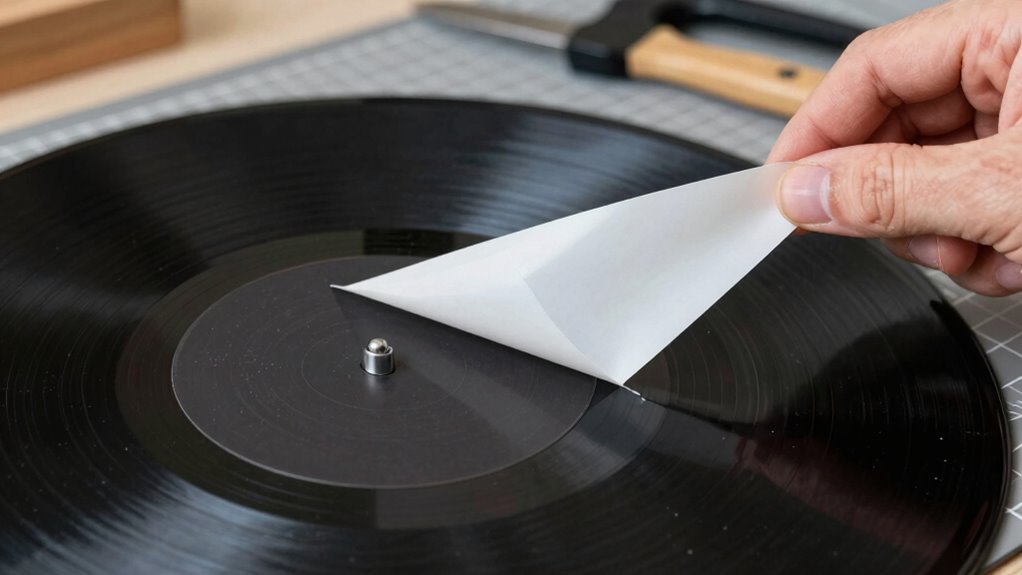
Apply Even Pressure
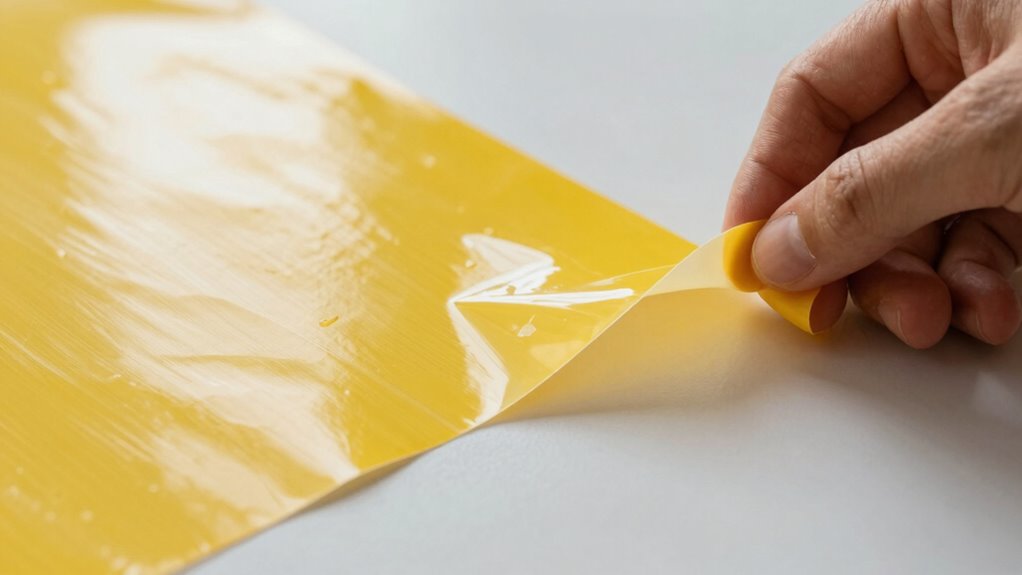
Applying even pressure is essential for a smooth and professional vinyl weeding process. You want consistent pressure across the entire design to prevent tears or uneven peeling. Focus on pressure control by gently pressing down with your hand or a squeegee, ensuring the vinyl stays firmly in place. Maintain a steady peeling angle; a low, controlled angle helps lift the excess vinyl cleanly without disturbing the design. Avoid sudden jerks or uneven force, which can cause jagged edges or vinyl tears. Keep your hand steady and distribute pressure smoothly from start to finish. This careful control allows for cleaner weeding, making the removal faster and frustration-free. Remember, consistent pressure and mindful peeling angle are key to achieving professional results every time. Pressure control is also crucial for maintaining the integrity of intricate designs. Additionally, practicing with scrap vinyl can help you develop a steady hand and better control over pressure application, especially since pressure distribution influences the quality of the final outcome. Developing a consistent technique can significantly improve your overall weeding results and reduce material waste. Using proper techniques also involves understanding how material tension affects the ease of weeding and final appearance.
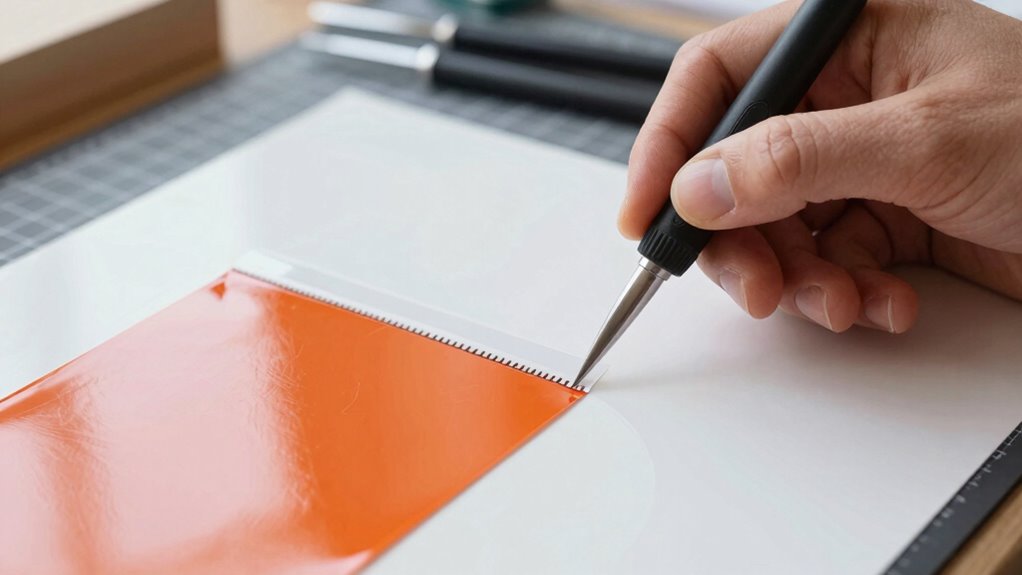
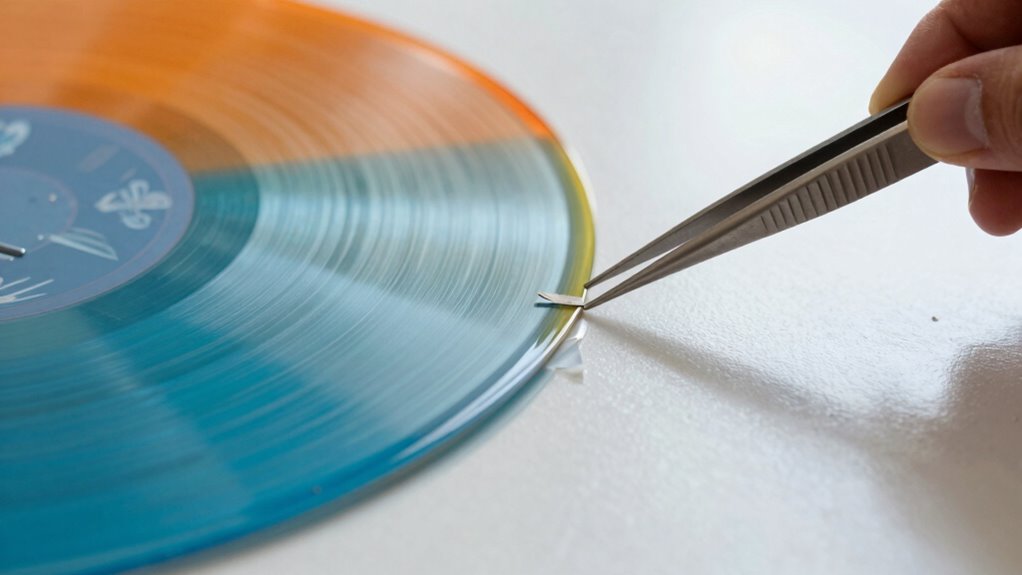
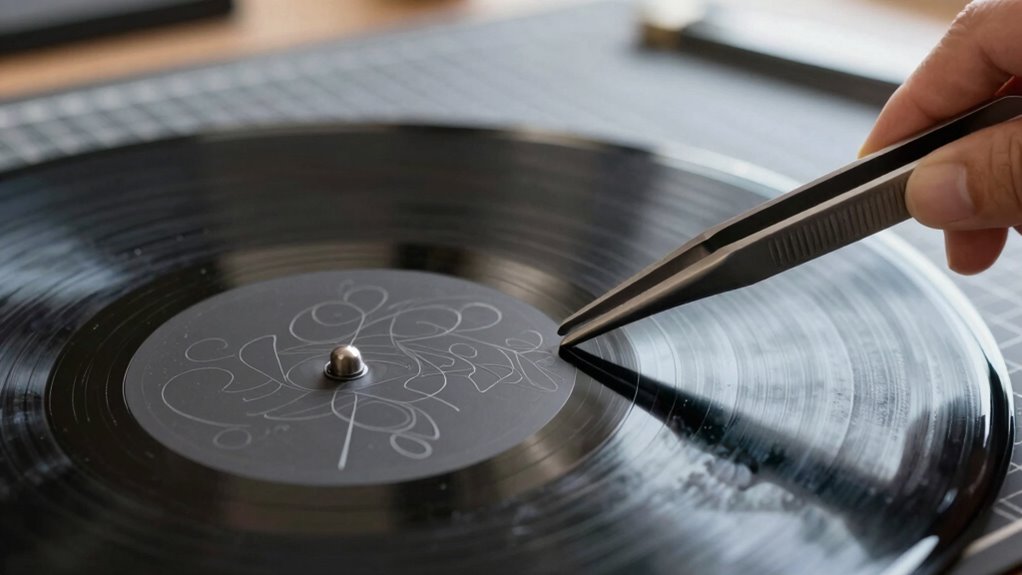
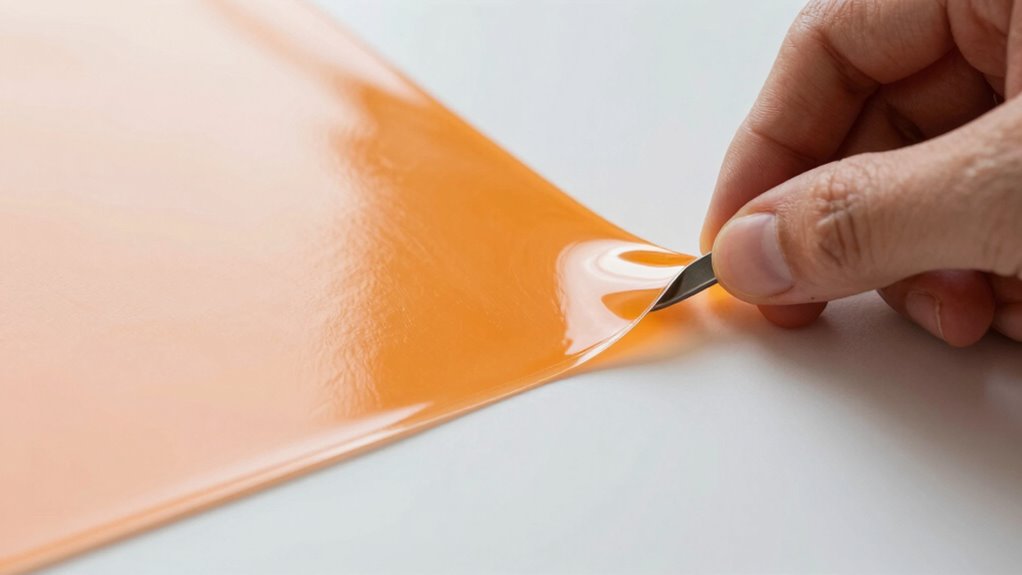
Practice Precise Peeling
Practicing precise peeling starts with controlling your movements and paying close attention to the angle at which you lift the vinyl. A steady, shallow angle minimizes the risk of lifting unwanted sections, especially when dealing with intricate designs. Consider the following tips:
- Use a sharp craft knife for delicate areas to improve control.
- Lift slowly along the edge to maintain accuracy.
- Focus on areas with high color contrast for better visibility.
- Adjust your peeling angle based on design complexity; more complex designs need a gentler approach.
Troubleshooting Common Weeding Issues
Have you ever struggled with weeds that refuse to come out easily? This common issue often relates to design customization and material compatibility. If your vinyl isn’t compatible with your chosen application surface, it may stick too tightly or tear during weeding. Confirm you’re selecting materials suited for your specific project, like using a transfer tape designed for detailed cuts. Also, check that your design isn’t overly intricate, which can cause small pieces to tear or stick. Adjust your blade depth and pressure to improve clean removal. Warm the vinyl slightly with a heat gun to loosen stubborn areas. Properly matching your vinyl type with the intended surface and simplifying complex designs can make weeding smoother, preventing frustration and ensuring a clean, professional finish every time. Additionally, understanding proper ventilation can help prevent adhesive fumes from affecting your workspace and material adhesion.
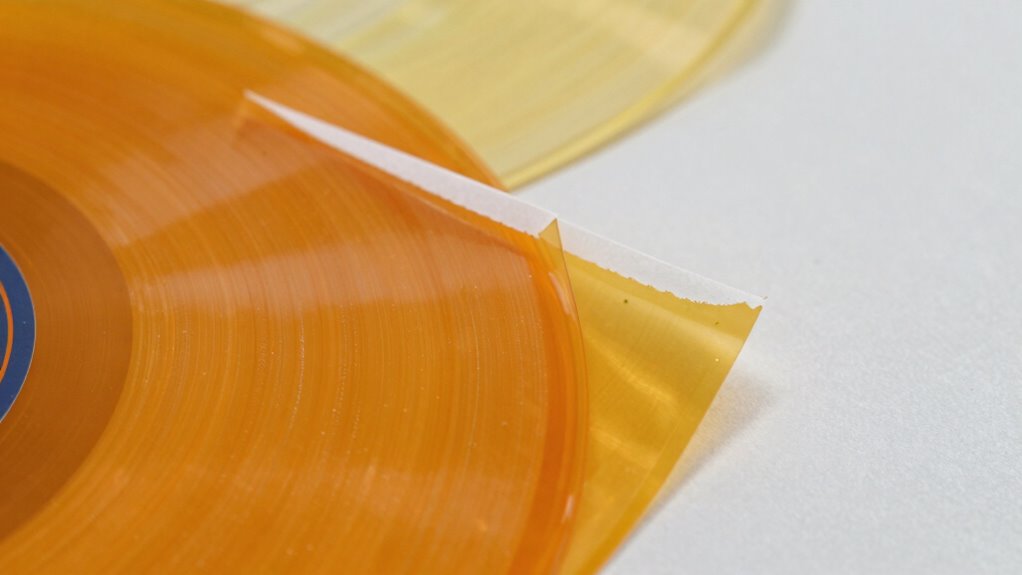
Peeling Vinyl Without Tears or Residue
Peeling vinyl without tears or residue starts with gentle, controlled removal. Focus on maintaining steady pressure and a low angle to prevent ripping. Good tool ergonomics help you keep a comfortable grip, reducing hand fatigue and improving control. When working with vinyl, pay attention to color contrast; high contrast makes edges easier to see and peel smoothly. Use a craft pick or plastic scraper to lift edges carefully, avoiding sudden pulls that cause tears. Keep the vinyl taut but not overstretched, which minimizes residue and damage. Consider your workspace lighting—bright and even lighting enhances visibility of fine details. Proper technique, combined with ergonomic tools and awareness of contrast, ensures a clean, residue-free peel every time.
Maintaining Your Tools for Consistent Results
To guarantee your tools perform reliably every time, regular maintenance is essential. Proper tools maintenance ensures clean cuts and smooth weeding, preventing frustration. Start by inspecting your blades regularly; dull blades cause uneven cuts and damage your vinyl. Blade sharpening is a simple yet effective way to restore sharpness and maintain cutting precision. Clean your tools after every use to remove adhesive residue and debris, which can dull blades or cause sticking. Store your tools properly in a dry, organized space to prevent rust and damage. Consistently maintaining your tools not only prolongs their lifespan but also assures consistent, professional results. With sharp blades and well-kept tools, you’ll find weeding becomes easier, faster, and more satisfying each time.
Frequently Asked Questions
Can I Reuse Vinyl Scraps After Weeding?
Yes, you can reuse vinyl scraps after weeding, but it depends on their condition. Carefully remove any excess vinyl, and verify there are no tears or residue. Store your vinyl scraps properly to prevent damage, so you can incorporate them into future projects. Scrap reuse is a smart way to save materials and reduce waste, making your crafting more sustainable and cost-effective. Just make sure the scraps are still in good shape before reusing.
What Is the Best Temperature for Vinyl Application?
Ever wonder what the perfect temperature for vinyl application is? The ideal range is typically between 305°F to 330°F (around 150°C to 165°C). Maintaining precise temperature control guarantees maximum adhesive strength, preventing bubbles or peeling later. Too hot, and the vinyl might melt; too cold, and it won’t adhere properly. Always test on a small area first to find the best temperature for your specific vinyl type and project.
How Long Should I Wait Before Peeling Vinyl?
You should wait about 24 hours before peeling vinyl to make certain of proper peeling timing. During this period, vinyl curing occurs, which helps the adhesive set firmly and reduces the risk of tearing or lifting. Avoid rushing the peeling process, as premature removal can cause issues. Patience guarantees a clean, professional finish, so give your vinyl enough time to cure fully before peeling for the best results.
Are There Eco-Friendly Vinyl Options Available?
Yes, eco-friendly vinyl options are available. Look for biodegradable options that break down naturally and prioritize those made with plant-based adhesives, which are less harmful to the environment. These alternatives still offer durability and quality, so you can create your projects guilt-free. By choosing biodegradable vinyl with plant-based adhesives, you support sustainability while maintaining the effectiveness of your decals or designs.
How Do I Prevent Static Buildup During Weeding?
To prevent static buildup during weeding, you should use anti-static sprays on your vinyl before starting. These sprays help reduce static damage and make the vinyl less clingy, easing the weeding process. Additionally, keep your workspace humid, as dry air increases static. Avoid wearing synthetic clothing that can generate static. Taking these steps guarantees a smoother, frustration-free weeding experience and clean vinyl peels every time.
Conclusion
Mastering clean vinyl weeding isn’t just a skill—it’s your secret weapon for flawless designs every single time. With the right tools, techniques, and a little patience, you’ll turn even the trickiest projects into effortless masterpieces. Say goodbye to tears, residue, and frustration forever. Once you’ve got this down, you’ll wonder how you ever struggled. Get ready to make your vinyl projects look so perfect, they’ll seem almost magical—because with these tips, you’re unstoppable!