
To paint a botanical on an acrylic sheet, start by preparing a smooth, clean surface. Use vibrant acrylic paints and various brushes to create detailed, lively botanical elements. Blend colors directly on the surface for smooth gradations and layer for depth. Apply different brush techniques like dry brushing or stippling for texture. Keep your strokes confident and experiment with tools like palette knives. Keep practicing to develop a vivid, dynamic botanical style—more tips await as you continue.
Key Takeaways
- Prepare a smooth acrylic surface and sketch your botanical design lightly with pencil.
- Use bold acrylic colors and blend directly on the sheet for vibrant, seamless transitions.
- Apply varied brush techniques, like fine lines for details and flat brushes for backgrounds.
- Layer colors from light to dark, controlling pressure for soft edges or sharp contours.
- Incorporate textures with palette knives or dry brushing to enhance the botanical’s depth and liveliness.
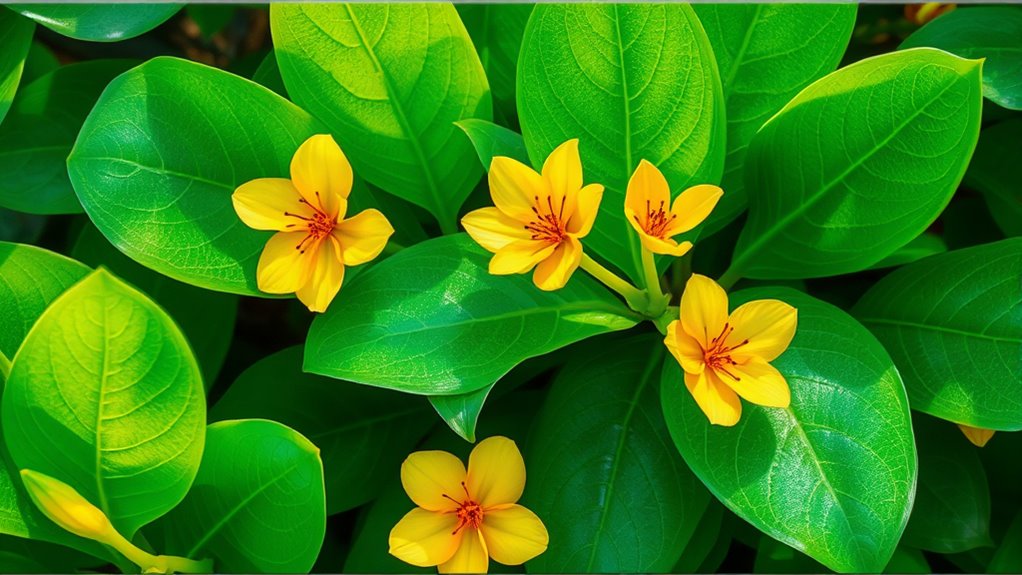
Painting a botanical on acrylic sheet is a rewarding way to bring vibrant nature-inspired art into your space. When you start, you’ll notice how the smooth surface of the acrylic sheet offers a perfect canvas for bold colors and fine details. To really make your botanical pop, mastering color blending is essential. Acrylics dry quickly, so you need to work efficiently to create seamless gradations and depth. You can achieve this by blending colors directly on the surface with a clean, damp brush or by layering translucent washes. For example, when painting leaves, blend different shades of green to create a realistic, lively appearance. Mix your colors on a palette first, then work quickly to blend them directly on the sheet, feathering the edges for smooth gradations. This technique gives your botanical a natural, vibrant look that captures the subtle shifts in color found in nature.
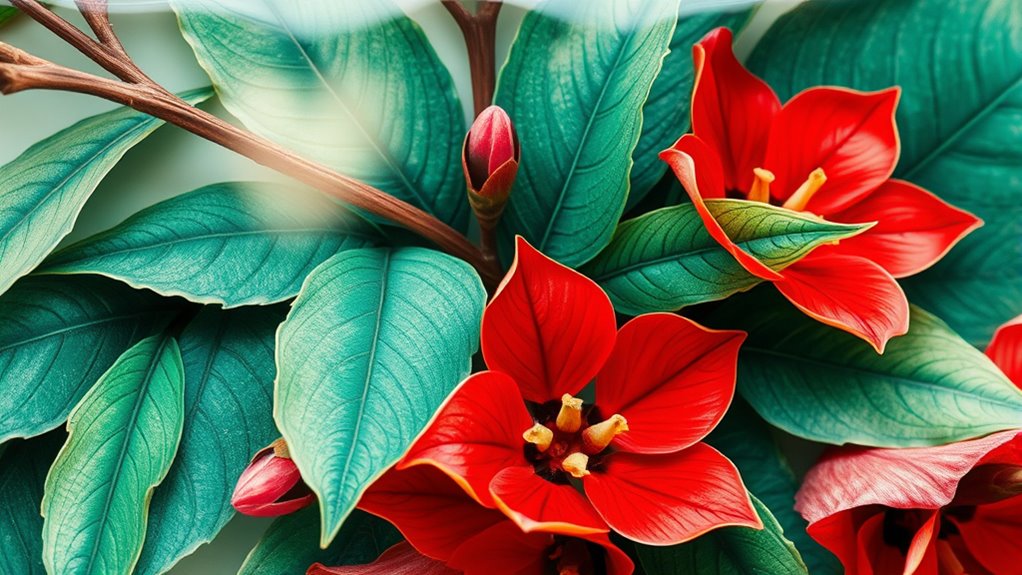
Equally important are your brush techniques. Using various brush sizes and shapes allows you to add texture and detail to your painting. A flat brush works well for broad leaves and background washes, while a fine-tipped detail brush helps you add veins or delicate flower petals. For textured effects, try dry brushing or stippling to mimic the intricate patterns of leaves and flowers. Layering is another powerful technique—start with the lightest base colors, then build up darker shades to add depth and dimension. When working with acrylics, don’t be afraid to experiment with brush strokes; quick, confident motions can convey the energy of blooming flowers or rustling leaves, while softer strokes can depict gentle shadows and highlights.
As you work, pay attention to the pressure you apply with your brush. Light pressure creates soft edges, perfect for subtle color gradations, while heavier strokes can emphasize veins, shadows, or the contours of petals. Keep your brushes clean and moist to prevent muddy colors, and consider using palette knives for thicker applications or textured effects. Remember, acrylics are forgiving and fast-drying, so you can layer and adjust your work with ease. Practice different blending and brush techniques to discover what best captures the natural beauty of your botanical subjects. With patience and experimentation, you’ll develop a style that highlights the vividness and complexity of the plants you’re inspired to paint, resulting in a stunning, vibrant botanical on acrylic sheet.
Frequently Asked Questions
What Types of Acrylic Sheets Are Best for Botanical Painting?
For botanical painting, you should choose acrylic sheet types with a smooth, glossy surface like acrylic glass or tempered sheets, which allow detailed work and vibrant colors. Before you start, use surface preparation techniques like cleaning and lightly sanding the sheet to guarantee paint adhesion. These steps help your botanical artwork stay vivid and durable, making your painting process smoother and more enjoyable on the best acrylic sheet types.
How Do I Prepare the Acrylic Surface Before Painting?
To prepare the acrylic surface, start by cleaning it thoroughly with a soft cloth and mild soap to remove dust and oils. Next, use a primer designed for acrylic to make certain your painting adheres well; apply it with a smooth brush or sponge using priming techniques like even, thin coats. Let the primer dry completely before you begin your botanical painting, creating a smooth, ready surface.
Which Brushes Are Ideal for Detailed Botanical Work?
Did you know that fine-tipped brushes are often the best for detailed botanical work? For precision, use round brushes with thin tips, such as size 0 to 2, and liner brushes for delicate lines. Master brush techniques like stippling and fine detailing to add realism. These brush types and techniques allow you to capture intricate leaf veins and petal textures, making your botanical painting truly stand out on acrylic sheets.
How Can I Fix Mistakes or Make Corrections on Acrylic?
If you make mistakes on acrylic, you can use eraser techniques to gently lift off wet paint or create highlights. Once dry, layer correction methods like applying a thin layer of the same color or repainting over the mistake work well. Always work carefully to blend corrections seamlessly, and consider using a fine brush for detailed fixes. Patience and gentle strokes will help you achieve a polished botanical painting.
What Sealing or Varnishing Options Are Recommended for Longevity?
Think of sealing your artwork like giving it a protective armor. For longevity, you should utilize high-quality sealing techniques and choose the right varnish type. Polyurethane or acrylic varnish works best, offering durability and a glossy or matte finish. Apply thin, even coats, allowing proper drying time. This approach guarantees your botanical stays vibrant and protected, like a garden in full bloom, for years to come.
Conclusion
Now that you’ve mastered painting a botanical on acrylic sheet, you’re ready to explore endless creative possibilities. Did you know that acrylic paints dry up to 20 times faster than traditional oils, making your workflow quicker and more efficient? This means you can experiment, layer, and finish your artwork in less time. Embrace the versatility of acrylics and let your botanical masterpieces flourish—your next stunning piece is just a brushstroke away!