
To create a boutique-style clay ring cone, start by choosing quality air-dry or polymer clay, conditioning it well for smooth shaping. Form a tapered cone with a wide base for stability and smooth out any imperfections with damp tools or your finger. Add decorative details like pressed patterns, beads, or metallic paints for a personalized touch. Finish with a clear sealant for durability and a polished look. Continue exploring these steps to craft a truly professional-looking, stylish ring cone.

Get business pricing on tools and workshop supplies
- Business-only prices and quantity discounts
- Tax-exempt purchasing
- Multiple users, one account, clear invoices
Key Takeaways
- Choose high-quality polymer clay for vibrant colors and durability, ensuring a polished, boutique finish.
- Carefully shape a tapered cone with a wider base for stability and smooth out imperfections.
- Add decorative details like pressed patterns, metallic paints, or layered colors before baking or drying.
- Allow sufficient drying or baking time, then seal with a clear coat for a professional, long-lasting look.
- Personalize with unique embellishments and finishing touches that reflect your style for an artisanal appearance.
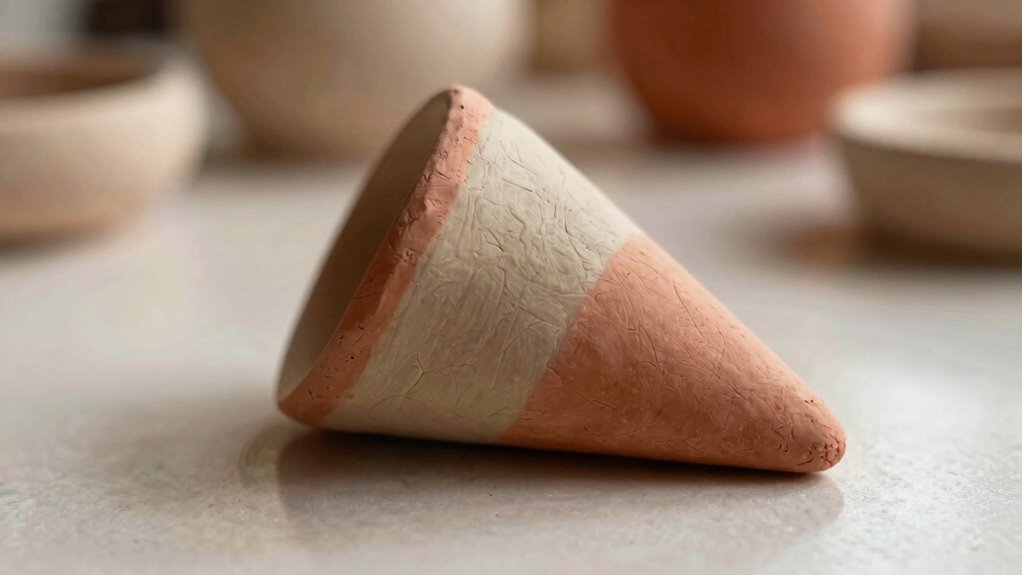
Making a clay ring cone is a simple and rewarding craft project that allows you to create a unique piece of jewelry or decorative item. Whether you’re aiming for a boutique-inspired aesthetic or just want a functional display, this project is accessible and customizable. To start, gather your materials—air-dry clay or polymer clay are popular choices. Air-dry clay is great if you want a natural, matte finish and don’t mind waiting a bit longer for it to dry, while polymer clay offers more vibrant colors and durability after baking. Comparing these materials helps you decide which suits your style and project needs best, giving you insight into their texture, workability, and finish.
Creating a clay ring cone is a simple, customizable project perfect for stylish jewelry or decor.
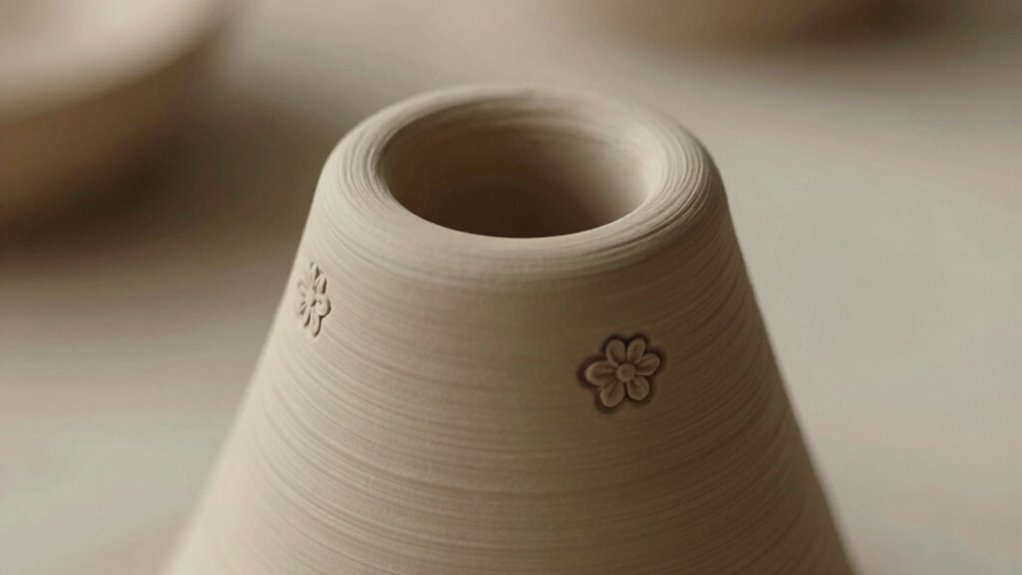
As you plan your design, think about the fashion inspiration behind your piece. Do you want it sleek and minimalist, boho-chic, or ornate with intricate details? Your inspiration guides your shaping process, influencing the size, shape, and decorative elements you add. When forming your cone, start by rolling a ball of clay and then elongate it into a tapered cone shape. Keep the base wider for stability, and gradually narrow toward the tip. For a boutique-quality look, smooth out any fingerprints or imperfections with a damp finger or a silicone tool. If you prefer a textured or carved appearance, use fine tools or even household items like toothpicks or needles to add detail.
Once you’re happy with your cone shape, you can add decorative accents to elevate the design. For a chic, modern feel, consider applying metallic or glossy paints after it dries. For bohemian or eclectic styles, incorporate small beads, pressed patterns, or layered colors into the clay before it hardens. When it’s time to finish, allow your cone to dry thoroughly—this could take several hours to a day, depending on your material. For added durability and a polished look, you might also coat it with a clear sealant. This step enhances the surface, giving it a professional, boutique-made appearance. Understanding the differences between clay types—such as how air-dry clay reacts to shaping and finishing—helps you achieve that boutique-worthy quality. Additionally, considering how clay materials respond to different finishing techniques can further refine your craft. Being aware of the material properties ensures your final piece remains sturdy and visually appealing over time.
Throughout the process, keep in mind the material comparisons—knowing how each clay type reacts to shaping, drying, and finishing helps you achieve that boutique-worthy quality. It’s also beneficial to familiarize yourself with clay preparation methods to ensure a smoother crafting experience. Proper clay conditioning can make a significant difference in the ease of shaping and overall finish of your cone. With patience and attention to detail, you’ll craft a clay ring cone that not only showcases your creativity but also reflects your personal style. Whether for jewelry display, a decorative piece, or a gift, your handmade cone will stand out as a one-of-a-kind accessory that feels both artisanal and stylish.
polymer clay for jewelry display
As an affiliate, we earn on qualifying purchases.
As an affiliate, we earn on qualifying purchases.
Frequently Asked Questions
Can I Use Air-Dry Clay for This Project?
Yes, you can use air-dry clay for this project, but keep in mind that air-dry clay alternatives like polymer clay or modeling clay might offer different finishes. You should also explore creative decorating techniques, such as painting or adding textures, to achieve a boutique-like appearance. Make certain to follow instructions for drying and sealing to guarantee your cone looks polished and professional, just like a store-bought piece.
How Long Does the Clay Cone Take to Dry?
Your clay cone will dry in about 24 to 72 hours, but this can feel like a lifetime! The actual drying time depends heavily on environmental factors like humidity, temperature, and airflow. To speed up the process, place your cone in a well-ventilated area with moderate warmth. Keep an eye on it to prevent cracking or warping, and remember, patience is key for a flawless, boutique-like finish.
What Tools Are Best for Shaping the Cone?
You should use sculpting tools like silicone shapers and metal modeling tools to shape your clay cone precisely. These tools help you achieve smooth, clean lines and detailed textures. Remember to practice good tool safety by handling sharp tools carefully and keeping them away from children. Using your fingers for gentle smoothing and a small paintbrush for fine details can enhance your shaping techniques, giving your cone a professional boutique look.
Can I Paint or Decorate the Cone Afterward?
A stitch in time saves nine, so yes, you can definitely paint or decorate your clay cone afterward. Use various painting techniques like watercolor, acrylics, or even metallic finishes to add personality. Incorporate decorative accents like tiny beads, glitter, or stamped designs to elevate its boutique look. Be sure to seal your decorations with a clear varnish for durability, making your custom piece truly stand out.
How Durable Is the Finished Clay Ring Cone?
Your finished clay ring cone is fairly durable if you choose the right materials and seal it properly. Using material alternatives like polymer clay or adding a waterproof sealant can enhance long-term stability. Keep in mind, the cone may still chip or crack if handled roughly or exposed to moisture over time. For best results, store it carefully and avoid excessive pressure, ensuring it remains a beautiful, lasting piece.
Conclusion
Creating your own clay ring cone not only boosts your jewelry display but also sparks your creativity. Imagine a friend visiting your studio and marveling at your handmade cone, inspiring her to craft her own. By customizing your design, you add a boutique touch that’s uniquely yours. Whether for personal use or gifting, these cones elevate your jewelry presentation and showcase your craftsmanship. So, immerse yourself and craft a piece that truly reflects your style and passion.
Fall yard work Picks
leaf blowers
As an affiliate, we earn on qualifying purchases.