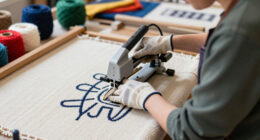

To sew a set of cloth napkins with mitered corners, choose natural, comfortable fabric and cut 16-20 inch squares. Prepare edges with a clean double fold hem, pressing each fold. Sew around the perimeter, stopping before corners, then fold diagonally to form crisp mitered corners. Sew across the corners to reinforce and create sharp edges. Following these steps will help you craft elegant napkins that look professional—learn more tips to perfect your sewing technique.
Key Takeaways
- Cut fabric into 16-20 inch squares, ensuring clean, precise edges for neat mitered corners.
- Fold edges inward with a narrow double fold hem, pressing firmly before sewing.
- Fold each corner diagonally to form a 45-degree angle, then sew along the hem line before folding inward.
- Sew diagonally across the corner to reinforce and create a crisp mitered finish.
- Turn hems inward, secure all edges, and reinforce corners for durable, elegant cloth napkins.

Sewing cloth napkins with mitered corners might seem challenging at first, but once you understand the technique, it becomes an easy and rewarding project. The key to success starts with choosing the right fabric. Opt for natural fibers like cotton or linen—these materials are durable, absorbent, and easy to work with. Pick fabrics that feel comfortable against your skin and suit your style, whether you prefer crisp, smooth textures or softer, more relaxed weaves. When selecting fabric, consider the color and pattern as well; solid colors are versatile, while patterned fabrics add a decorative touch to your table setting.
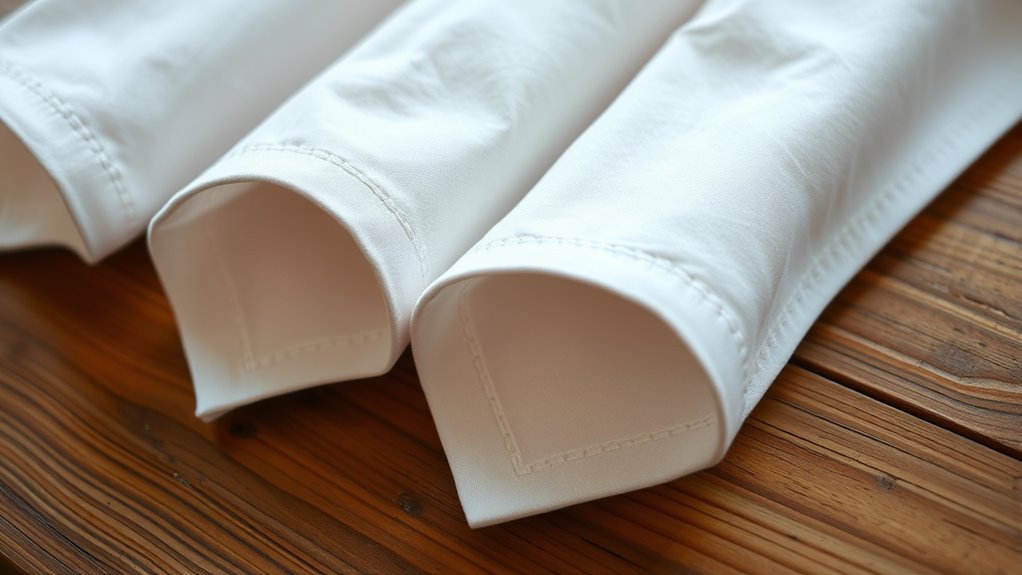
Once you’ve chosen your fabric, cut it into square pieces, typically 16 to 20 inches on each side. Precision in cutting ensures your corners will align perfectly during sewing. Before you start sewing, prepare your edges with a clean hem. Hemming techniques are essential here; a narrow double fold hem works well for napkins. Fold the raw edge about 1/4 inch toward the wrong side, press it flat with an iron, then fold again another 1/4 inch and press again. This creates a neat, finished edge that prevents fraying and gives your napkins a professional look. You can secure these folds with pins or clips to keep everything in place.
Cut fabric into 16-20 inch squares and hem edges for a polished, professional look.
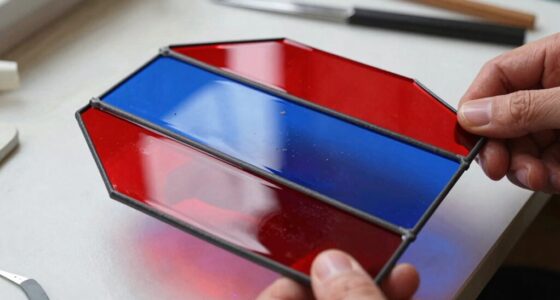
Now, as you reach the mitered corner step, the process becomes more precise. Fold each corner diagonally so that the edge of the fold lines up with the edge of the side, creating a 45-degree angle. Use your fingers or a tool to press the fold sharply. Sew along the hem line close to the edge, stopping just before the corner point. To create the miter, fold the corner inward along the pressed crease, aligning the edges so they form a perfect corner. Sew across the corner diagonally, reinforcing the seam. When you unfold the corner, it should form a crisp, clean mitered corner. Repeat this process for each corner.
Finishing your napkin involves turning the hems inward along the pressed folds and sewing around the edges, securing the corners neatly in place. This technique, combined with careful fabric selection and precise hemming, results in elegant, durable cloth napkins that elevate your table setting. With practice, sewing mitered corners becomes second nature, and you’ll enjoy creating a set of personalized, beautiful napkins for everyday use or special occasions.

COTTON CRAFT Multicolor Cloth Napkins – Set of 12 Pure Cotton Everyday Lunch Dinner Napkin – Spring Summer Fall Holiday Birthday Party Gift – Soft Washable Absorbent Reusable Napkin – 17 x17
SET CONTENTS: Each set includes twelve (12) COTTON CRAFT Classic Pure Cotton Dinner Napkins in assorted colors Magenta,…
As an affiliate, we earn on qualifying purchases.
As an affiliate, we earn on qualifying purchases.
Frequently Asked Questions
What Type of Fabric Is Best for Cloth Napkins?
You should choose cotton or linen for cloth napkins because they offer excellent fabric durability and dye fastness. Cotton is soft, absorbent, and easy to wash, making it perfect for everyday use. Linen is sturdy, gets better with each wash, and resists fading. Both fabrics hold their color well over time, ensuring your napkins look fresh and vibrant after many uses.
How Do I Choose the Right Thread Color?
You should choose matching thread that blends seamlessly with your fabric for a polished look. Consider your overall color scheme and opt for a thread color that complements or matches your napkin fabric for better color coordination. If you’re creating a decorative border or contrasting stitching, pick a thread that highlights these details. Always test your thread on a scrap piece first to guarantee it enhances your napkins’ appearance.
Can I Customize the Size of My Napkins?
Of course, you can customize your napkin size—after all, who wouldn’t want perfectly tailored cloth napkins? Whether you’re into fabric dyeing or just organizing your napkin storage, adjusting dimensions is easy. Simply measure and cut your fabric accordingly before sewing. This way, your napkins will fit your style and needs, making every meal feel special. Plus, customized sizes make napkin storage much neater and more efficient!
How Do I Prevent Fraying on Mitered Corners?
To prevent fraying on mitered corners, you should start by fabric stabilization, like applying interfacing or using a lightweight fusible web to reinforce the edges. After sewing, finish the seams with a serger or zigzag stitch to prevent fraying over time. Proper seam finishing not only strengthens the edges but also keeps your napkins looking neat and professional, ensuring they last through many washes.
Are There Eco-Friendly Fabric Options for Napkins?
You’re in luck—eco-friendly fabric options for napkins can transform your table. Recycled fibers give new life to old materials, reducing waste, while organic textiles come straight from sustainable farms, free from harmful chemicals. Imagine hosting a meal knowing your napkins are eco-conscious. These options not only look beautiful but also support a healthier planet. Choose recycled fibers or organic textiles, and enjoy a stylish, sustainable dining experience every time.

Bequilter Dual Angle Quick Easy Mitered Binding Tool
Quick easy mitered border tool
As an affiliate, we earn on qualifying purchases.
As an affiliate, we earn on qualifying purchases.
Conclusion
Now that you’ve mastered sewing cloth napkins with mitered corners, you’ve created a lasting touch of elegance, much like a finely crafted tapestry. Just as Michelangelo shaped masterpieces from marble, your careful stitches turn simple fabric into something special. With your newfound skill, you can add a personal, refined touch to every meal. Keep practicing, and soon your homemade napkins will become a beautiful tradition—an artful detail that elevates your everyday dining experience.

YONGJIN Double-Sided Fabric Tape (2 Rolls) – No Sewing or Ironing Required, Perfect for Quick Clothing Repairs, Fabric Bonding, Adhesive Cloth Tape for Hemming and DIY Crafts (1/4inch+1/2inch)
【Quantity & Size】 You will get 2 rolls of double sided adhesive fabric tape — 1/4inch x 49…
As an affiliate, we earn on qualifying purchases.
As an affiliate, we earn on qualifying purchases.

Simplicity Chair Cushions, Tablecloth, Place Mats, Runners, and Napkins Sewing Pattern Set, One Size
Simplicity pattern includes everything needed for a well set table with instructions for (7) sewing templates. Patterns include…
As an affiliate, we earn on qualifying purchases.
As an affiliate, we earn on qualifying purchases.