To create DIY beeswax wraps, start by gathering unbleached, food-safe fabrics and cutting them to your desired size, adding extra for seams. Melt beeswax pellets gently over a double boiler until smooth. Using a brush, evenly apply the melted beeswax onto the fabric, covering it thoroughly. Place the fabric on a protected surface and heat it in a warm oven or with a hairdryer so the wax absorbs. Cooling and hardening complete the process. If you continue, you’ll discover simple tips to customize and care for your wraps effectively.
Key Takeaways
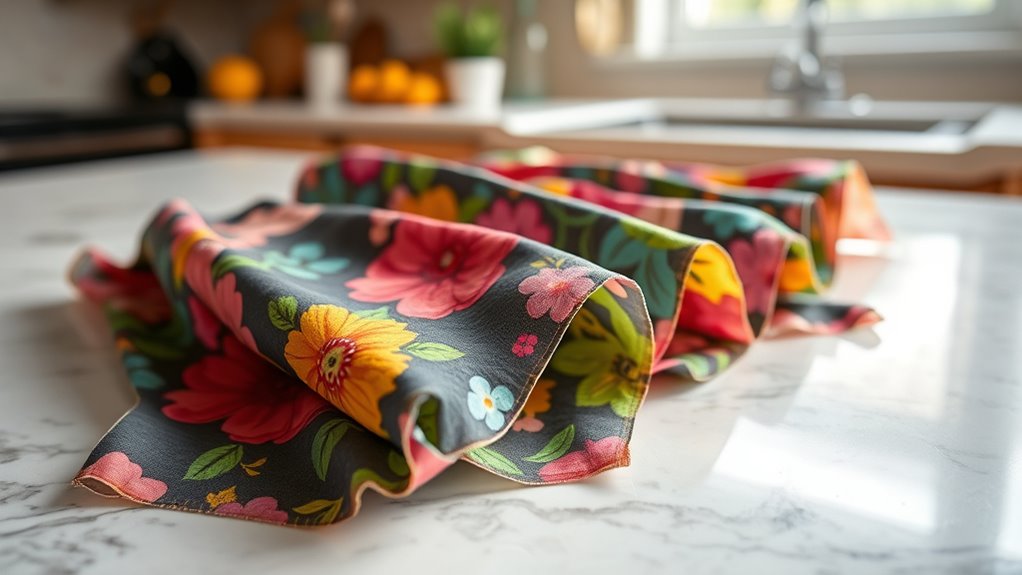
- Select high-quality, pre-washed, light-colored organic fabrics like cotton or muslin, measuring slightly larger than your containers.
- Melt beeswax gently using a double boiler, stirring until smooth and slightly runny, avoiding overheating.
- Evenly apply the melted beeswax to the fabric with a brush, covering all areas and edges for a complete seal.
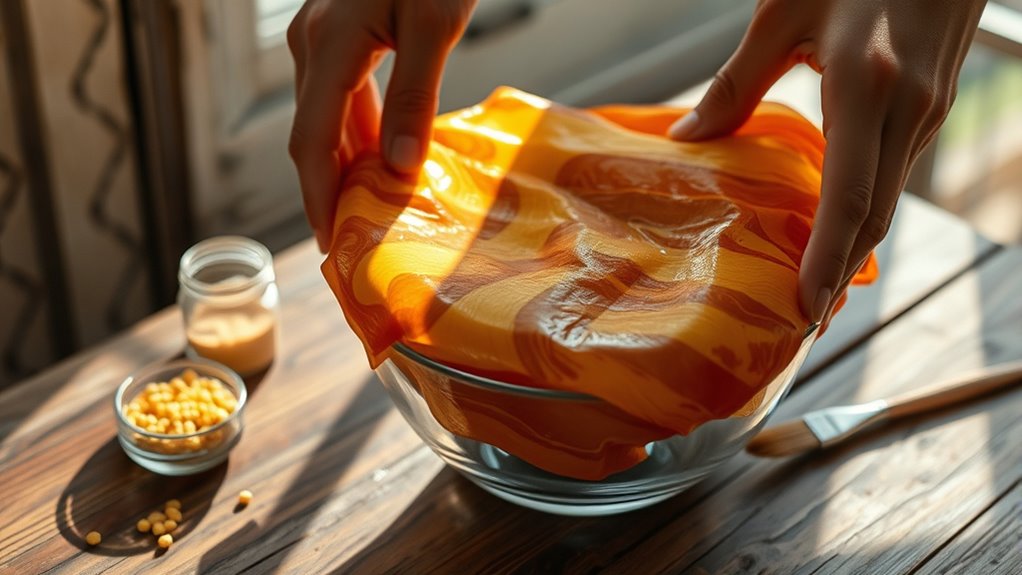
- Drape the coated fabric over containers or mold and use heat (e.g., a hairdryer) to help the wax set and bond.
- Allow wraps to cool fully on a flat surface before use, ensuring the beeswax hardens for durability and flexibility.

Suooydoy Beeswax Wrap DIY Kit – 1 lb White Beeswax Pellets, 8 oz Pine Resin & 3.4 fl oz Jojoba Oil, Natural Pine Rosin Ingredients for Reusable Food Wraps, Candle Making & DIY Crafts
- Complete DIY Beeswax Wrap Kit: Includes beeswax, resin, and jojoba oil
- Natural Pine Resin Formula: Ensures strong adhesion and flexibility
- Ideal for Reusable Food Wraps: Creates smooth, flexible, and durable wraps
As an affiliate, we earn on qualifying purchases.
As an affiliate, we earn on qualifying purchases.
Gather Your Materials and Tools
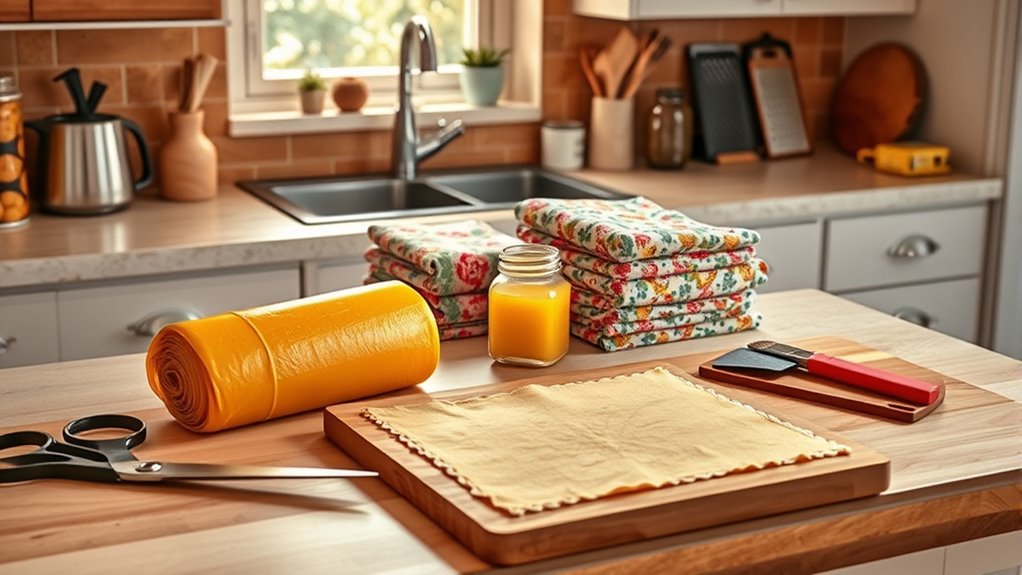
Before you begin making your beeswax wraps, gather all the necessary materials and tools. You’ll need high-quality cotton fabric, preferably organic, cut into your desired sizes. Have beeswax pellets or blocks ready to melt down, along with a double boiler or heat-safe bowl for melting. Include a silicone brush or old paintbrush for applying the beeswax mixture evenly. You’ll also want parchment paper or a silicone baking mat to protect your surfaces. Scissors are helpful for trimming, and a clean cloth or paper towels can assist in handling hot materials. Make sure your workspace is well-ventilated, especially when melting beeswax, to avoid inhaling fumes. Being aware of the contrast ratio of your projector can help you choose the right setup for optimal image quality. Additionally, choosing the right environmental impact practices can make your DIY project more eco-friendly and sustainable. Using food-safe materials ensures your wraps are safe for storing edibles. Incorporating sustainable practices in your process can further reduce environmental impact, making your DIY project more eco-conscious. Having everything on hand before you start will make the process smooth and enjoyable.
Prepare Your Workspace

Setting up a clean, organized workspace is essential for making beeswax wraps smoothly. A tidy area reduces the risk of contamination and makes the process more efficient. To prepare effectively, consider these steps:
- Choose a flat, heat-resistant surface, like a countertop or large table.
- Lay down protective coverings, such as parchment paper or old newspapers, to catch drips and wax spills.
- Keep all your tools nearby—scissors, brushes, and the fabric—so you don’t waste time searching.
- Ensure good ventilation, especially if you’ll be working with heated beeswax, to avoid inhaling fumes.
- Proper workspace setup can also help maintain the quality of your ingredients and tools, ensuring your beeswax wraps turn out perfectly. Additionally, being aware of safety precautions when working with heat and beeswax can prevent accidents and ensure a smooth crafting experience.
- Managing moisture levels and workspace organization can improve your workflow and prevent mishaps during the process. Incorporating knowledge about essential oils for antimicrobial properties can also help in making wraps that are more hygienic and longer-lasting.
Cut the Fabric to Size

Start by choosing a fabric that’s tightly woven and food-safe. Measure your containers carefully to guarantee the wraps will fit snugly but not be too tight. Once you have your measurements, cut the fabric precisely to match your desired size. Ensuring proper sizing helps create a secure seal and prevents waste. Selecting the right fabric type ensures durability and food safety for your wraps. Additionally, considering sound design techniques in your fabric choice can influence the wrap’s flexibility and longevity. Incorporating market trends can also help you select fabrics that are both popular and functional. Paying attention to textile quality can further enhance the effectiveness of your beeswax wraps.
Selecting Suitable Fabric
Have you chosen the right fabric for your beeswax wraps? Selecting a suitable fabric is essential for durability and effectiveness. Look for natural, tightly woven materials that won’t easily tear or fray.
Here are four key considerations:
- Material Type: Choose cotton, linen, or muslin—natural fibers that bond well with beeswax. Incorporating AI-enhanced fabric testing can help determine the best options for your needs.
- Weave Tightness: Opt for a tightly woven fabric to prevent beeswax from seeping through.
- Color and Print: Light-colored or white fabrics are best, as dark dyes may transfer or stain.
- Pre-washed Fabric: Always wash and dry the fabric before use to remove chemicals and guarantee better adhesion of the beeswax. Additionally, using natural fibers can improve the overall effectiveness of your wraps.
Measuring for Accuracy
Once you’ve selected and prepared your fabric, accurate measuring is key to creating a perfect beeswax wrap. Start by determining the size you want your wrap to be—common dimensions are around 10×10 inches or 12×12 inches. Use a ruler or measuring tape to mark the fabric carefully. Add an extra half-inch to each side for seams and folding, ensuring the beeswax coverage stays even. Use fabric chalk or a fabric-safe marker to trace your measurements. Double-check your measurements before cutting to avoid mistakes. Precise measurements ensure your wrap fits your containers well and folds neatly. Taking the time to measure accurately now makes the entire wrapping process smoother and results in a professional-looking, functional beeswax wrap. Proper measurement is essential for achieving a refined texture and ensuring the wrap functions correctly.
Melt the Beeswax Mixture
When melting the beeswax, keep the heat low to prevent burning and make certain a smooth, even melt. Aim for a liquid consistency that coats the fabric evenly without clumping or overheating. Proper temperature control ensures a consistent melt and prevents damage to the wax. Stir gently and constantly to achieve a uniform mixture and avoid scorching the wax. Additionally, monitoring the temperature helps maintain the integrity of the beeswax, ensuring it remains effective for wrapping. Using a double boiler or a dedicated melting pot can help maintain a steady, low temperature and prevent overheating during the process.
Melting the Beeswax
To melt the beeswax mixture, place it in a double boiler or a heat-safe bowl set over a pot of simmering water. Gently heat, stirring occasionally, until the beeswax is fully melted and liquid. Keep the heat low to prevent scorching or burning the wax. Ensure proper airflow around the area to maintain safety and optimal melting conditions. Make sure the water doesn’t touch the bottom of the bowl, maintaining a gentle simmer. Consider these tips: 1. Use a double boiler or a heat-safe bowl over a pot for even melting. 2. Stir gently to distribute heat evenly. 3. Avoid high heat to prevent burning the beeswax. 4. Keep the water at a simmer, not boiling, to control temperature. This method ensures a smooth, consistent melt without damaging the beeswax.
Achieving Smooth Consistency
Achieving a smooth consistency in your beeswax mixture guarantees your wraps will spread evenly and adhere well to surfaces. To do this, stir the mixture constantly as it melts, ensuring the beeswax melts uniformly without clumping.
Use a double boiler or a heat-safe bowl over simmering water to maintain gentle, even heat; this prevents uneven melting. Once melted, continue stirring until the mixture appears glossy and free of solid bits.
If you notice any lumps, gently heat the mixture a little longer while stirring. You want a liquid that’s smooth, slightly runny, but not too hot. This consistency ensures an even application on your fabric, resulting in a professional-looking, durable beeswax wrap.
Preventing Overheating
Keeping the heat gentle while melting your beeswax mixture helps prevent overheating. Overheating can cause the beeswax to burn or become too liquid, affecting the wrap’s consistency and durability.
To maintain control, follow these steps:
- Use a double boiler or a heat-safe bowl over simmering water.
- Keep the heat on low to moderate, avoiding high temperatures.
- Stir frequently to distribute heat evenly.
- Remove the mixture from heat as soon as the beeswax is melted and smooth.
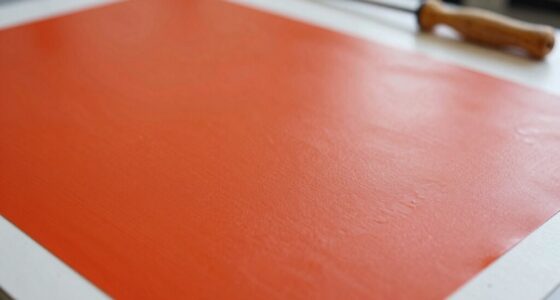
Apply Beeswax to the Fabric
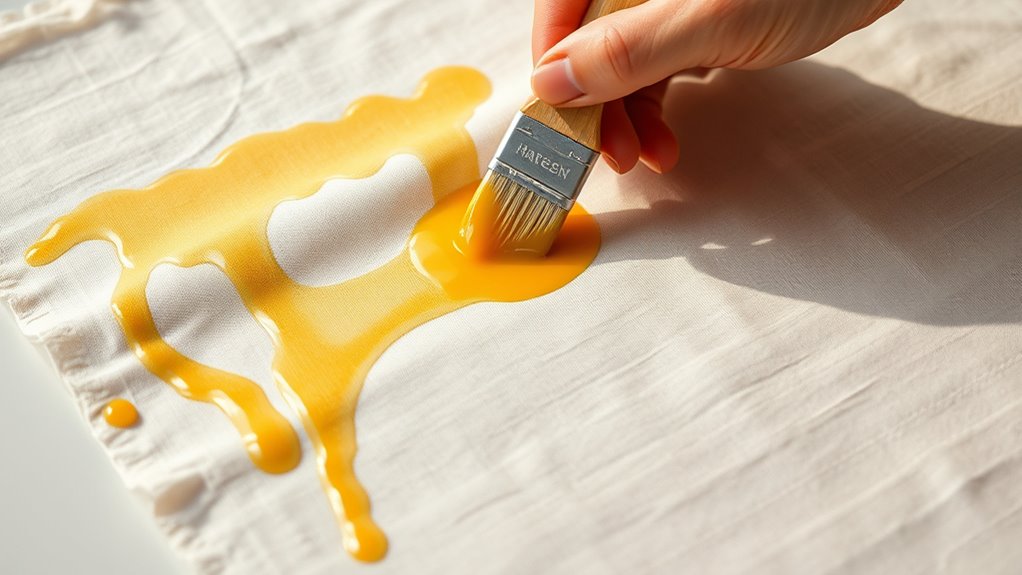
Applying beeswax to your fabric is a straightforward process that guarantees an even coating for effective wrapping. First, hold the beeswax block or grated beeswax close to the fabric. Using a clean brush or your fingers, gently spread the beeswax evenly across the surface.
Make sure to cover all areas, especially the edges, for a complete seal. Keep the fabric flat to prevent uneven application. If you’re using grated beeswax, sprinkle it evenly over the fabric before proceeding.
The goal is to create a thin, uniform layer of beeswax that will melt smoothly when heated. Once the beeswax is applied, you’re ready for the next step, which involves melting it into the fabric to ensure it adheres thoroughly.
Ensure Even Distribution

To guarantee your beeswax coating is even, gently work the wax into the fabric using your fingertips or a clean brush. This helps distribute the wax uniformly, preventing thin spots or excess buildup. Focus on applying gentle pressure and moving in circular motions to spread the wax thoroughly across all areas.
Consider these steps for superior results:
For best results, ensure the wax is translucent and evenly spread before moving on.
- Start at the center and work outward to the edges.
- Revisit any spots with uneven coverage and smooth them out.
- Use the back of a spoon or a soft brush for hard-to-reach corners.
- Ascertain the wax appears translucent and evenly spread before proceeding.
This method guarantees a consistent layer, which is crucial for effective sealing and durability of your beeswax wraps.
Allow Wraps to Cool and Harden
After you’ve evenly spread the beeswax across your fabric, it’s important to let the wrap cool and harden completely. Place the fabric on a flat surface and give it a few minutes to set.
As it cools, the beeswax will solidify, creating a firm, flexible wrap. Avoid touching or moving the fabric during this time, as it could disturb the even distribution.
If the beeswax feels soft or tacky, give it a little more time to harden. Once fully cooled, the wrap should be firm but pliable.
This step ensures that the beeswax bonds well to the fabric, making your wraps durable and effective for storage. Patience here helps guarantee a smooth, functional finish.
Test and Use Your Beeswax Wraps

Once your beeswax wraps have cooled completely, it’s time to test their effectiveness. To do this, try wrapping different food items to see how well they hold their shape and seal. Here are some key steps:
- Wrap a piece of cheese or fruit, ensuring the edges stick securely.
- Gently press the wrap around containers or bowls to check for a proper seal.
- Observe if the wrap adheres to itself and maintains the shape without slipping.
- Test the wrap’s flexibility by unfolding and refolding it to ensure durability.
If the wrap sticks well and forms a tight seal, you’re ready to start using it regularly. Adjust your technique if needed, but remember, a good beeswax wrap should be flexible, clingy, and reusable.
Care and Maintenance for Longevity
Proper care and maintenance are key to keeping your beeswax wraps functional and looking their best over time. To guarantee they last, always wash them gently with cool water and mild soap. Avoid hot water, which can melt the beeswax coating.
After washing, air dry your wraps completely before storing or using them again. Keep them away from heat sources like the oven or direct sunlight, as high temperatures can cause the wax to melt or become less effective.
Store your wraps in a cool, dry place, folded neatly to prevent unnecessary wear. Rewax your wraps occasionally with additional beeswax if they start to lose stickiness or become dull.
With proper care, your beeswax wraps can serve you effectively for months or even years.
Frequently Asked Questions
Can I Reuse Beeswax Wraps Multiple Times?
Yes, you can definitely reuse beeswax wraps multiple times. With proper care, they last for about a year or even longer.
You just need to wash them gently with cool water and mild soap, then let them air dry. Avoid heat sources like microwaves or hot water, as they can melt the wax.
Reusing wraps saves money and reduces waste, making them an eco-friendly choice.
What Types of Fabric Are Best for Beeswax Wraps?
Imagine choosing fabrics so perfect, they could outshine the brightest stars — that’s how ideal the right ones for beeswax wraps are! You should pick natural fabrics like organic cotton, linen, or hemp, as they’re breathable, sturdy, and won’t melt or stain.
Avoid synthetic fibers like polyester or nylon because they won’t hold beeswax well. These natural options create wraps that are eco-friendly, durable, and stick beautifully to your food.
How Long Do Beeswax Wraps Typically Last?
Beeswax wraps typically last about six months to a year with proper care.
You’ll want to wash them gently with cool water and mild soap, avoiding hot water which can melt the wax.
Store them in a cool, dry place and avoid direct sunlight.
Over time, the wax may wear thin or crack, signaling it’s time to replace your wraps to keep your food fresh and eco-friendly.
Are Beeswax Wraps Safe for All Types of Food?
You wonder if beeswax wraps are safe for all types of food, and the answer is generally yes. They work well for fruits, vegetables, bread, and cheese, but avoid using them with raw meats, oily foods, or hot items, which can compromise the wraps.
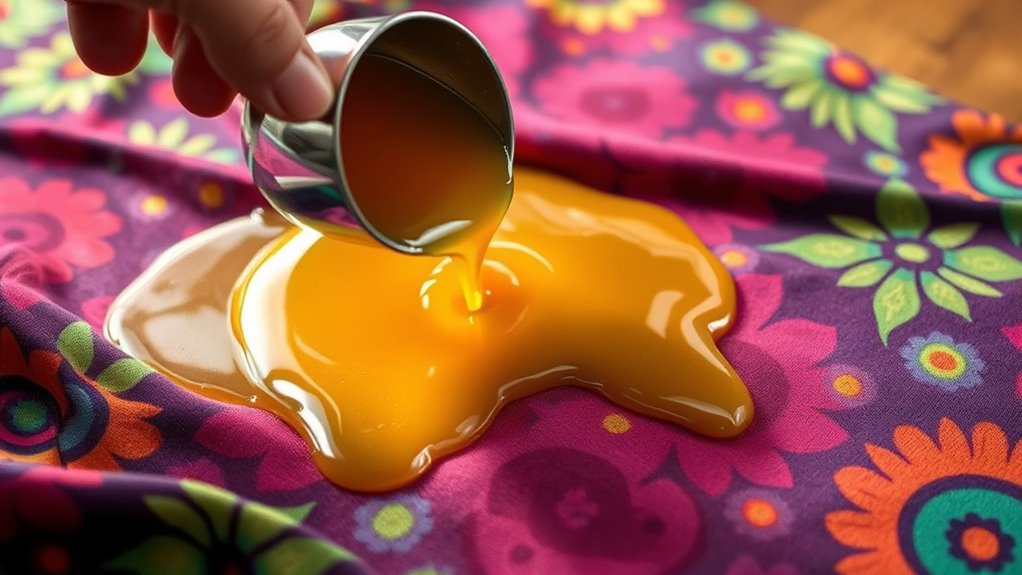
Can I Customize Beeswax Wraps With Different Patterns or Scents?
You can definitely customize beeswax wraps with different patterns or scents. To add patterns, use fabric with your favorite prints or paint designs with fabric-safe dyes.
For scents, melt some beeswax with a few drops of essential oils before applying it to the fabric. Just make certain the scents are food-safe and light, so they don’t overpower your food.
Customizing makes your wraps unique and adds a personal touch to your eco-friendly kitchen.
Conclusion
Creating your own beeswax wraps is like planting seeds for a greener future—you’re making small changes that grow into big impact. I once made a batch, and seeing them in use felt like giving my kitchen a breath of fresh breeze. With proper care, these wraps can last up to a year, proving that simple, eco-friendly habits can truly stick. So, get crafting and enjoy wrapping with purpose and love!