
To make DIY bath bombs, start by gathering ingredients like baking soda, citric acid, salts, and optional scents or colors. Mix the dry powders thoroughly, then add wet ingredients like oils and water gradually until the mixture feels like damp sand. Add colors and fragrances, pack into molds, and let them sit for at least 24 hours to set. Wrap and store in a cool, dry place, and discover more tips to perfect your craft.
Key Takeaways
- Gather dry ingredients like baking soda, citric acid, salts, and cornstarch, plus essential oils and colorants for customization.
- Mix dry powders separately from wet ingredients, then combine gradually to achieve a damp, sand-like consistency.
- Add color and fragrance evenly, ensuring thorough blending for vibrant appearance and desired scent.
- Pack the mixture firmly into molds, then let set undisturbed for 24 hours to solidify shape and fizzing properties.
- Store finished bath bombs in a cool, dry place, wrapping or packaging to preserve scent, color, and fizz.

Wood Carving Kit Whittling Kit: Deluxe Wood Carving Tools Knife Set with Leather Case - Woodworking Hobby Kit for Beginners Adults Kids - DIY Art Craft Gift for Men Teens
[Wood Carving Kit Deluxe Edition] Everything you need to start carving: 4 knives, 4 chisels, 7 basswood blocks,...
As an affiliate, we earn on qualifying purchases.
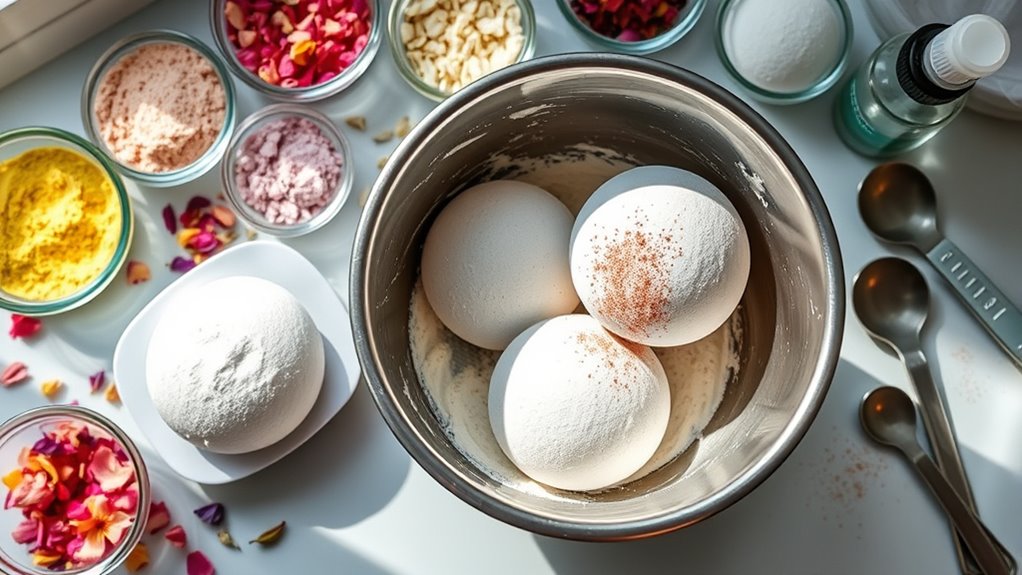
Gathering Your Supplies and Ingredients
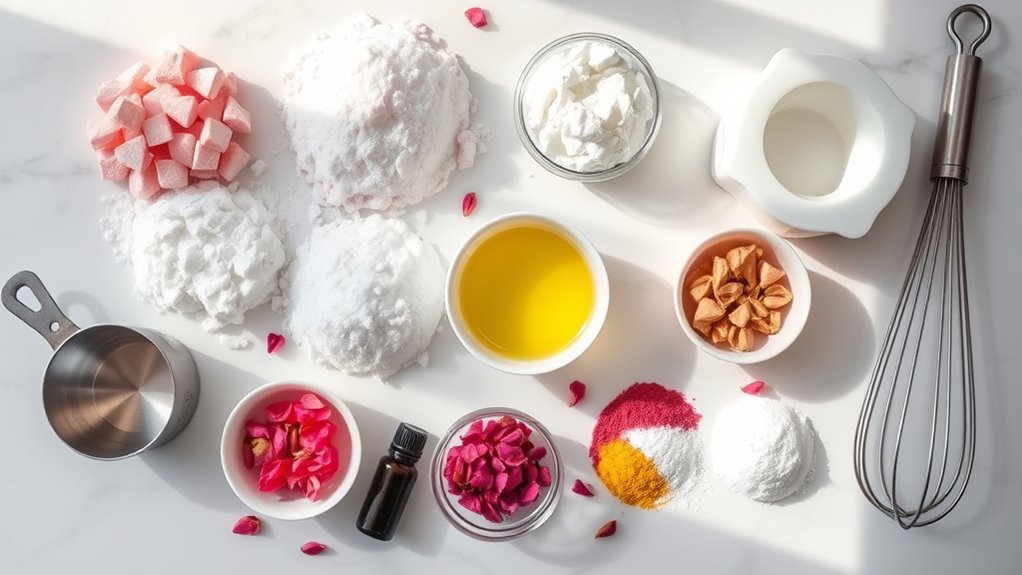
Before you begin making your DIY bath bombs, it’s important to gather all the necessary supplies and ingredients. Start with baking soda and citric acid, the main components that create the fizz. You’ll also need Epsom salts or sea salts for relaxation, and a bit of cornstarch to help bind everything together. Additionally, exploring your personal artistic expression can make the process more enjoyable and tailored to your preferences. Essential oils like lavender or eucalyptus add soothing scents, while food coloring or mica powders give your bombs vibrant colors. Don’t forget a spray bottle filled with witch hazel or water to help with mixing. You’ll also need a mixing bowl, measuring cups, and bath bomb molds. Having everything ready beforehand guarantees your process is smooth and enjoyable, preventing any interruptions once you start mixing.

DEWALT Dust Separator with 6 Gallon Poly Tank, 99.5% Efficiency Cyclone Dust Collector, High-Performance Cycle Powder Collector Filter, DXVCS002, Yellow
【HIGH EFFICIENCY】 Our DEWALT high efficiency dust separator can capture wood chips and other debris before they enter...
As an affiliate, we earn on qualifying purchases.
Mixing the Dry and Wet Components
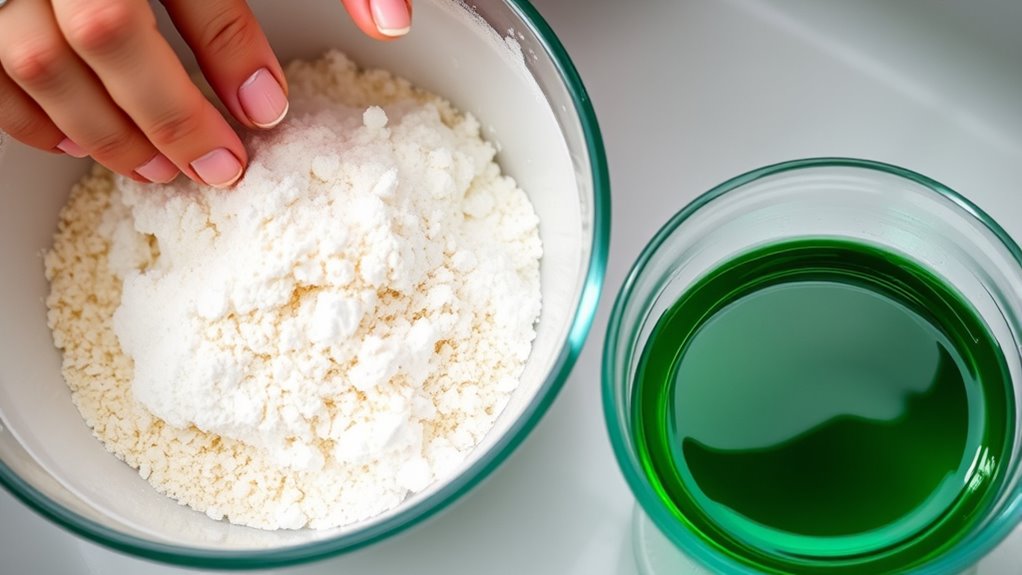
To guarantee your bath bombs form properly and fizz when added to water, you need to carefully combine the dry and wet ingredients. Start by mixing the dry powders—baking soda, citric acid, and Epsom salts—in a large bowl. Confirm they’re evenly blended to prevent clumping. Using fresh ingredients can also impact the fizzing effect of your bath bombs, so be sure to check their quality before mixing. Incorporating proper mixing techniques can help ensure an even distribution of ingredients and a better final product. Additionally, storing your ingredients in air-tight containers can help maintain their potency and effectiveness over time. In a separate container, combine your wet ingredients: oils, water, and any liquid extracts. Slowly drizzle the wet mixture into the dry ingredients while continuously stirring. It’s important to add the wet slowly to avoid activating the citric acid prematurely, which can cause fizzing. Keep mixing until the texture resembles damp sand and holds together when pressed. If it feels too dry, add a few drops of water; if it’s too wet, sprinkle in more dry ingredients. Proper mixing ensures your bath bombs will hold shape and fizz perfectly. Additionally, paying attention to the color accuracy of your ingredients can help create visually appealing bath bombs with vibrant hues.
Mullet High-Speed Cyclone Dust Collector for Shop Vacuum - Sawdust Separator, Dust Collectors for Woodworking, Garage, Hobbyist Debris Extraction
NO MORE CLOGGED FILTERS -- Pre-separates over 99% of debris sending clean air to your shop vac or...
As an affiliate, we earn on qualifying purchases.
Coloring and Fragrancing Your Bath Bombs
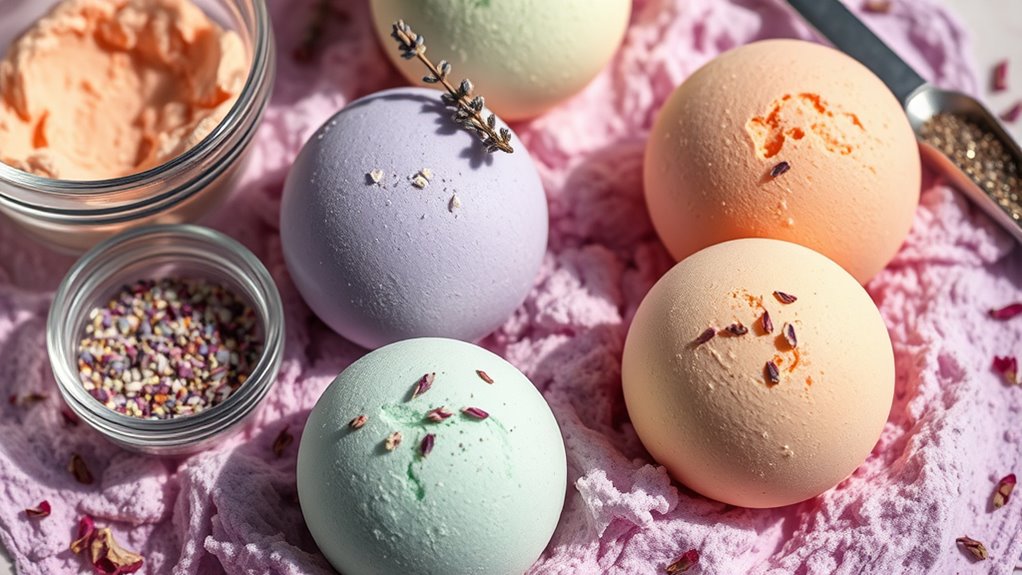
Once you’ve mixed your dry and wet ingredients to the right consistency, it’s time to personalize your bath bombs with color and scent. To do this, add a few drops of food coloring or cosmetic-grade pigments to attain your desired hue. Stir well to guarantee even color distribution. Incorporate essential oils or bath bomb scents, adjusting the amount to your preferred strength. As you mix, imagine the vibrant swirls you’ll create and the calming aroma that will fill your bath. Candy sugar content can influence the overall scent profile if you choose to use natural flavor extracts, enhancing the aromatic experience. Incorporating industry trends can also help you select the most popular fragrances and colors for your creations. Additionally, using high-quality mixing techniques ensures your bath bombs hold their shape and release fragrance effectively. Paying attention to your AI security practices can help protect your designs and formulations from unauthorized use. Remember, understanding spiritual energy can inspire you to craft bath bombs that promote relaxation and emotional well-being.

30 Gallon Flammable Storage Cabinet 35"x21"x21", Galvanized Steel, Flammable Safety Cabinet with Adjustable Shelf for Industrial and Home Use
✅Flammable Storage Cabinet-The flammable liquid storage cabinet is a hazardous storage cabinet with adjustable Shelf. It can store...
As an affiliate, we earn on qualifying purchases.
Molding and Setting Your Bath Bombs
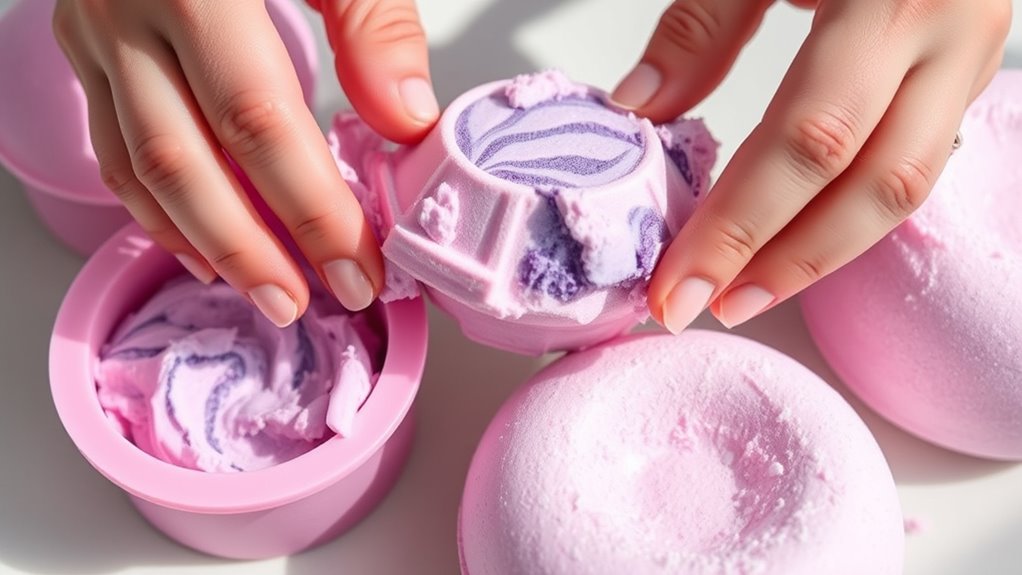
After your mixture reaches the desired color and scent, carefully pack it into your chosen molds. Use firm, even pressure to ensure the mixture compacts well and takes the shape of the mold. Diverse designs available can add a creative touch to your bath bombs, making them unique and personalized. If you’re using a two-part mold, press both halves together firmly, making sure they align properly. Avoid overfilling to prevent spillage or difficulty removing the bath bombs later. If the mixture feels too loose, add a small amount of water or witch hazel, then re-mix gently. Proper molding helps improve the overall appearance and ensures the bath bombs hold their shape and fizz perfectly in the bath. Using the right molding technique can also help prevent cracks or deformities in your finished product. Additionally, ensuring the mixture is evenly distributed can help achieve a more professional look. Properly curing and drying the bath bombs after molding is essential to prevent moisture retention that could cause them to soften prematurely. Allow the molds to sit undisturbed for at least 24 hours, giving the bath bombs enough time to set and harden completely. Proper molding ensures your bath bombs hold their shape and fizz perfectly in the bath.
Finishing Touches and Storage Tips
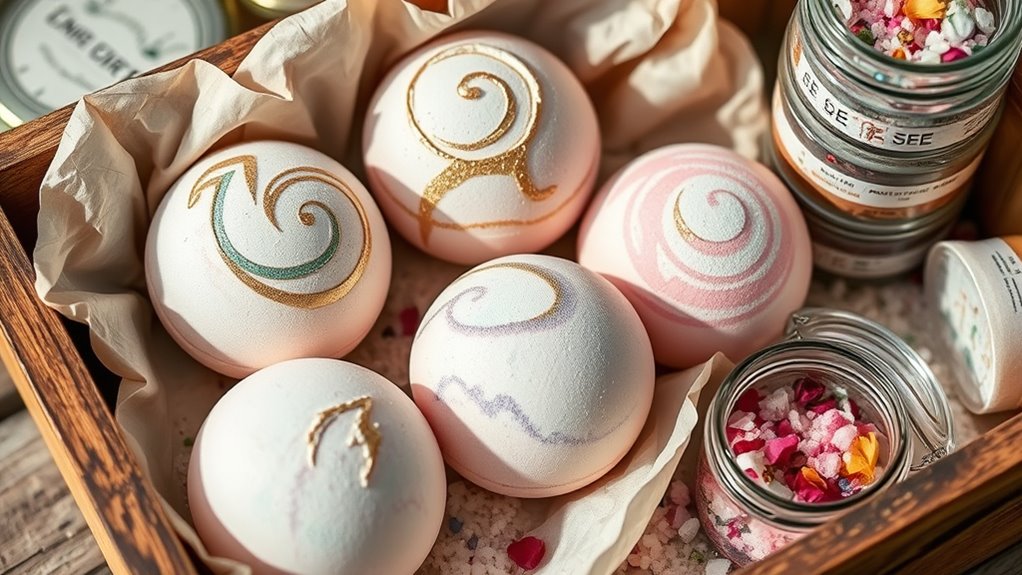
With your bath bombs fully set and hardened, you can focus on adding finishing touches to make them look polished and appealing. You might smooth rough edges with a fine file or add a colorful sprinkle of glitter for sparkle. Using dyes to create vibrant colors can enhance their visual appeal and make them more attractive as gifts. Wrapping them in clear plastic wraps or placing them in decorative boxes enhances their presentation. To prevent damage, store your bath bombs in a cool, dry place away from humidity and direct sunlight. Proper storage maintains their fizz and scent so they stay fresh until use. Consider labeling each with the scent or ingredients for easy identification. These simple steps ensure your homemade bath bombs look professional and last longer, making them perfect for gifting or personal indulgence.
Frequently Asked Questions
How Long Do Homemade Bath Bombs Typically Last?
Homemade bath bombs typically last about 4 to 6 months if stored properly. You should keep them in an airtight container, away from moisture and direct sunlight to maintain their fizz and scent.
Over time, their effectiveness diminishes, and they may lose aroma or become less fizzy. Check for any changes in texture or smell before use, and always store them in a cool, dry place to extend their shelf life.
Can I Customize the Scent Intensity of My Bath Bombs?
You can definitely customize the scent intensity of your bath bombs. To do this, add more or less of your chosen essential oils or fragrances during the mixing process.
If you want a stronger scent, include extra oils; for a milder aroma, use less. Keep in mind that too much oil might affect the fizzing, so find a balance that gives you the fragrance you love without compromising the bomb’s texture.
Are There Any Allergy-Friendly Ingredients I Should Consider?
You should consider allergy-friendly ingredients to keep your bath bombs safe for sensitive skin. Use natural, fragrance-free options like baking soda, citric acid, and cornstarch.
Avoid common allergens such as nuts, synthetic fragrances, and dyes.
Opt for skin-soothing ingredients like oatmeal or aloe vera powder.
Always test your bath bombs on a small skin patch first, and clearly label your ingredients to prevent allergic reactions.
What Are Common Mistakes to Avoid During the Process?
When making bath bombs, you wanna avoid common mistakes like overmixing the ingredients, which can cause fizzing prematurely.
Don’t add too much water or liquid oils, as they can activate the reaction too early.
Make sure to pack the mixture tightly into molds, and avoid rushing the drying process.
Also, steer clear of using incompatible ingredients that could cause skin irritation or compromise the bomb’s structure.
How Can I Make Bath Bombs More Moisturizing?
Making your bath bombs more moisturizing is like adding a splash of luxury to your routine. You can achieve this by incorporating skin-nourishing ingredients like coconut oil, shea butter, or almond oil into your mixture. These oils soften and hydrate your skin, leaving it feeling silky smooth.
Just add a few teaspoons of your chosen oil to the dry ingredients before shaping, and enjoy a more indulgent, moisturizing bath experience.
Conclusion
Now that you know how to make your own bath bombs, you’re all set to create a relaxing oasis at home. Think of it like baking a cake—once you get the hang of it, it becomes second nature. With a little practice, your bath bombs will turn out beautifully fizzy and fragrant, turning your bath time into a spa-like experience. So go ahead, get creative and enjoy your bubbly masterpieces!