
To start painting with acrylics as a beginner, set up a comfortable workspace with good lighting, organized supplies, and a protected surface. Pick a suitable surface like canvas or paper, and apply gesso if needed for a smooth, durable finish. Familiarize yourself with basic colors, brushes, and simple techniques like blending and layering. Keep practicing different strokes and compositions. If you keep exploring, you’ll discover even more ways to create vibrant, stunning art.
Key Takeaways
- Prepare a clean, well-lit workspace with organized supplies and a primed surface like canvas or paper.
- Start with a limited color palette and practice basic brush strokes for control.
- Mix colors thoroughly on the palette, keeping complementary colors separate to avoid muddiness.
- Use wet-on-wet blending and layering techniques to create smooth transitions and depth.
- Experiment freely, focusing on enjoyment and learning rather than perfection.
Gathering Your Materials and Setting Up Your Workspace
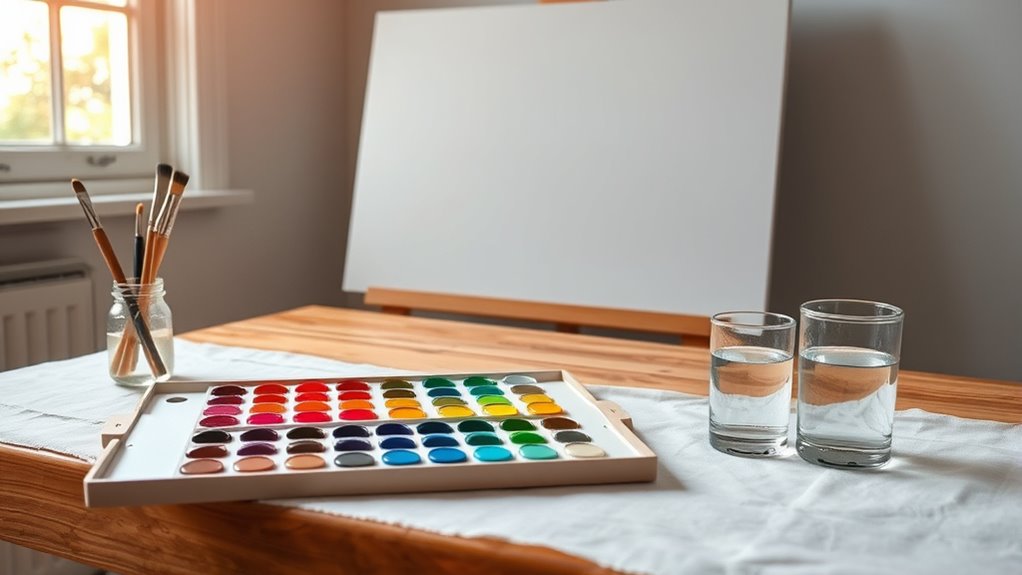
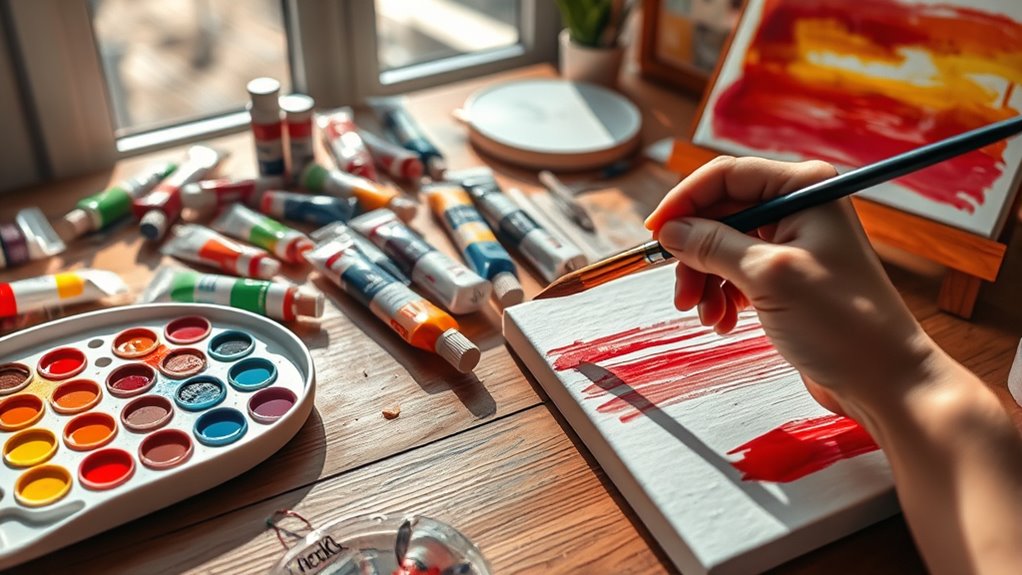
Before you begin painting with acrylics, it’s important to gather all the necessary materials and create a comfortable workspace. Start by collecting your brushes, acrylic paints, palette, water container, paper towels, and a palette knife. Choose a well-lit area with plenty of space to move freely. Make sure your surface is stable and protected with a drop cloth or old newspapers to prevent messes. Organize your supplies within easy reach so you can focus on your painting without interruptions. Adjust the lighting to reduce glare and see your colors clearly. Keep your workspace ventilated, especially when working with paints that have strong odors. A comfortable, clutter-free environment helps you stay focused and enjoy the creative process from the start. Additionally, being aware of personal finance management can help you budget for art supplies effectively and plan for future artistic projects. Creating a dedicated artistic workspace can also enhance your focus and productivity during painting sessions. Incorporating proper lighting setup ensures you see true colors and avoid eye strain, making your painting experience more enjoyable. Considering workspace organization can further streamline your creative process and keep your materials easily accessible.
Understanding Acrylic Paints and Their Properties
Acrylic paints are made of pigment suspended in a plastic binder, giving them quick-drying properties and vibrant colors. You’ll notice that drying times vary depending on thickness, humidity, and temperature, so timing can influence your work. Learning how to mix colors effectively will help you achieve the shades you want and expand your creative options. Incorporating color accuracy into your environment can create a calming atmosphere that enhances your painting experience. Understanding famous quotes about fatherhood can inspire patience and perseverance as you develop your skills. Additionally, being aware of AI in Education advancements can open up new ways of learning and exploring artistic techniques. Recognizing growing trends in art supplies can also help you select the best tools for your projects.
Composition of Acrylics
Understanding the composition of acrylics is essential for mastering their use in your artwork. Acrylic paints are made of pigment particles suspended in a polymer emulsion, which acts as the binder. This binder gives acrylics their quick-drying and flexible qualities. They’re water-based, making cleanup easy and blending straightforward. The pigments determine color richness and opacity, while the binder affects texture and adhesion. To deepen your understanding, consider this table:
| Component | Function |
|---|---|
| Pigments | Provide color and opacity |
| Binder | Holds pigment particles together and adheres to surfaces |
| Water | Thins paint and aids in application |
| Additives | Improve flow, drying time, or texture |
| Fillers | Modify consistency and opacity |
Knowing these parts helps you control your painting process effectively. Additionally, understanding appliance maintenance plans can help preserve your tools and materials used for painting, ensuring longevity and optimal performance. Furthermore, being aware of the composition of acrylics allows artists to select appropriate mediums and additives to achieve desired effects in their work. Recognizing the components also guides you in troubleshooting issues like cracking or poor adhesion during the painting process. Moreover, a solid grasp of material properties can help prevent common problems such as cracking or uneven drying in your artwork. Developing an understanding of pigment characteristics can also assist in mixing colors more effectively and achieving the desired hue and transparency.
Drying Time Factors
The composition of acrylic paints directly influences their drying times. Factors like the type of pigment, binder, and additives determine how quickly the paint evaporates and sets. Additionally, storage conditions can affect the paint’s consistency and drying behavior over time. Thinner applications, such as glazes or washes, dry faster than thick layers. The presence of retarders or slow-drying mediums can extend drying times if you want more working time. Environmental conditions also play a role: higher temperatures and lower humidity speed up drying, while cooler, humid environments slow it down. Using thicker paint or layering wet-on-wet can increase drying periods. Being aware of these factors helps you plan your work better, whether you’re aiming for quick results or more time to blend and adjust your colors.
Color Mixing Basics
Since acrylic paints are versatile and popular among beginners, getting to know their basic properties is essential for successful color mixing. Acrylics are water-based, quick-drying, and retain vibrant color when dry. They can be thinned with water for transparency or used straight from the tube for opacity. Mammography guidelines can influence early detection, much like understanding color properties helps in achieving desired results in painting. Mixing colors is straightforward—combine primary colors to create secondary and tertiary hues. Keep in mind that colors may change slightly as they dry, so it’s helpful to test mixes beforehand. Understanding color temperature is also important; warm colors like red and yellow contrast nicely with cool blues and greens. Additionally, knowing the hydration level of your paints can affect blending and drying times, helping you achieve smoother transitions. Proper paint consistency is crucial for even application and effective blending, especially for beginners. Achieving the right consistency involves understanding how different paint properties influence texture and flow. Being aware of the pigment load can also help in selecting paints that provide better coverage and vibrancy. By mastering these basics, you’ll gain confidence in blending and creating new shades, making your painting process smoother and more enjoyable.
Choosing the Right Brushes and Tools
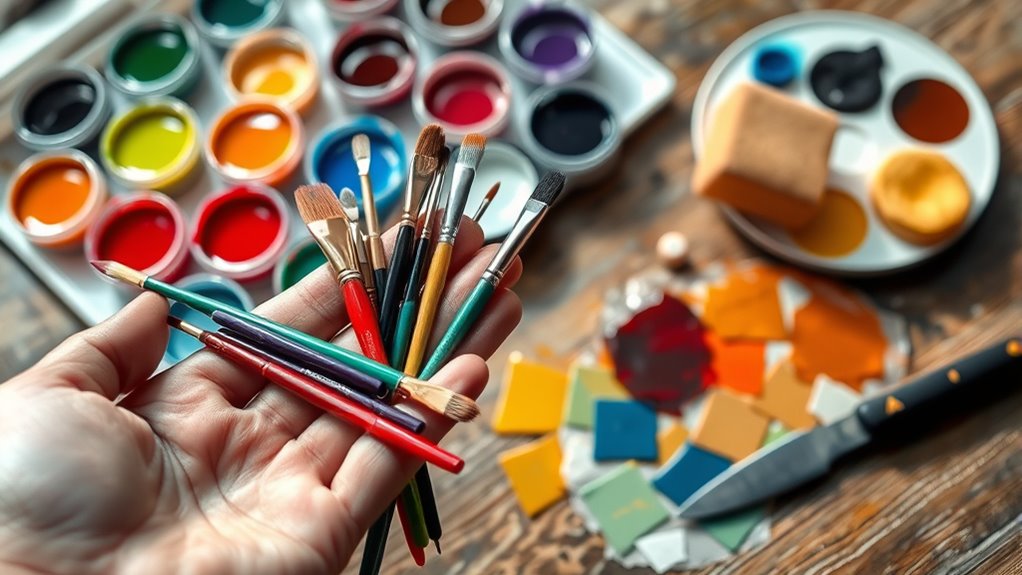
Choosing the right brushes and tools is essential for creating successful acrylic paintings, especially for beginners. Start with basic brush shapes like flat, round, and detail brushes, which cover most techniques. Choose synthetic brushes, as they’re more durable with acrylics and easier to clean. Pick sizes small to medium for better control and versatility. Keep a palette knife handy for mixing colors and adding texture. Use a sturdy palette for mixing, and consider a water container for rinsing brushes quickly. Sponges and rags can help blend or lift paint. Investing in quality tools makes a difference, but you don’t need professional-grade supplies initially. Focus on simple, reliable tools that help you learn and experiment without overwhelming you. Remember that artistic expression can be enhanced by experimenting with different tools and techniques to find what works best for you. Additionally, exploring textile line techniques can inspire creative ways to incorporate mixed media into your artwork. For beginners, practicing with various brush strokes and textures can help develop your skills and confidence in acrylic painting.
Preparing Your Canvas or Painting Surface
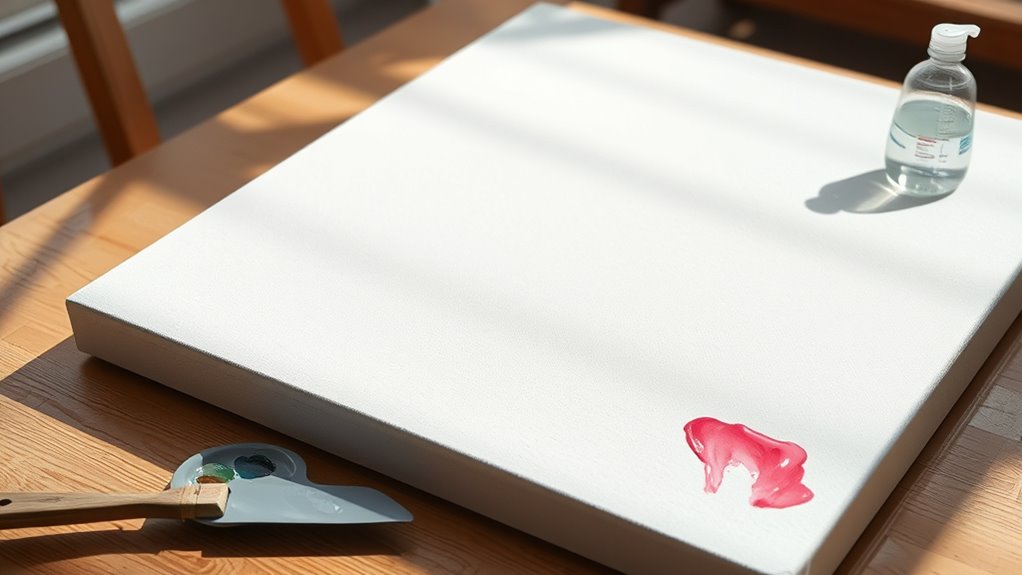
Choosing the right surface sets the foundation for your painting, so consider whether you want a canvas, wood, or paper.
Once you’ve selected it, applying a layer of gesso helps create a smooth, primed surface that accepts acrylics better.
Proper preparation guarantees your artwork lasts and looks its best.
Selecting the Right Surface
Selecting the right surface is essential for achieving the best results with acrylic painting. Your choice of surface affects how the paint adheres and how vibrant your colors appear.
Canvas is the most popular option because it’s durable, absorbs paint well, and offers a professional look. You can also use acrylic paper or MDF panels if you prefer a smoother surface.
Avoid surfaces that are too glossy or non-porous, as they can prevent paint from sticking properly. Make sure your surface is clean and free of dust before you start.
While some surfaces need preparing, others may require priming or gesso, which you’ll learn about later. Picking the right surface sets a strong foundation for your artwork.
Preparing With Gesso
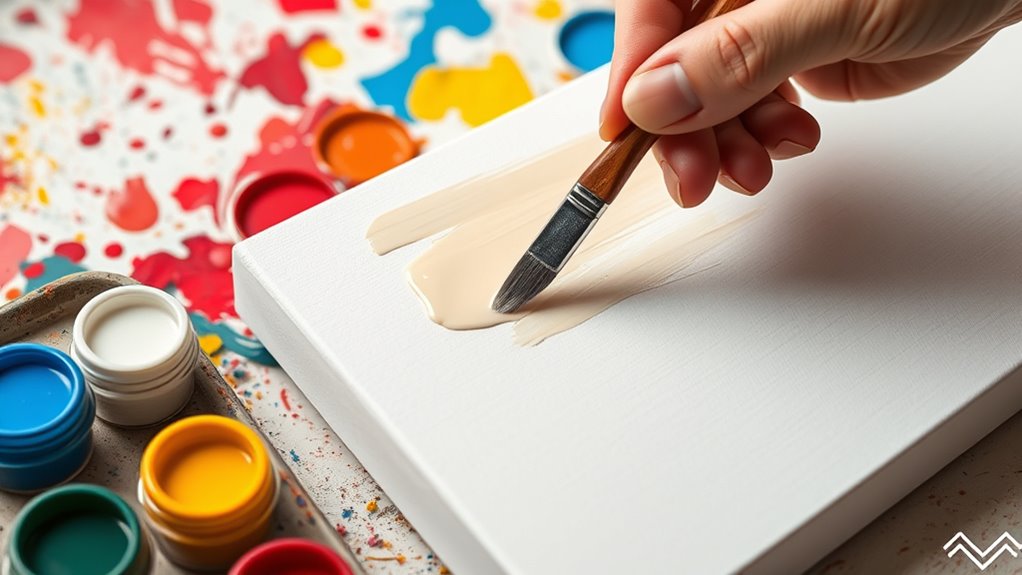
Before you start painting, it’s important to prepare your surface with gesso. Gesso creates a smooth, absorbent base that helps acrylic paint adhere better and lasts longer.
To apply, stir the gesso well and use a wide brush or roller to cover the entire surface evenly. You can add multiple coats if you want a smoother or more textured finish, but wait for each coat to dry completely before applying the next.
Gesso also prevents the paint from soaking into the canvas, giving you more control over your colors. Once the gesso is dry, lightly sand the surface if you prefer a smoother finish.
Proper preparation with gesso ensures your painting will look professional and stand the test of time.
Basic Color Mixing and Palette Setup
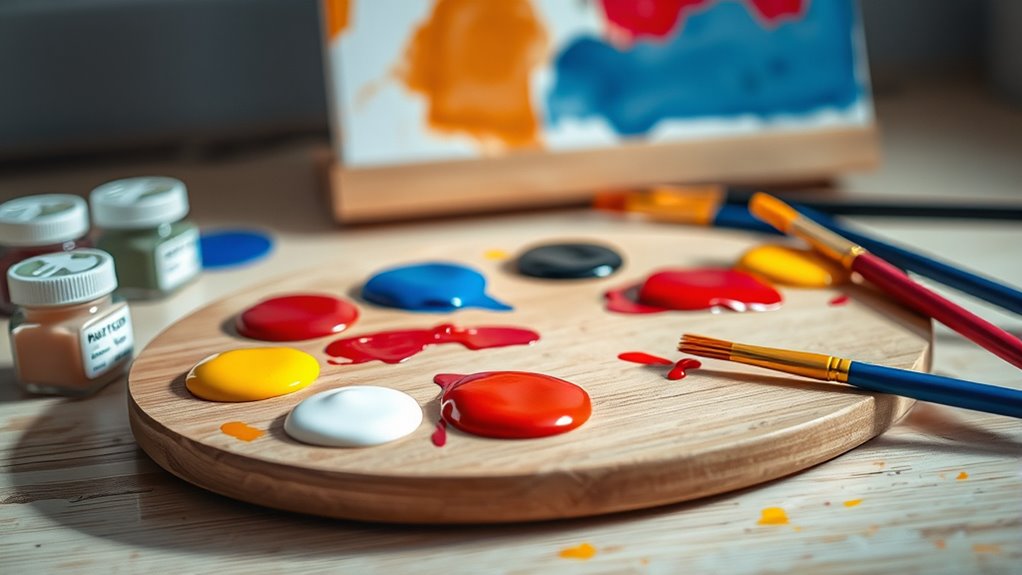
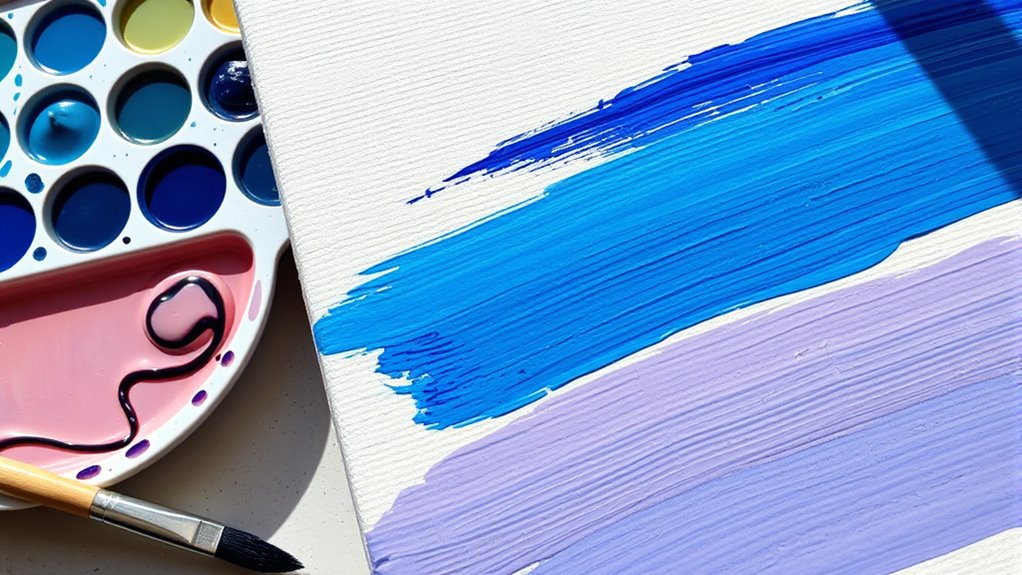
Understanding how to mix colors effectively is essential for creating vibrant and harmonious paintings. Start by setting up your palette with basic colors: white, black, primary red, blue, and yellow. These will give you a wide range of hues.
To create new shades, mix small amounts of two colors on your palette, testing as you go. For example, blending red and yellow produces orange, while mixing blue and yellow makes green. Keep your palette organized—place complementary colors apart to prevent muddying.
Use clean brushes or palette knives to mix consistently. Remember, less is more; start with small amounts and adjust gradually. Mastering color mixing allows you to control the mood and depth of your artwork, giving you more confidence in your painting process.
Starting With Simple Techniques and Strokes
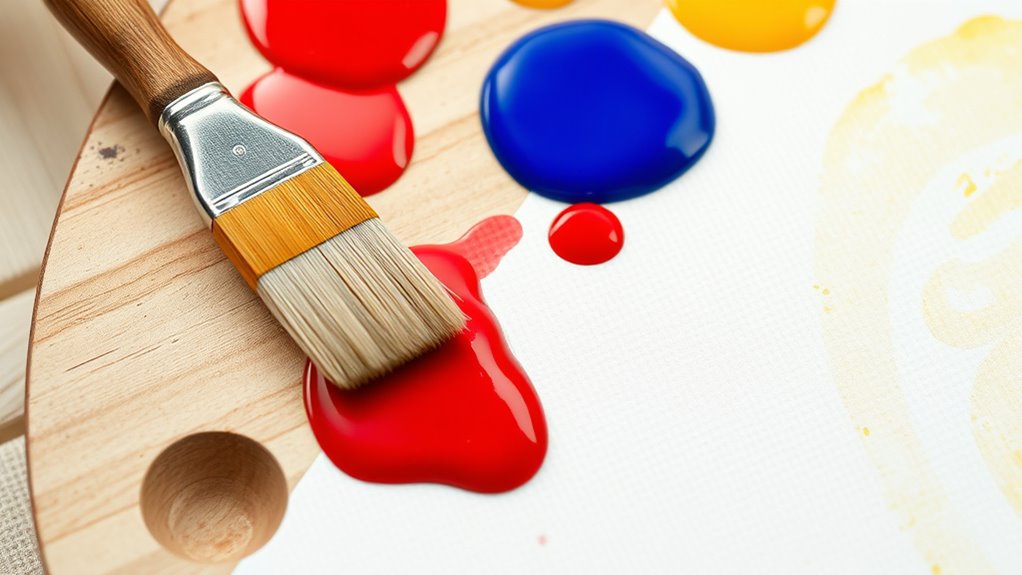
Getting started with simple techniques and strokes is a great way to build confidence in your acrylic painting. Begin with basic brushwork, like smooth, even strokes to cover large areas, and experiment with dabbing or stippling for texture.
Practice making lines, circles, and simple shapes to improve control. Don’t worry about perfection—focus on getting comfortable with how the brush feels and how the paint responds.
Use a limited color palette to keep things straightforward. As you become more familiar, try layering different strokes to see how colors and textures interact.
Experimenting With Blending and Layering
One of the most exciting aspects of working with acrylics is experimenting with blending and layering colors to create depth and richness in your paintings. Start by applying wet paint and gently blending neighboring colors with a clean brush or sponge to achieve smooth gradations.
Don’t be afraid to layer thin washes of color over dried areas to add complexity and visual interest. As you practice, try blending colors directly on your canvas to see how they mix naturally.
Keep in mind that acrylics dry quickly, so work swiftly to blend while the paint remains wet. Layering builds dimension, so let each layer dry before adding new details.
With patience, blending and layering will become powerful tools to enhance your artistic expression.
Incorporating Basic Shapes and Composition
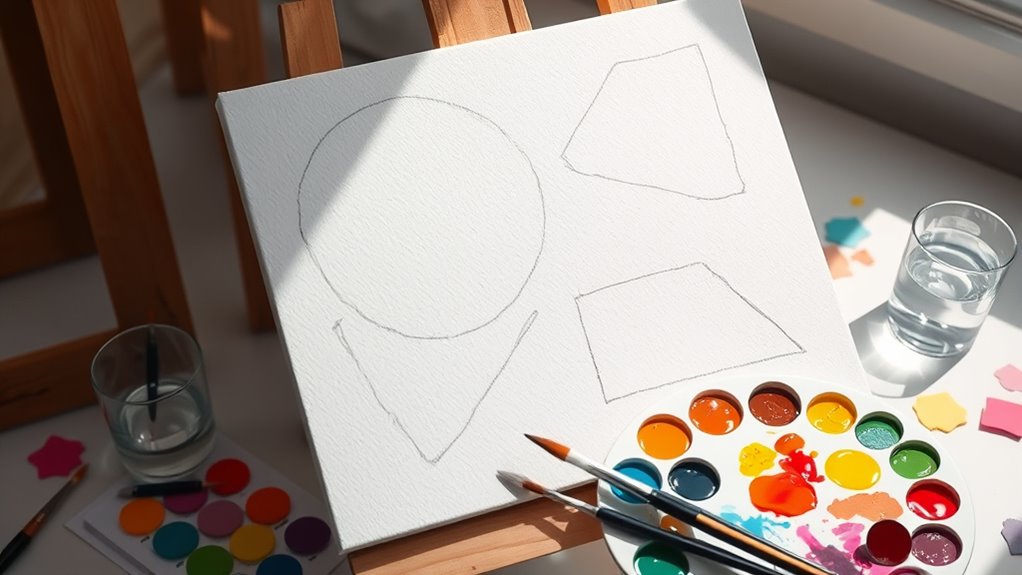
After experimenting with blending and layering, focus on establishing a strong foundation for your composition by incorporating basic shapes. Start by sketching simple forms like circles, squares, and triangles lightly with a pencil. These shapes help you organize the scene and guide your painting process.
Use them to block out the main elements, ensuring proper proportions and placement. Think about how these shapes interact and balance each other within the space. Avoid getting caught up in details too early; instead, concentrate on the overall structure.
This approach makes it easier to adjust and refine as you go. Incorporating basic shapes creates a cohesive composition and builds confidence in your ability to control your artwork from start to finish.
Tips for Cleaning Up and Maintaining Your Supplies
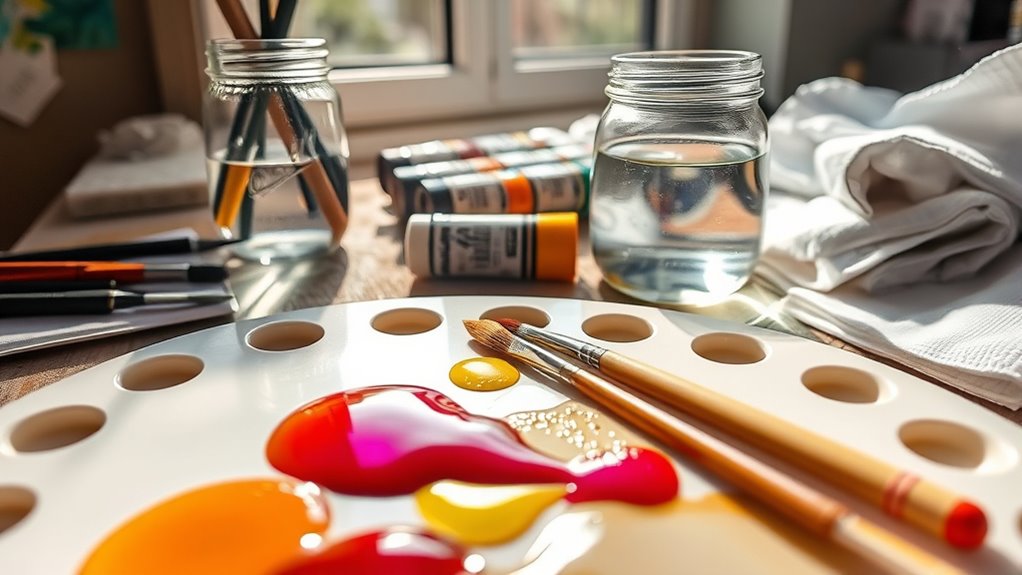
Maintaining your supplies is essential to guarantee they stay in good condition and last longer. Proper cleaning prevents paint buildup and keeps your tools functioning smoothly. After each session, rinse brushes thoroughly with warm water, gently working out any residual paint. Be sure to reshape the bristles and lay brushes flat to dry.
For palettes, wipe away excess paint with a damp cloth or paper towel, then wash with soap and water. Keep your acrylic paints in airtight containers to prevent drying out. Store brushes and tools in a dry, organized space to avoid damage.
To help you visualize, think of your supplies as:
- Soft brushes, like new, ready to paint again
- Clean palettes, free of dried paint blobs
- Well-organized jars, waiting patiently for your next project
Frequently Asked Questions
How Long Does Acrylic Paint Take to Dry Completely?
Acrylic paint usually takes about 15 to 30 minutes to dry to the touch.
Full drying can take anywhere from 1 to 2 hours depending on thickness, humidity, and temperature.
If you apply multiple layers or use thick paint, drying takes longer.
To speed up the process, you can use a hairdryer on a cool setting or work in a well-ventilated, warm space.
Can I Mix Acrylics With Other Types of Paint?
Yes, you can mix acrylics with other types of paint, like oils or watercolors, but it’s not always recommended. Acrylics dry quickly and have different chemical properties, so mixing them can cause issues with adhesion or drying times.
If you decide to combine paints, test on a small area first, and confirm compatibility. Keep in mind that mixing might alter the final look and texture of your artwork.
What’s the Best Way to Correct Mistakes While Painting?
Mistakes are just stepping stones on your creative journey. When you spot an error, act quickly—use a damp cloth or sponge to gently wipe away fresh paint, like erasing a sketch.
For dried paint, apply a small amount of acrylic medium or a color-matching mix to blend or cover it. Remember, patience and gentle corrections turn mishaps into masterpieces, transforming errors into opportunities for artistic growth.
How Do I Prevent Acrylic Paint From Cracking Over Time?
To prevent acrylic paint from cracking over time, you should use high-quality paints and avoid applying thick layers all at once. Make sure to mix your paints thoroughly and let each layer dry completely before adding another.
Incorporate a flexible acrylic medium into your paints to improve elasticity. Keep your artwork away from extreme temperatures and direct sunlight, as these can cause the paint to become brittle and crack.
Are There Specific Brands Recommended for Beginners?
When choosing acrylic paints for beginners, you’ll want reliable brands that offer good quality without breaking the bank. Consider brands like Liquitex Basics, Winsor & Newton Cotman, and Arteza.
These brands provide smooth consistency, vibrant colors, and are easy to work with. You’ll find them widely available online and in art stores.
Starting with these guarantees you have dependable supplies as you learn and develop your skills.
Conclusion
Remember, practice makes perfect, and each stroke teaches you something new. Don’t be afraid to experiment and make mistakes—they’re part of the learning process. Keep your workspace organized, your brushes clean, and your enthusiasm high. With time and patience, you’ll see your skills grow. As the saying goes, “A journey of a thousand miles begins with a single step.” Keep painting, and enjoy every moment of your creative adventure.