To create DIY mosaic art, start by sketching your design and selecting a stable surface like plywood. Organize your tiles by color and shape, then cut and shape pieces with appropriate tools. Applying a thin layer of adhesive, press each piece into place, ensuring they are flush and positioned correctly. Once the adhesive dries, fill the gaps with grout, clean the surface, and seal it for protection. Learn more about perfecting each step to make your mosaic stunning.
Key Takeaways
- Plan your design carefully, including color palette, layout, and surface placement, before starting.
- Prepare and clean a stable, supportive surface, then apply primer to ensure proper adhesion.
- Cut and shape tesserae precisely using appropriate tools to fit your design accurately.
- Use suitable adhesive to set tiles in place, then fill joints with grout, cleaning excess before it dries.
- Seal and maintain the finished mosaic regularly to preserve its appearance and durability over time.

Goldblatt 2 Piece Glass Tile Nippers Set – Heavy Duty Wheeled Glass Mosaic Nipper & Hd Ceramic Tile Nipper, Tile Cutter Pliers Soft-grip Handle – Shapping Plier, Nipper Cutting Tools, Stone, Metal
- Suitable Glass Thickness: Over 1/16 inch (1.5mm)
- Maximum Cutting Thickness: Approximately 3/8 inch (9.5mm)
- Material: Drop forged carbon steel
As an affiliate, we earn on qualifying purchases.
As an affiliate, we earn on qualifying purchases.
Gathering Materials and Planning Your Design

Before you begin your mosaic, it’s essential to gather all the necessary materials and plan your design carefully. Start by choosing your base—wood, concrete, or ceramic—depending on where you’ll display your artwork. Next, collect your tesserae, which can be glass, ceramic, stone, or recycled materials. Consider color schemes and patterns that inspire you, and sketch your design on paper to visualize the final piece. Measure your base to determine the size and layout, ensuring your mosaic fits perfectly. Having all supplies ready before you start helps streamline the process and reduces interruptions. Take your time planning your design; this step will serve as your blueprint, guiding your tile placement and ensuring your mosaic turns out just as you envision. Incorporating sound healing science principles can also inspire calming and harmonious patterns in your artwork. Paying attention to surface preparation ensures your mosaic adheres properly and lasts over time. Additionally, understanding health benefits of juice can inspire natural and vibrant color palettes, enhancing the overall aesthetic. Planning your project around support hours can also help you allocate time more effectively, especially if you need to consult resources or get assistance during your creation process.
Preparing the Surface for Mosaics
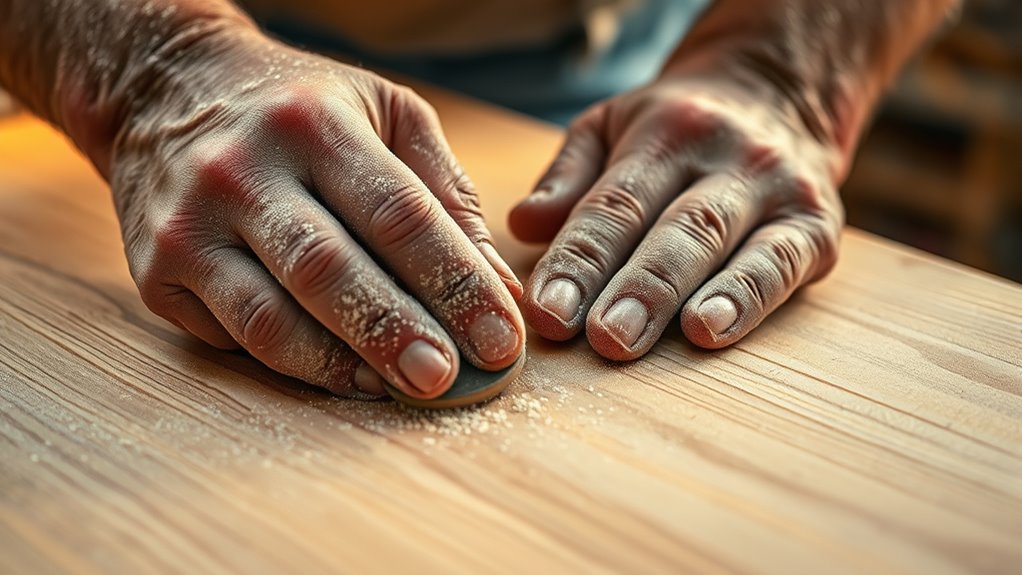
Start by choosing a stable base that can support your mosaic’s weight and shape. Make sure the surface is clean and dry to guarantee proper adhesion. Then, apply a primer layer to help the mortar or adhesive bond better with the surface. For outdoor projects, consider using weather-resistant materials similar to those used in electric dirt bikes to ensure durability. Additionally, selecting a surface with proper drainage can help prevent water damage and prolong the life of your mosaic. Incorporating contrast ratio considerations during surface preparation can also enhance the visual impact of your finished mosaic, ensuring vibrant and detailed images. Ensuring the surface has adequate surface preparation can also improve the overall success of your mosaic project. Using a surface with the right material compatibility can further prevent issues like cracking or detachment over time.
Choose a Stable Base
Choosing a stable base is essential for creating a durable mosaic. Your surface needs to support the weight of the tiles and withstand handling over time. You can use materials like plywood, cement board, or thick cardboard, depending on your project’s location and size. Guarantee the base is flat, even, and free of cracks or protrusions that could cause tiles to shift or break. If necessary, reinforce weaker surfaces with additional backing to prevent warping or bending. A sturdy base provides a solid foundation, making it easier to lay tiles smoothly and maintain alignment. Proper surface preparation is crucial for ensuring the longevity and appearance of your mosaic, as it helps prevent future issues like tile detachment or surface damage. Additionally, selecting a surface with appropriate stability can significantly enhance the durability of your mosaic. Using a properly prepared surface can also improve the ease of tile placement and adhesion. Remember, the more stable your surface, the longer your mosaic will last and look professional. Take time to select and prepare your base properly before you start laying tiles.
Clean and Dry Surface
A clean and dry surface is essential for guaranteeing your mosaic tiles adhere properly and stay in place over time. Dirt, grease, or moisture can prevent the adhesive from bonding correctly, leading to loose tiles or future damage. Before starting, wipe the surface with a damp cloth to remove dust and debris, then dry it thoroughly. To help you visualize, here’s a quick overview:
| Step | Action |
|---|---|
| 1 | Remove dust and dirt |
| 2 | Guarantee surface is completely dry |
| 3 | Check for any grease or residue |
Taking these steps creates a solid foundation, making your mosaic more durable and professional-looking. Proper surface preparation plays a critical role in mosaic longevity and quality. Ensuring the surface is free of contaminants enhances adhesion and prevents future issues with tile stability. Additionally, addressing relationship issues such as trust problems or emotional patterns can contribute to a more focused and stress-free crafting process. Maintaining a clean workspace also minimizes the risk of debris interfering with the adhesive bond. Preparing the surface thoroughly can also help prevent future damage and ensure that your mosaic remains beautiful for years to come.
Apply a Primer Layer
Once your surface is clean and dry, applying a primer layer helps guarantee your mosaic tiles adhere evenly and securely. The primer creates a uniform base, improving the bond between your surface and the adhesive. Choose a primer suitable for your material—whether it’s wood, concrete, or drywall. Use a brush or roller to apply a thin, even coat, covering the entire area where you’ll place your tiles. Allow the primer to dry completely according to the manufacturer’s instructions before proceeding. Proper surface preparation is essential for achieving high-quality results in mosaic art. This step minimizes the risk of tiles coming loose or uneven adhesion. Taking the time to properly prime your surface ensures your mosaic will be more durable and professional-looking, making your project much easier to complete successfully. Additionally, surface integrity plays a crucial role in the longevity of your mosaic, so ensuring the surface is stable and well-prepared will lead to a more satisfying finished piece.
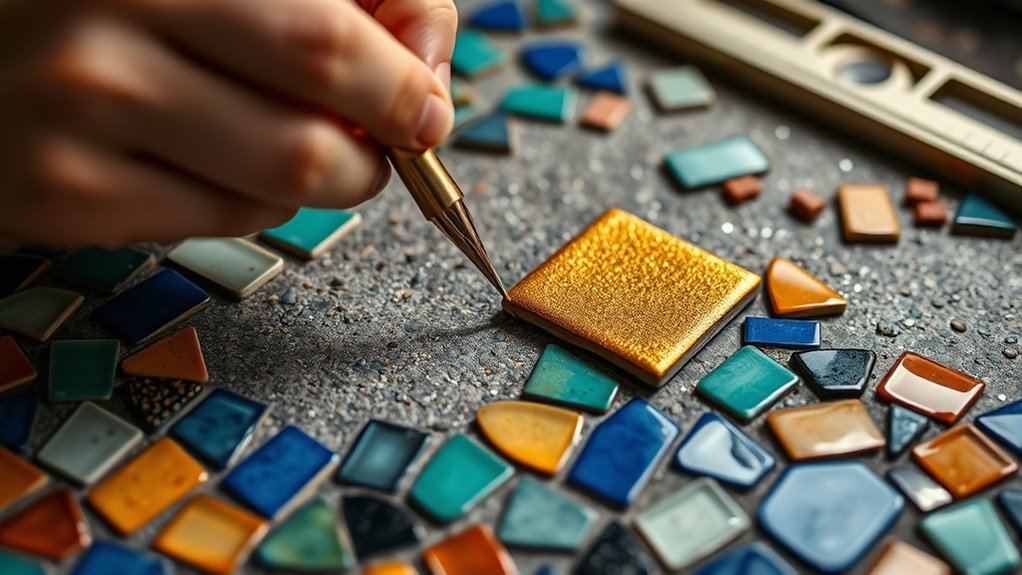
Cutting and Shaping Your Mosaic Pieces
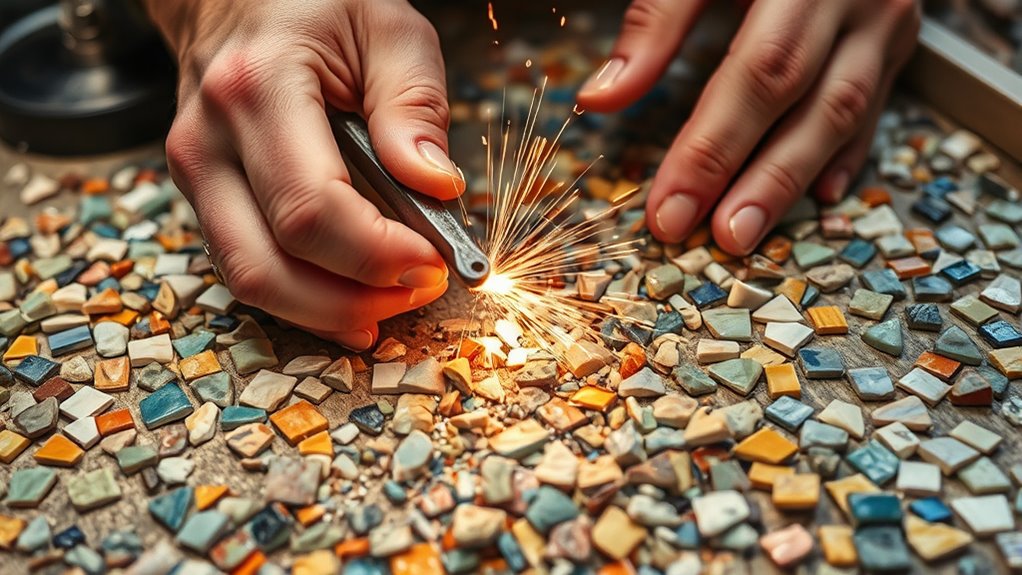
To create precise mosaic pieces, you need to cut and shape your materials carefully. Start by choosing the right tools, like tile nippers or a glass cutter, based on your material. Use a pencil to mark the spots where you’ll make cuts, guaranteeing accuracy. When cutting, apply steady pressure and work slowly to avoid breaking or chipping. For irregular shapes or edges, gently nudge the pieces with tile nippers, trimming little by little. If you’re working with glass, wear safety glasses and gloves to protect yourself. Shaping edges or creating curves requires patience; gently file or sand rough edges for a smooth finish. Taking your time ensures each piece fits perfectly within your design, making your mosaic look professional and polished.
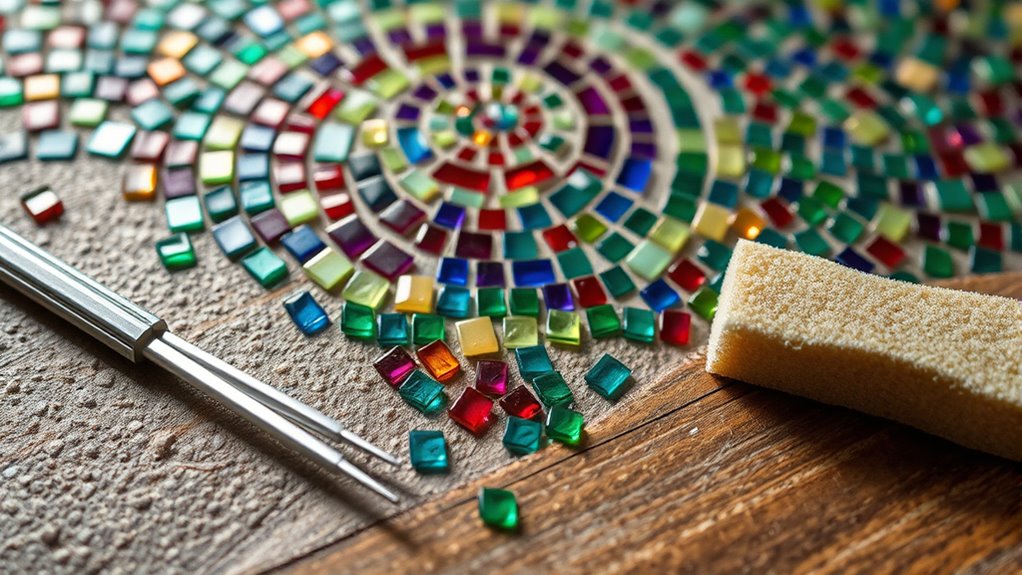
Arranging Your Design Before Adhesion
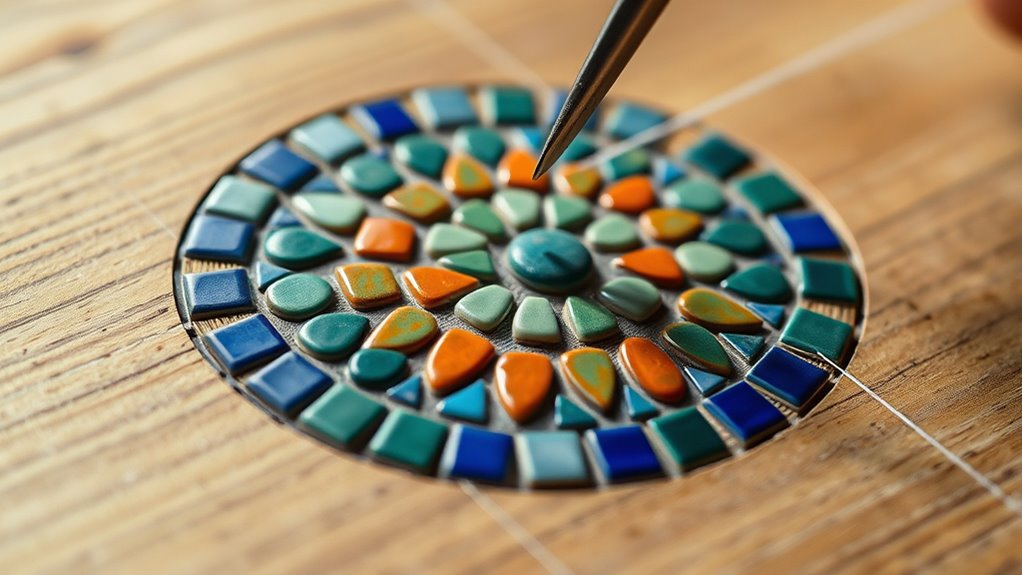
Before applying adhesive, carefully arrange your mosaic pieces on your surface to visualize the final design. Take your time to experiment with different layouts, colors, and shapes to see what works best. Move pieces around until you’re satisfied with the overall look, paying attention to spacing and balance. This step helps prevent mistakes and guarantees your design flows smoothly. Use small piles or trays to organize your pieces by color or shape, making it easier to pick and place them during assembly. Remember, it’s easier to adjust your pattern now than after the adhesive is applied. Trust your eye, and don’t rush—this planning stage is vital for creating a cohesive and visually appealing mosaic.
Applying Adhesive and Setting Your Tiles
How do you guarantee your tiles stay securely in place? First, choose the right adhesive for your project—something strong yet suitable for your surface. Spread a thin layer of adhesive on the back of each tile or directly onto your base using a notched trowel for even coverage. Gently press each tile into your design, ensuring it sits flush and aligned with neighboring tiles. Apply consistent pressure to secure the tiles without shifting them out of position. Keep a close eye on spacing, adjusting as needed before the adhesive sets. Once all tiles are in place, gently tap them down with a rubber float or similar tool to ensure they’re firmly adhered. Now, let the adhesive cure according to the manufacturer’s instructions before moving on to grouting.
Grouting and Cleaning to Finish Your Artwork

Once you’ve set your tiles, applying grout properly helps hold everything in place and creates a smooth surface. After grouting, you’ll need to clean off any excess and seal your work to protect it. Taking these steps guarantees your mosaic looks polished and lasts for years.
Applying Grout Properly
Applying grout is a crucial step to guarantee your mosaic tiles stay securely in place and your artwork looks polished. To do this effectively, spread the grout diagonally across the mosaic surface, pressing it into the gaps between tiles. Use a rubber float or spatula to work the grout into all joints, ensuring even coverage. Once the grout begins to set, remove excess with a damp sponge, cleaning the tile surfaces without disturbing the joints. For best results, consider these tips:
- Work in small sections to prevent the grout from drying too quickly.
- Use a moist sponge to smooth out grout lines and remove haze.
- Allow the grout to cure for the recommended time before final cleaning or sealing.
Cleaning and Sealing
After the grout has fully cured, it’s time to clean the surface to remove any haze and residue. Use a damp sponge or soft cloth to gently wipe the mosaic, working in circular motions. Avoid using harsh cleaners, as they can damage the grout or tiles. If haze remains, mix a solution of vinegar and water (1:1) and gently scrub the surface, then rinse with clean water. Once the mosaic is clean and dry, apply a sealant designed for mosaics or tiles to protect your artwork from stains and moisture. Follow the manufacturer’s instructions for application and drying time. Sealing enhances durability and gives your mosaic a polished, professional look. Regular cleaning and sealing will keep your mosaic vibrant and in great condition for years to come.
Displaying and Maintaining Your Mosaic Piece
To guarantee your mosaic artwork remains a striking focal point, carefully consider how you display and maintain it. Proper placement enhances its beauty and prevents damage. First, choose a stable, sheltered location away from direct sunlight, which can fade colors over time. Second, use a sturdy frame or stand to support the piece and prevent accidental falls. Third, regularly clean your mosaic with a soft, damp cloth to remove dust and dirt, avoiding harsh chemicals that could harm the grout or tiles. Additionally, inspect your mosaic periodically for cracks or loose tiles, and address issues promptly. Proper display and maintenance ensure your DIY mosaic stays vibrant and intact, allowing you to enjoy your creative effort for years to come.
Frequently Asked Questions
What Are the Best Types of Adhesives for Outdoor Mosaic Art?
When choosing adhesives for outdoor mosaic art, you want something durable and weather-resistant. You should opt for a high-quality, flexible thin-set mortar or epoxy adhesive formulated for outdoor use. These adhesives bond well with various surfaces, resist moisture, and withstand temperature changes. Make sure to follow the manufacturer’s instructions for proper application and curing time. This way, your mosaic stays intact and vibrant despite outdoor conditions.
How Can I Fix Broken or Chipped Mosaic Tiles Effectively?
Imagine your mosaic as a delicate symphony, where each tile plays a crucial note. When tiles break or chip, you’re the conductor restoring harmony. Carefully remove the damaged piece, clean the area, and apply a strong adhesive like epoxy or tile glue. Press the tile back into place, holding it steady until it bonds. With patience, your mosaic will regain its rhythm, shining with renewed beauty and resilience.
What Safety Precautions Should I Take During Cutting and Shaping Tiles?
When cutting and shaping tiles, you need to prioritize safety to avoid injuries. Always wear safety goggles to protect your eyes from shards, and use a dust mask to prevent inhaling tiny particles. Wear gloves to guard your hands, and work in a well-ventilated area. Keep your workspace clear of clutter, and use proper tools with caution. Taking these precautions guarantees you stay safe throughout your mosaic project.
How Do I Choose the Right Grout Color for My Design?
Choosing the right grout color is like selecting the perfect frame for a masterpiece—you want it to enhance, not overpower. Think about your design’s mood: light grout brightens and creates a seamless look, ideal for modern or airy styles. Dark grout adds drama and depth, perfect for bold, intricate patterns. Consider your tile colors and the overall vibe you’re after, and let your vision guide your choice.
What Are Eco-Friendly Options for Mosaic Materials?
When choosing eco-friendly mosaic materials, you can opt for recycled glass or ceramic tiles, which reduce waste and conserve resources. Bamboo or cork bases offer sustainable support options. You might also consider natural stone or biodegradable adhesives that are non-toxic. By selecting these environmentally conscious materials, you help protect the planet while creating beautiful, unique mosaic art. It’s a rewarding way to craft responsibly and stylishly.
Conclusion
Now that you know the steps to create your own mosaic art, are you ready to bring your vision to life? With patience and creativity, you can craft a stunning piece that reflects your style. Remember to enjoy the process, from planning to cleaning. So, why not start today and turn ordinary materials into extraordinary artwork? Your unique mosaic masterpiece is just a few steps away—dive in and get creative!