
To make your own DIY diffuser, start by gathering a clean container, reeds or bamboo sticks, and your favorite essential or fragrance oils. Mix the oils with a carrier if needed, then carefully pour the blend into the container. Insert the reeds, ensuring they’re submerged in the oil, and arrange them for proper airflow. Place your diffuser in a suitable spot for even scent dispersion. Explore the steps further to customize your perfect diffuser setup.
Key Takeaways
- Gather a suitable container, diffuser sticks, essential oils, and optional carrier oils to assemble your diffuser base.
- Mix and prepare fragrance oils, then pour them into the diffuser container using a funnel or pipette.
- Select and insert reeds or bamboo sticks into the oil, adjusting the number for desired scent strength.
- Position the diffuser in a central, draft-free spot away from direct sunlight for optimal scent dispersal.
- Flip reeds regularly, refresh oils, and keep the diffuser clean to maintain consistent aroma diffusion.
Gather Your Materials and Supplies
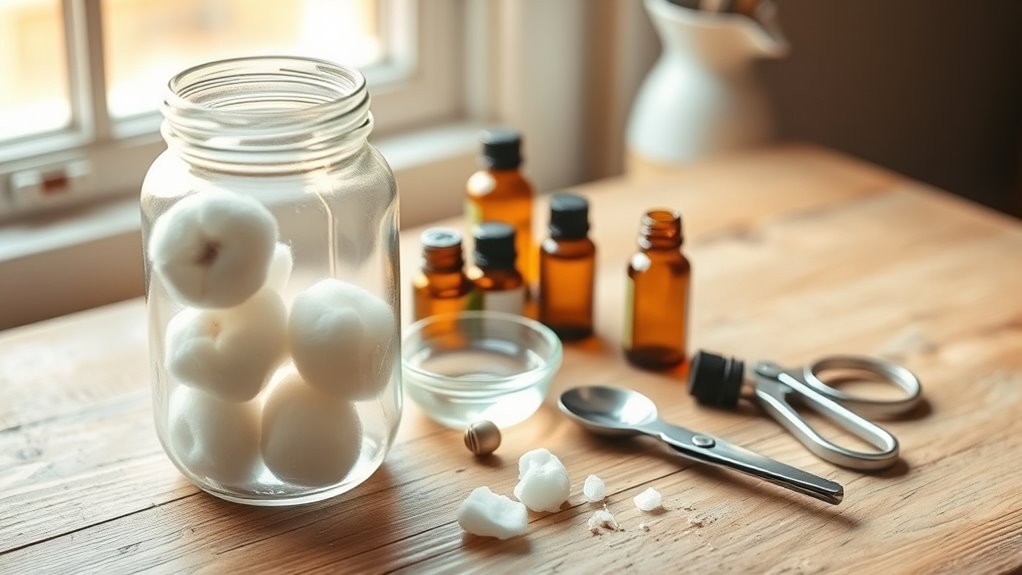
Before you begin building your diffuser, you’ll need to gather all the necessary materials and supplies. Start with a clean container, such as a glass bottle or ceramic jar, to serve as your diffuser base. You’ll also need a set of reed sticks or bamboo skewers for fragrance dispersion. Choose essential oils or fragrance blends you’ll want to diffuse—make sure you have enough for multiple uses. Additionally, get carrier oil like almond or jojoba oil if you prefer a diluted scent. Don’t forget a small funnel for easy pouring and a measuring cup or pipette for precise oil transfer. Finally, have paper towels or cloths handy for any spills or cleanup. Having everything ready guarantees a smooth DIY process without interruptions. Using diffuser materials that are compatible ensures safety and effective scent diffusion. Incorporating safety precautions will help prevent accidents during your DIY project. It’s also helpful to research proper diffuser maintenance to keep your diffuser functioning optimally over time. Considering appropriate essential oils can enhance your diffuser’s effectiveness and aroma.
Choose and Prepare Your Fragrance Oils
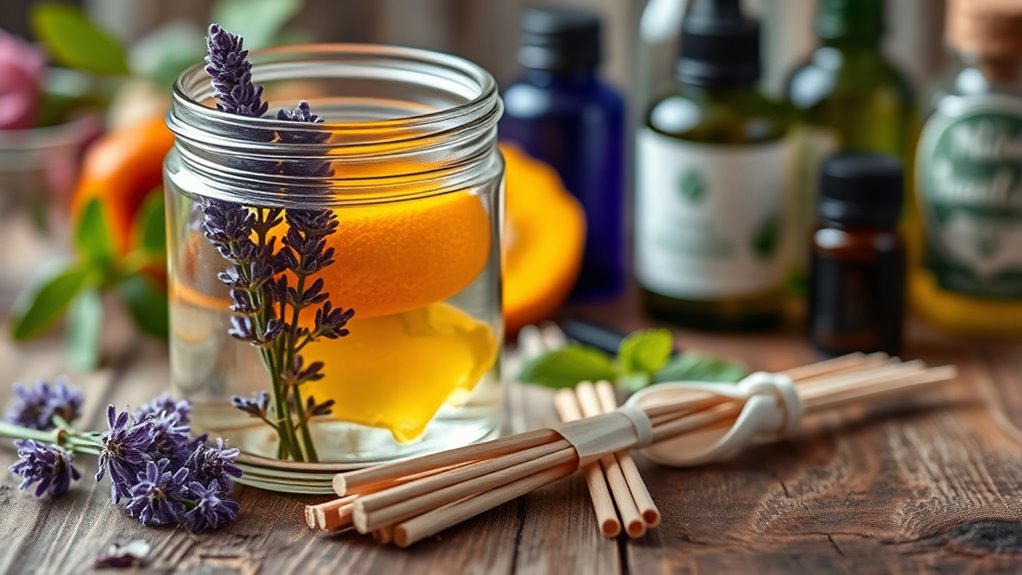
Selecting the right fragrance oils is essential for creating a pleasing diffuser. You want scents that are uplifting, calming, or whatever mood you aim to evoke. When choosing oils, consider their strength; some fragrances are more potent and may require less to avoid overwhelming the space. To prepare, measure out your oils carefully—usually a ratio of about 20-30 drops per ounce of carrier solution works well. If you want to customize your scent, mix different oils beforehand to create a balanced blend. Always perform a patch test by smelling a small amount to ensure you like the combination. Incorporate essential oil safety measures into your preparation to ensure proper use and storage. Proper storage in a cool, dark place helps preserve their scent until you’re ready to use them in your diffuser. Additionally, understanding aromatherapy benefits can help you select oils that promote specific feelings or health benefits. Being aware of diffuser types can also help you choose the most suitable diffuser for your oils and space. Knowing the essential oils for specific health concerns can further tailor your choices to support your wellbeing effectively.
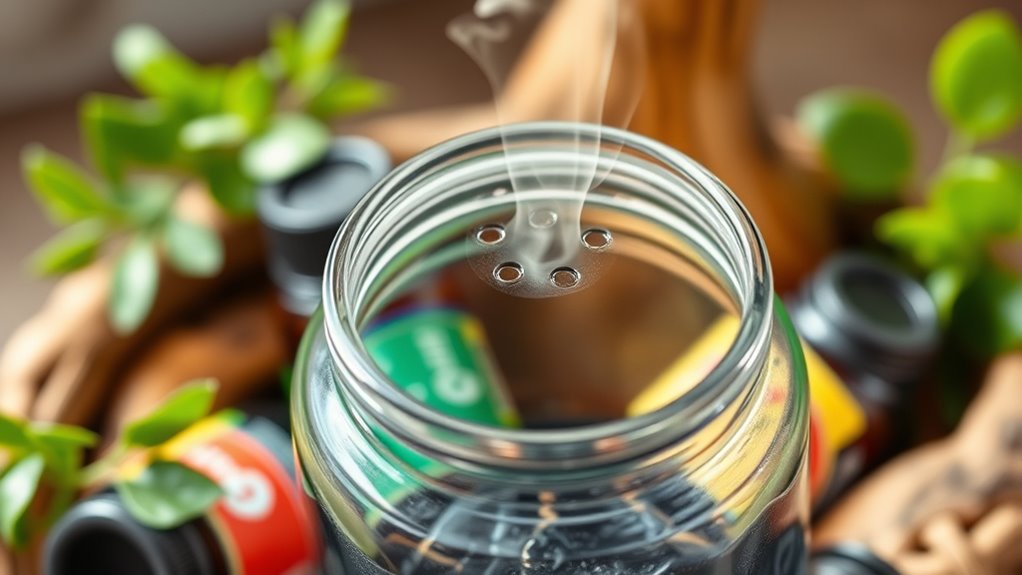
Assemble the Diffuser Base
When assembling the diffuser base, choose a material that’s both durable and safe for your environment. Consider the shape and size that will best fit your space and allow easy diffusion of scents. Keep these tips in mind to guarantee your diffuser functions effectively and looks great. Additionally, selecting eco-friendly materials supports sustainability and reduces environmental impact. Ensuring the material’s safety is essential for a healthy environment and long-lasting use. Using non-toxic materials can further enhance safety and prevent any potential health issues. Choosing materials that are renewable resources can also contribute to a more sustainable and eco-friendly diffuser.
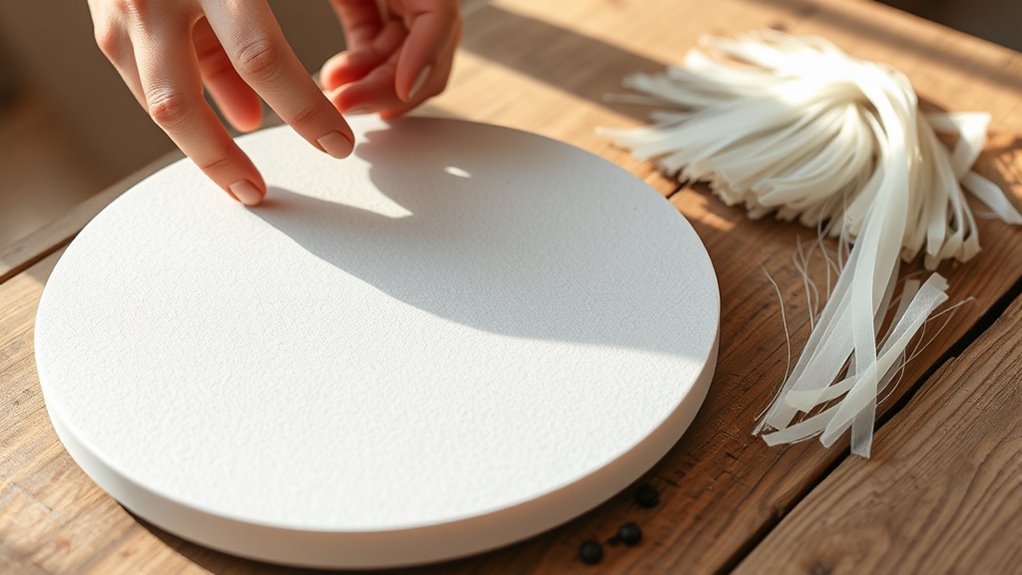
Select Suitable Material
Choosing the right material for your diffuser base is essential to guarantee durability and effective light diffusion. You want something sturdy enough to hold the diffuser evenly, yet capable of diffusing light softly. Common options include plastic, cardboard, or thin wood sheets. Plastic offers durability and a smooth surface, making it easy to work with. Cardboard is lightweight and inexpensive but might lack longevity. Thin plywood or craft wood provides strength and a professional look. Consider how much light you want to diffuse; some materials spread light more evenly than others. Ensure the material is non-flammable and safe to handle, especially if you plan to use it near heat sources. Using electric bikes for power tools or lighting setups can also be a sustainable choice. Picking the right base material ensures your diffuser functions well and lasts longer. Additionally, selecting eco-friendly or sustainable materials can help minimize environmental impact and align with responsible practices.
Shape and Size Tips
Determining the right shape and size for your diffuser base is key to achieving even light distribution and a professional appearance. Start by considering the size of your light source and the space you want to cover. A larger diffuser spreads light more evenly but may be bulkier, while a smaller one offers more control but less coverage. Rectangular or square shapes work well for broad areas, while circular designs are versatile for different setups. Keep in mind that the diffuser should be proportionate to your light source, avoiding too much excess material that can cause uneven light or shadows. Test different sizes and shapes with scrap materials first to see which provides the most uniform diffusion before committing. Additionally, understanding light diffusion principles can help you select the optimal shape and size for your project. Incorporating diffuser materials with optimal light transmission properties can further enhance your results. Knowing how diffusion efficiency impacts light spread can help you make more precise choices to achieve the desired effect. Experimenting with different headphone jack types can ensure compatibility across various devices during your setup process. Being aware of size ratios can help you balance coverage and control more effectively.
Mix and Pour Your Essential Oil Blend
Once you’ve prepared your essential oil blend, it’s time to mix and pour it into your diffuser. Carefully transfer your mixture to the diffuser’s reservoir, ensuring you don’t spill. Use a small funnel if needed for accuracy. To help visualize your process, here’s a quick guide:
| Step | Action | Tip |
|---|---|---|
| 1 | Pour blend slowly | Avoid spills |
| 2 | Fill to recommended level | Follow diffuser instructions |
| 3 | Secure the lid | Prevent evaporation |
Take your time to ensure the oils are evenly distributed. Once filled, replace the lid securely, and you’re ready to enjoy your aromatic environment. Proper pouring guarantees a steady, long-lasting diffuser experience.
Insert Reeds or Diffuser Sticks
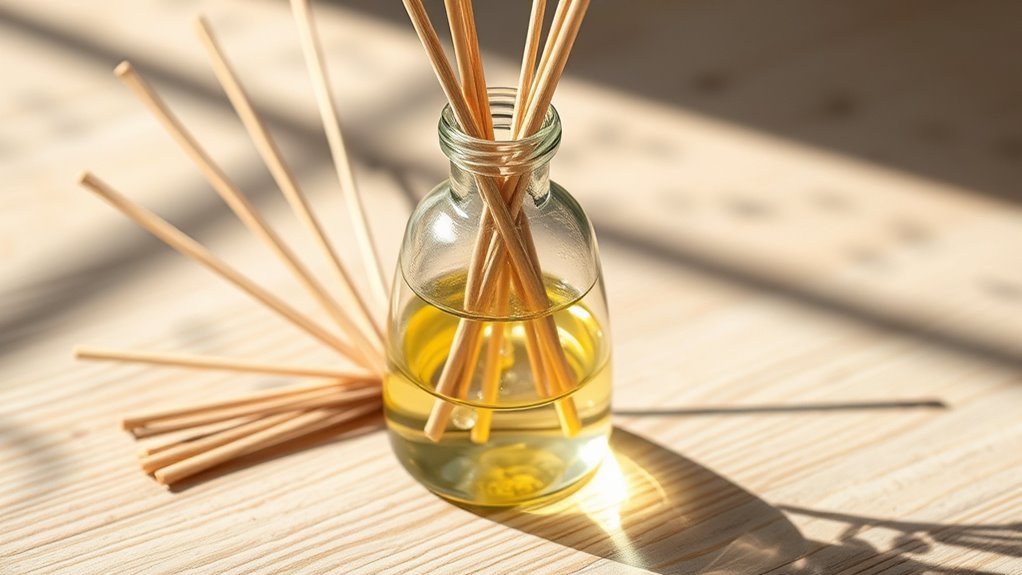
After filling your diffuser with the essential oil blend, insert the reeds or diffuser sticks into the opening, ensuring they sit upright. Gently push them down so the ends are submerged in the oil. The reeds will absorb the oil and draw it up through capillary action, releasing the aroma into the air. If you want a stronger scent, add more reeds — just remember that more sticks increase the diffusion rate. Flip the reeds every few days to refresh the scent and maintain a consistent aroma. Make sure the reeds are evenly spaced to allow air to circulate and the scent to disperse evenly. Keep the diffuser in a central location, away from direct sunlight or drafts, which can affect how the scent disperses.
Place and Enjoy Your Personalized Aroma

Find a spot where your diffuser won’t be disturbed and can subtly fill the room. Keep it away from direct sunlight or drafts that might affect the scent. Once in place, relax and enjoy the calming aroma it creates.
Place for Best Effect
To maximize the benefits of your diffuser, place it in a location where the aroma can disperse evenly and effectively. Choose a central spot in your room, away from direct sunlight or drafts, which can interfere with scent distribution. Avoid placing it near vents, windows, or open doors, as airflow can diminish the aroma’s strength. A stable surface like a table or shelf at a moderate height allows the scent to spread naturally throughout the space. Keep it away from clutter or objects that might block the scent’s path. By selecting an ideal location, you ensure the aroma fills your space consistently, creating a calming atmosphere and making your DIY diffuser more effective.
Enjoy Your Scented Space
Once you’ve placed your diffuser in the ideal spot, it’s time to enjoy the fruits of your effort. Breathe in deeply and appreciate the personalized aroma filling your space. Whether it’s calming lavender, invigorating citrus, or cozy vanilla, your chosen scent sets the mood. Keep the diffuser away from direct sunlight and drafts to maintain its effectiveness. Turn it on and let the aroma gently disperse, creating a welcoming environment. You can enhance the experience by adjusting the diffuser’s intensity or adding more scent oils if needed. Take a moment to relax and soak in the calming ambiance. Your customized diffuser not only freshens your space but also elevates your mood, making your environment uniquely yours.
Frequently Asked Questions
Can I Reuse Diffuser Sticks From Store-Bought Diffusers?
You can reuse diffuser sticks from store-bought diffusers, but it’s not always ideal. Over time, the sticks absorb scented oils and may become clogged or less absorbent. To reuse them, clean the sticks thoroughly with warm water and let them dry completely. Keep in mind, used sticks might not absorb new oils as well, so consider replacing them for the best scent diffusion and to avoid mixing scents.
How Often Should I Flip the Reeds for Optimal Scent Diffusion?
You should flip your diffuser reeds about once a week for ideal scent diffusion. This refreshes the scent and helps it spread evenly throughout your space. If you notice the scent diminishing sooner, consider flipping them more frequently, like every 3-4 days. Keep in mind, over-flipping can cause quicker evaporation, so find a balance that maintains a pleasant aroma without wasting your diffuser oils.
Are There Any Safety Tips for Handling Essential Oils?
You might worry about safety when handling essential oils, but with a few simple tips, you’ll be fine. Always dilute essential oils with a carrier oil before use to prevent skin irritation. Work in a well-ventilated area, and avoid contact with your eyes or mucous membranes. Keep oils out of reach of children and pets, and store them in dark, airtight bottles. Following these precautions keeps your DIY diffuser safe and enjoyable.
What Should I Do if the Fragrance Is Too Strong or Weak?
If your diffuser’s fragrance is too strong, you can dilute the scent by adding more water or essential oil to balance it out. For a weaker aroma, add a few more drops of essential oil, but don’t overdo it—start small and adjust gradually. Always test the scent before adding more. Remember, finding the right strength takes a bit of experimentation, so stay patient and tweak as needed.
Can I Customize the Diffuser’S Appearance With Decorative Elements?
You can definitely personalize your diffuser’s appearance with decorative elements. Add colorful or textured items like small stones, dried flowers, or beads around the base or inside the container. Wrap it with twine, ribbon, or washi tape for a personal touch. Attach charms or stickers that match your style. Just guarantee any decorations don’t block the diffuser’s vents or absorb the fragrance, so it works effectively and looks stylish.
Conclusion
Now that you’ve created your DIY diffuser, you might wonder if it truly spreads the calming scents you love. Surprisingly, some studies suggest that aromatherapy can influence mood and reduce stress. So, not only have you personalized your space, but you’ve also tapped into a natural way to boost your well-being. Keep experimenting with different oils—you might find your diffuser becoming your secret weapon against daily tension. Enjoy your new, fragrant sanctuary!