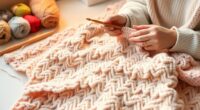
To knit a simple scarf for beginners, start by gathering soft, medium-weight yarn and size 8 or 9 knitting needles. Make a slip knot, cast on stitches, then practice the basic knit stitch across rows, maintaining even tension. Keep track of progress with markers or counts, and focus on creating consistent stitches for an even fabric. When finished, bind off, weave in loose ends, and care for your project. If you continue, you’ll discover more tips to perfect your scarf.
Key Takeaways
- Choose soft, medium-weight yarn and size 8 or 9 knitting needles for easy handling.
- Cast on stitches using a simple slip knot and maintain even tension throughout.
- Knit every row (garter stitch) for a basic, textured scarf suitable for beginners.
- Use stitch markers to track rows and ensure consistent stitch size.
- Bind off, weave in loose ends, and gently wash and block your finished scarf for a polished look.

FUJA Commercial Embroidery Machine with 10 Needles, 1200 SPM Max Speed, 9.5" × 14.2" Large Embroidery Area for Small Business & Beginners – Built for Hats, Caps, Flats, T-Shirts & Patches
【Upgrade Your Small Business with 10-Needle Power】: Stop wasting time on manual thread changes! With 10 needles running...
As an affiliate, we earn on qualifying purchases.
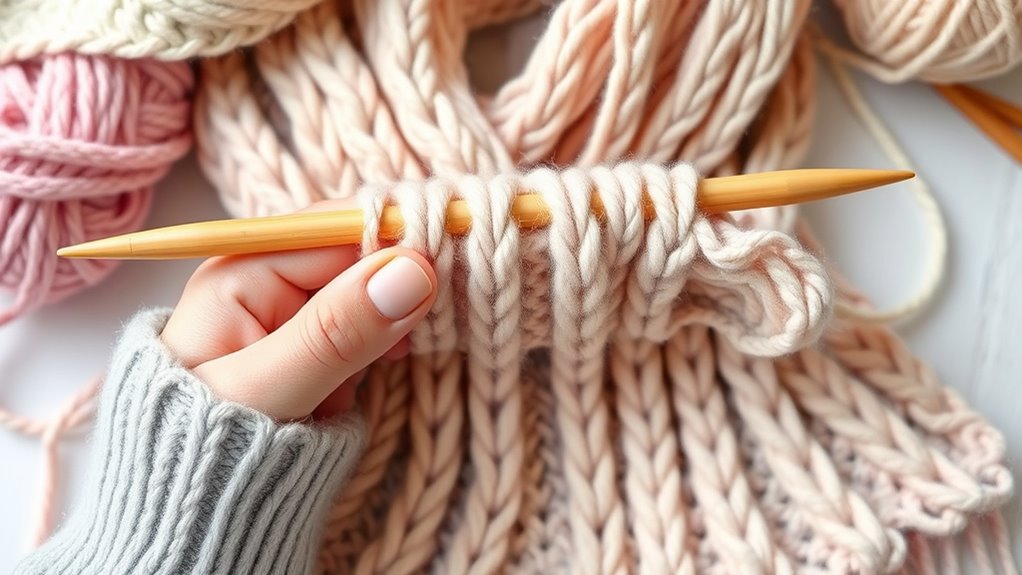
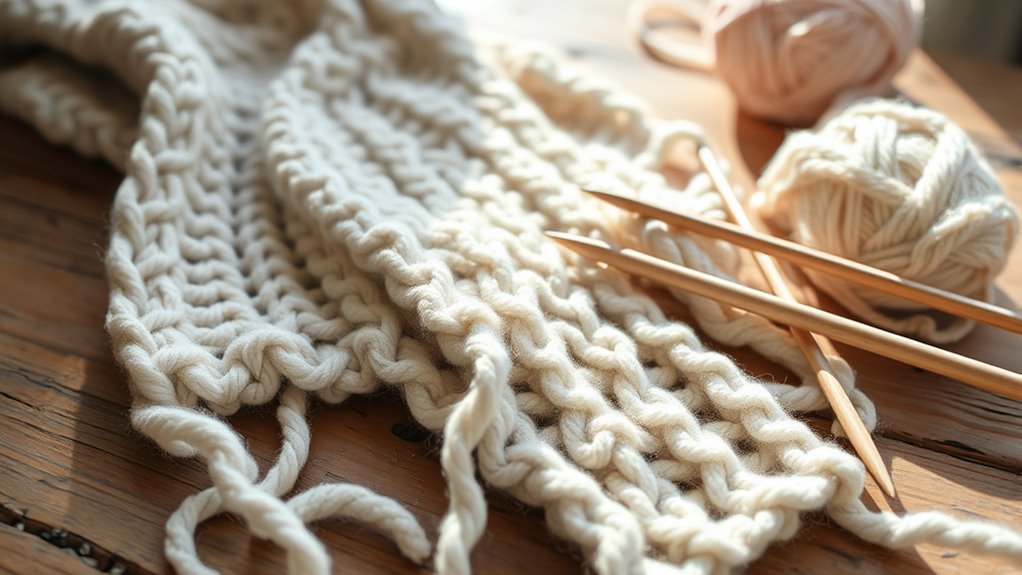
Gathering Your Supplies

Before you begin knitting your scarf, gather all the necessary supplies. You’ll need a pair of knitting needles, preferably size 8 or 9, which are easy to handle for beginners. Get some yarn; choose a soft, medium-weight yarn like acrylic or wool, which is comfortable and easy to work with. Keep a pair of scissors nearby to cut the yarn when you finish or need to change colors. Have a tapestry needle on hand for weaving in loose ends later. A measuring tape is helpful to track your progress and ensure your scarf reaches your desired length. Additionally, consider exploring remote hackathons to connect with fellow enthusiasts and gain new ideas for your projects. Being aware of knitting techniques can enhance your skills and improve your finished product. Practicing stitch consistency will help your scarf look even and professional. Developing an understanding of craftsmanship can also elevate the quality of your work. Incorporating proper tension control is key to achieving uniform stitches throughout your project. Finally, find a comfortable space with good lighting, so you can focus on your stitches without strain. Having everything ready will make your knitting experience smooth and enjoyable.
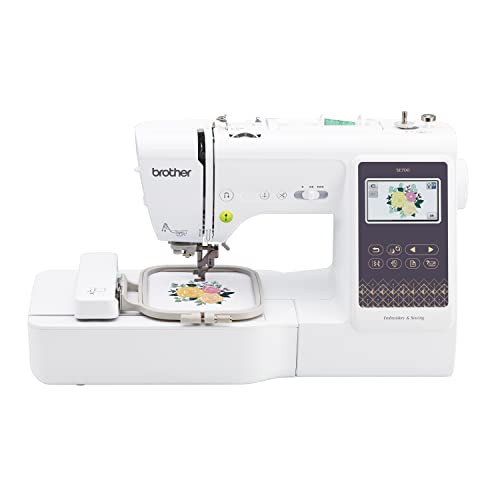
Brother SE700 Sewing and Embroidery Machine, Wireless LAN Connected, 135 Built-in Designs, 103 Built-in Stitches, Computerized, 4" x 4" Hoop Area, 3.7" Touchscreen Display, 8 Included Feet, White
SEWING and EMBROIDERY IN ONE: The SE700 is the ideal machine to start your sewing and embroidery journey...
As an affiliate, we earn on qualifying purchases.
Choosing the Right Yarn and Needles
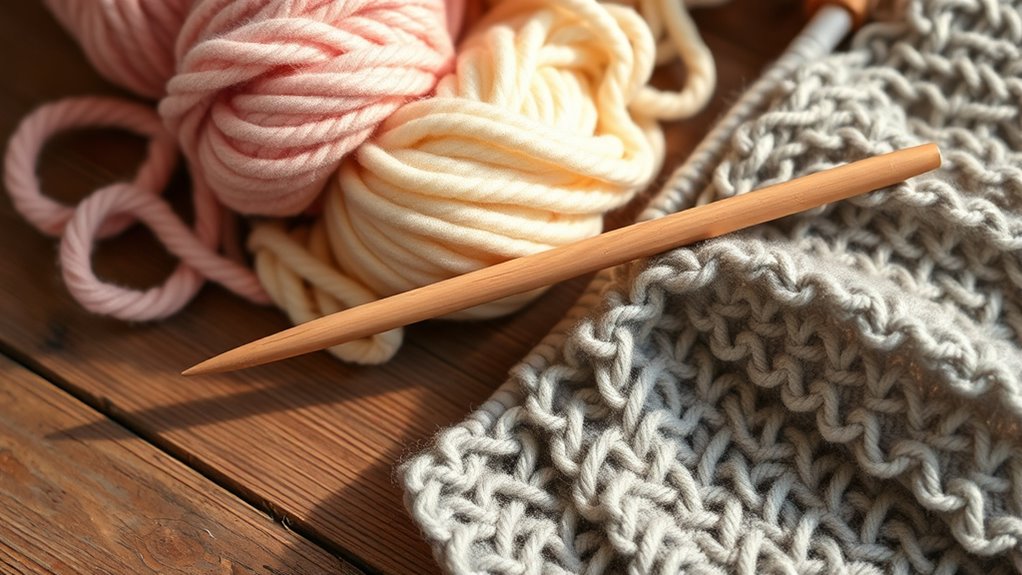
Selecting the right yarn and needles is essential for a successful knitting project, as they directly affect your scarf’s look and feel.
For beginners, choose a medium-weight yarn, like worsted weight, because it’s easy to work with and provides a nice texture. Soft acrylic or wool blends are comfortable and forgiving.
When selecting needles, opt for size 8 (5mm) or 9 (5.5mm) straight or circular needles, which match the typical yarn weight. Larger needles make stitches easier to see and handle, helping you learn faster.
Make sure your needles are smooth and comfortable to hold. The right combination of yarn and needles guarantees your scarf is enjoyable to knit and results in a cozy, attractive finish.

Brother SE2000 Computerized Sewing and Embroidery Machine
ARTSPIRA MOBILE APP: Access 50 free embroidery designs, make custom embroidery patterns by drawing on your mobile device,...
As an affiliate, we earn on qualifying purchases.
Casting On Stitches

Casting on stitches is the first step to starting your scarf. It creates the foundation for your knitting and determines how wide your scarf will be. To cast on, make a slip knot and place it on your needle. Hold the needle in your right hand and use your left hand to wrap the yarn around your thumb and index finger, forming a loop. Insert the needle into the loop on your thumb, wrap the yarn around the needle, and pull the loop through. Tighten the stitch and repeat until you have the desired number of stitches. Keep the tension even, not too tight or loose. Practice casting on a few times to get comfortable before starting your scarf project. For a balanced and safe knitting experience, maintaining the correct tension is essential. Additionally, controlling your tension can help prevent issues like uneven stitches or loose stitches, which can affect the overall appearance of your scarf. Proper tension management is also important for ensuring consistent stitch size throughout your project. Being mindful of your knitting technique can further improve your results. Developing a good crochet technique can also enhance your ability to work smoothly with different stitches and patterns.
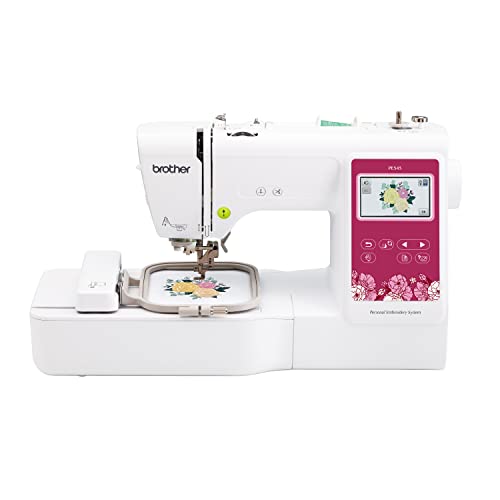
Brother PE545 Embroidery Machine, Wireless LAN Connected, 135 Built-in Designs, 4" x 4" Hoop Area, Large 3.7" LCD Touchscreen, USB Port, 10 Font Styles
WIRELESS LAN ENABLED: Transmit embroidery files from your PC to your embroidery machine via the free downloadable software...
As an affiliate, we earn on qualifying purchases.
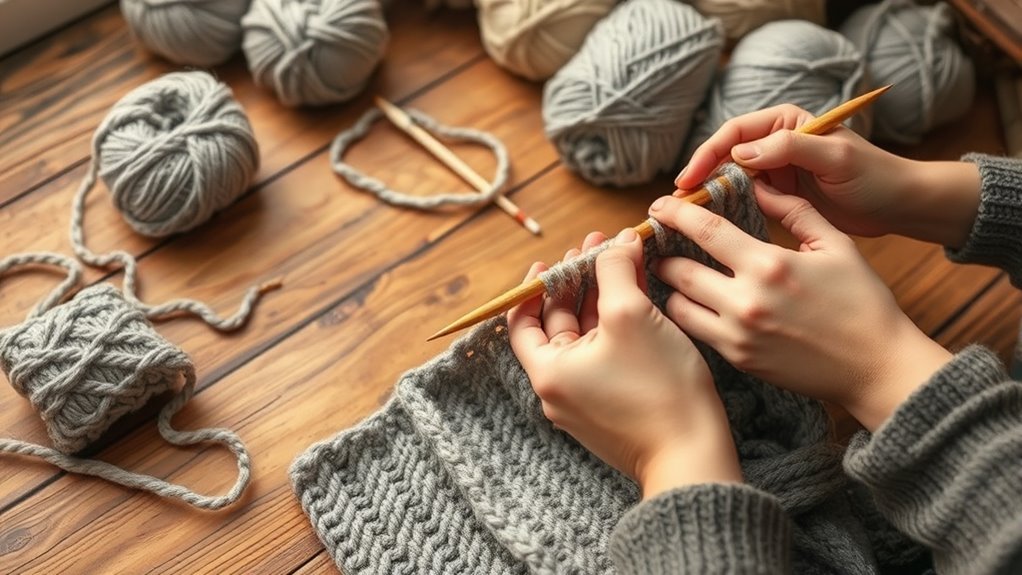
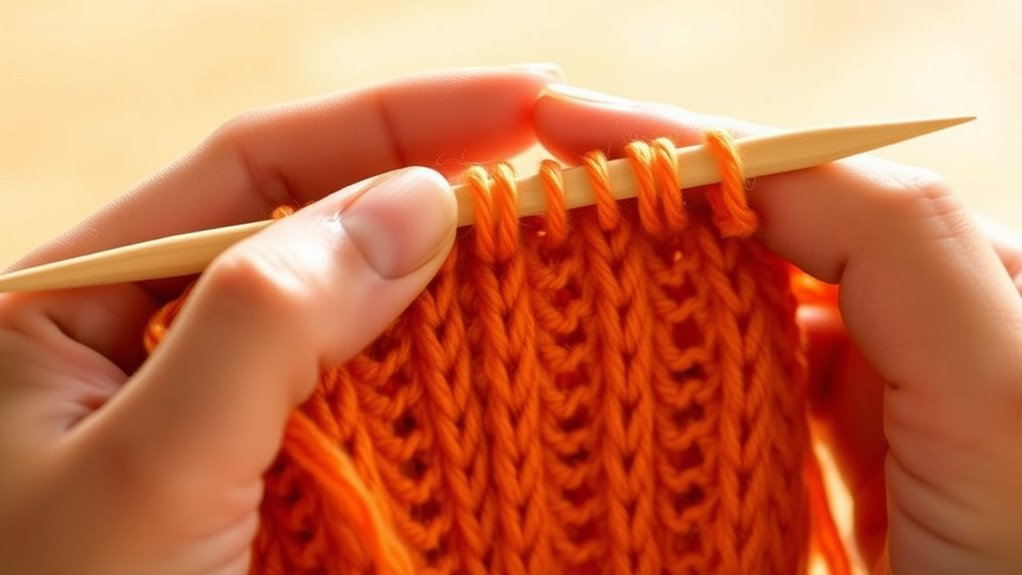
Learning the Basic Knit Stitch
Once you’ve cast on your stitches, it’s time to learn the basic knit stitch, which is the foundation of most knitting patterns. To start, hold your knitting needle with your cast-on stitches in your left hand. Insert your right needle into the front of the first stitch from left to right. Wrap the yarn around the right needle counterclockwise. Pull the wrapped yarn through the stitch, creating a new loop on the right needle. Slip the original stitch off the left needle. Regularly practicing this stitch can help improve your knitting skills and ensure even tension throughout your project. Repeat this process across the row, working into the front of each stitch. Keep your tension even, but don’t pull too tight. Mastering this stitch creates the fabric of your scarf and sets the stage for more complex techniques. Practice until the stitch feels comfortable and even.
Continuing Your Row and Maintaining Tension
As you continue your row, focus on keeping your stitch length consistent to guarantee an even fabric. Using markers can help you stay on track and prevent mistakes, especially as your project grows. Don’t forget to adjust your tension regularly to maintain a smooth, uniform appearance throughout your scarf. Additionally, practicing proper air quality management can help create a healthier environment for your knitting space, promoting overall mindfulness. Incorporating good security zone info practices such as maintaining a safe and organized work area can also enhance your focus and reduce accidents. Remember that good color accuracy in your workspace lighting can further support your concentration and ensure your knitting environment remains comfortable. Being aware of retail hours for local stores can also help you plan your shopping for supplies efficiently.
Consistent Stitch Length
Maintaining a consistent stitch length is essential to creating an even and professional-looking scarf. To do this, focus on keeping your tension even as you knit each stitch. When you pull the yarn, avoid tightening or loosening your grip, which can cause uneven stitches. Keep your hands relaxed and steady, ensuring each stitch is similar in size. Paying attention to tension control helps prevent puckering or loose areas in your knitting. If your stitches start to vary, take a moment to pause and adjust your tension before continuing. Developing good knitting habits also contributes to maintaining even tension throughout your project. Being mindful of your hand positioning can further improve your ability to keep stitches uniform. Practicing knitting techniques regularly will help you develop better tension management skills over time. For beginners, understanding the importance of consistent tension is key to improving the overall appearance of your work. Practice maintaining even tension throughout each row, and over time, it will become natural. This attention to detail makes your finished scarf look neat and professional, even as a beginner.
Using Markers Effectively
Using markers effectively can make it easier to keep your place in the row and maintain consistent tension. Place markers at the beginning of each row or between sections if you’re working on patterns. This helps you quickly identify where you are, especially if your scarf becomes longer. Proper marker placement can also prevent mistakes in pattern repeats, ensuring your design stays uniform throughout your project. When you reach a marker, pause briefly to check your tension, ensuring it stays even. Use different colored markers or place them in specific spots to track pattern repeats or stitch counts. Move markers gently as you work to avoid pulling on the yarn, which can affect tension. Regularly using markers keeps your progress organized and helps prevent mistakes, making the knitting process smoother and more enjoyable. Additionally, understanding digital literacy can help you explore various tools and apps that assist in knitting, pattern management, and tracking your work more efficiently.
Adjusting Tension Regularly
To keep your knitting even and professional-looking, you should adjust your tension regularly throughout your row. As you continue, pay attention to how your yarn feeds through your fingers. If the stitches feel tight or the fabric looks puckered, loosen your grip slightly or gently ease the yarn.
Conversely, if your stitches are too loose or the fabric appears floppy, tighten your tension slightly. Consistently monitoring your tension helps maintain uniform stitches and prevents uneven edges.
Take small breaks to check your work and adjust your grip if needed. Remember, maintaining even tension isn’t about perfection but about developing a steady rhythm.
With practice, adjusting your tension will become second nature, making your scarf look neat and polished.
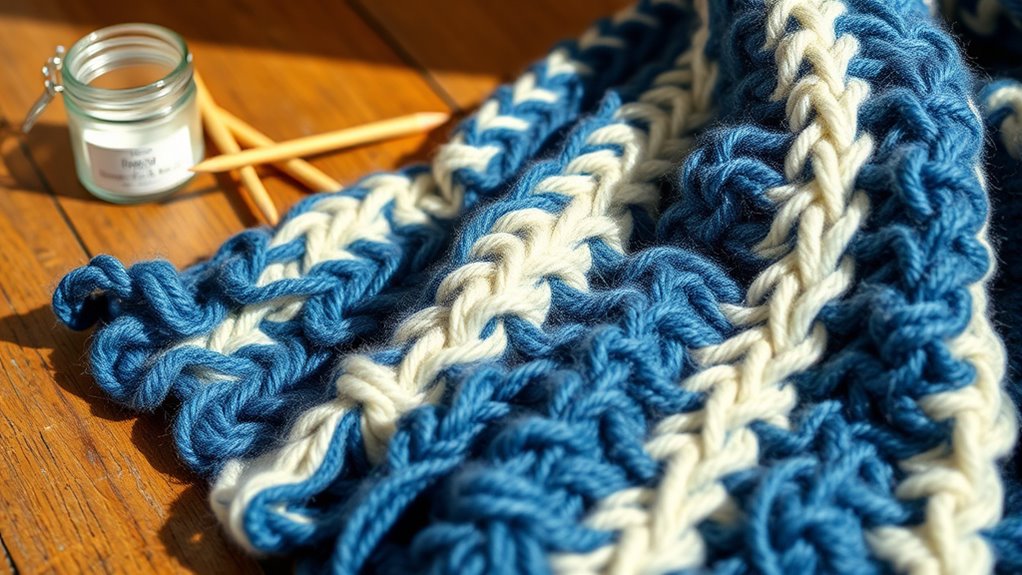
Creating a Even and Consistent Fabric
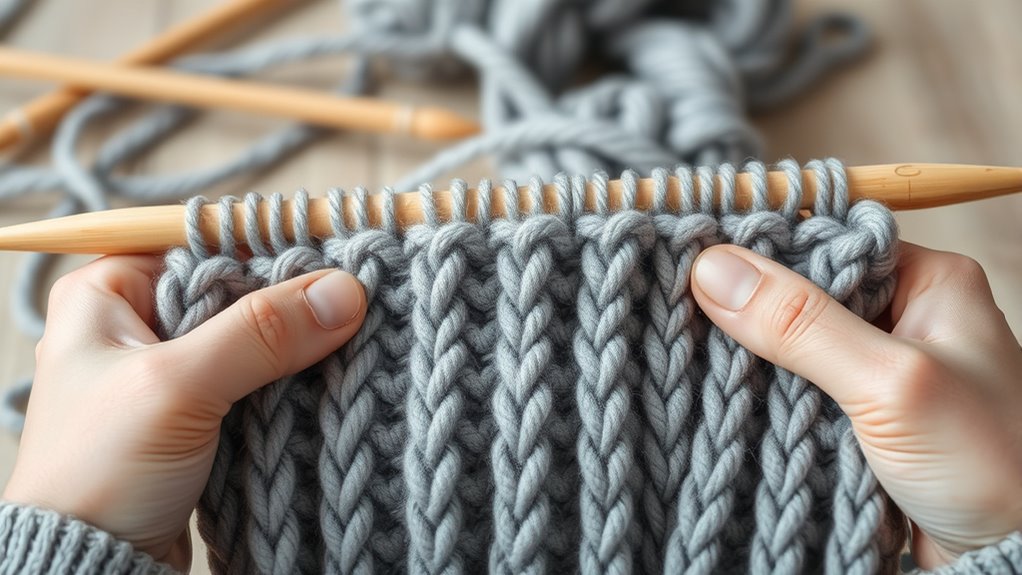
To create an even and consistent fabric, keep your tension steady throughout your work. Use the same stitch size in each row and pay attention to your row progression to avoid uneven spots.
Staying mindful of these points guarantees your scarf looks neat and professional.
Maintain Even Tension
Have you ever noticed how uneven stitches can make a scarf look bumpy or lopsided? To maintain even tension, focus on these key tips:
- Keep your yarn tension consistent as you work, avoiding tight or loose stitches.
- Use your fingers or a tension guide to control yarn flow smoothly.
- Relax your grip on the needle to prevent squeezing, which can tighten stitches.
- Regularly check your work, gently adjusting your tension if you notice stitches becoming uneven.
Practicing these steps helps you develop a steady rhythm, leading to a uniform fabric. Remember, maintaining even tension takes awareness and patience but improves with practice.
Once you master this, your scarf will look polished and professional.
Use Consistent Stitch Size
Using consistent stitch size is essential for creating an even and professional-looking fabric. When your stitches are uniform, your scarf will have a smooth, tidy appearance.
To achieve this, focus on maintaining steady tension as you work each stitch. Don’t pull too tight or leave stitches too loose; find a comfortable middle ground. Pay attention to how your yarn flows through your fingers, and try to keep your grip steady.
If you notice variations, take a moment to loosen or tighten your tension before continuing. Consistent stitch size not only improves the look of your scarf but also makes it easier to count rows and track your progress.
With practice, maintaining uniform stitches will become second nature, ensuring a polished, beautiful final product.
Monitor Row Progression
Keeping an eye on your row count as you knit helps guarantee your fabric stays even and consistent. Tracking your rows prevents uneven tension and ensures your scarf looks neat.
To monitor your progress effectively:
- Count each row as you complete it to avoid missing or doubling up.
- Use stitch markers or a small piece of yarn to mark every 10th row.
- Keep a simple tally on a notepad or in your head to stay aware of your progress.
- Regularly compare your work to previous rows, checking for uniform stitch size.
Binding Off Your Scarf
Once you’ve finished knitting your scarf, the next step is to bind off to secure the edge and finish your piece neatly.
To do this, knit the first two stitches of the row. Then, lift the first stitch over the second stitch and off the needle, creating a new edge.
Continue knitting one stitch, then lift the previous stitch over the new one. Repeat this process across the row until only one stitch remains.
Cut the yarn, leaving a tail, and pull it through the last stitch to secure it. Gently tighten the knot, ensuring it won’t slip.
This method creates a stretchy, clean edge that holds your scarf together and looks professional.
Now your scarf is ready for the final finishing touches!
Weaving in the Loose Ends
After you’ve finished binding off your scarf, the next step is to weave in the loose ends to create a polished look and prevent unraveling.
To do this effectively, follow these steps:
- Thread a yarn needle with the loose end, leaving a few inches of length.
- Insert the needle into the wrong side of the fabric, weaving it through nearby stitches.
- Continue weaving back and forth for about 4-6 inches, ensuring the end is secure.
- Trim any excess yarn close to the woven section, avoiding cutting too close to the stitches.
This process keeps your scarf looking tidy and helps the ends stay in place during wear. Take your time to ensure the ends are well secured for a professional finish.
Finishing Touches and Caring for Your Scarf
To guarantee your scarf looks great and lasts longer, paying attention to finishing touches and proper care is essential. After weaving in the loose ends, secure them tightly to prevent unraveling.
Secure loose ends and finish your scarf carefully to ensure lasting beauty and durability.
Block your scarf by gently washing and shaping it to even out stitches and improve drape. Use mild detergent and avoid wringing; instead, lay it flat on a towel to dry.
Store your scarf folded in a cool, dry place to prevent stretching or damage. When wearing, avoid excessive friction that can cause pilling or fraying.
Regularly remove lint with a soft brush or tape. These simple steps protect your work and keep your scarf looking fresh, vibrant, and cozy for seasons to come.
Proper care ensures your handmade accessory remains a lovely part of your wardrobe.
Frequently Asked Questions
How Do I Fix Mistakes or Dropped Stitches in My Scarf?
If you notice mistakes or dropped stitches in your scarf, don’t panic. First, identify the mistake and gently unravel the stitches back to that point.
Use a crochet hook to pick up dropped stitches or fix errors. Carefully re-knit the stitches, making sure they’re even and secure.
With patience, you’ll correct the mistake and continue knitting smoothly, creating a beautiful scarf you’ll be proud of.
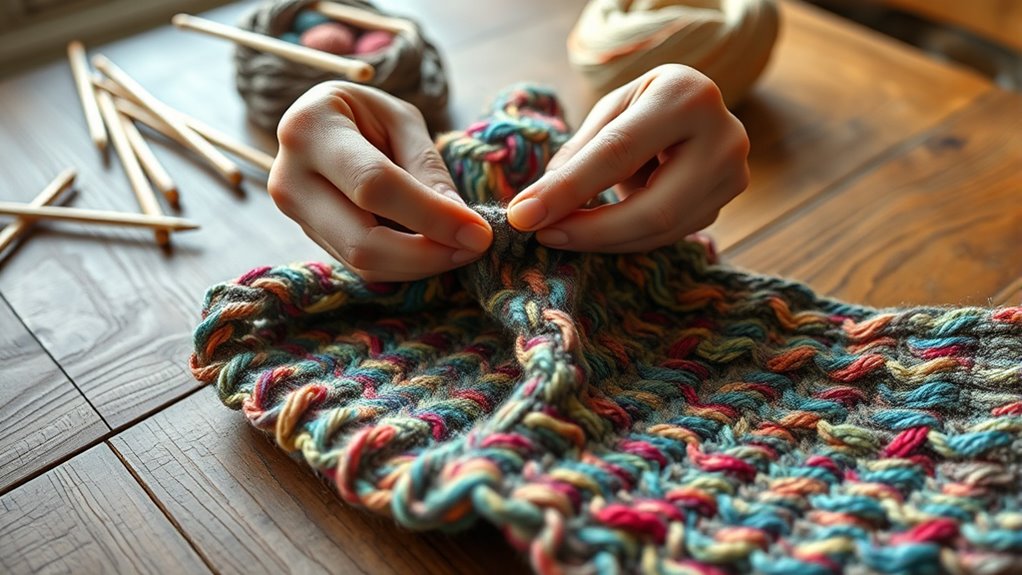
Can I Use Different Stitches to Add Texture to My Scarf?
You can definitely use different stitches to add texture to your scarf. Mixing techniques like seed stitch, ribbing, or garter stitch creates interesting patterns and tactile variety.
Experimenting with these stitches allows you to personalize your project and make it unique. Just remember to keep track of your stitch pattern and tension, so the textures blend well and your scarf turns out beautiful and cozy.
What Are Common Sizing Options for a Beginner’S Scarf?
You typically choose a length between 60 to 70 inches and a width of 6 to 8 inches for your beginner’s scarf. These sizes create a cozy, versatile accessory that’s easy to wear and manage.
As you gain confidence, you can experiment with longer or wider scarves. Keep your measurements simple, and focus on even tension, so your scarf looks neat and feels comfortable to wear.
How Do I Make My Scarf Reversible or Patterned?
To make your scarf reversible or patterned, you can use specific stitches like moss or seed stitch, which create a textured, reversible fabric.
Alternatively, incorporate colorwork or stripes by changing yarn colors every few rows.
Keep your tension even and practice your chosen stitch pattern on a swatch first.
What Are Some Tips for Preventing Yarn From Slipping off Needles?
Imagine your yarn slipping off your needles mid-stitch—that’s frustrating! To prevent this, always choose the right needle size for your yarn. For example, if your yarn is thick, use larger needles to keep stitches secure.
Additionally, keep a loose but firm grip on your yarn, and consider using stitch markers or rubber stoppers if needed. These tips help maintain control and prevent stitches from slipping off.
Conclusion
As you finish your scarf, you’ll realize that every stitch mirrors a moment of patience and persistence. Sometimes, the simple act of knitting becomes a quiet reminder that small efforts can create something meaningful—much like how a chance encounter with a new hobby can unexpectedly transform your days. With your completed scarf, you carry not just warmth, but a story woven through your hands, proving that even the simplest projects can hold surprising depth.