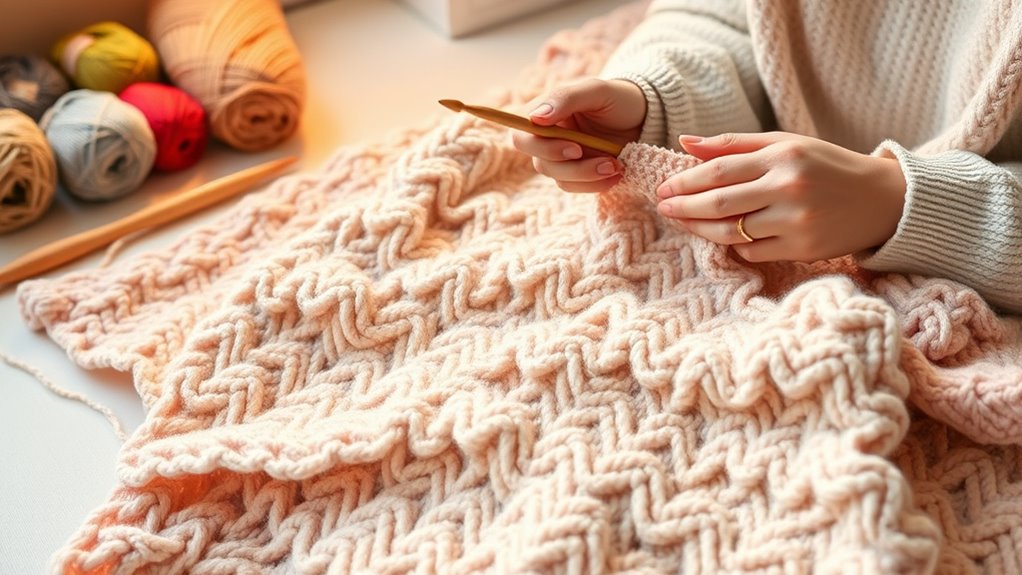

To crochet an easy blanket, start by gathering medium-weight yarn and an appropriately sized hook. Make a slip knot, then chain the desired width, keeping tension even. For rows, use the single crochet stitch by inserting the hook into each chain, pulling yarn through, and completing the stitch. Maintain consistent tension as you build rows and secure your ends. Keep practicing these simple steps, and you’ll discover how to personalize your blanket along the way.
Key Takeaways
- Gather medium-weight yarn and a matching crochet hook, and set up a comfortable workspace.
- Make a slip knot and create an initial chain, maintaining even tension throughout.
- Work single crochet stitches across each row, keeping stitches uniform and tension consistent.
- Continue building rows until the blanket reaches your desired size.
- Finish by securing the last stitch, weaving in loose ends, and adding personal touches or embellishments.
Brother SE700 Sewing and Embroidery Machine, Wireless LAN Connected, 135 Built-in Designs, 103 Built-in Stitches, Computerized, 4" x 4" Hoop Area, 3.7" Touchscreen Display, 8 Included Feet, White
SEWING and EMBROIDERY IN ONE: The SE700 is the ideal machine to start your sewing and embroidery journey...
As an affiliate, we earn on qualifying purchases.
Gathering Your Supplies and Setting Up
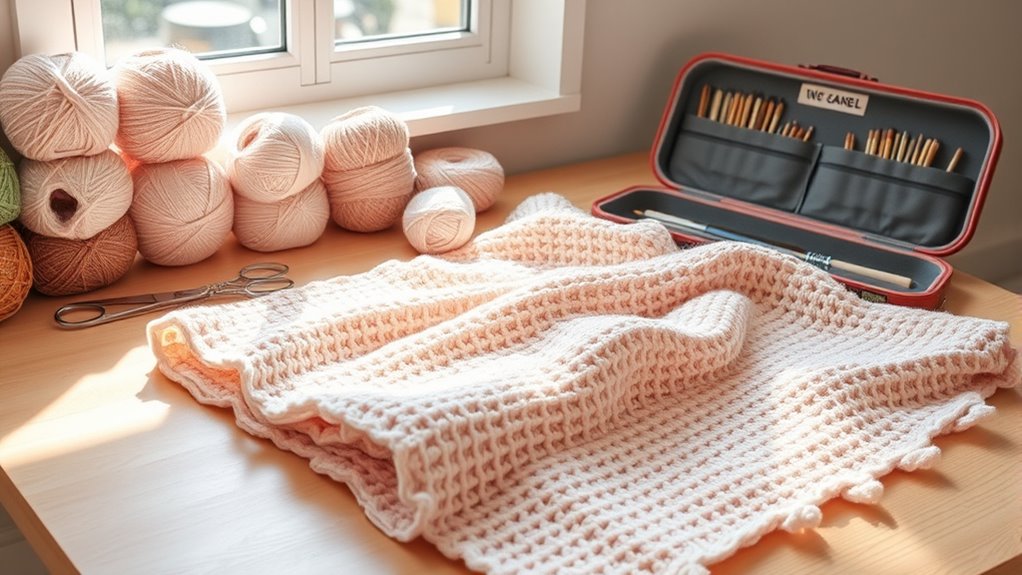
Before you begin crocheting your blanket, gather all the necessary supplies. You’ll need yarn, a crochet hook, scissors, and a tapestry needle for finishing. Choose a flat, comfortable workspace with good lighting to make the process easier. Ensuring proper maintenance practices can help keep your tools in good condition for smoother crocheting. Lay out your yarn in a way that keeps it untangled and accessible. Keep your crochet hook nearby, ready to use, and verify it’s appropriate for your chosen yarn. It’s helpful to have a measuring tape or ruler on hand to check your progress later. Proper storage methods can also prolong the lifespan of your tools and materials. Being aware of tool care tips can prevent damage and ensure your tools stay sharp and functional. Once everything is in place, you’re ready to start your project confidently, knowing you have everything you need within reach.

FUJA Commercial Embroidery Machine with 10 Needles, 1200 SPM Max Speed, 9.5" × 14.2" Large Embroidery Area for Small Business & Beginners – Built for Hats, Caps, Flats, T-Shirts & Patches
【Upgrade Your Small Business with 10-Needle Power】: Stop wasting time on manual thread changes! With 10 needles running...
As an affiliate, we earn on qualifying purchases.
Choosing the Right Yarn and Hook
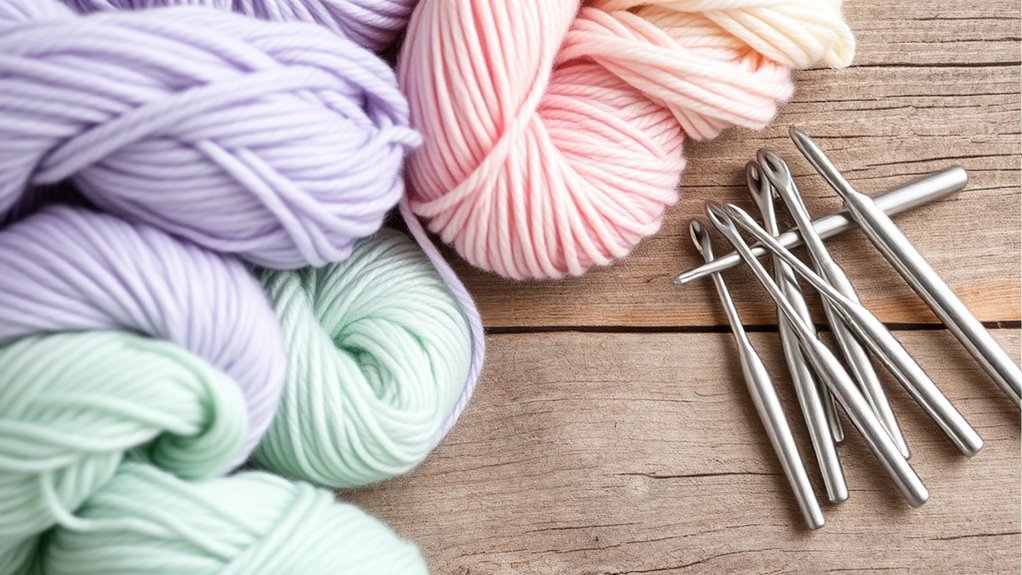
Choosing the right yarn and hook is essential for creating a cozy, durable blanket. For beginners, opt for medium-weight yarn (like worsted weight) because it’s easy to handle and shows stitches clearly. Select a hook size recommended on the yarn label, usually between 5mm and 6.5mm. Using the correct size guarantees your stitches are even and your blanket isn’t too stiff or floppy. Consider the texture and fiber—acrylic is affordable and easy to care for, while wool adds warmth. Here’s a quick guide:
| Yarn Type | Recommended Hook Size |
|---|---|
| Worsted/Acrylic | 5.0mm – 6.5mm |
| Wool | 5.5mm – 6.0mm |
| Cotton | 4.0mm – 5.0mm |
| Blends | 5.0mm – 6.0mm |
Choose accordingly for your desired look and feel. Additionally, understanding the fiber content can help you select the best yarn for your project. To further ensure your project is successful, consider proper tension and how it impacts the overall size and durability of your blanket.

Brother XR9550 Sewing and Quilting Machine, Computerized, 165 Built-in Stitches, LCD Display, Wide Table, 8 Included Presser Feet, White
165 unique built-in stitches: The Brother XR9550 computerized machine includes 110 built-in utility, decorative and heirloom stitches including...
As an affiliate, we earn on qualifying purchases.
Making Your First Chain
To start, choose a yarn that feels comfortable in your hands and suits your project.
Next, make a loop with the yarn, creating a slip knot that will serve as the foundation for your chain.
Once you have your loop, you’ll be ready to learn how to make your first chain stitch.
A good understanding of color accuracy and contrast ratio can help ensure your project turns out well.
Selecting the Right Yarn
Selecting the right yarn is essential for creating a cozy, durable blanket that’s easy to work with. Choose a medium-weight yarn, like worsted weight, as it’s versatile and beginner-friendly. Opt for soft fibers such as acrylic, cotton, or blends, which are comfortable and easy to care for. Avoid very thin or bulky yarns, as they can be tricky to handle and may affect your tension. When shopping, check the label for recommended hook sizes—matching your hook to the yarn ensures even stitches. Pick a color you love, but keep in mind that lighter shades tend to show stitch details more clearly. Quality yarns can make your project smoother, so invest in good-quality materials to achieve the best results. Additionally, choosing appropriate yarn fibers can enhance the texture and longevity of your blanket, and selecting yarns with good colorfastness can help maintain their appearance over time.
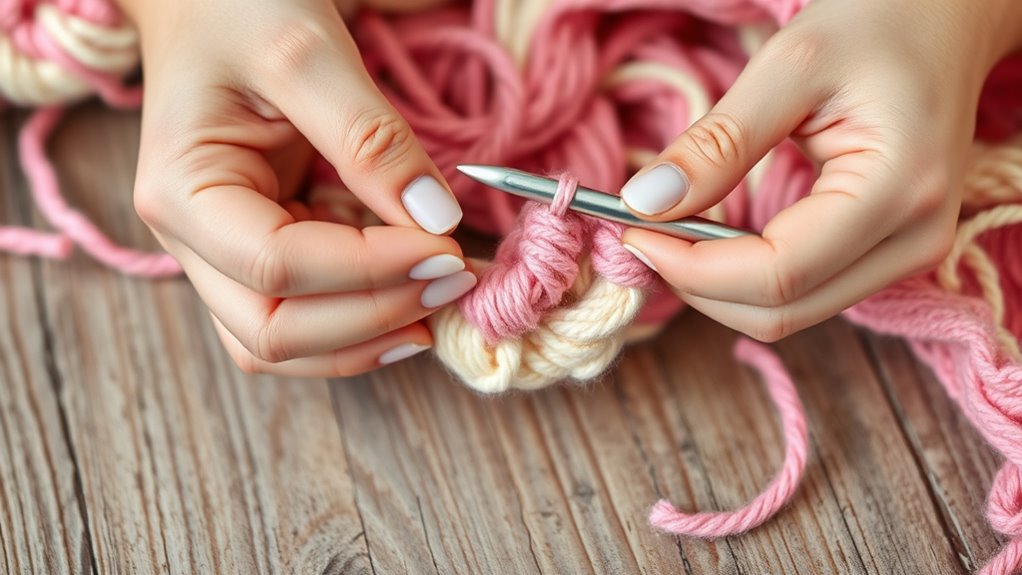
Making the Chain Loop
Have you ever wondered how to start your crochet project? It all begins with making a slip knot and creating your first chain loop.
To do this, take your yarn and form a loop, leaving a tail about six inches long. Hold the loop in your dominant hand, and with your crochet hook, pull the working yarn through the loop. This creates your first chain stitch.
Keep your tension even so the chain isn’t too tight or too loose. Continue to yarn over and pull through to make additional chains. Maintaining consistent tension is key to achieving an even and professional-looking blanket.
Your chain forms the foundation for your blanket. Practice making a smooth, even chain until you feel comfortable. This initial step sets the tone for the rest of your project.

SINGER® Heavy Duty 4432 (Black) High Speed Sewing Machine +Accessory Kit | 32 Built-In Stitches Deliver 110 Stitch Applications | 50% More Power for Thick Fabrics, 1100 Stitches/Min, 1-Step Buttonhole
EXTRA HIGH SEWING SPEED: Sew up to 1,100 stitches per minute when you need it. Great when sewing...
As an affiliate, we earn on qualifying purchases.
Starting Your Row: The Single Crochet Stitch
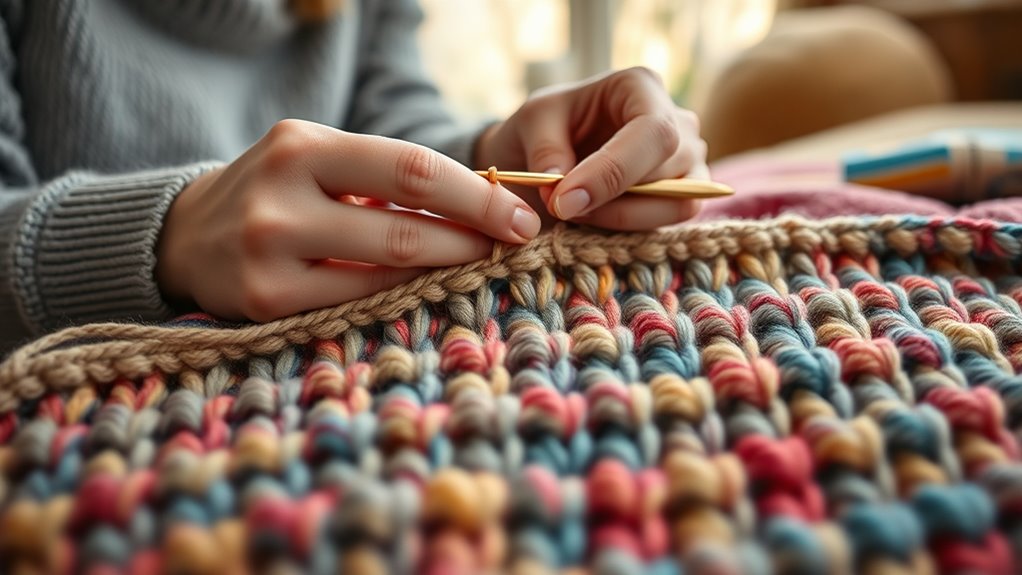
When starting your row with the single crochet stitch, you’ll want to create a solid foundation for your blanket. Begin by inserting your hook into the second chain from your hook, ensuring you skip the first chain. Yarn over and pull through, leaving two loops on your hook. Then, yarn over again and pull through both loops to complete the single crochet. Repeat this process across your row, inserting your hook into each chain, to create a uniform edge. Consistent tension keeps your stitches even. Using proper technique ensures that your stitches remain even and professional-looking. Developing crochet skills through practice will help you achieve cleaner, more even stitches as you progress. Pay attention to your stitch consistency to improve the overall appearance of your blanket. Use this table as a quick reference:
| Step | Action | Tips |
|---|---|---|
| 1 | Insert hook into next chain | Keep hook close to the chain |
| 2 | Yarn over, pull through | Create two loops on hook |
| 3 | Yarn over, pull through both loops | Finish stitch neatly |
This creates a sturdy, even row to build upon. Remember, practicing this stitch technique will help you develop a consistent tension and improve your overall crochet skills.
Building Rows and Maintaining Tension
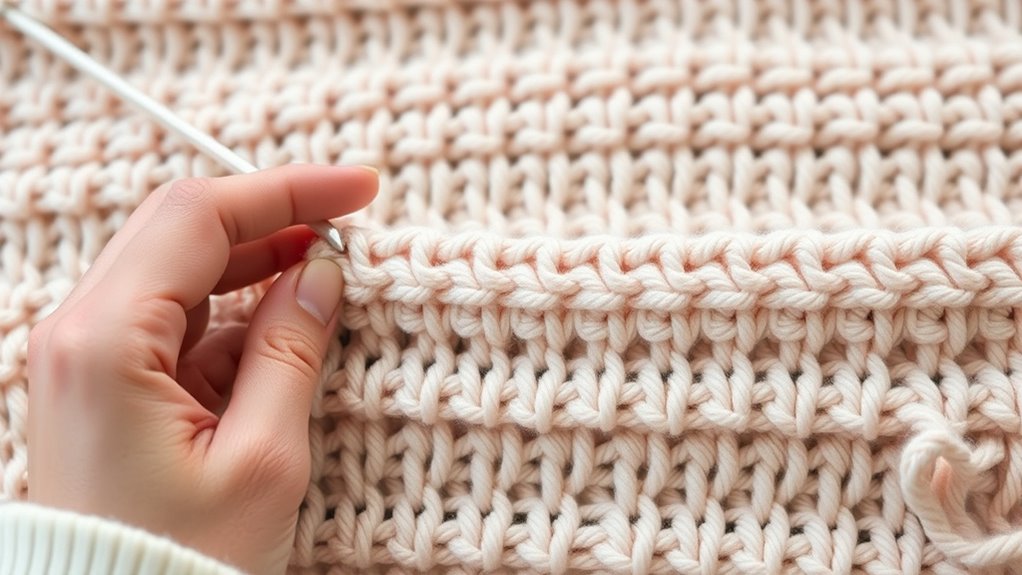
As you start building your rows, maintaining consistent tension is key to creating a neat, professional-looking blanket. Keep your yarn snug but not tight, so your stitches stay even and flexible. To do this, try not to pull the yarn too tightly or let it loosen too much with each stitch. Consistent tension guarantees uniformity across your rows, giving your blanket a smooth, polished appearance. Pay attention to how your stitches feel—if they’re too tight, it’ll be hard to work into the next stitch; if too loose, your fabric will be floppy. Practice maintaining even tension as you go, adjusting your grip on the yarn and hook if needed. Staying steady with your tension helps your blanket look tidy and makes crocheting more enjoyable. Additionally, building rows in a consistent manner ensures your blanket remains evenly shaped and reduces the need for corrective adjustments later. Using quality aromatherapy oils in your environment can create a calming atmosphere that makes your crafting session even more relaxing. Incorporating proper tension control can also help in preventing uneven edges and improving the overall finish of your blanket. Being mindful of sustainable crochet practices can contribute to eco-friendly crafting habits and reduce waste. Remember that projector bulb maintenance is similar, as regular care and monitoring of your tools can extend their lifespan and performance.
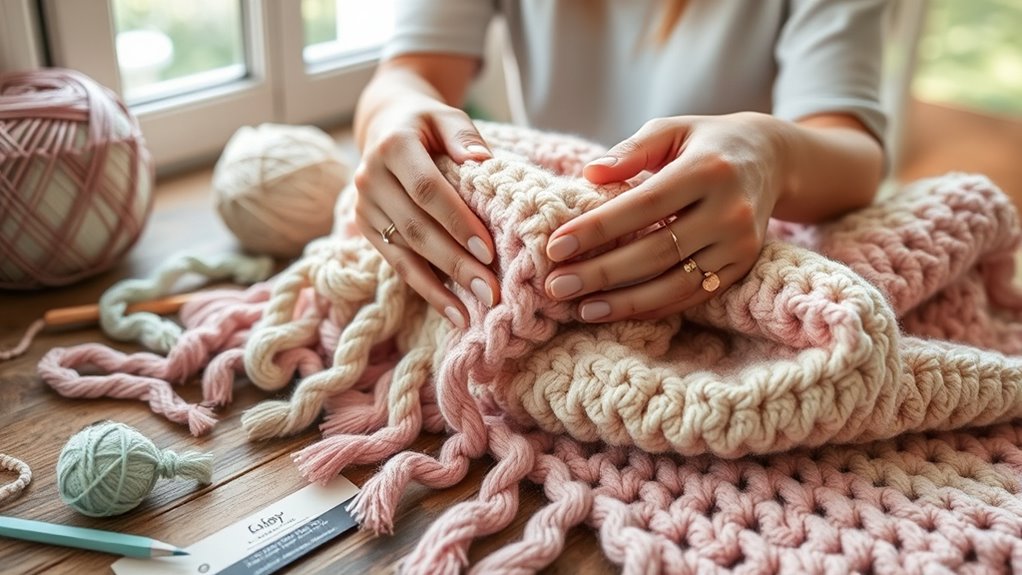
Finishing Your Blanket and Weaving in Ends
Once you’ve finished crocheting your blanket, the next step is to secure your work and tidy up any loose ends. To do this, cut your yarn, leaving a few inches, and pull it through the last loop to secure. Weaving in the ends prevents unraveling and gives your blanket a polished look. Use a yarn needle to hide loose strands along the edges and within the stitches. Here’s a quick guide:
| Step | Action |
|---|---|
| 1 | Cut yarn, leave a tail |
| 2 | Thread tail through needle |
| 3 | Weave ends into stitches |
| 4 | Trim excess yarn |
This process ensures your blanket stays intact and looks neat. Incorporating finishing techniques from textile arts can further enhance the durability and appearance of your project.
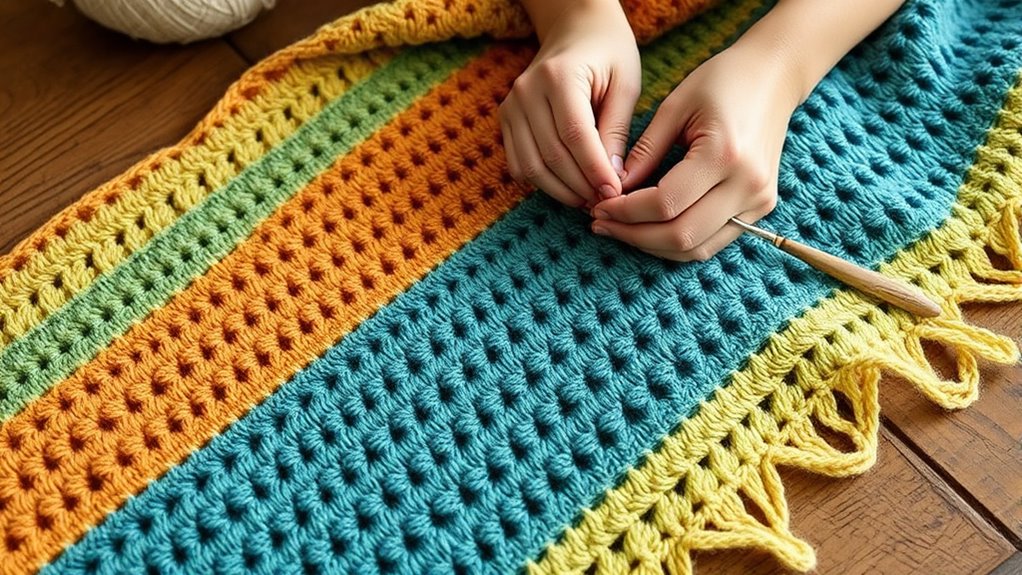
Tips for Customizing and Adding Personal Touches
To make your blanket truly unique, start by choosing colors that reflect your personality or match your space. You can also add different textures, like pom-poms or bobbles, to give it a cozy, tactile feel. Experimenting with these touches will help you create a one-of-a-kind piece that’s perfect for you. Incorporating color protection techniques can also help maintain your chosen shades over time.
Choosing Unique Colors
Have you ever wondered how choosing the right colors can make your blanket truly stand out? Picking unique hues allows you to express your personality and create a one-of-a-kind piece. Consider contrasting colors for a bold look or soft shades for a calming vibe. Don’t be afraid to mix unexpected combinations—think jewel tones or pastels paired together. You can also choose a color palette inspired by your favorite seasons, hobbies, or memories. To add depth, incorporate different shades of the same color. Exploring color compatibility can help you make more harmonious choices that enhance your design.
Embellishing With Textures
Adding textures to your blanket is a fantastic way to make it uniquely yours and enhance its visual and tactile appeal. You can do this by incorporating different stitch patterns like bobbles, puff stitches, or cables, which add dimension and interest.
Mix up yarn textures too—combine smooth, fuzzy, or chunky yarns to create contrast. Playing with various stitch heights or using raised stitches can make certain sections pop.
You might also add decorative elements such as tassels, fringes, or even pockets with different textures. These touches not only personalize your blanket but also give it a cozy, inviting feel.
Frequently Asked Questions
What Are Common Mistakes Beginners Make When Crocheting Blankets?
When you’re new to crocheting blankets, common mistakes include uneven tension, which creates inconsistent stitches, and forgetting to count rows or stitches, leading to a misshapen blanket.
You might also choose the wrong yarn or hook size, affecting the final look and feel. Rushing through the project or skipping instructions can cause mistakes.
Take your time, practice, and double-check your work to improve your crochet skills.
How Do I Maintain Consistent Stitch Size Throughout the Project?
Ever wonder how to keep your stitches uniform? To maintain consistent stitch size, you should always use the same tension and hook size throughout your project. Practice holding your yarn and hook in a comfortable, steady way, and count your stitches regularly to stay on track.
Don’t rush—consistency comes with patience. Are you paying enough attention to your tension? Keeping mindful of this helps your blanket look even and professional.
Can I Use Different Yarn Weights in One Blanket?
You can use different yarn weights in one blanket, but it requires some planning. Mixing weights creates interesting textures, but be mindful of gauge differences.
To keep your project even, swatch each yarn and adjust your hook size accordingly. You might also want to blend stitches gradually, shifting between yarns smoothly. This approach adds visual interest and variety, making your blanket unique and personalized.
How Do I Fix a Dropped Stitch in the Middle of My Work?
When you drop a stitch in the middle of your work, don’t panic. You can fix it by carefully pulling the yarn below the dropped stitch to the correct height, then use a crochet hook to lift each stitch back up.
Work slowly, ensuring each stitch is secure. Once fixed, continue crocheting, making sure your tension stays even. This method keeps your project looking neat and professional.
What Are Some Easy Ways to Add Decorative Borders?
Adding decorative borders is a breeze once you get the hang of it. You can simply pick a contrasting yarn and crochet a row of single or double crochets around your blanket’s edge, giving it a polished look.
For extra flair, try scalloped or picot edges. Think of it as dressing up your blanket’s frame—sometimes the smallest details make the biggest difference, turning a plain piece into a showstopper.
Conclusion
Now that you’ve got the hang of crocheting your blanket, you’re ready to turn yarn into a cozy masterpiece. Think of your project as a blank canvas waiting for your personal touch—each stitch adding a splash of your creativity. Keep practicing, and soon your blanket will be as warm and inviting as a hug. Remember, every loop you make is a step closer to a beautiful, handmade treasure that’s uniquely yours.