
To make your own DIY sugar scrub, start by gathering a clean bowl, spoon, and your ingredients—granulated sugar, a carrier oil like coconut or almond oil, and optional fragrances such as essential oils or extracts. Mix the sugar with the oil until evenly coated, then add your favorite scents or extras like honey, herbs, or coffee grounds. Store in a labeled airtight container in a cool, dark place. Keep exploring for tips to customize and use your scrub effectively.
Key Takeaways
- Gather clean bowls, measuring tools, sugar, carrier oil, and jars for mixing and storing your scrub.
- Mix sugar with your chosen oil until evenly coated, adjusting for desired texture and moisture level.
- Add optional natural fragrances like essential oils, herbs, or extracts for personalized scent and skin benefits.
- Gently exfoliate skin using circular motions, avoiding excessive pressure to prevent irritation.
- Rinse, then apply moisturizer to lock in hydration and maintain smooth, healthy skin.

TSVATE Body Scrub Making Kit- Make Your Own Salt Body Scrub, Salt Scrub for Body with Almond Oil, Moisturizing and Exfoliating Dry Skin Hand Foot, DIY Organic Body Care Gifts For Women & Men
- DIY Body Scrub Kit: Create your own salt body scrub at home
- Complete Spa Set: Includes oils, aloe vera, containers, and accessories
- Nourishes and Exfoliates: Removes dead skin, moisturizes, and revitalizes skin
As an affiliate, we earn on qualifying purchases.
As an affiliate, we earn on qualifying purchases.
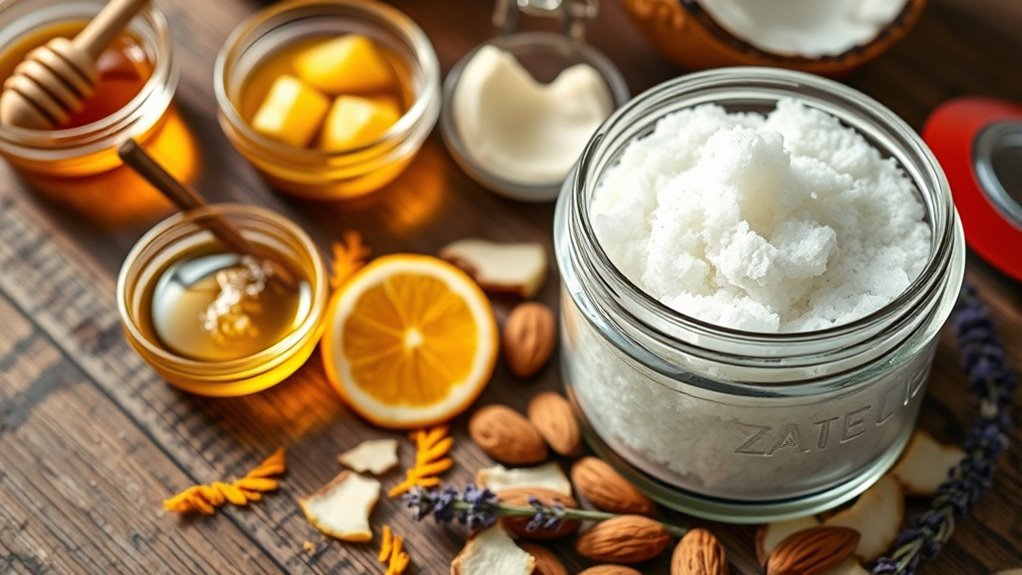
Gather Your Supplies and Ingredients

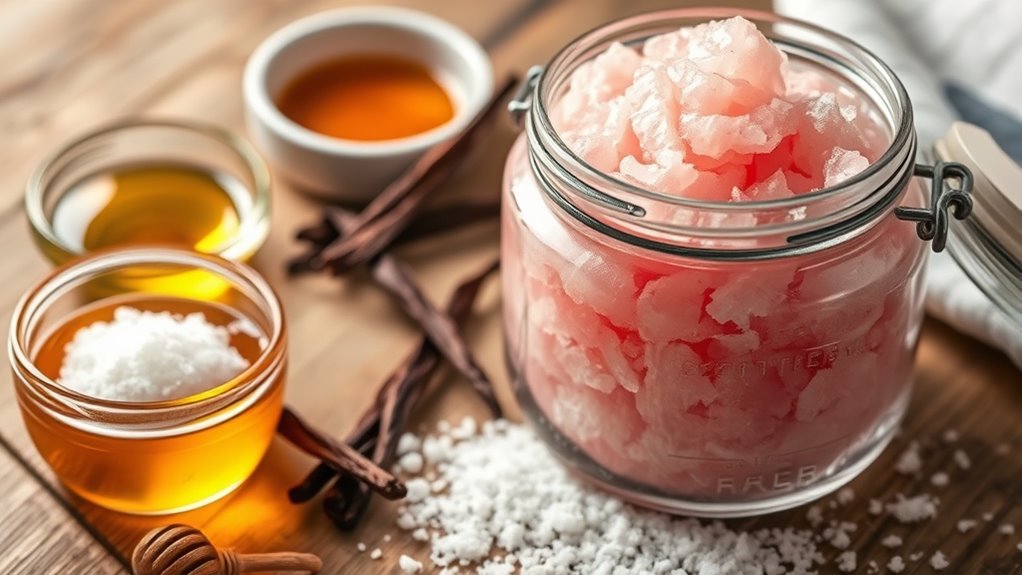
Before you begin making your sugar scrub, it’s important to gather all the supplies and ingredients you’ll need. Start by collecting a clean bowl and a spoon or spatula for mixing. You’ll need a base like granulated sugar, which acts as the exfoliant. Next, pick a carrier oil such as coconut, almond, or olive oil to hydrate your skin. Make sure to have measuring cups or spoons on hand to ensure accurate proportions. You might also want a jar or container to store your finished scrub. Keep your workspace tidy and set out all items before you start, so you don’t have to hunt for ingredients mid-process. Gathering everything beforehand makes the process smoother, easier, and more enjoyable.
Choose Your Scents and Add-Ins
Now that you have your base, it’s time to choose scents and add-ins that suit your preferences. Essential oils and fragrances can make your scrub smell amazing, while healthy add-ins like honey or oatmeal boost its benefits. Pick what appeals to you and enhances your DIY skincare routine. Incorporating a variety of aromatherapy blends can also elevate your experience and provide additional relaxation benefits. Exploring customizable skincare options allows you to tailor your sugar scrubs to specific skin needs and personal tastes. Understanding natural ingredient benefits can help you select the most effective add-ins for your skin type, especially considering the lasting influence of fatherly guidance on nurturing healthy habits. Additionally, considering the wealth of female singers and their use of natural ingredients in beauty routines can inspire your choices.
Essential Fragrances and Oils
Choosing the right fragrances and oils can transform your DIY sugar scrub into a personalized pampering treat. Start by selecting essential oils that match your mood or scent preference—lavender for relaxation, peppermint for invigoration, or citrus for freshness. Add just a few drops; oils are potent. You can also incorporate natural fragrances like vanilla or almond extract for a warm, inviting aroma. When choosing oils, consider carrier oils like coconut, jojoba, or almond, which nourish your skin and blend well with essential oils. Mix the scents carefully, testing small amounts to find your perfect balance. Remember, the goal is to create a scent that lifts your spirits and complements your skin type, making your scrub a truly indulgent experience. Additionally, exploring aromatherapy benefits can help you select scents that promote relaxation or energy, enhancing your self-care routine. Incorporating personality traits such as a preference for calming or energizing scents can further personalize your scrubs to suit your unique needs. To ensure your scrub remains effective and safe, consider the skin type when choosing your oils, as some may be better suited for sensitive or oily skin. Using mindful selection of scents and oils also aligns with mindfulness principles, turning your routine into a calming, focused ritual. Understanding the AI security landscape can also inspire innovative ways to enhance your self-care products with smart, personalized features.
Healthy Add-In Options
Adding healthy add-ins to your sugar scrub not only enhances its scent but also boosts its skin benefits. You can customize your scrub to suit your needs and preferences. Here are some great options:
- Vitamin E Oil – Nourishes and promotes skin healing.
- Green Tea Extract – Provides antioxidants and soothes irritated skin.
- Aloe Vera Gel – Hydrates and calms sensitive skin.
- Turmeric Powder – Offers anti-inflammatory properties and a natural glow.
Mixing these in allows you to create a personalized scrub that addresses your skin concerns while smelling fantastic. Experiment with different combinations to find what works best for your skin type and scent preferences. These add-ins make your DIY scrub both functional and delightful.
Mix the Sugar and Base Oil

To create a smooth, effective sugar scrub, you should start by mixing the sugar and base oil thoroughly. Use a clean bowl and a spoon or spatula to combine the ingredients. Pour the sugar into the bowl, then add your chosen base oil—such as coconut, almond, or jojoba oil. Stir the mixture well until the sugar is evenly coated and the texture feels gritty but not overly wet. This ensures the scrub will exfoliate effectively without being too greasy. Adjust the amount of oil if necessary—adding a little more can make the scrub more moisturizing, while less will keep it more abrasive. Once combined, you’re ready to incorporate additional ingredients or proceed to the next step. Be sure to choose the right wax type or other materials if you plan to add fragrances or preservatives for longer shelf life. Incorporating natural exfoliants can also enhance the effectiveness of your scrub.
Incorporate Fragrance and Extras
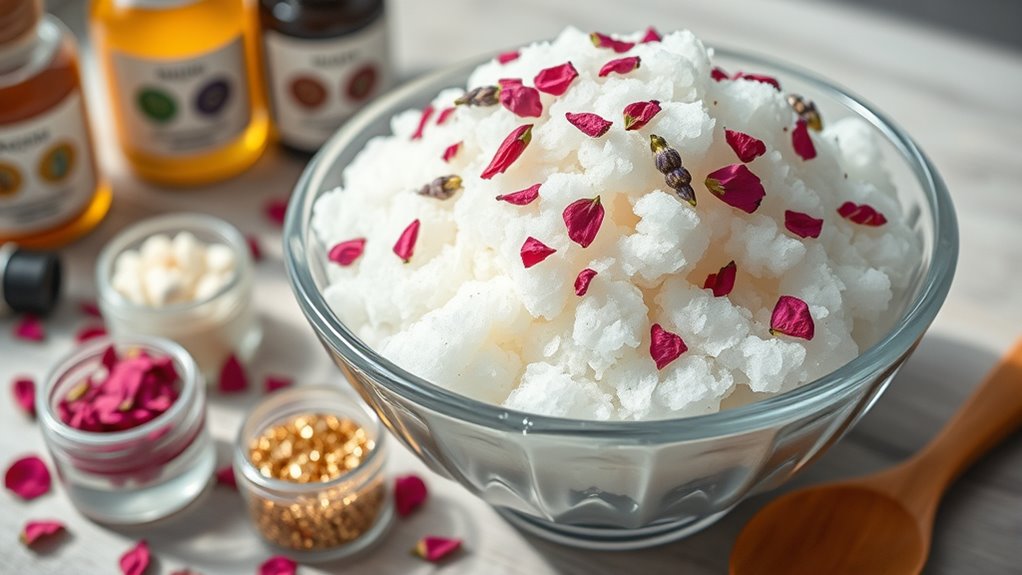
Once you’ve mixed the sugar and base oil, it’s time to personalize your scrub by incorporating fragrances and extras. Adding scents and textures enhances the experience and suits your preferences. Consider these options:
- Essential oils – a few drops of lavender, peppermint, or citrus brighten the scrub and provide aromatherapy benefits.
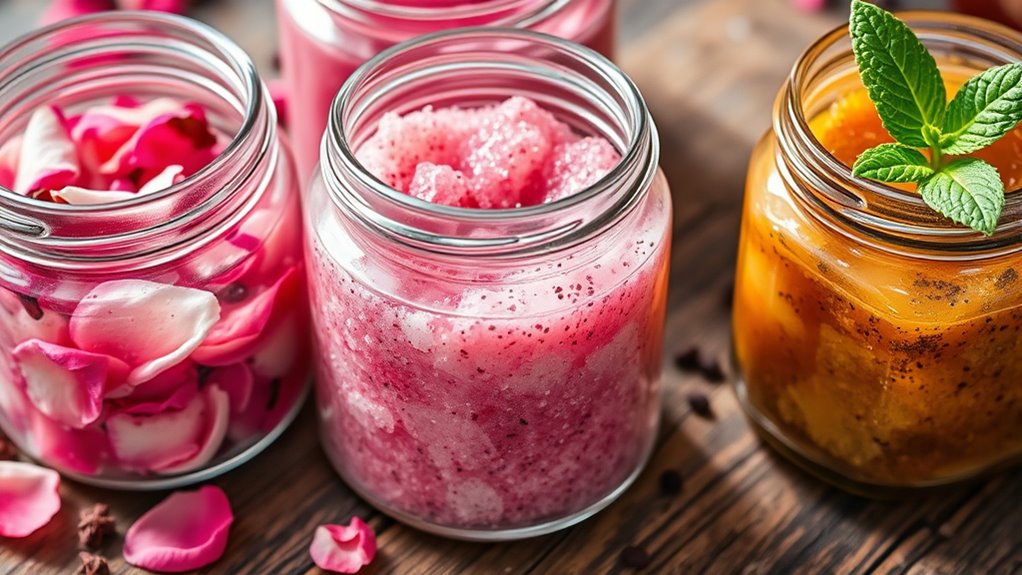
- Dried herbs or flowers – sprinkle in some dried chamomile, rose petals, or lavender buds for a natural touch.
- Exfoliating extras – include coarse sea salt, coffee grounds, or oatmeal to boost scrubbing power.
- Skin-nourishing add-ins – add honey, aloe vera gel, or vitamin E oil to nourish and hydrate your skin.
Mix thoroughly after adding each ingredient to ensure even distribution before moving on.
Store and Label Your Sugar Scrub
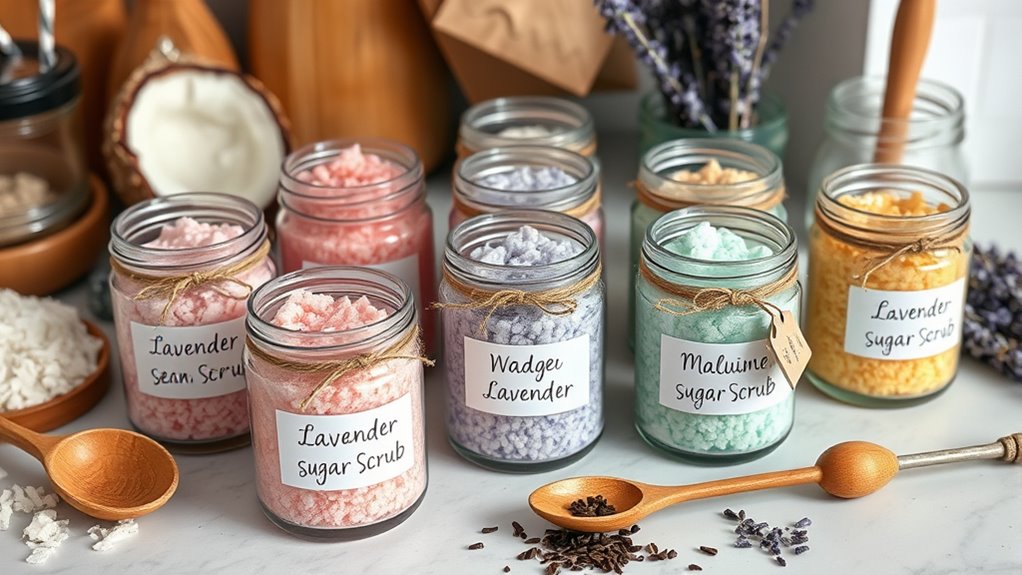
After thoroughly mixing in your chosen fragrances and extras, it’s time to focus on storing your sugar scrub properly. Transfer it into an airtight container, like a glass jar or a plastic container with a secure lid, to keep moisture out and preserve freshness. Make sure the container is clean and dry before filling it. Label the jar with the date you made the scrub and any ingredients, especially if you used sensitive or allergenic fragrances. Store the scrub in a cool, dark place away from direct sunlight, which can degrade the ingredients. Proper storage extends the shelf life and ensures your scrub stays effective and enjoyable to use. Additionally, Proper storage can help maintain the quality and efficacy of your homemade sugar scrub. Ensuring the container is airtight prevents contamination and helps retain the scrub’s moisture and essential oils. Being aware of product shelf life can help you determine the optimal time to enjoy your scrub before it loses potency. storage conditions, such as temperature and humidity, can further ensure your scrub remains safe and effective over time.
Tips for Using and Customizing Your Scrub
Using your sugar scrub effectively involves gentle, circular motions to exfoliate your skin without causing irritation. To customize your experience, consider these tips:
For best results, exfoliate gently in circular motions and customize with oils or textures to suit your skin.
- Adjust pressure: Use light pressure to avoid over-scrubbing, especially on sensitive areas.
- Add essential oils: Customize scent and benefits by mixing in oils like lavender or tea tree.
- Use different textures: Mix in finer or coarser sugar depending on your skin’s needs.
- Follow with moisturizer: After scrubbing, apply a hydrating lotion to lock in moisture and soothe skin.
- Incorporate topical treatments to enhance skin benefits and address specific concerns. Additionally, exploring skincare techniques can help maximize the effectiveness of your DIY regimen.
Frequently Asked Questions
How Long Does Homemade Sugar Scrub Last Before It Expires?
You wonder how long your homemade sugar scrub stays good. Typically, it lasts about 2 to 3 months if stored in an airtight container in a cool, dry place. Keep an eye out for changes like a strange smell, mold, or separation, which indicate it’s time to toss it. Proper storage helps extend its shelf life, so always use clean utensils when scooping.
Can I Use Essential Oils Safely on Sensitive Skin?
Using essential oils on sensitive skin is like walking a tightrope—you must be careful. Always dilute essential oils with a carrier oil and do a patch test first to check for reactions. If your skin is very sensitive, choose gentle oils like lavender or chamomile. Avoid strong or irritating oils, and consult a dermatologist if you’re unsure. This way, you can enjoy the benefits safely.
What Are Some Natural Alternatives to Sugar for Scrubs?
If you’re looking for natural alternatives to sugar for scrubs, you have great options. You can use sea salt, which gently exfoliates and is rich in minerals. Coffee grounds are another choice; they boost circulation and reduce inflammation. Oatmeal works well for sensitive skin, providing gentle exfoliation and soothing benefits. Coconut, almond, or olive oil can be added for moisture, creating a nourishing, natural scrub that’s gentle and effective.
Is It Safe to Use the Scrub on My Face?
You might wonder if using a sugar scrub on your face is safe. Generally, gentle scrubs can benefit your skin, but sugar particles can be too abrasive for sensitive facial skin. If you decide to try it, use a very fine sugar and avoid over-scrubbing. Always do a patch test first, and if you notice irritation, stop immediately. For safer options, consider scrubs specifically formulated for facial use.
How Do I Prevent Sugar From Clumping in Storage?
To prevent sugar from clumping in storage, make sure your scrub is completely dry before sealing it. Store it in an airtight container away from moisture and humidity. You can also add a small amount of silica gel packet or rice to absorb excess moisture. Regularly check the container and stir the scrub to keep the sugar evenly distributed, ensuring it stays loose and easy to use whenever you need it.
Conclusion
Now that you’ve got the hang of making your own sugar scrubs, you’re all set to treat your skin to something special. Remember, a little creativity goes a long way, so don’t be afraid to experiment with different scents and add-ins. When it comes to skincare, it’s true that you reap what you sow — so put love and care into your DIY creations, and they’ll reward you with silky, radiant skin that’s worth every effort.