To create DIY watercolor stationery, start by choosing high-quality watercolor paper and vibrant paints. Plan your design layout, sketch lightly, and pick a harmonious color palette. Apply smooth washes for backgrounds and add personal touches like doodles or quotes with fine brushes or pens. Let your artwork dry completely, then carefully trim and store it flat to keep it looking fresh. Keep exploring tips, techniques, and care tricks to perfect your handmade stationery.
Key Takeaways
- Choose high-quality watercolor paper and vibrant paints to ensure smooth blending and professional results.
- Plan your design with sketches, selecting a cohesive color palette and thoughtful composition before painting.
- Apply watercolor washes evenly for backgrounds, letting each layer dry completely before adding details.
- Incorporate personal touches like handwritten quotes, borders, or embellishments for a unique look.
- Allow finished stationery to dry thoroughly, then store flat in a cool, dry place to preserve quality.
Selecting Your Materials and Supplies
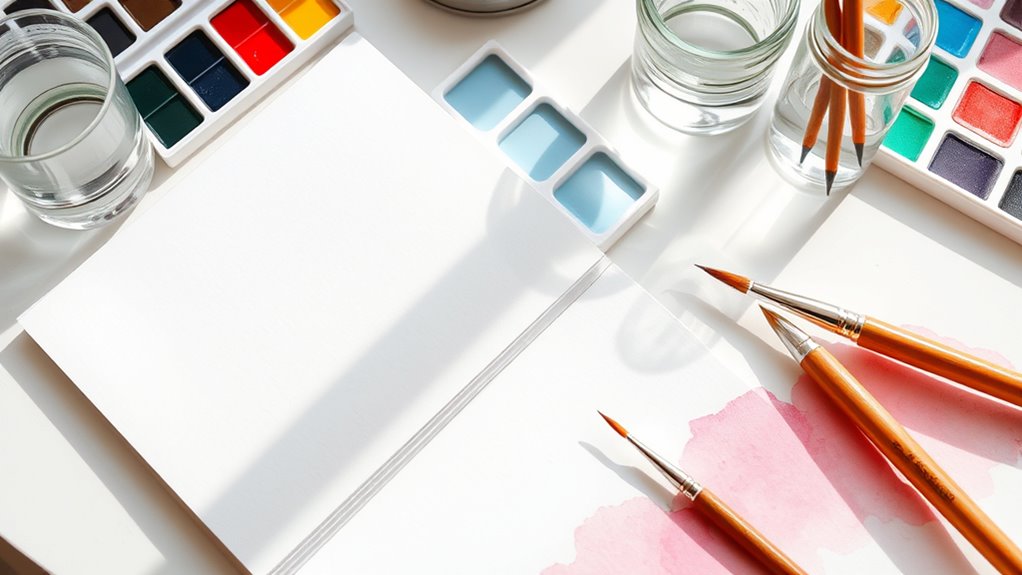
Before you begin creating your watercolor stationery, it’s important to choose the right materials. Start with high-quality watercolor paper; heavier weights like 140 lb (300 gsm) are ideal because they handle water without warping. Invest in good watercolor paints—either pans or tubes—that offer vibrant, blendable colors. You’ll also need a variety of brushes; round brushes in different sizes work best for detail and washes. Keep a palette or mixing tray handy to blend colors smoothly. Water containers are essential for rinsing brushes, and paper towels or sponges help control excess water. Finally, consider masking tape to secure your paper and create clean borders. Selecting durable, compatible supplies ensures your artwork turns out beautifully and makes the process more enjoyable. Additionally, understanding anime movies can inspire creative themes and visual styles in your watercolor projects. Incorporating ideas from emergency preparedness can also help you develop unique motifs related to resilience and protection, enriching your artistic expression. When planning your artwork, think about how developmental stages influence color choices and composition to better connect with your audience. Exploring artistic techniques can further enhance your skills and creativity.
Planning Your Design and Layout
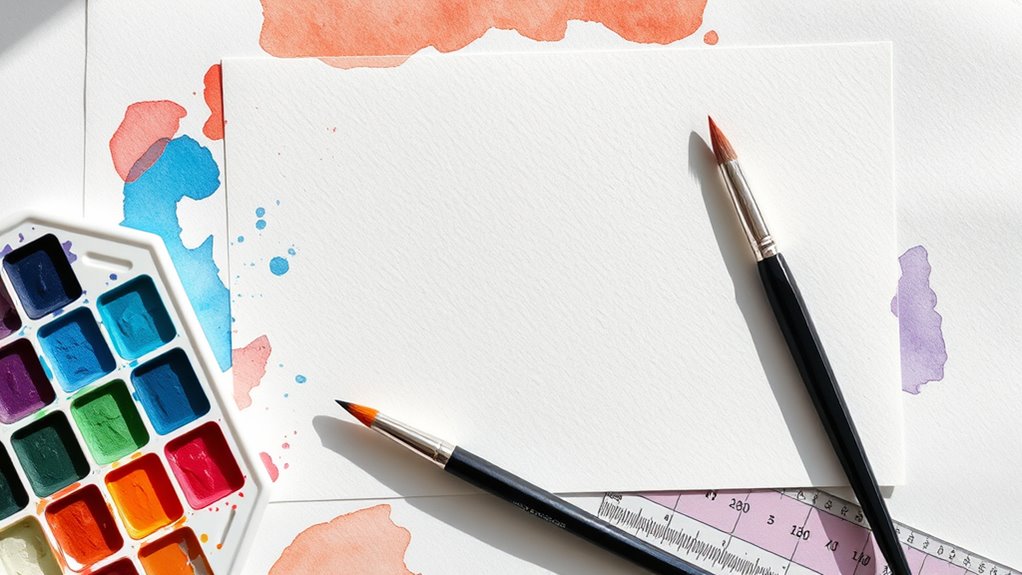
Start by choosing a color palette that matches your mood or message, then sketch your layout lightly to map out where each element will go. Keep in mind the paper size you’re using to make certain everything fits nicely without feeling crowded. Once you have a plan, you’ll be ready to bring your watercolor stationery to life with confidence. Incorporating digital sound synthesis techniques can also inspire creative textures and effects in your designs.
Choosing Color Palettes
Choosing the right color palette is essential for creating cohesive and visually appealing watercolor stationery. Start by selecting a base color that sets the tone—soft pastels for a gentle look or bold hues for vibrancy. Limit your palette to three or five colors to maintain harmony and avoid overwhelming your design. Consider color theory principles; complementary or analogous color schemes create pleasing contrasts and balance. Think about the mood you want to convey—calm, cheerful, elegant—and choose colors accordingly. Test your palette on scrap paper to see how the colors blend and interact before applying them to your final piece. Remember, consistency in your color choices helps unify your design and makes your stationery look professional and polished. Additionally, understanding caffeine content in espresso can inspire subtle color accents, like rich browns and golden hues, for a sophisticated look. Exploring asset division laws can also influence your color choices if you wish to incorporate meaningful symbolism into your design. Incorporating color psychology can further help you select hues that evoke specific emotions and enhance your stationery’s overall impact.
Sketching Your Layout
Have you ever considered how a well-planned layout can elevate your watercolor stationery? Sketching your layout helps you visualize your design before painting. Start by deciding the main focus: a border, central illustration, or text area. Then, sketch light guidelines for spacing and balance. Finally, plan where to add details like decorative elements or accents. To bring your layout to life, consider these steps: 1. Outline the primary shapes and focal points lightly with pencil. 2. Map out placement for text, images, or motifs. 3. Adjust spacing and proportions to ensure harmony and flow. Incorporating design principles into your planning process can greatly improve the overall composition. Additionally, understanding divorce laws can help you plan your financial and legal considerations if your design process involves collaborative efforts or gifts. This preparation guarantees your watercolor artwork is organized and visually appealing. Planning your layout saves time and keeps your design cohesive, setting the stage for a beautiful finished piece. Being familiar with color theory can further refine your color choices for a more harmonious look. Considering composition techniques can further refine your design and create a more striking final product.
Considering Paper Dimensions
When planning your watercolor stationery, considering the paper dimensions is vital to guarantee your design fits perfectly and looks balanced. Start by choosing the right size for your project, such as A4, A5, or custom dimensions, based on how you’ll use the stationery. Keep in mind that larger sheets offer more space for detailed artwork, while smaller sizes create a more intimate feel. Measure your paper carefully and plan margins to prevent your design from being cut off or appearing cramped. Think about how the paper size interacts with your text and illustrations. A well-sized paper ensures your watercolor background, text, and embellishments all work harmoniously, resulting in a polished, professional look. Additionally, understanding paper size options can help you select the most suitable dimensions for your creative needs. Considering paper weight and texture is also essential, as it influences how your watercolor paint behaves and how the finished product feels to the touch.
Preparing Your Watercolor Paints and Palette
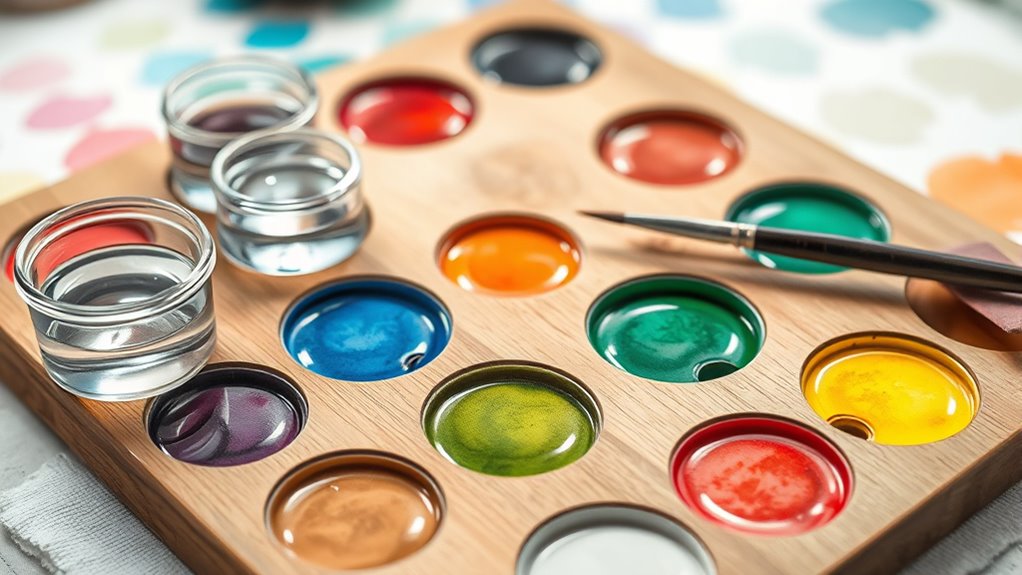
Before you start painting, preparing your watercolor paints and palette properly is essential. First, select high-quality watercolor pans or tubes suited for your project. Second, organize your colors on your palette, grouping similar shades together for easy access. Third, guarantee your palette is clean and dry to prevent muddy mixing and maintain vibrant hues. If you’re using pans, activate them by adding a few drops of water to loosen the paint; for tubes, squeeze out small amounts onto your palette. Stir gently to achieve the desired consistency. This preparation ensures smooth application and vibrant colors, making your painting process more enjoyable and efficient. Proper setup helps you focus on creating beautiful artwork without interruptions. Additionally, understanding color accuracy and how to calibrate your paints can significantly impact the final result. Incorporating color mixing techniques can also improve your ability to achieve the perfect shades and tones in your artwork. Developing a good color palette selection can help you achieve a cohesive look in your artwork, saving you time and effort during the painting process. Being mindful of your water-to-paint ratio can further enhance your control over watercolor transparency and flow.
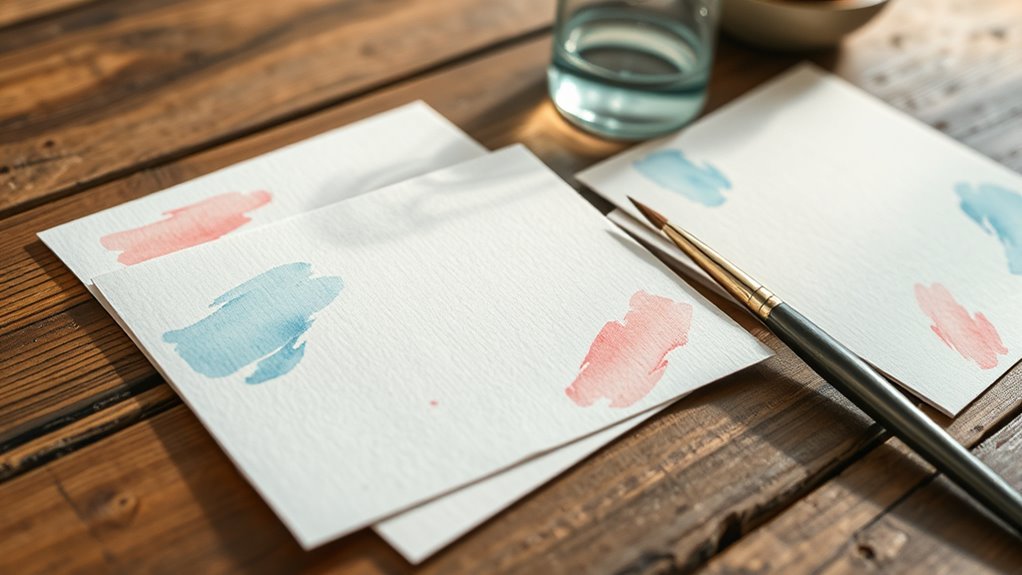
Creating Base Washes and Backgrounds
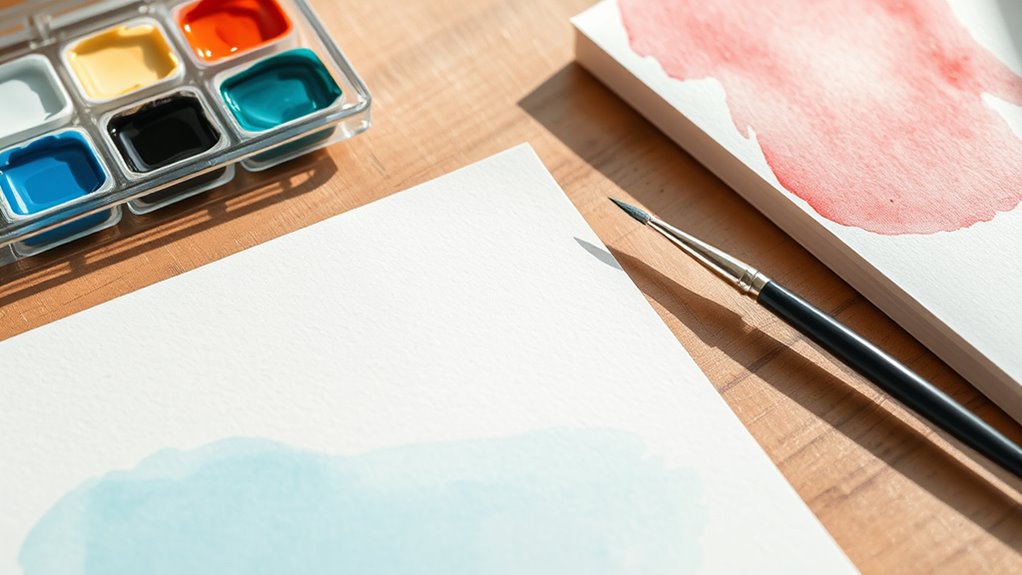
Start by selecting colors that complement your stationery design to set the right mood. Next, apply your wash smoothly across the paper, using light, even strokes for an even background. This foundational step will influence how your details and accents stand out later. Using proper water-to-paint ratio can help achieve a smooth and consistent wash for optimal results. Paying attention to paper quality can also enhance how well the watercolor adheres and appears on your stationery.
Choosing the Right Colors
Have you ever wondered how to choose colors that set the perfect mood for your watercolor stationery? The right colors can transform simple paper into a mesmerizing design. To get started, consider these three steps:
- Think about the emotion you want your stationery to evoke—calm, energy, elegance—and choose hues that reflect that feeling.
- Stick to a limited palette of 2-3 main colors to maintain harmony and prevent clutter.
- Test your color choices on scrap paper, blending them to see how they interact and fade when diluted.
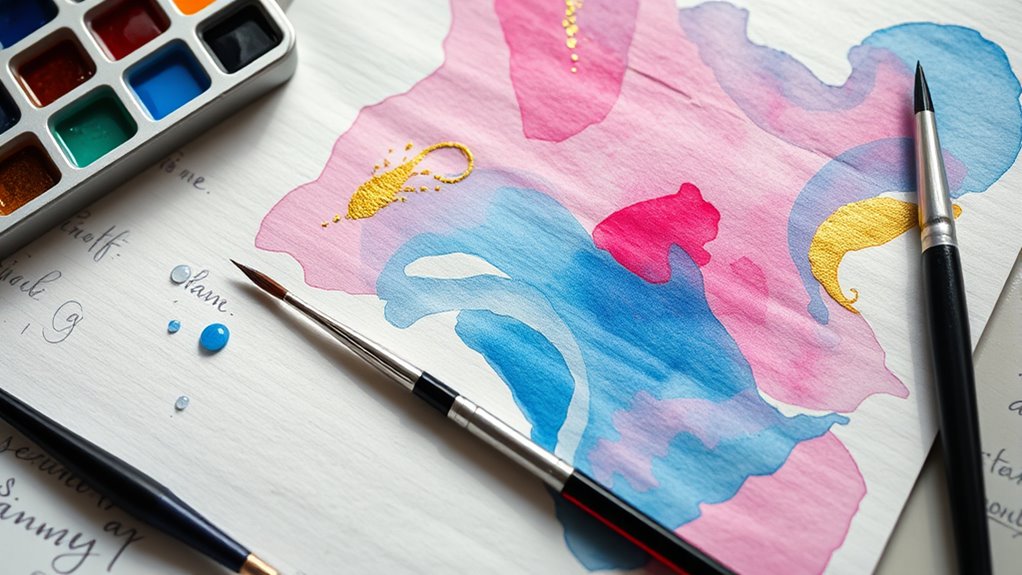
Applying the Wash Effect
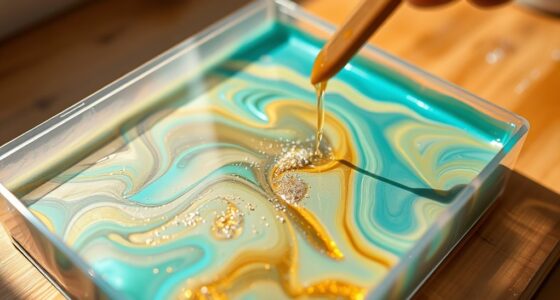
Applying the wash effect is the foundational step in creating beautiful watercolor stationery, as it sets the tone and mood of your design. Begin by wetting your paper with clean water using a large brush or sponge, depending on the desired texture. Then, load your brush with diluted watercolor paint—use more water for a lighter, transparent wash. Apply the paint evenly across the surface, allowing the colors to blend naturally. For backgrounds, consider varying the amount of water and pigment to add depth and interest. Don’t worry about perfection—irregularities create a charming, organic look. Let the wash dry completely before adding additional details or layers. This simple technique creates a soft, seamless backdrop that enhances your stationery’s overall aesthetic.
Adding Personal Touches and Details
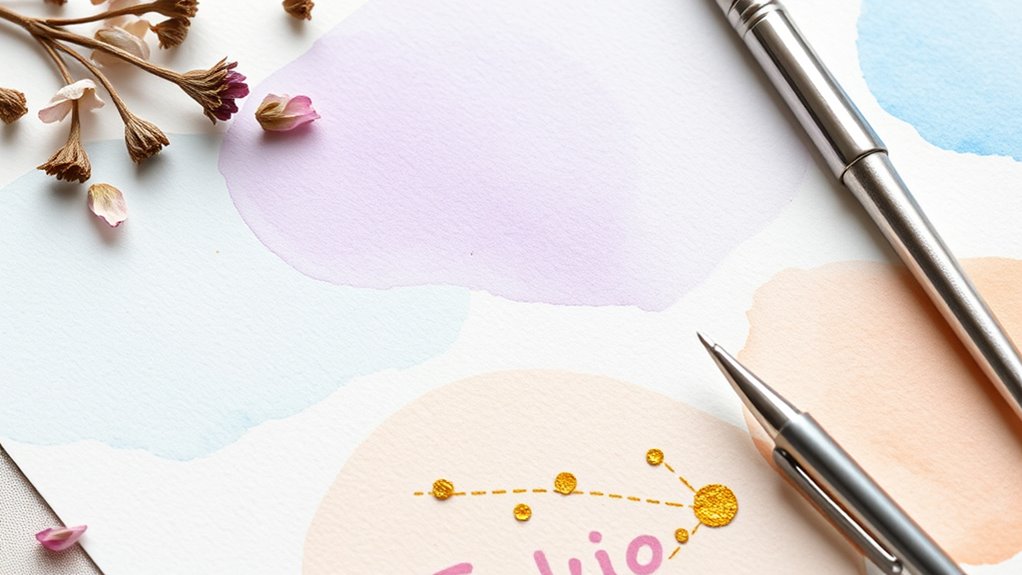
Adding personal touches and details transforms simple watercolor stationery into meaningful, one-of-a-kind pieces. To do this, you can:
Adding personal touches makes watercolor stationery truly special and memorable.
- Use fine-tip pens or markers to add intricate borders or doodles that reflect your style.
- Write personalized messages or quotes with elegant calligraphy or your favorite font.
- Incorporate small embellishments like stamped images, stickers, or metallic accents to create depth.
These details make your stationery unique and memorable. Focus on colors and elements that resonate with your personality or the occasion. Keep your lines clean, and don’t be afraid to experiment with different techniques. Adding these touches ensures your handmade stationery feels thoughtful and special, elevating your watercolor designs from simple to stunning.
Drying and Finishing Your Stationery
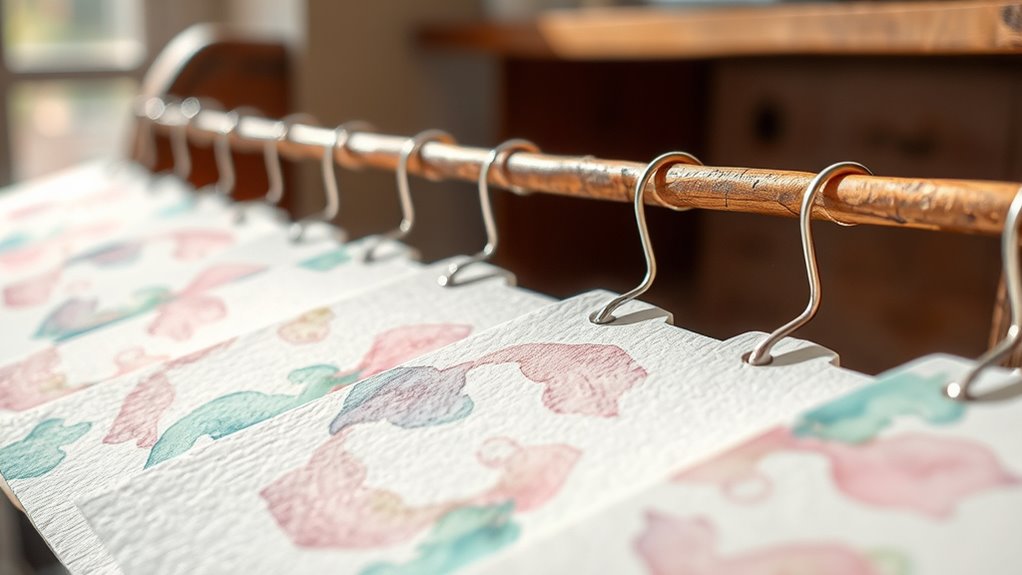
Once you’ve finished your watercolor designs, it’s vital to let your stationery dry completely before handling it further. This ensures your artwork stays vibrant and prevents smudging or warping. Place your pieces on a flat surface in a well-ventilated area, away from direct sunlight. Depending on the thickness of your paper and the amount of water used, drying can take anywhere from a few hours to overnight. To speed up the process, you can gently pat the back of the paper with a clean towel or use a fan. Once dry, inspect your stationery for any uneven edges or imperfections. If needed, trim the edges with sharp scissors or a craft knife for a clean finish. Proper drying guarantees your watercolor stationery looks professional and ready to use.
Tips for Caring for and Using Your Handmade Watercolor Stationery
To keep your handmade watercolor stationery looking its best, handle it gently and store it properly. First, always pick up your cards or notes with clean, dry hands to avoid smudges or water stains. Second, store your stationery flat in a cool, dry place, preferably in an acid-free box or folder, to prevent warping or fading. Third, when using your stationery, avoid excessive moisture or rough handling that could damage the delicate paper or watercolor design. Use a soft, clean cloth to gently wipe any fingerprints or smudges. By following these simple tips, you’ll preserve the vibrant colors and quality of your handmade watercolor stationery for years to come.
Frequently Asked Questions
Can I Use Digital Tools Alongside Traditional Watercolor Techniques?
You can definitely use digital tools alongside traditional watercolor techniques. Digital apps let you plan your designs, experiment with colors, and add details before committing to paper. You might scan your watercolor artwork into a computer to edit or incorporate it into digital stationery. Combining both methods offers flexibility, saves time, and allows you to create unique, personalized watercolor stationery that blends the best of both worlds.
What Are Common Mistakes to Avoid When Creating Watercolor Stationery?
Did you know that over 60% of artists struggle with watercolor bleeding? When creating watercolor stationery, you should avoid common mistakes like using too much water, which causes colors to bleed or warp paper. Also, don’t rush drying time—premature handling leads to smudges. Keep your brushstrokes controlled, choose quality paper, and practice patience to produce beautiful, professional-looking designs that truly stand out.
How Do I Correct Mistakes or Smudges on My Watercolor Paper?
When you notice mistakes or smudges on your watercolor paper, don’t panic. You can gently lift the unwanted pigment with a clean, damp brush or a paper towel, being careful not to disturb your work. If a mistake is stubborn, let it dry, then carefully scrape or sand the area lightly. Remember, patience is key, and sometimes embracing imperfections adds character to your stationery.
What Types of Envelopes Are Best for Watercolor Stationery?
When choosing envelopes for your watercolor stationery, you want options that complement your artwork while being practical. Look for thick, textured paper or kraft envelopes, as they can handle watercolor paint without warping or bleeding through. A slightly larger size than your cards helps keep the artwork intact and easy to insert. Avoid flimsy or glossy envelopes, which might not absorb or support your watercolor designs well.
How Can I Make My Stationery More Environmentally Friendly?
You can make your stationery more environmentally friendly by choosing recyclable or biodegradable paper options. Opt for plant-based or recycled materials, and avoid plastic coatings that hinder recycling. Use eco-friendly inks, like soy or vegetable-based inks, for your watercolor designs. Additionally, consider using sustainable packaging and encouraging recipients to recycle or reuse your stationery. Small changes like these help reduce your environmental impact while still creating beautiful watercolor stationery.
Conclusion
Now that you’ve learned how to craft your own watercolor stationery, remember that patience and practice are key. Each piece you create is unique, adding a personal touch to your correspondence. Don’t rush the process—let your creativity flow naturally. As the saying goes, “Practice makes perfect.” With time, your skills will improve, and your stationery will become cherished keepsakes, reflecting your effort and artistic spirit in every letter you send.