
To create DIY wax melts, start by gathering high-quality wax like soy or beeswax and melt it carefully using a double boiler or microwave, keeping temperature between 170°F and 180°F. Once melted, add your preferred fragrance oils and colors, stirring well. Pour the mixture into silicone molds or containers and let it cool completely in a undisturbed, cool space. When hardened, remove your wax melts and store them in a cool, dry place for later use—you’ll find all the details on perfecting each step as you continue to explore.
Key Takeaways
- Choose high-quality wax like soy or beeswax and melt it gently using a double boiler or microwave-safe container.
- Add fragrance oils and colorants while the wax is warm, stirring thoroughly for even distribution.
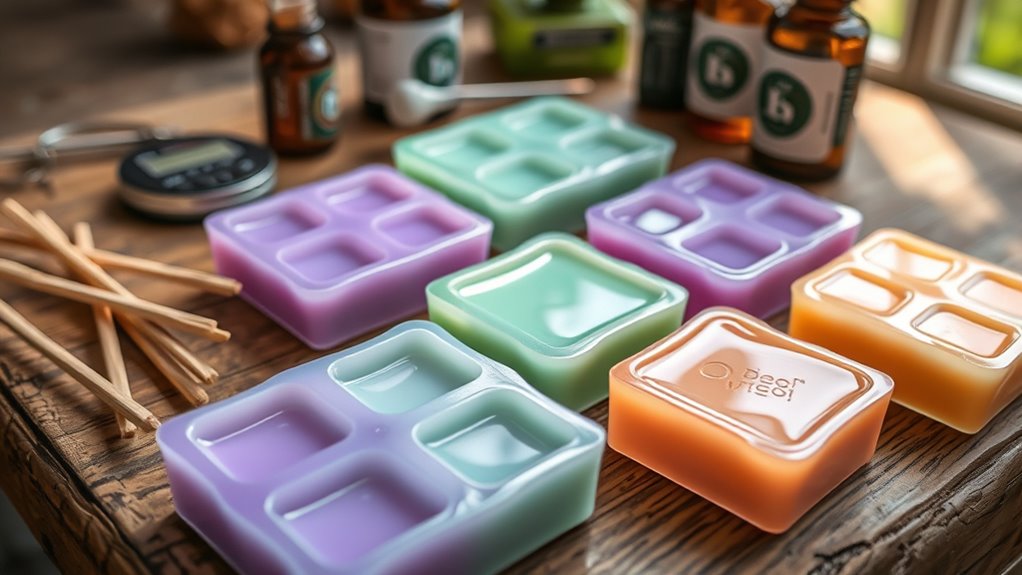
- Pour the melted wax into silicone molds or containers, then cool in a stable, undisturbed environment.
- Demold carefully once the wax has fully set, using gentle flexing or heating if needed.
- Store finished wax melts in airtight containers away from sunlight to preserve scent and prevent discoloration.
Gathering Your Supplies and Ingredients
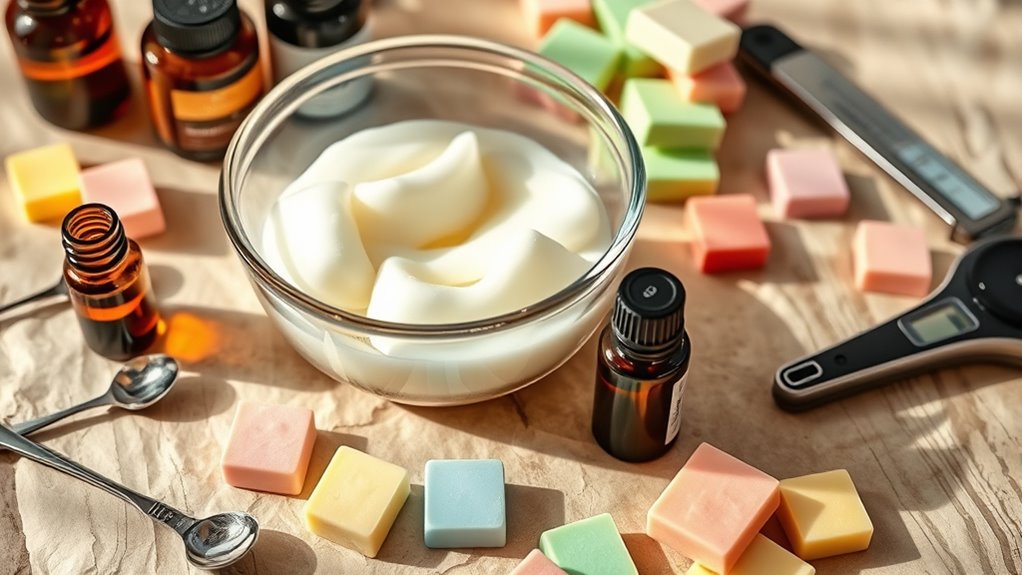
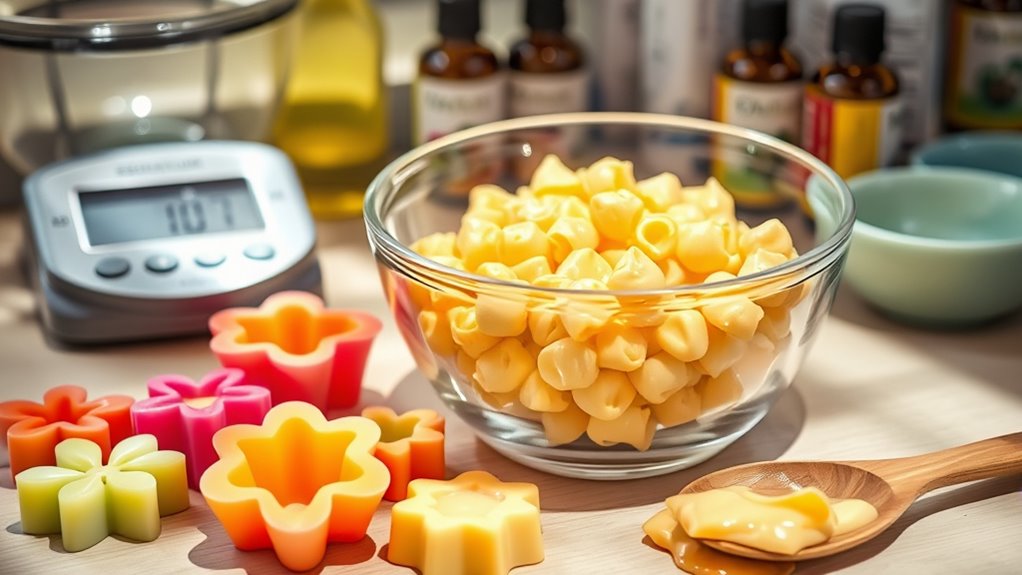
Before you begin making your own wax melts, you need to gather all the necessary supplies and ingredients. Start with high-quality wax, such as soy or beeswax, which melts smoothly and releases fragrance well. You’ll also need a double boiler or a microwave-safe container to melt the wax safely. Make sure to have fragrance oils ready—these will give your wax melts their scent. Don’t forget to grab silicone molds or other containers to shape your melts. Stirring tools like a wooden stick or spoon are essential, as well as a thermometer to monitor the wax temperature. Ultimately, keep paper towels or cloths handy for spills, and have a safe workspace prepared. Having everything set before you begin ensures a smooth, enjoyable crafting process. Proper safety measures are essential when working with hot wax to prevent accidents. Additionally, understanding electric power generation with bike generators can inspire eco-friendly practices during your crafting process. To ensure your wax melts are scented effectively, consider the proper aromatherapy oils that complement your fragrance choices. Incorporating soundscapes can also enhance your crafting environment, making the experience more immersive and enjoyable.
Choosing and Blending Fragrance Oils

Selecting the right fragrance oils is essential for creating appealing and balanced wax melts. You want scents that complement each other and suit your mood or environment. Start by choosing a primary fragrance, like lavender or citrus, then consider adding supporting oils such as vanilla or eucalyptus to enhance the depth. When blending, use small amounts first, testing the aroma before adding more. Keep in mind that some oils are stronger than others, so balance is key. Combining different fragrances can create unique, personalized scents, but avoid overwhelming your blends. Trust your nose and experiment with small batches until you find the perfect harmony. Remember, the goal is to craft a scent that’s enjoyable and well-rounded, making your wax melts truly special. Additionally, understanding the type of fragrance oils you select can influence the overall scent profile and longevity of your melts. Exploring different fragrance oil blends can help you discover new and exciting combinations for your creations. For best results, consider the quality of the oils, as higher-quality oils often produce more consistent and longer-lasting scents. To ensure a harmonious fragrance combination, it’s also helpful to learn about the compatibility of different oils to prevent scent clashes and ensure a smooth fragrance experience. Proper storage of your oils can also maintain their potency over time, further enhancing your wax melt projects.
Selecting the Right Wax for Melts
Choosing the right wax is the foundation for making high-quality melts that hold fragrance well and a consistent scent throw and release scent evenly. Not all waxes are created equal, so selecting the best type is essential for your DIY project. Consider the melting point, scent throw, and ease of use when choosing your wax. Soy wax is popular for its clean burn and excellent scent throw, while beeswax offers natural qualities and a subtle aroma. Paraffin wax is budget-friendly and melts at a lower temperature, making it easy to work with. Coconut wax provides a creamy texture and strong scent throw, perfect for luxury melts. Keep these factors in mind to guarantee your wax melts turn out perfectly every time. Additionally, understanding the sound healing science behind certain vibrations can inspire creative ways to enhance your craft. When selecting wax, also consider its melting point to ensure it works well with your pouring techniques and desired finish. Being aware of the environmental impact of different waxes can help you choose more sustainable options for your projects. Exploring the variety of waxes available can further help you find the best match for your specific scent and texture preferences.
Melting the Wax Safely
To melt wax safely, use a double boiler to prevent direct heat contact. Keep an eye on the temperature to avoid overheating and potential hazards. Always handle the hot wax carefully, using tools and protective gear to prevent burns. Being mindful of appliance safety during the process can help prevent accidents. Additionally, monitoring the temperature control of your melting equipment ensures consistent results and safety. Incorporating AI-powered safety monitoring tools can further enhance your control over the process. Remember to choose the appropriate camping gear if you plan to melt wax outdoors to ensure safety and efficiency. Being aware of regional resources and tools can also help you select the best equipment for your needs.
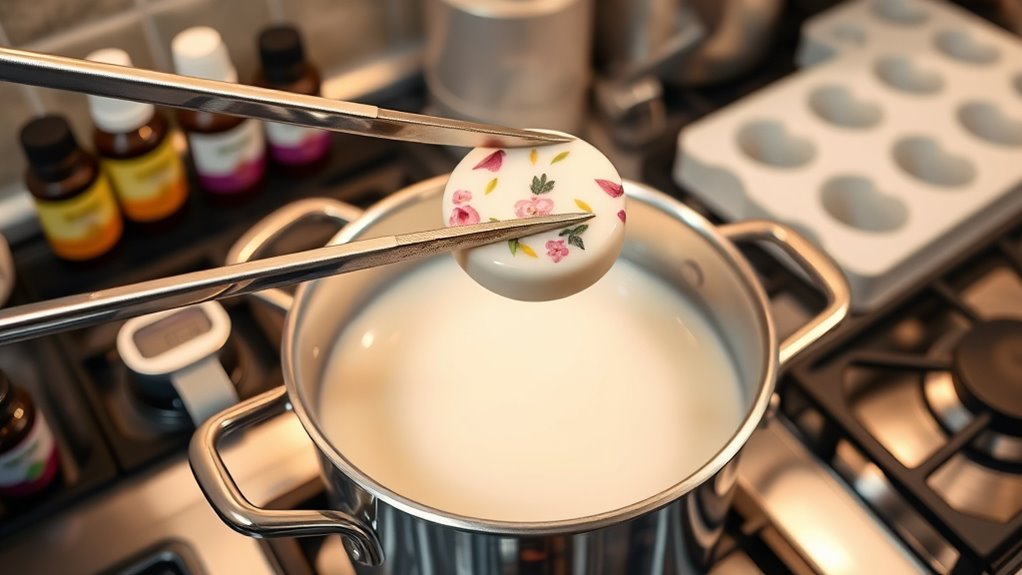
Use Double Boiler Method
Using a double boiler is one of the safest ways to melt wax for your DIY wax melts. It gently heats the wax, reducing the risk of overheating or burning. To set it up, fill the bottom pot with water and bring it to a simmer. Place your wax in the top bowl or pan, ensuring it doesn’t touch the water. Stir occasionally to promote even melting. This method maintains a consistent temperature, preventing wax from overheating. Keep the heat low and never leave it unattended. Using a double boiler also minimizes splashes and spills, making the process cleaner and safer. Additionally, this method aligns with automation in business by streamlining the process and ensuring consistent results. Incorporating precise temperature control can further enhance safety and quality during melting.
Monitor Melting Temperature
Keeping a close eye on the wax’s temperature is key to melting it safely. If it gets too hot, the wax can catch fire or release harmful fumes. Use a thermometer to monitor the temperature constantly. Ideally, keep it between 170°F and 180°F (77°C – 82°C). Below this range, the wax won’t melt fully; above it, safety risks increase. To help you understand, here’s a quick guide:
| Temperature Range | Purpose |
|---|---|
| 170°F – 180°F | Proper melting point, safe to pour |
| Above 180°F | Risk of overheating and hazards |
| Below 170°F | Wax remains solid, not melted enough |
Staying within this safe zone ensures your wax melts smoothly without danger.
Handle Hot Wax Carefully
Because hot wax can cause burns or accidents, always handle it with care. When melting wax, use a double boiler or a dedicated melting pot to prevent spills. Keep a heat-resistant surface nearby to place hot containers. Never leave melting wax unattended, and always use oven mitts to protect your hands. Be cautious when adding fragrance oils or dyes—add small amounts gradually to avoid splashes. Ensure your workspace is clear of clutter and flammable materials. Keep a fire extinguisher nearby just in case. Always let the wax cool slightly before pouring to prevent splatters. Remember, patience is key—rushing can lead to accidents. Handling hot wax responsibly keeps your project safe and enjoyable.
Adding Fragrance and Color to the Melted Wax
Once your wax is melted, you can enhance your melts with fragrance oils and color. Choosing the right scents and adding color accents helps create a personalized touch. Make sure to mix thoroughly for even distribution and a consistent, vibrant finish.
Selecting Fragrance Oils
Choosing the right fragrance oils is essential to creating appealing and well-balanced wax melts. The scent sets the mood and attracts people to your creation. To select the best oils, consider the strength of the fragrance — it should be noticeable but not overwhelming. Make sure the oils are specifically formulated for wax melts or candles to ensure proper scent throw and safety. Test different combinations to find unique blends that suit your style. Keep in mind that some fragrances may fade over time, so choose high-quality oils for longevity. Here are some tips to help you pick the perfect scent:
- Opt for oils with strong, clear fragrances
- Use blends for complex, layered aromas
- Avoid synthetic or overpowering scents
- Check for skin-safe labels if needed
- Experiment with small batches first
Incorporating Color Accents
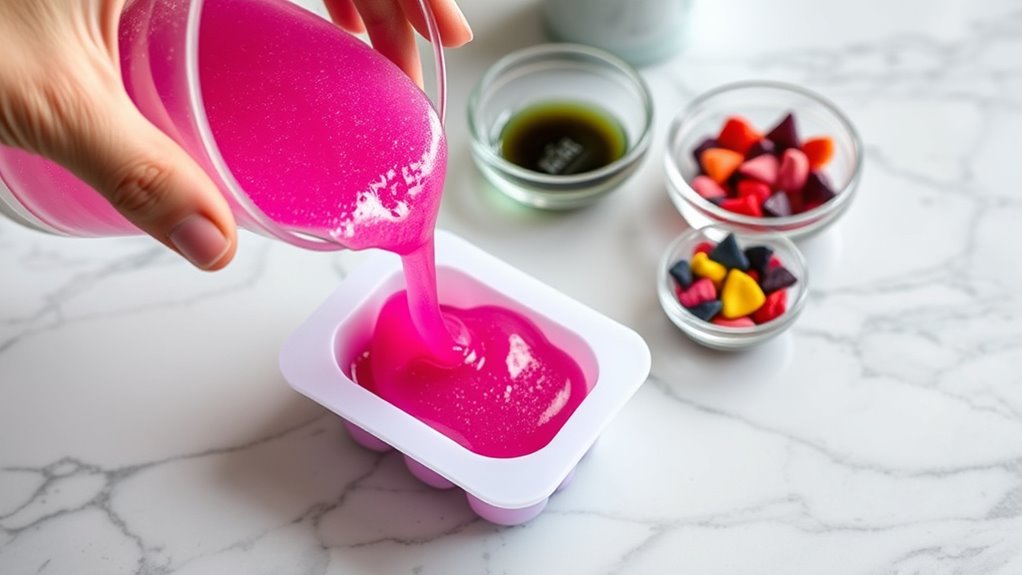
After selecting your fragrance oils, the next step is to add color accents and scent enhancements that bring your wax melts to life. Use mica powders, liquid dyes, or crayon shavings specifically made for wax to achieve vibrant hues. Start with a small amount—just a pinch or a few drops—and melt it into your poured wax. Stir thoroughly to ensure even color distribution. For a more subtle tint, add less dye; for bold shades, increase gradually. You can also incorporate decorative elements like glitter or mica flakes for a shimmering effect. Keep in mind, the color should complement your fragrance choice and overall aesthetic. This step allows you to personalize your melts and create visually appealing designs that enhance their appeal.
Achieving Even Distribution
To achieve even distribution of your fragrance and color, it is vital to add them to the melted wax while it’s still warm and liquid. This ensures the scent and hue disperse uniformly throughout the wax, preventing clumps or uneven patches. Stir continuously after adding the fragrance and color to blend everything smoothly. Use a thermometer to keep the wax at the ideal temperature—usually around 170°F (77°C)—to maximize diffusion. Here are some tips to perfect the process:
- Add fragrance and color in small amounts, then increase gradually.
- Use a stir stick or spoon to mix thoroughly.
- Avoid adding too much at once to prevent separation.
- Test scent strength by melting a small sample first.
- Keep the wax at a consistent temperature during mixing.
Pouring the Wax Into Molds
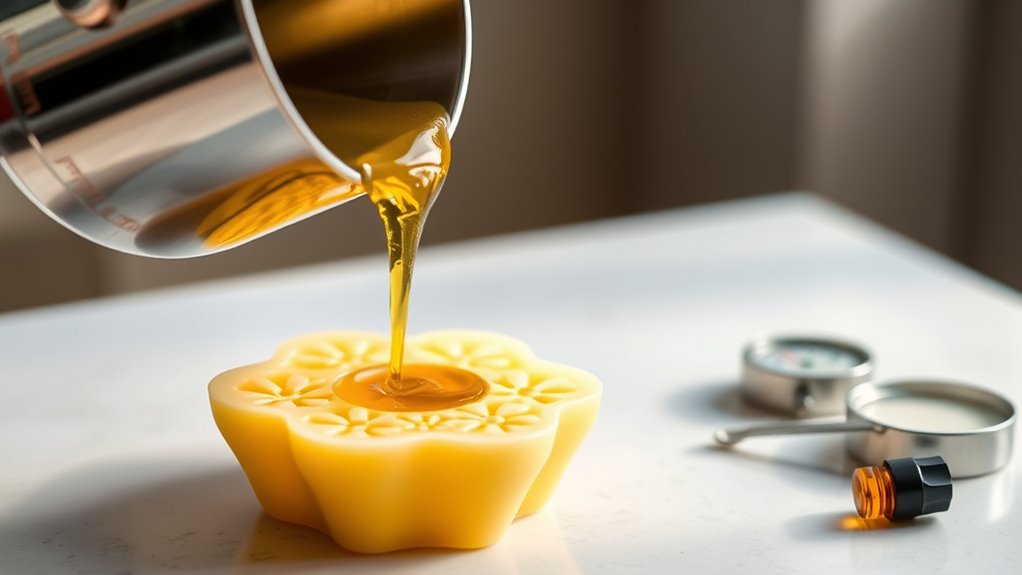
Once the wax has fully melted and reached the appropriate temperature, you can carefully pour it into your prepared molds. Hold the pouring container steadily to prevent spills and uneven fills. Fill each cavity to the desired level, leaving a small space at the top for expansion. To maintain consistency, pour slowly and evenly. Use a toothpick or skewer to remove any air bubbles that may form on the surface. Keep your workspace clean and ready for any overflow.
| Tip | Reason |
|---|---|
| Use a pouring pitcher | For controlled, steady pouring |
| Pour slowly | To avoid splashes and air bubbles |
| Fill to the right level | Ensures uniform melt size and scent throw |
| Keep workspace clean | Prevents mess and simplifies cleanup |
Allowing the Wax Melts to Cool and Harden
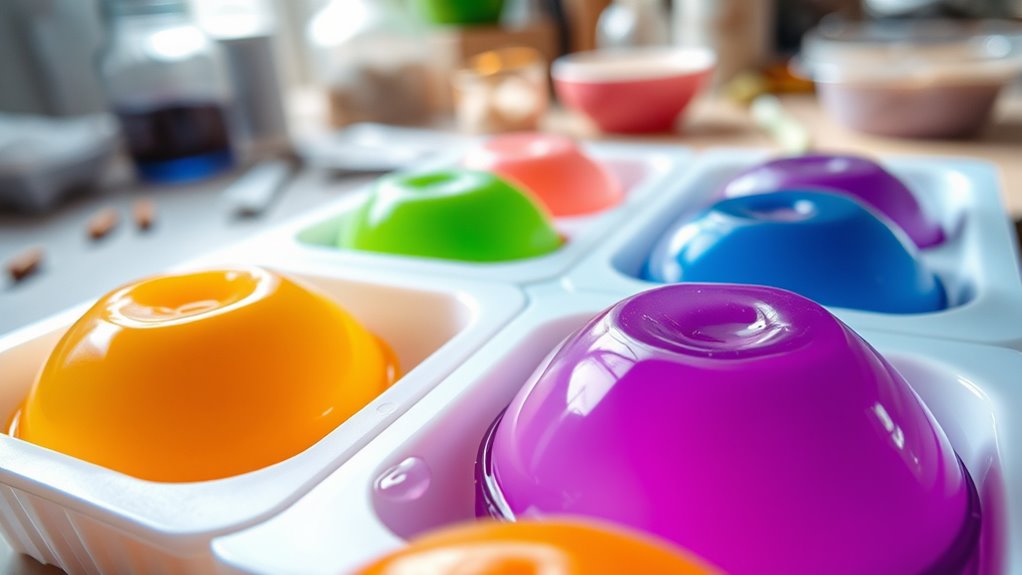
Make certain you place your molds in a proper cooling environment, away from drafts or direct heat. Giving the wax enough time to harden naturally is key to achieving clean, smooth melts. Patience now ensures your wax melts turn out perfectly.
Proper Cooling Environment
Ensuring a proper cooling environment is essential for your wax melts to harden evenly and maintain their shape. A stable, undisturbed space helps prevent cracks, warping, and surface imperfections. Keep the area cool, away from direct sunlight or heat sources, to allow the wax to set slowly and evenly. Consider placing your molds on a flat, temperature-controlled surface. Avoid drafts or vibrations that can disturb the solidification process. Using a dedicated space guarantees consistency across batches and preserves the quality of your melts. Proper cooling also helps the fragrance lock in more effectively, resulting in a better scent throw. Maintaining a controlled environment makes your DIY wax melts look professional and ensures they last longer when used.
- Keep the area cool and shaded
- Use a flat, stable surface
- Avoid drafts or vibrations
- Maintain consistent temperature
- Limit handling during cooling
Patience for Hardening
Allowing your wax melts to cool and harden without rushing is essential for achieving a smooth, professional finish. Patience ensures the wax sets evenly and maintains its shape. Rushing the process can cause cracks or uneven surfaces, ruining your effort. To help, create a dedicated cooling space with a consistent temperature and minimal disturbance. Here’s a simple guide:
| Cooling Time | Ideal Temperature | Tips |
|---|---|---|
| 30-60 mins | Room temperature | Keep away from drafts |
| 1-2 hours | Slightly cooler | Use a flat surface |
| 4-6 hours | Fully hardened | Avoid moving during this period |
| Overnight | Perfect hardening | Best for perfect finish |
Patience is key—wait until your wax melts are completely set before handling or decorating.
Demolding Your Wax Melts

Once your wax melts have cooled and hardened completely, you can carefully remove them from the mold. Gently flex or press the mold to loosen the wax, avoiding force that might break your melts. If needed, place the mold in the fridge for a few minutes to make demolding easier. Use your fingers or a small tool to gently pop the wax out, ensuring you don’t damage delicate shapes. For silicone molds, the flexibility makes removal simple, while harder molds might require more patience. Keep your workspace clean and dry to prevent sticking. Proper demolding guarantees your wax melts look professional and retain their shape.
- Use gentle pressure to avoid cracks
- Chill in the fridge for easier removal
- Flex silicone molds carefully
- Avoid pulling or twisting too hard
- Have a clean, flat surface ready
Customizing Shapes and Sizes
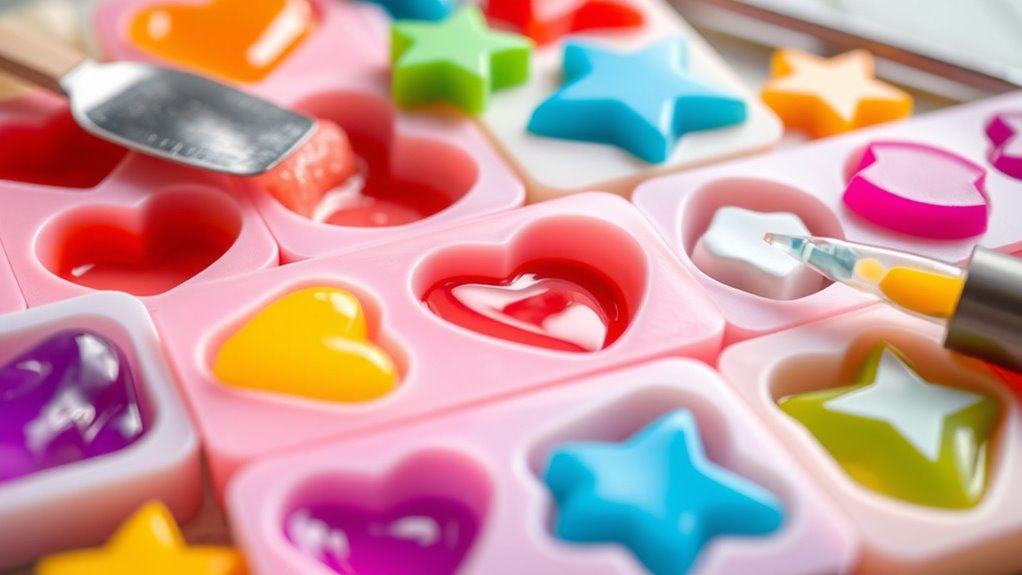
After successfully demolding your wax melts, you can start customizing their shapes and sizes to match your preferences or specific needs. Use silicone molds, cookie cutters, or even household items like ice cube trays to create unique forms. If you want smaller melts, cut larger pieces with a sharp knife or scissors. For intricate shapes, pour the melted wax into detailed molds or carve designs once the wax cools slightly. Remember to work quickly if shaping by hand, as wax hardens fast. You can also combine different colors or add decorative elements before the wax fully sets. Customizing shapes and sizes allows you to personalize your wax melts, making them perfect for gifts, décor, or specific scent dispersal. Experiment to find the styles that best suit your home.
Storing and Using Your Homemade Wax Melts
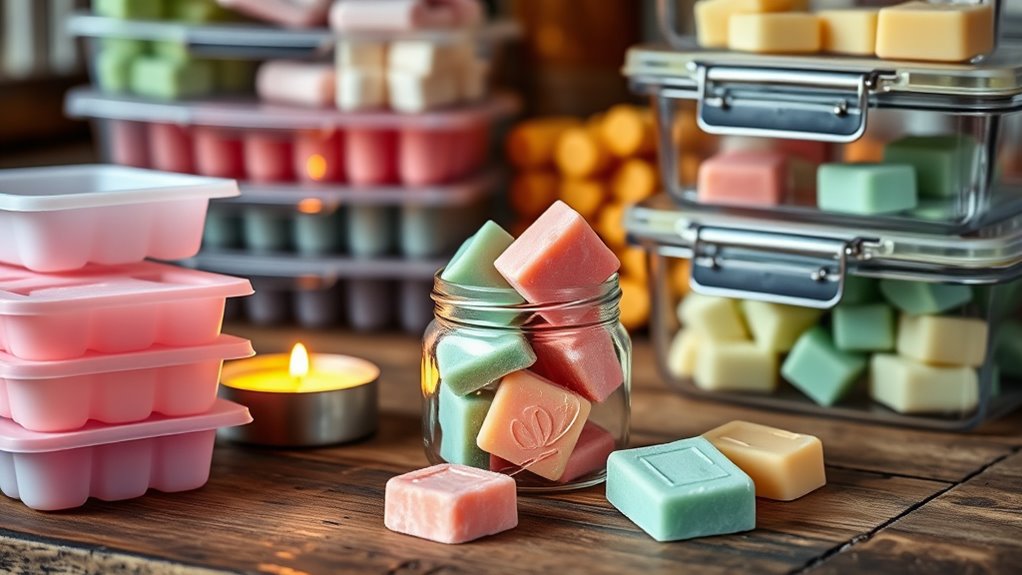
To keep your homemade wax melts fresh and effective, proper storage is essential. Store them in a cool, dry place away from direct sunlight to prevent melting or discoloration. Use an airtight container or zip-top bag to protect against dust and odors that can alter the scent. Keep separate scents in different containers to avoid mixing. Label each container with the scent and date made for easy identification. When using, always place the wax melts on a heat-safe warmer, never directly on a flame. Keep out of reach of children and pets to prevent accidents. Follow these tips to maintain their fragrance and longevity, ensuring your homemade wax melts stay fresh and effective for multiple uses.
Frequently Asked Questions
How Long Do Homemade Wax Melts Typically Last?
Homemade wax melts usually last between 8 to 20 hours of scent release, depending on their size and quality. As you use them, the fragrance gradually diminishes. To maximize their lifespan, store unused melts in a cool, dark place and avoid exposing them to direct sunlight or heat. When the scent fades or the wax looks empty, it’s time to replace your wax melts for a fresh aroma.
Can I Reuse or Recycle Leftover Wax?
You can definitely reuse or recycle leftover wax from your wax melts. Let the wax cool and solidify, then gently re-melt it using a double boiler or microwave. You can pour it into new molds or add scents to refresh the aroma. Just make sure you remove any leftover wick or debris first. Recycling wax not only saves money but also reduces waste, making it an eco-friendly choice for your crafting projects.
Are There Allergy-Safe Fragrance Options for Wax Melts?
You’re wondering if allergy-safe fragrance options exist for wax melts. The good news is, you can choose natural essential oils like lavender, chamomile, or eucalyptus, which are generally gentler and less likely to cause allergies. Always opt for high-quality, pure oils, and test a small amount first. By selecting hypoallergenic fragrances, you make your wax melts safer for sensitive noses and skin.
How Do I Prevent Air Bubbles in My Wax Melts?
To prevent air bubbles in your wax melts, make certain your wax is heated slowly and gently. Pour the wax at a consistent, moderate temperature to avoid rapid cooling, which can trap air. Before pouring, tap or gently swirl the container to release any bubbles. Using a thermometer helps maintain the right temperature, and pouring from a low height minimizes air entrapment, resulting in a smooth, bubble-free finish.
What’S the Best Way to Scent Wax Melts Naturally?
Imagine filling your space with pure, natural aroma—that’s what scenting wax melts naturally offers. You’ll want to choose essential oils over artificial fragrances, adding a few drops at just the right moment. Gently stir to blend, avoiding air bubbles that can trap scent. Use a double boiler to melt your wax slowly, ensuring the oils don’t evaporate. The result? beautifully scented wax melts bursting with authentic, natural fragrance.
Conclusion
Now that you’ve mastered the art of DIY wax melts, you’re officially a fragrance wizard in your own home. Who knew that melting wax and mixing scents could be so glamorous? Just remember, with great power comes great responsibility—so resist the temptation to drown your entire house in vanilla. Instead, indulge in your new hobby wisely, and bask in the glow of your freshly crafted, perfectly scented masterpieces. Happy melting!