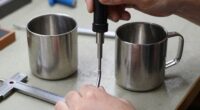
To get a soft feel without cracking, you need proper curing. Use the right temperature—typically between 300°F to 330°F—and guarantee even heat application. Avoid rushing the process or over-curing, which can stiffen prints or dull colors. Check your equipment calibration regularly for consistent results. Applying a light, even coat of adhesive and controlling curing time are key. Keep these tips in mind, and you’ll discover more ways to perfect your DTF finishes.
Key Takeaways
- Use moderate heat (300°F-330°F) and short curing times (15-20 seconds) to prevent cracking and maintain softness.
- Ensure even heat distribution with a calibrated heat press for consistent ink activation and adhesion.
- Apply a light, uniform adhesive coat before curing to enhance flexibility and reduce cracking risk.
- Avoid substrate flexing during curing and handle prints carefully to preserve softness and adhesion stability.
- Regularly verify equipment calibration and adjust curing parameters based on fabric type and environmental conditions.
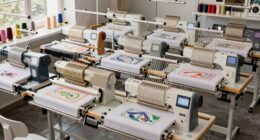
HTVRONT Auto Heat Press Machine for T Shirts – 15×15 Smart T Shirt Press Machine with Auto Release – Professional Heat Press for Sublimation, Vinyl, Heat Transfer Projects
【Auto Heat Press & Free Hands】- HTVRONT auto heat press machine aims to take away the struggles of…
As an affiliate, we earn on qualifying purchases.
As an affiliate, we earn on qualifying purchases.
Why Proper Curing Is Key to Soft, Durable DTF Prints
Proper curing is essential because it directly impacts the softness and durability of your DTF prints. When you cure correctly, you promote better adhesion enhancement, ensuring the ink bonds securely to the fabric. This prevents peeling or cracking over time. Proper curing also improves ink flexibility, allowing the print to move naturally with the fabric without cracking or becoming stiff. If you don’t cure properly, the ink may not fully set, leading to poor adhesion and reduced durability. Softness is preserved because the ink remains flexible, maintaining a comfortable feel on the garment. Additionally, utilizing energy-efficient curing methods helps reduce environmental impact and operating costs, aligning with sustainable practices. Understanding the importance of contrast ratio can also help you evaluate the visual quality of your prints, ensuring vibrant and detailed results. Ultimately, proper curing guarantees your DTF prints are both long-lasting and soft, giving your finished products a professional quality and a better customer experience.
InkSonic 16×24 Inch Large Auto Pneumatic Dual Heat Press Machine, for DTF & Sublimation Transfer T-Shirt with Laser Positioning and Movable Stand,Sliding Side Commercial 40x60cm Heat Press
✅[16×24 Dual Platen] Designed for oversized and high-efficiency printing, this machine is ideal for large format sublimation transfer…
As an affiliate, we earn on qualifying purchases.
As an affiliate, we earn on qualifying purchases.
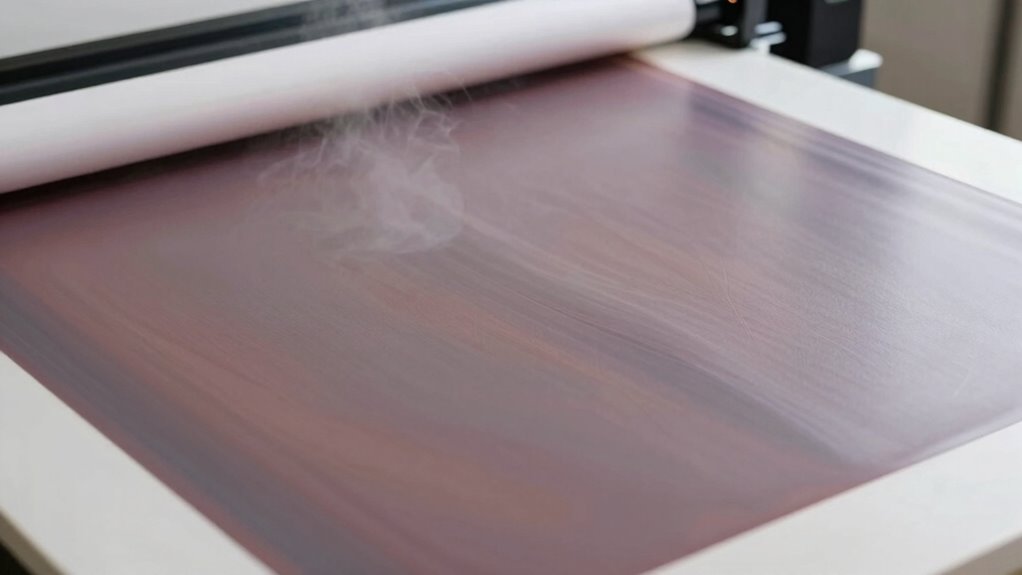
How Does DTF Curing Work? An Overview of the Process
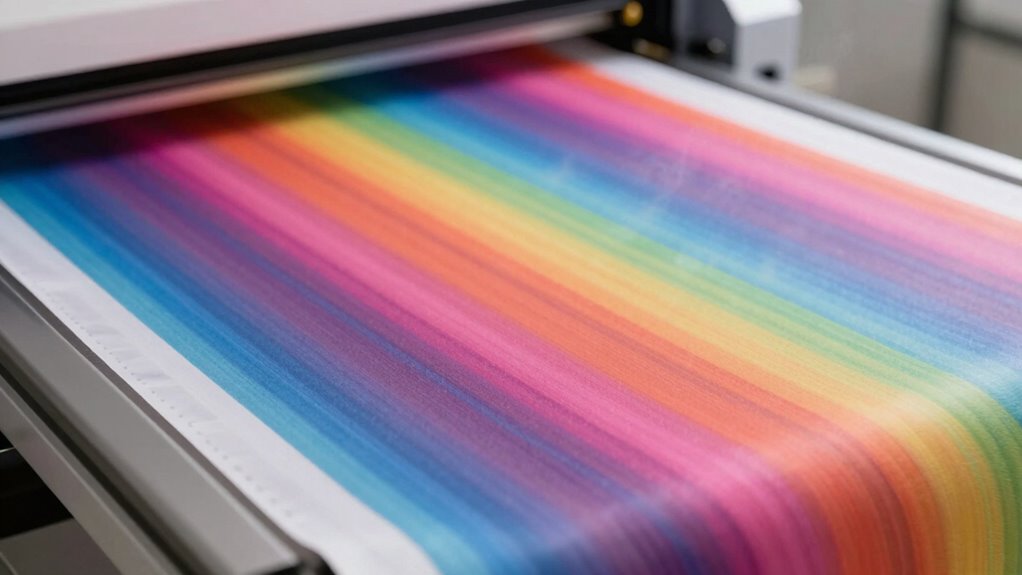
When you cure DTF prints, heat activates the adhesive and inks, ensuring they bond properly to the fabric. The curing time depends on factors like temperature, humidity, and material thickness, so adjustments may be necessary. Understanding these elements helps you achieve durable, high-quality results every time. Proper heat transfer techniques are essential to ensure all relevant information is accurately represented and well-supported.
Heat Activation Process
The heat activation process is the essential step that transforms your DTF print into a durable, vibrant design. During this stage, heat distribution evenly activates the adhesive and inks, ensuring a strong bond to the fabric. Proper heat application is vital, as uneven heat can cause cracking or poor adhesion. You need to consider material compatibility because different fabrics and substrates respond uniquely to heat; some require lower temperatures, while others need higher. By controlling the heat carefully, you guarantee the ink and adhesive fully activate without damaging the material. This process results in a soft, flexible finish that resists cracking and peeling, giving your design longevity and vibrancy. Proper heat activation is key to achieving professional-quality DTF prints.
Curing Time Factors
Curing time plays a crucial role in guaranteeing your DTF print achieves excellent durability and appearance. Proper curing allows ink adhesion to set fully, preventing cracking and peeling later. If you rush the process, you risk poor ink adhesion, dull print gloss, and reduced longevity. Conversely, over-curing can cause the print to become stiff or lose vibrancy. To optimize results, consider these factors:
- Ink Type and Thickness – Thicker inks need more time to cure thoroughly.
- Temperature and Pressure – Consistent heat ensures proper ink bonding and gloss.
- Material Compatibility – Different fabrics absorb heat differently, affecting curing duration.
Adjusting these factors helps you find the perfect curing time for soft, durable, and glossy prints.

A3+A4 DTF Oven Curing with Temperature and Time Control for Heat Transfer Film Printing, Dual-Side Heating DTF Oven Dryer
PERFECT CURING RESULTS EVERY TIME – Professional Quality at Home! Achieve perfect DTF transfers with our precision curing…
As an affiliate, we earn on qualifying purchases.
As an affiliate, we earn on qualifying purchases.
What Are the Best Heat Press Settings for DTF Curing?
To get the best results, you need to set your heat press within the essential temperature range and keep an eye on the ideal press duration. Applying the right pressure and allowing proper cooling afterward also plays a vital role. Adjusting these settings ensures your DTF transfers cure evenly and last longer. Incorporating ergonomic principles into your workspace setup can help you operate your equipment more comfortably and efficiently.
Optimal Temperature Range
Achieving the right temperature is essential for effective DTF curing, as it guarantees the adhesive bonds properly without damaging the print. The ideal temperature range typically falls between 300°F to 330°F (150°C to 165°C). Staying within this range helps preserve color vibrancy while ensuring strong ink adhesion. To get consistent results, keep these tips in mind:
- Use a calibrated heat press to maintain precise temperature control.
- Adjust temperature based on fabric type and ink type for best outcomes.
- Avoid exceeding 340°F, as higher temps can cause cracking or color fading.
- Incorporating sound vibrations can enhance cellular regeneration and overall health, which may contribute to better material handling and curing quality. Additionally, understanding free floating techniques can optimize the curing process by reducing tension and stress on the printed material. Proper temperature regulation also minimizes the risk of print cracking, ensuring a smooth finish. Implementing consistent pressure during curing is also crucial to achieve uniform adhesion and prevent defects.
Maintaining this temperature range ensures your prints remain vibrant and durable, giving your final product a professional finish.
Ideal Press Duration
Once you’ve set the right temperature, the next step is determining the best press duration to guarantee your DTF print bonds properly without overexposing the ink. The ideal press time ensures peak adhesive strength, allowing the adhesive layer to bond firmly to the fabric. Generally, a press duration between 15 to 20 seconds works well, but this can vary depending on your heat press machine and material thickness. Too short, and the ink may not fully adhere, risking poor ink adhesion; too long, and you risk damaging the print or causing the ink to crack. Consistency is key—monitor your results and adjust within this range to find the perfect balance for durable, soft prints with excellent adhesive strength. Proper heat application is essential to prevent cracking and ensure a smooth, soft feel.
Pressure and Cooling Tips
Proper pressure and cooling are crucial for guaranteeing a durable DTF transfer. Correct pressure calibration prevents uneven adhesion or cracking, while effective cooling techniques help maintain a soft feel without damaging the print. To optimize your process, consider these tips:
- Regularly calibrate your heat press to maintain consistent pressure, ensuring even transfer adhesion.
- Use a light, even pressure rather than excessive force, which can cause cracking or ghosting.
- Immediately after pressing, apply quick and controlled cooling, such as using a fan or letting the transfer sit for a few seconds, to prevent overheating and preserve softness.
- Pay attention to climate-specific conditions since temperature and humidity can impact the curing process and final texture. Additionally, understanding thermal transfer properties can help you fine-tune your settings for optimal results.
- Incorporating proper ventilation in your workspace can also assist in maintaining consistent curing conditions and improve overall print quality. Being aware of material characteristics can further help you adjust your process for different types of DTF films and inks.
Balancing pressure calibration with proper cooling techniques ensures your DTF prints stay flexible, vibrant, and durable.

Godora DTF Powder White Digital Transfer Hot Melt Adhesive for Black or Dark Colored Garments, PreTreat Transfer for All DTF and DTG Printers, 450g – 16oz
MULTI-PURPOSE:Godora DTF powder white digital transfer hot melt adhesive is suitable for most fabrics including non-treated cotton, silk,…
As an affiliate, we earn on qualifying purchases.
As an affiliate, we earn on qualifying purchases.
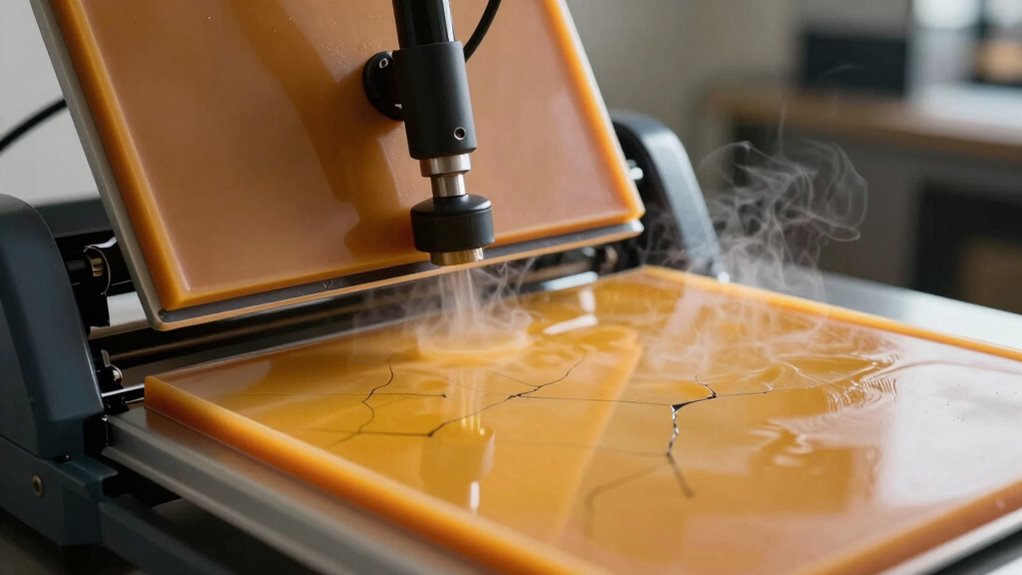
Common Curing Mistakes That Cause Cracking (And How to Avoid Them)
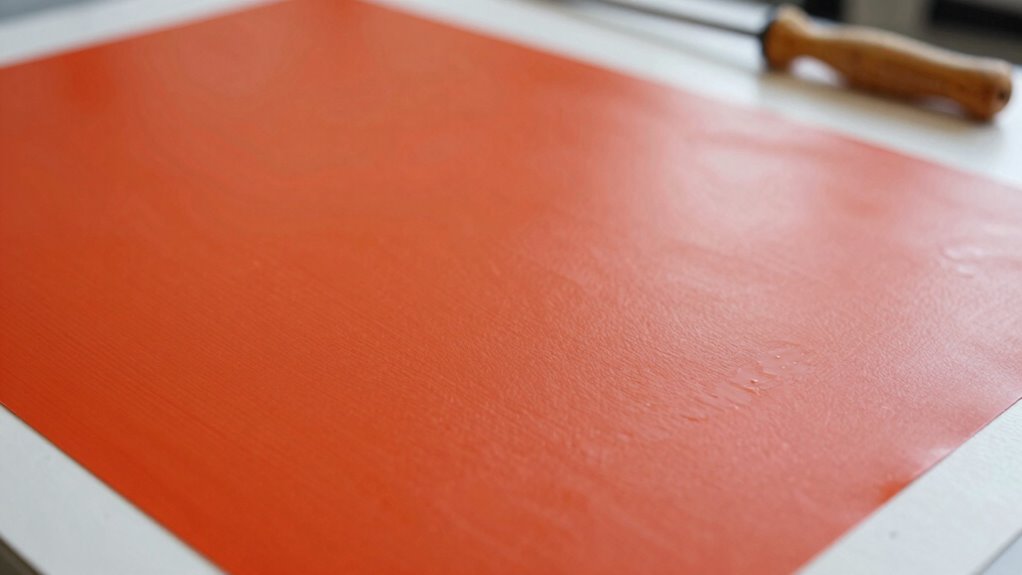
Cracking during DTF curing often happens when the material dries too quickly or unevenly, putting stress on the print. One common mistake is neglecting proper substrate preparation, which can weaken ink adhesion. If the surface isn’t clean or smooth, the ink may not bond well, leading to cracks as it dries. Avoid rushing the curing process; uneven or rapid drying creates tension that causes cracks. Another mistake is applying too much ink or not spreading it evenly, which exacerbates stress during curing. To prevent this, ensure the substrate is thoroughly cleaned and prepared before printing. Proper adhesion and controlled curing conditions help achieve a flexible, crack-free finish, reducing the risk of damage and improving overall durability of your DTF prints.
How to Keep Your Prints Soft Without Losing Durability
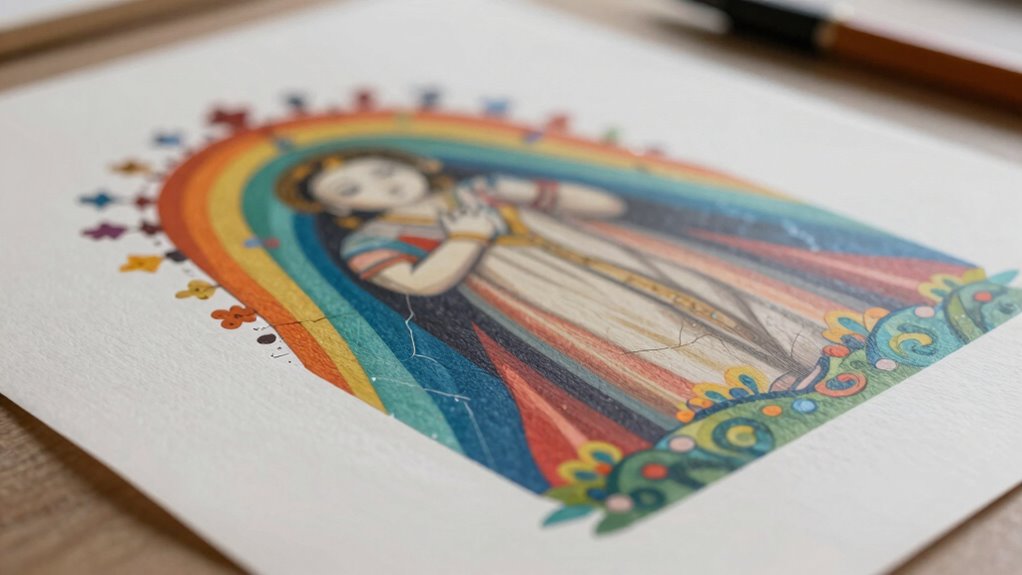
Keeping your DTF prints soft without sacrificing durability requires a careful balance during the curing process. To maintain good ink adhesion and vibrant color retention, focus on controlling temperature and time. Here are three tips to help you achieve this:
- Use a moderate curing temperature—too high can make prints stiff, too low may reduce ink adhesion. Monitoring curing parameters closely ensures consistent results and helps prevent unintended effects on print softness and durability. Incorporating smart technology tools like temperature sensors can further optimize this process. Additionally, understanding regional climate variations can assist in adjusting curing settings for optimal outcomes.
- Limit curing time to prevent overexposure, which can cause cracking and dull colors. Being attentive to kitchen fundamentals, such as temperature control, can also improve overall curing outcomes.
- Apply a light, even coat of adhesive before curing to enhance ink adhesion and color retention without adding stiffness. Incorporating proper curing techniques ensures optimal balance between softness and durability.
How Do Adhesive and Film Quality Affect Curing Success?
The quality of your adhesive and film plays a essential role in the success of your DTF curing process. High adhesive strength ensures your print bonds well without cracking or peeling, leading to a durable finish. If the adhesive isn’t strong enough, your print may lift or develop cracks over time. Proper adhesive application techniques can further enhance bond strength and curing results. Additionally, selecting appropriate curing temperatures is vital to prevent issues like over-curing or insufficient curing, which can compromise the final product. Similarly, film consistency is critical; uniform film ensures even heat transfer during curing, preventing areas from over- or under-curing. When both adhesive strength and film consistency are optimized, you’ll achieve a soft, flexible print that retains durability. Investing in quality materials helps you avoid common issues and guarantees your curing process produces consistent, professional results every time. Considering material quality is crucial, as it directly impacts the reliability of your network connections and overall project success. Ensuring material uniformity can help prevent uneven curing and improve overall process efficiency. Additionally, paying attention to material handling can further improve the quality of your finished product.
Troubleshooting Stiff, Sticky, or Cracked Prints After Curing
When your prints turn out stiff, sticky, or cracked after curing, it’s often a sign that something went wrong during the process. These issues can affect ink adhesion and reduce color vibrancy, leaving your prints less appealing. To troubleshoot:
- Check curing temperature and time—insufficient heat or duration can cause sticky or stiff finishes.
- Ensure even heat distribution—hot spots may lead to cracks or uneven ink adhesion.
- Avoid over-curing—excessive heat can damage the ink, causing cracks and dull colors.
- Remember that proper temperature control and timing are essential for achieving consistent results. Adjusting these factors helps improve ink adhesion, resulting in softer, more vibrant prints. Proper temperature control and timing are key to preventing stiffness, stickiness, or cracking, ensuring your DTF prints maintain their desired quality. Additionally, paying attention to heat consistency can help prevent common issues and produce higher-quality results. Regularly monitoring cure temperature with a reliable thermometer can further enhance your process outcomes.
Best Practices for Consistent and Reliable DTF Curing
Achieving consistent and reliable DTF curing requires following precise procedures and maintaining ideal equipment settings. To optimize ink adhesion and preserve substrate flexibility, monitor temperature and time carefully. Use a calibrated curing oven or heat press to ensure uniform heat distribution. Avoid overheating, which can cause cracking, or under-curing, leading to sticky prints. Regularly check settings and adjust as needed. Consider this table for clarity:
| Parameter | Best Practice |
|---|---|
| Temperature | Maintain consistent heat specific to substrate |
| Curing Time | Follow manufacturer guidelines strictly |
| Equipment Calibration | Regularly verify for uniform performance |
| Substrate Handling | Minimize flexing during curing |
These practices help guarantee your prints stay flexible and adhere well, avoiding issues with cracking or stiffness.
How to Test Your Curing Method for Professional Results

To guarantee your DTF curing process consistently produces professional results, you need to test and evaluate your method regularly. Testing helps ensure ideal ink adhesion and maintains print flexibility, preventing cracks or stiffness. Here are three key steps:
- Perform a Tape Test: Gently peel a piece of clear tape from the print to check ink adhesion. If the ink lifts or peels easily, adjust your curing time.
- Flex the Print: Carefully bend the fabric to assess print flexibility. A good cure should allow flexibility without cracking or flaking.
- Inspect for Surface Changes: Look for any glossiness, tackiness, or uneven curing. Consistent curing yields a smooth, soft feel with excellent ink adhesion. Additionally, understanding reliable road evidence can help you identify and troubleshoot issues during the curing process.
Frequently Asked Questions
How Long Should I Let DTF Prints Cool Before Handling?
You should let your DTF prints cool for about 5 to 10 minutes before handling to guarantee proper temperature control. During this time, the curing process stabilizes, reducing the risk of cracking or damage. Rushing this step can compromise the finish, so patience is key. Follow recommended curing times closely, and always check that the print feels comfortably warm but not hot to the touch before handling.
Can Ambient Humidity Affect DTF Curing Quality?
Yes, ambient humidity greatly influences DTF curing quality. High humidity can lead to uneven curing, causing prints to feel tacky or crack later, while low humidity helps maintain curing consistency. To guarantee ideal results, keep your workspace at a controlled humidity level, ideally around 40-60%. This helps your DTF prints cure evenly, preventing issues like cracking or a soft feel, and ensures a professional, durable finish.
Is There a Recommended Cleaning Routine for DTF Equipment?
You should clean your DTF equipment regularly to maintain quality. Follow a consistent maintenance schedule, which includes wiping down surfaces, cleaning print heads, and inspecting rollers. Use appropriate cleaning solutions recommended by the manufacturer to avoid damage. Regularly cleaning equipment prevents ink buildup and clogs, ensuring smooth operation and durable prints. Incorporate this routine into your workflow for peak results and long-lasting equipment performance.
How Does Substrate Type Influence Curing Effectiveness?
You should consider substrate type because it directly impacts curing effectiveness. Different substrates vary in surface adhesion and compatibility, which can influence how well the DTF ink bonds and cures. For ideal results, select substrates compatible with your ink and ensure their surface is clean and smooth. This helps prevent cracking and ensures a soft, durable finish, leading to better overall quality in your printed designs.
What Are Signs of Over-Curing DTF Prints?
Like a broken record, over-curing is a clear sign that your DTF prints are suffering. You’ll notice ink adhesion weakens, causing the print to peel or crack. Colors may appear dull or faded, losing their vibrancy. The print might feel stiff or brittle, instead of soft and flexible. If you see these signs, it’s time to adjust your curing process to prevent damage and maintain ideal quality.
Conclusion
Mastering the art of proper DTF curing guarantees your prints stay soft, strong, and stunning. By blending the right heat, handling techniques, and high-quality materials, you can avoid cracking and stiffness. Remember, patience and precision prevent problems and promote perfection. Perfect your process with practice, patience, and proper procedures, and enjoy flawless, flexible finishes every time. Curing confidently creates consistently charming and crack-free creations you can truly be proud of.