
To embroider simple designs on clothes, start by gathering clean, smooth fabric and your embroidery tools like floss, needles, and a hoop. Choose a straightforward design that matches your skill level and fabric type. Transfer your design onto the fabric using a transfer method like chalk or paper, then practice basic stitches such as running, satin, or backstitch to fill your pattern. With patience and practice, you can create neat, attractive embroidery—more tips and techniques await if you continue exploring.
Key Takeaways
- Choose a simple design like a heart, star, or flower suitable for beginners.
- Transfer the design onto fabric using a fabric marker, chalk, or transfer paper.
- Use basic stitches such as running stitch, backstitch, or satin stitch for outlining and filling.
- Keep the fabric taut with an embroidery hoop and maintain even tension for neat stitches.
- Finish by securely tying off threads, gently pressing the embroidery, and caring for the garment properly.

PAXCOO 276 Pack Embroidery Floss Thread Kit Including 210 Colors Cross Stitch Sewing Thread with 66 Pcs Embroidery Accessories and 4-Tier Transparent Embroidery Thread Storage Organizer Box
Great Value Embroidery Floss Set – Paxcoo embroidery floss kit included 210 skeins embroidery floss along with a…
As an affiliate, we earn on qualifying purchases.
As an affiliate, we earn on qualifying purchases.
Gathering Your Materials and Tools
Before you begin embroidering, it’s important to gather all the necessary materials and tools. Start with your fabric or clothing item, ensuring it’s clean and ironed for smooth stitching. Having a variety of educational and skill-building toys on hand can inspire creative embroidery designs. Choose embroidery floss in your desired colors, and have scissors ready for cutting threads. A sharp embroidery needle is essential for precise work, so pick one that fits through your thread and fabric easily. Keep a hoop or frame handy to keep your fabric taut and make stitching easier. You might also want a fabric marker or chalk to outline your design. Creating a dedicated creative practice environment can help you stay focused and improve your skills over time. Ensuring proper machine setup and maintenance can prevent interruptions during your project. Additionally, organizing your tools in a designated sewing space can enhance efficiency and comfort during your project. Having everything within reach saves time and keeps your workflow smooth. Regularly checking your filter replacement indicators can help maintain a clean workspace and prevent dust accumulation. Double-check that your tools are in good condition so you can focus on creating your design without interruptions.

6 Pcs Embroidery Hoop 6 Size, Round Plastic Cross Stitch Hoop with 16 Needles (3.6In to 10.7 in), Small Embroidery Hoop, Cross Stitch Hoops and Frames, Suitable for Embroidery, Craft Sewing
Multiple sizes: our embroidery hoop, each set has 6 different sizes of embroidery hoops and a bag of…
As an affiliate, we earn on qualifying purchases.
As an affiliate, we earn on qualifying purchases.
Choosing the Perfect Design for Your Garment
When choosing a design, make sure it matches your fabric’s texture and weight to guarantee it looks good and lasts.
Consider your skill level so you pick a pattern that’s challenging but doable.
Select colors that complement your clothing’s style.
Picking the right design sets the foundation for a beautiful embroidery project.
Match Design to Fabric
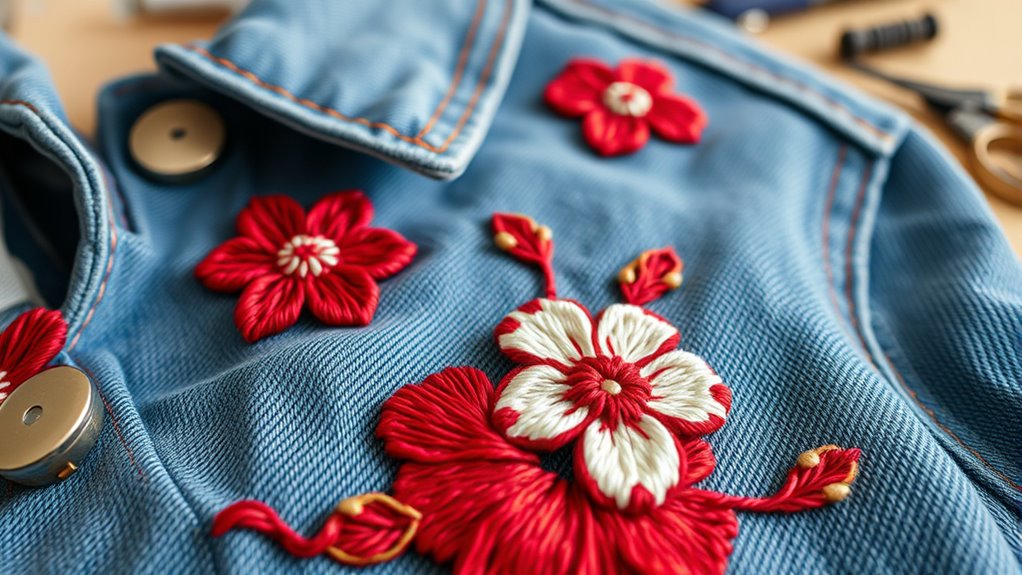
Choosing the right design for your fabric is essential to guarantee your embroidery looks balanced and attractive. Consider the fabric’s weight and texture—delicate fabrics like silk or chiffon suit smaller, simpler designs that won’t overwhelm the material. Thicker fabrics, such as denim or canvas, can handle larger, more detailed patterns without distortion. Think about the garment’s purpose and style—casual tees work well with playful, bold motifs, while elegant fabrics call for subtle, refined embroidery. Color contrast also matters; choose thread shades that complement or stand out against your fabric to enhance visibility and impact. By matching your design to the fabric’s characteristics, you ensure your embroidery enhances the garment instead of clashing with it. Understanding fabric suitability helps create more cohesive and professional-looking embroidery projects, especially considering Olympic start dates and other seasonal factors that may influence your project timing. Additionally, selecting appropriate stabilizers can improve the durability and appearance of your embroidery on various fabrics. Being aware of fabric compatibility with different embroidery techniques can also help prevent puckering or other issues during stitching. Recognizing the fiber content of your fabric can further guide you in choosing the best embroidery methods and threads for a polished finish.
Consider Skill Level
Your skill level plays a crucial role in selecting the right embroidery design for your garment. If you’re a beginner, start with simple, small patterns like hearts, stars, or basic shapes. These designs are easier to manage and reduce frustration. Incorporating creative problem-solving techniques can also help you overcome challenges as you learn new stitches and methods. Additionally, choosing age-appropriate designs ensures that you stay within your skill set and enjoy the process more comfortably. If you’re more experienced, you can try more intricate or larger designs, such as flowers or detailed motifs, which will challenge your skills and help you improve. Consider how comfortable you’re with different stitches and techniques. Choosing a design that matches your current abilities ensures you enjoy the process and achieve satisfying results. Don’t rush into complex patterns if you’re still learning. Instead, build your confidence with simpler designs before tackling more advanced projects. As you progress, exploring innovative embroidery techniques can inspire new creative ideas and help expand your skill set. Developing a good understanding of embroidery basics can also serve as a solid foundation for more complex projects. Incorporating Montessori-inspired strategies, such as focusing on hands-on learning and sensory engagement, can also enhance your embroidery practice.
Pick Suitable Colors
Selecting the right colors for your embroidery design can make a significant difference in how your finished piece looks. Bright, contrasting hues stand out, while subtle shades create a more delicate effect. Think about the garment’s color and the mood you want to convey. Color theory can guide you in choosing harmonious combinations that appeal visually. Consider the occasion and the wearer’s preferences to choose colors that complement their style. Don’t be afraid to experiment with different combinations to find what works best. Incorporating color harmony principles can help ensure your design looks balanced and attractive. Using visual contrast effectively can make your embroidery pop against the fabric background. Additionally, understanding zodiac sign compatibility can influence color choices by aligning with the wearer’s personality traits. – Match colors to the garment for a seamless look – Use contrasting shades for visibility and impact – Opt for harmonious hues for a softer appearance – Limit your palette to avoid a cluttered design – Test colors on fabric scraps before stitching Emotional well-being can be enhanced by choosing colors that evoke positive feelings and align with your intentions.
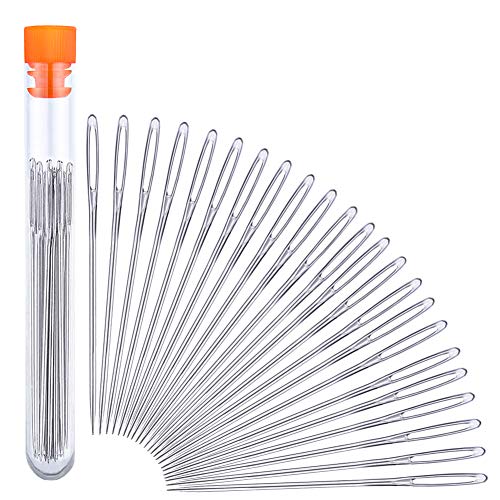
23 PCS Large Eye Sewing Needles, 2.36in Sewing Sharp Needles, Leather Embroidery Thread Needle, Stainless Steel Yarn Knitting Needle with a 3.3in Plastic Bottle
Sewing Needles Set:The package includes 23 pieces large eye sewing needles (2.36in Sewing Sharp Needles) and a transparent…
As an affiliate, we earn on qualifying purchases.
As an affiliate, we earn on qualifying purchases.
Preparing Your Cloth for Embroidery

Before you start embroidering, it’s essential to prepare your cloth properly to guarantee smooth stitching and professional-looking results. First, wash and iron the fabric to remove any dirt, wrinkles, or sizing that could interfere with stitching. Choose a stable, tightly woven fabric, like cotton or linen, which provides a solid surface for embroidery. If you’re working on delicate or stretchy material, consider placing a stabilizer behind the fabric to prevent puckering and distortion. This step is especially important when working with stretch fabrics to maintain shape and stability. Trim any loose threads or frayed edges around the area where you’ll embroider. Mark the fabric lightly with a fabric pencil or chalk to guide your stitches, ensuring your design stays aligned and neat throughout the process. Proper preparation makes all the difference in achieving a flawless finish. Additionally, understanding how automation technologies are transforming industries can inspire you to incorporate innovative methods into your crafting process for more efficient results.

FURWEY 12PCS 8.5"x11" Wash Away Embroidery Stabilizer – Self Adhesive & Printable, Water Soluble Paper for Hand and Machine Use
FURSAFE & GENTLE MATERIAL-Made of 100% pure natural material, non-toxic, acid-free and lead-free. It is gentle on skin…
As an affiliate, we earn on qualifying purchases.
As an affiliate, we earn on qualifying purchases.
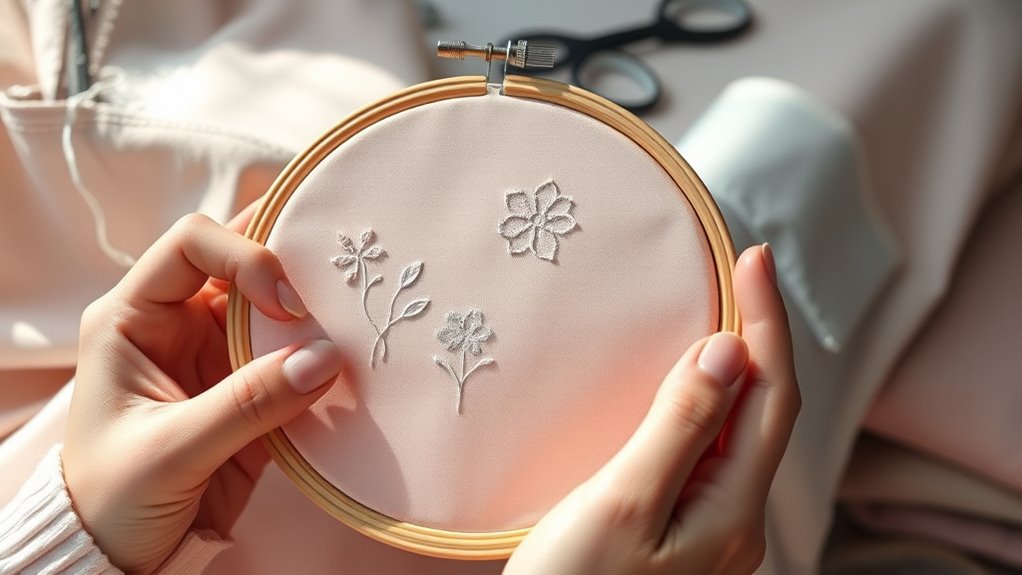
Transferring Your Design Onto Fabric

Have you chosen the best method to transfer your design onto the fabric? Picking the right technique makes embroidery easier and guarantees your design stays clear. You can trace your pattern with a pencil or fabric chalk, which works well for simple designs. Alternatively, use transfer paper to move your design directly onto the fabric with a pencil or stylus. For a more precise approach, try using a lightbox or window to trace your design from paper onto the fabric. You might also print your design, cut it out, and trace around it. Finally, some prefer to draw freehand directly on the fabric, especially if they’ve a steady hand. Using appropriate tools can help ensure your design remains sharp and accurate throughout the process.
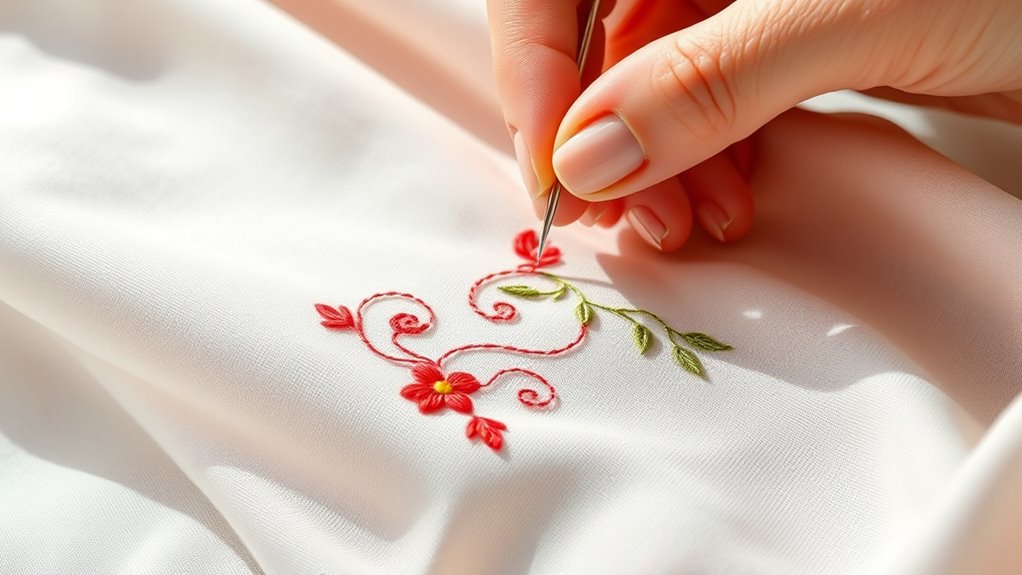
Basic Embroidery Stitches You Should Know
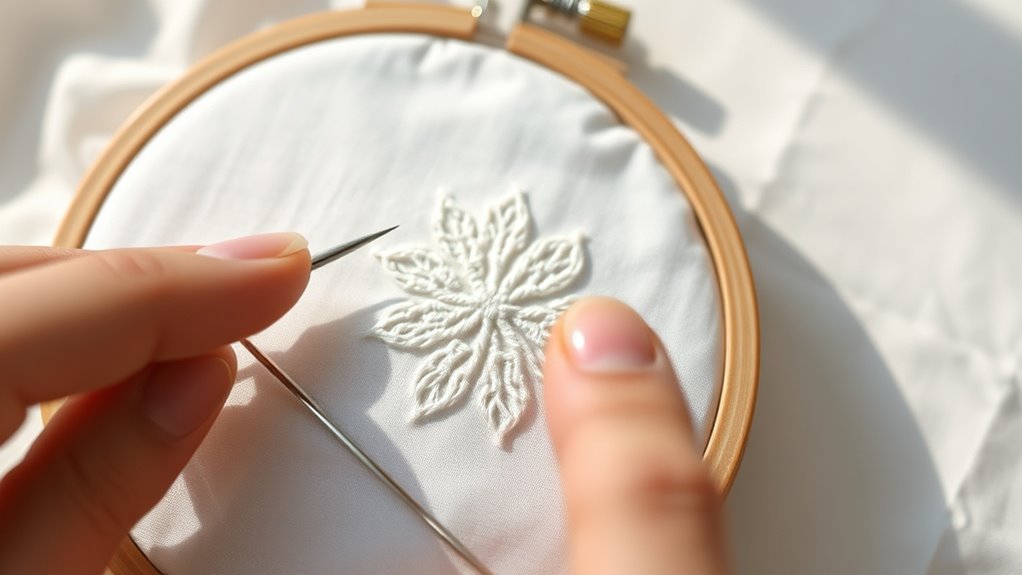
Mastering a few basic embroidery stitches sets a strong foundation for your project. The satin stitch is perfect for filling in shapes with smooth, solid coverage. The backstitch helps you create clean outlines and fine lines, ideal for adding details.
The running stitch is simple and versatile, great for borders or dashed lines. The French knot adds texture and small, raised dots, perfect for accents or floral centers. The stem stitch mimics a thread’s natural curve, making it useful for stems and outlines.
Practice these stitches individually to build confidence before combining them in your designs. Once you master these basics, you’ll find it easier to create clean, professional-looking embroidery on your clothes.
These stitches are the building blocks for any embroidery project.
Starting Your First Simple Embroidery Project

To start your first embroidery project, gather basic supplies like needles, thread, and fabric.
Choose simple designs that match your skill level, and practice your stitches until you feel confident.
This approach helps you build a solid foundation and enjoy the process.
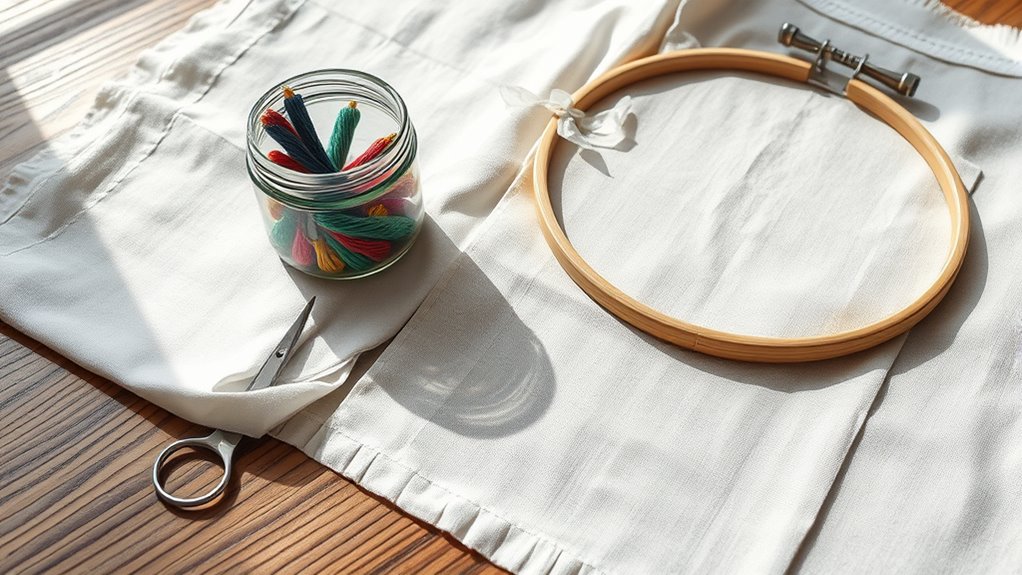
Gather Basic Supplies
Before you start stitching, it’s important to gather all the basic supplies you’ll need for your first simple embroidery project. Having the right tools makes the process smoother and more enjoyable.
Start with a good embroidery needle, which is sharp and has a small eye for easy threading. You’ll also need embroidery floss in your chosen color(s) to create your design.
A hoop helps keep the fabric taut for even stitches, while scissors are essential for trimming threads cleanly.
Finally, choose a fabric suitable for embroidery, like cotton or linen, that can withstand stitching without puckering.
With these supplies ready, you’ll be well-equipped to begin your embroidery adventure and create beautiful, simple designs on your clothes.
- Embroidery needle
- Embroidery floss
- Embroidery hoop
- Sharp scissors
- Fabric suitable for embroidery
Choose Easy Designs
Choosing simple embroidery designs for your first project makes the process enjoyable and manageable. Opt for basic shapes like hearts, stars, or flowers that don’t require complex stitches or intricate details. These designs are easier to trace or transfer onto fabric, helping you build confidence as you learn.
Avoid overly detailed or tiny patterns that can be frustrating for beginners. Instead, pick designs with bold lines and clear outlines, which are easier to follow and stitch. Using simple designs allows you to focus on mastering your stitches without feeling overwhelmed.
As you gain more experience, you can gradually experiment with more complex patterns. Starting small helps you develop skills and enjoy the creative process without unnecessary stress.
Practice Stitches First
Starting your first embroidery project by practicing basic stitches helps you build a strong foundation. Before jumping into your design, spend time mastering simple stitches like the running stitch, backstitch, and satin stitch. This practice boosts your confidence and guarantees smoother execution of your project.
Focus on maintaining consistent tension and controlling your thread. Experiment with different colors and stitch lengths to see what works best for you. Remember, patience is key—practice makes perfect.
Once you feel comfortable, you’ll find it easier to create clean, neat designs on your clothes.
- Use scrap fabric to practice without worry
- Follow online tutorials for guided help
- Keep your stitches even and consistent
- Vary your stitches to add texture
- Take breaks to avoid fatigue
Tips for Keeping Your Stitches Even and Neat
To keep your stitches even and neat, maintaining consistent tension is key. As you work, avoid pulling the thread too tightly or leaving it too loose, which can cause uneven stitches. Keep your hand steady and use the same amount of pressure throughout each stitch.
Using a hoop or frame helps maintain uniform tension across the fabric. Take your time with each stitch, focusing on keeping the length and spacing consistent. Regularly check your work to catch uneven stitches early, and adjust your tension if needed.
Practice makes perfect—over time, you’ll develop a steady hand and an eye for even stitches. Remember, neatness improves with patience and attention to detail, so don’t rush the process.
Adding Color and Details to Your Design
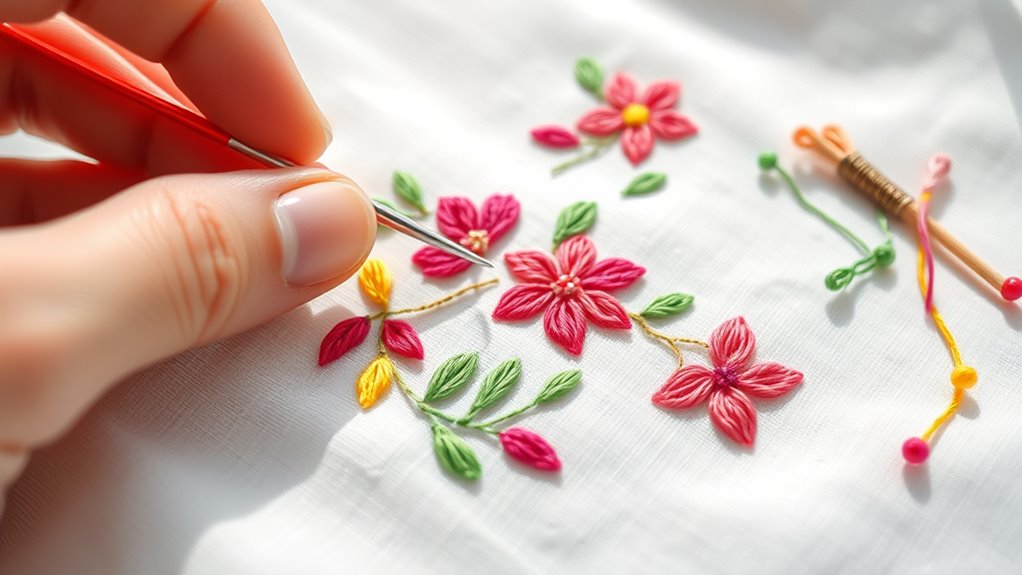
Adding color and details to your embroidery can bring your design to life and add personal flair. You can achieve this by choosing vibrant threads or blending different shades for depth. Using satin stitches or long and short stitches helps create shading effects, making your design more dynamic. Incorporate tiny accents or highlights to emphasize specific areas.
Adding vibrant threads and subtle shading brings embroidery to life with depth and personal flair.
Experiment with metallic or variegated threads for unique textures. Remember to plan your color placement beforehand to ensure harmony. Layering different stitches can add dimension, while carefully selected colors can evoke mood or theme. Don’t be afraid to combine contrasting hues for bold effects.
With these techniques, your embroidery will become more visually appealing and expressive.
- Choose complementary or contrasting thread colors
- Use shading techniques for depth
- Add highlights for emphasis
- Incorporate metallic or specialty threads
- Plan your color palette before starting
Finishing and Securing Your Embroidery

Once you’ve completed your embroidery, securing the stitches and finishing the edges makes sure your design stays intact.
First, tie off any loose threads on the back side of your fabric, making sure your knots are tight but not bulky. Trim excess thread close to the knot to keep the back neat.
If you used a hoop, remove it carefully to avoid disturbing your stitches.
To prevent fraying, you can finish raw edges with a zigzag stitch or a small amount of fabric glue.
Press your embroidery gently with an iron on a low setting, placing a cloth between the iron and your design to avoid flattening or damaging the stitches.
Proper finishing guarantees your embroidery remains durable and looks polished over time.
Caring for Your Embroidered Clothing

Proper care is essential to keep your embroidered clothing looking its best and to preserve the stitches over time. To do this, always follow the specific washing instructions for your fabric and embroidery.
Turn the garment inside out before washing to protect the stitches.
Use gentle cycles and cold water to prevent color fading and fabric damage.
Avoid harsh detergents and bleach, which can weaken embroidery threads.
When drying, air-dry your clothes or use a low heat setting in the dryer.
Iron carefully, preferably on the reverse side, and avoid direct contact with embroidery.
Regularly inspect your embroidery for loose threads and repair them promptly.
Proper maintenance guarantees your embroidered pieces stay vibrant and intact for years to come.
- Turn garments inside out before washing
- Use cold water and gentle detergents
- Air-dry or use low heat in dryers
- Iron on the reverse side
- Repair loose threads promptly
Frequently Asked Questions
Can I Embroider on Stretchy or Delicate Fabrics?
You can definitely embroider on stretchy or delicate fabrics, but you’ll want to take some precautions. Use a stabilizer to prevent puckering and choose a light hand when stitching to avoid damaging the fabric.
Opt for fine needles and embroidery threads that won’t stress the material. Test your design on a scrap piece first, so you can adjust tension and techniques for the best results without harming your fabric.
What Are Common Mistakes to Avoid in Simple Embroidery?
Like a painter avoids stray strokes, you should steer clear of common embroidery mistakes. Don’t pull your stitches too tight, or your fabric might pucker, echoing a cracked mirror.
Use the right needle and thread for your fabric, or risk fraying or uneven stitches. Keep your tension consistent, and avoid rushing—precision makes the design stand out.
These tips help your work look polished, like a well-composed symphony.
How Do I Remove Embroidery Marks After Finishing?
After finishing your embroidery, you want to remove any visible marks or stabilizer remnants. Gently wash the fabric with warm water and mild soap, which helps loosen the markings.
If markings persist, use a damp cloth or cotton swab with a bit of rubbing alcohol to carefully erase them. Always test on a small, hidden area first to avoid damaging your embroidery or fabric.
Is It Possible to Machine-Embroider Simple Designs at Home?
Yes, you can machine-embroider simple designs at home. First, choose a compatible embroidery machine and the design you want. You’ll need to prepare your fabric and hoop it tightly.
Load your design into the machine, set your thread colors, and follow the machine’s instructions. With some practice, you’ll find it easy to create beautiful, personalized embroidered pieces right in your home.
What Type of Embroidery Thread Is Best for Clothing?
When choosing embroidery thread for clothing, you want something durable and soft. Polyester thread is a great option because it resists shrinking, fading, and stretching.
Cotton thread offers a natural look and feels gentle against fabric, but mightn’t be as strong.
If you want a bit of sheen, rayon thread could work, but keep in mind it’s less durable.
Select thread based on your project’s needs for the best results.
Conclusion
Now that you know how to embroider simple designs, you’re ready to turn your clothes into stunning masterpieces. With patience and practice, your stitches will become as flawless as a pro’s. Remember, each project is a chance to showcase your creativity—your embroidery skills can transform any garment into a work of art. So grab your needle and thread, and watch your wardrobe come alive with beautiful, personalized touches that’ll make everyone stop and stare!