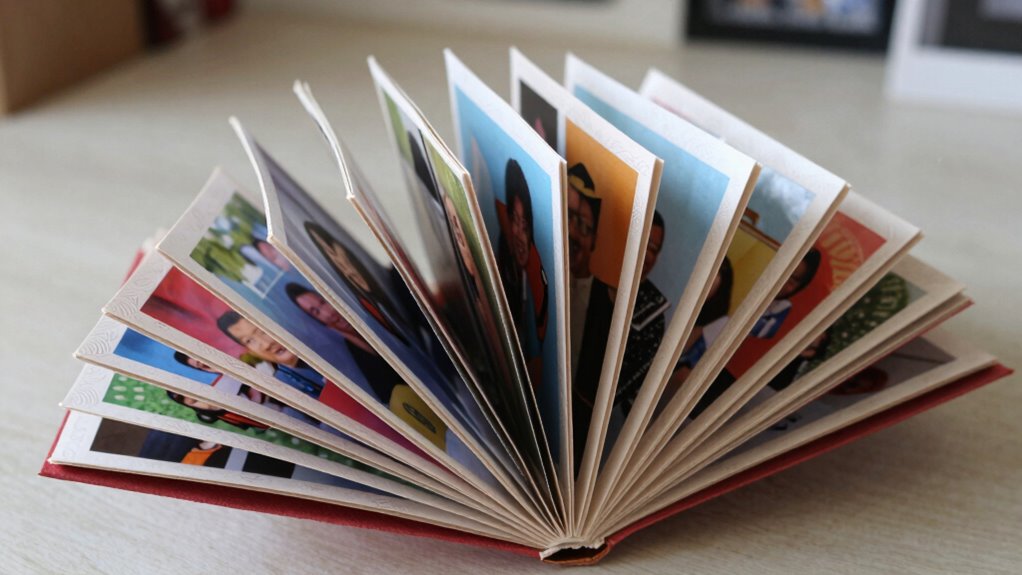
To make a fold-out photo accordion gift, start by selecting sturdy paper or cardstock and decide how many panels you’ll need. Cut each piece to the same size, fold them in half lengthwise, and attach the folded edges to create an accordion shape. Adhere your photos and add personal touches like captions or embellishments for a unique look. Finish by folding the accordion and securing it with ribbon or a decorative clasp. Keep exploring for detailed tips to craft a polished masterpiece.

Get business pricing on tools and workshop supplies
- Business-only prices and quantity discounts
- Tax-exempt purchasing
- Multiple users, one account, clear invoices
Key Takeaways
- Cut and fold cardstock into equal panels, then assemble into an accordion shape with precise alignment.
- Attach photos to each panel using double-sided tape or sturdy glue for secure placement.
- Decorate panels with captions, stickers, or embellishments to personalize the display.
- Secure the folded accordion with ribbon, band, or clasp for a neat presentation.
- Add decorative touches to the cover and finish with a heartfelt message or embellishments.
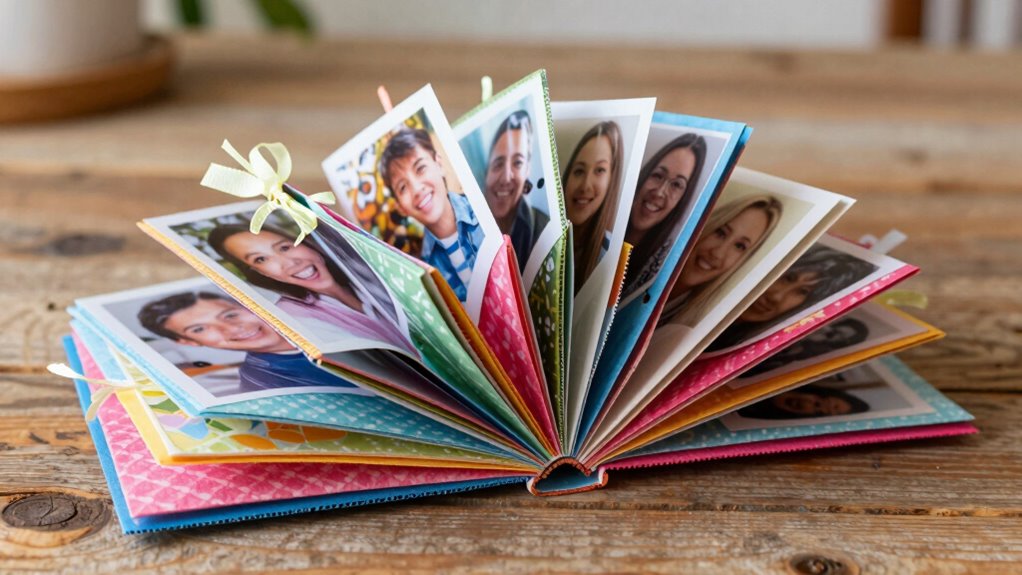
Creating a fold-out photo accordion gift is a simple and heartfelt way to showcase your favorite memories. This project allows you to turn a collection of photos into a compact, interactive display that your loved ones can enjoy anytime. To start, you’ll need some basic supplies like cardstock or sturdy paper, scissors, and a ruler. For a more personalized touch, consider using creative embellishments such as stickers, stamps, or handwritten captions to enhance each photo panel. These little details add character and make your gift more meaningful. When choosing materials, don’t hesitate to explore alternative materials like textured paper, decorative washi tape, or even fabric for the cover, which can give your accordion a unique, customized look.
A heartfelt, DIY photo display using simple materials and creative embellishments for a personalized touch.
Once you’ve gathered your supplies, decide on the size and number of panels you want in your accordion. Typically, a series of five to ten photos works well, but you can customize it based on how many memories you want to include. Cut your cardstock into equal-sized rectangles, ensuring they all match in width and height. Then, fold each piece in half lengthwise to create the individual panels. Next, you’ll use tape or glue to connect the folded edges, creating a continuous accordion fold. Be sure to align everything precisely so your panels open smoothly and lay flat when folded. Proper folding technique ensures your project looks polished and functions well. Additionally, practicing your folding method on scrap paper beforehand can help achieve a clean, professional appearance. Incorporating precise measurements during the process can also help ensure your panels are uniform and aesthetically pleasing. Paying attention to assembly accuracy can further improve the overall look of your finished piece. Using measurement tools like a ruler or a grid mat can help guide your cuts and folds for perfect alignment.
Now, it’s time to attach your photos. Carefully adhere each picture to the front of each panel using double-sided tape or craft glue. For added durability, especially if you’re using alternative materials like textured paper, opt for glue that dries clear and holds firmly. Once your photos are in place, you can further personalize each panel with creative embellishments. Write captions, add decorative borders, or apply stickers to make each memory stand out. If you want to elevate the presentation, consider embellishing the cover with a decorative paper, ribbon, or even a small charm that reflects the theme of your gift.
Finally, fold your accordion into its compact form and secure it with a ribbon, band, or a decorative clasp. This not only keeps it neatly contained but also adds a finishing touch to your handmade gift. Whether it’s for a birthday, anniversary, or just because, this DIY fold-out photo accordion makes a charming and heartfelt keepsake. It’s a perfect way to preserve and share your favorite moments with someone special, all while showcasing your creativity through thoughtful embellishments and the use of alternative materials. Incorporating biodiversity themes or eco-friendly materials can also make your gift more meaningful and environmentally conscious.
As an affiliate, we earn on qualifying purchases.
Frequently Asked Questions
What Materials Are Best for Durable Fold-Out Photo Accordions?
For durable fold-out photo accordions, choose materials with high material durability and quality photo paper. Opt for thick cardstock or laminated paper to prevent tearing and bending over time. High-quality photo paper ensures vibrant images that won’t fade easily. Using sturdy adhesives also enhances longevity. These choices guarantee your accordion lasts longer, preserving your memories beautifully. Remember, investing in good materials makes your project more resistant to wear and tear.
How Do I Resize Photos for the Accordion?
You resize photos for the accordion by starting with photo cropping tools to trim unwanted parts and adjust the framing. Use image enhancement features to sharpen or brighten the photos, making sure they look their best. Resize images to fit the accordion panels precisely, typically around 4×6 inches or as needed. Keep the resolution high enough (at least 300 DPI) for print clarity. This process guarantees your photos fit perfectly and look vibrant.
Can I Include Text or Captions on the Photos?
You can definitely include text or captions on your photos. Imagine giving a loved one a photo accordion with captions like “Our first trip together” or personalized messages that evoke memories. You simply add the photo captions or messages directly to your images before printing, or write on the photos with a fine-tip marker. This personal touch makes your fold-out gift more meaningful and memorable.
How Long Does It Take to Complete a Gift?
It typically takes a few hours to complete your fold-out photo accordion gift, depending on your planning and craft skills. To stay on schedule, plan your project, set aside dedicated time, and focus on efficient gift wrapping and assembly. Good time management helps you avoid rushing, ensuring each photo and caption is perfect. With patience, you’ll enjoy creating a heartfelt, personalized gift that’s worth the effort.
What Are Some Creative Decorating Ideas?
Imagine turning your accordion gift into a masterpiece—start by choosing themed embellishments that match your occasion, like hearts for Valentine’s or stars for birthdays. Play with vibrant or pastel color schemes to evoke feelings and set the mood. Add textured ribbons, washi tapes, or tiny charms for extra charm. Combining these elements creates a personalized, eye-catching display that transforms a simple gift into a memorable keepsake.
Conclusion
Now, as you gently open your accordion gift, picture the smiles and memories unfolding with each fold. Feel the soft paper beneath your fingers, like a cherished keepsake ready to be treasured. This handcrafted gift isn’t just a display of photos, but a heartfelt journey through moments that matter. Whether for a special occasion or just because, your creation will bring warmth and joy, turning simple images into a beautiful, unfolding story.
Fall yard work Picks
leaf blowers
As an affiliate, we earn on qualifying purchases.