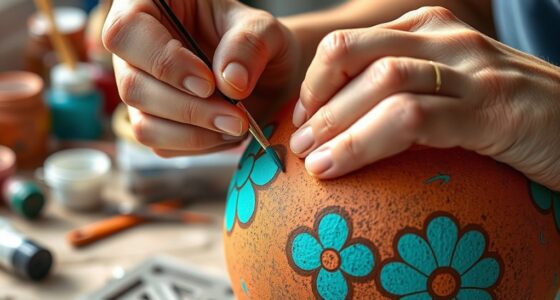

To create a DIY ice-dyed silk scarf, start by gathering vibrant dyes, gloves, a silk scarf, and plastic coverings. Prepare your workspace to stay tidy and safe. Fold or twist the silk into an appealing pattern, then layer ice over it before sprinkling dye over the melting ice. Allow the colors to blend naturally as the ice melts, then rinse, dry, and enjoy your unique masterpiece. Want detailed steps and tips? Keep exploring to master the art.
Key Takeaways
- Prepare a clean, tightly woven silk scarf and set up a protected workspace with dyes, gloves, and plastic coverings.
- Fold or pleat the scarf creatively to influence the pattern, then lay it flat on a covered surface.
- Evenly sprinkle ice over the scarf, then apply dyes over the melting ice for organic, vibrant patterns.
- Cover with plastic and let the scarf sit undisturbed for 6–8 hours or overnight to set the colors.
- Rinse with cold water until clear, then air dry flat in a shaded area for best results.
Gathering Your Materials and Preparing Your Workspace
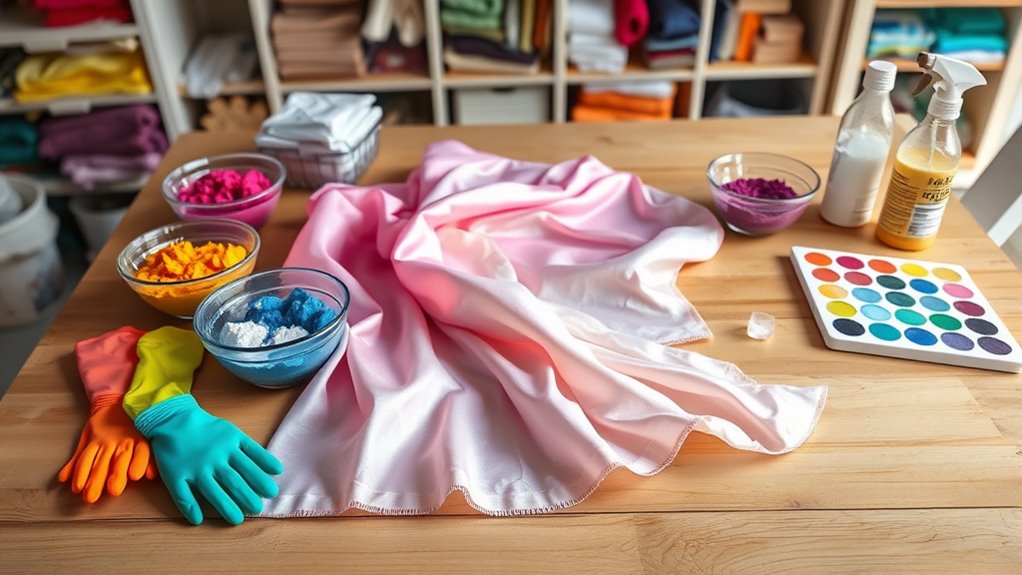
Before you begin your DIY ice-dyed silk scarf, it’s essential to gather all the necessary materials and set up a clean, organized workspace. Start by choosing your color palette, selecting dyes in shades that inspire you. Keep your workspace tidy by laying out your supplies—gloves, plastic sheets, spray bottles, and your silk scarf—within easy reach. Proper workspace organization helps prevent messes and ensures a smooth process. Clear surfaces and protective coverings keep your area clean and make cleanup easier afterward. Having everything ready before you start allows you to focus on creating beautiful, vibrant designs without interruption. Remember, a well-organized space sets the tone for a successful and enjoyable ice-dyeing experience. Additionally, maintaining a conflict-free environment can enhance your creative process by reducing stress and promoting focus. Ensuring your workspace is free from distractions and clutter can also foster a more relaxed and focused atmosphere for your project. Creating a designated area for your supplies can also help keep your workspace neat and efficient, making the entire process more enjoyable. Incorporating proper organization techniques, such as labeling and compartmentalizing your tools, can further streamline your workflow and save time during the project. When working with dyes, being aware of safe handling practices is crucial to avoid accidents.
Choosing and Preparing the Silk Scarf
Selecting the right silk scarf is your first step toward achieving vibrant ice-dyed results. Focus on fabric selection by choosing a smooth, tightly woven silk that absorbs dye well. Look for scarves made from 100% silk, as blends might not yield the same vivid colors. Before dyeing, you need to prepare the scarf properly; this involves gently washing it to remove any finishes or residues that could interfere with color absorption. Always handle silk with care, avoiding harsh detergents or rough scrubbing, which can damage the fibers. Once cleaned, let the scarf dry completely. Proper fabric selection and silk care guarantee your scarf will hold the dye beautifully, resulting in a stunning, vibrant ice-dyed silk piece. Additionally, understanding the lifestyle aspect of your craft can motivate you to create a personalized and inspiring work environment that enhances your artistic process. Ensuring you follow the right fabric care practices will also prolong the life and vibrancy of your silk scarf. Incorporating proper storage techniques can help maintain the quality of your silk between projects. Being aware of AI security concerns can further inform your approach to protecting your creative work in digital formats. Moreover, using appropriate dyeing techniques can maximize color vibrancy and pattern complexity in your finished piece.
Creating the Dye Pattern and Wrapping the Scarf

Now, you’ll start designing your dye pattern by arranging the ice and fabric to create interesting effects. As you wrap the scarf, consider how different layers and folds will influence the final look. Keep experimenting with your wrapping technique to achieve a unique and vibrant design.
Designing the Pattern
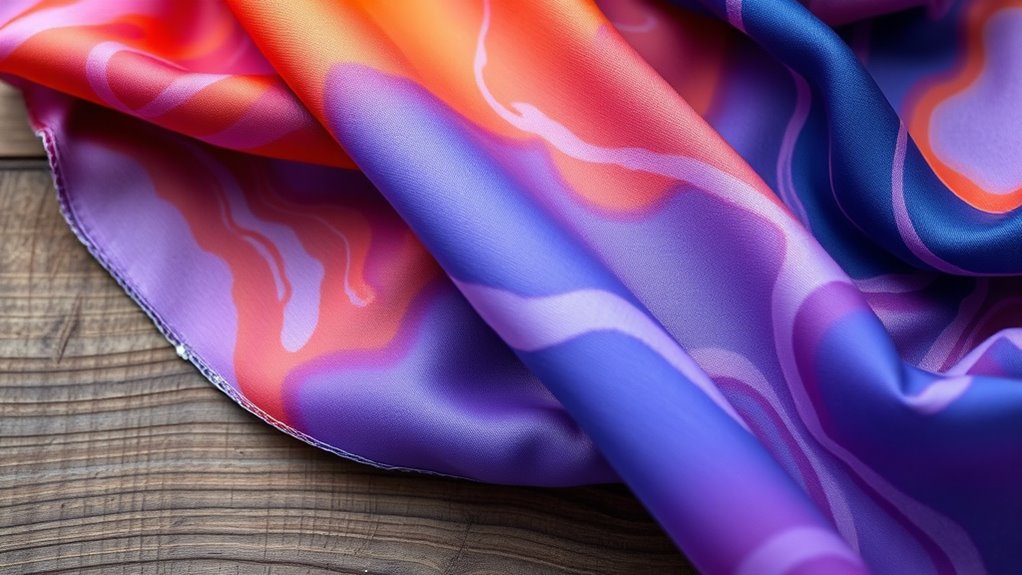
Creating an eye-catching dye pattern starts with planning how you’ll arrange the scarf. To achieve appealing color blending, consider layering colors in a way that creates smooth progressions. Think about how the dyes will interact as they spread, and aim for a harmonious mix rather than harsh contrasts. Pattern symmetry can enhance visual interest, so you might fold or pleat the silk to create balanced designs. Decide whether you want a more random, abstract look or a structured pattern, and arrange the fabric accordingly. Keep in mind that the way you place the scarf influences the final result, so take your time visualizing the pattern before applying the ice and dyes. This planning guarantees your design will be both vibrant and cohesive.
Wrapping the Silk
How you wrap your silk scarf directly influences the final dye pattern. To achieve interesting color blending, start by folding or twisting the fabric loosely, allowing the ice and dye to interact naturally. For a symmetrical pattern, fold the scarf in half or in sections to mirror the design on both sides. Avoid tight rolls, which can create uneven or overly concentrated areas, and instead opt for gentle folds to promote smooth color transitions. Keep in mind that the wrapping method determines how colors blend and where they pool, so experiment with different techniques beforehand. A balanced wrap encourages pattern symmetry, while more irregular wrapping produces unique, spontaneous effects. Carefully wrapping sets the foundation for the beautiful, unpredictable results that make ice dyeing so enthralling.
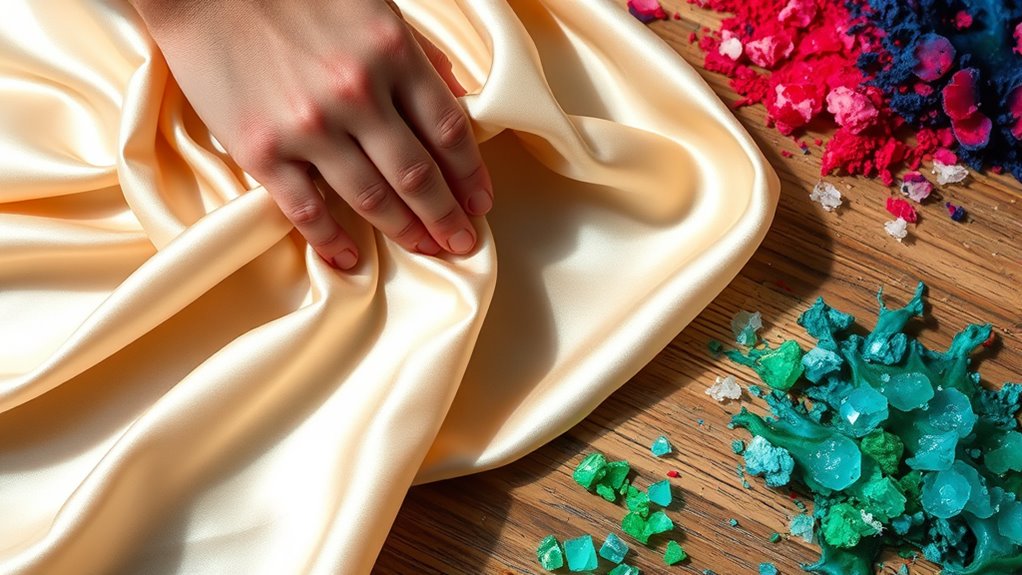
Setting Up the Ice and Dye Application

To set up the ice and dye application, start by laying out your silk scarf on a flat, protected surface. Confirm the fabric quality is high, as better quality silk allows the dye to move smoothly and creates vibrant, even colors. Before applying the ice, double-check that your work area is covered with plastic or newspaper to catch drips. Spread the ice evenly over the scarf, leaving space around the edges. Use a sturdy tray or box to hold the ice in place. Remember, the dye’s colorfastness depends partly on the fabric’s quality, so handling your silk carefully now helps achieve lasting, vivid results. Additionally, proper fabric preparation can influence how well the dye bonds with the material, ensuring more vibrant and durable colors. Paying attention to local resources such as suitable dyes and tools can further improve your results. Selecting the right dye types can also impact the vibrancy and longevity of your design. Incorporating knowledge about keto diet tracking apps or techniques can provide insights into systematic approaches, which can be beneficial even in creative projects like dyeing. This setup ensures a controlled process, making it easier to create beautiful, unpredictable color patterns later. Developing a methodical approach to your dyeing process can help you achieve more consistent and satisfying results.
Applying Ice and Dyes to the Scarf

Have you prepared your dyes and ice so you’re ready to start? Now, it’s time to apply the ice to your scarf, then sprinkle the dyes over it. As the ice melts, it will create beautiful color blending, resulting in unique, organic patterns. Don’t be afraid to add multiple colors in different areas; this enhances pattern variation, making each scarf one-of-a-kind. Use your hands or tools to distribute the ice evenly or in specific sections, depending on the design you want. Keep in mind that the melting process will influence how the colors spread and blend, so work deliberately to achieve your desired effect. Once you’ve finished applying the dyes, let the ice melt completely, revealing the vibrant, dynamic patterns on your silk. For best results, consider fabric types that absorb dyes well, ensuring bright and lasting colors.
Allowing the Dye to Set and Rinsing the Scarf

Once the ice has melted and the colors have spread across your scarf, it’s time to let the dye set. Cover your scarf loosely with plastic and leave it undisturbed for about 6–8 hours or overnight. During this time, the dye bonds with the fabric, creating beautiful color blending that highlights the silk’s natural sheen and texture. Avoid moving or disturbing the scarf to prevent uneven dyeing. To ensure the best results, maintaining the correct dye-to-fabric ratio is essential for achieving vibrant and consistent colors. After the waiting period, carefully rinse the scarf under cold water to remove excess dye. Use gentle pressure to preserve the fabric’s delicate texture. Rinsing until the water runs clear ensures vibrant, well‑set colors. This step is essential for achieving the desired depth and clarity in your ice‑dyed silk scarf. Additionally, understanding how biodiversity benefits healthy ecosystems can inspire sustainable practices in all types of creative projects. Incorporating eco‑friendly dyes and techniques can also help protect local ecosystems and promote environmentally conscious art. Being mindful of environmental impact during the dyeing process can further enhance the eco‑friendliness of your craft.
Drying and Finishing Your Ice-Dyed Silk

After rinsing your scarf and removing excess water, it’s important to dry it carefully to preserve the vibrant colors and delicate silk texture. Lay the scarf flat on a clean, absorbent towel, avoiding direct sunlight to prevent fading. Gently blot excess moisture without wringing. Proper drying ensures the color palette remains bright and the dye concentration stays intact. Use the following table to guide your finishing process:
| Step | Tip | Result |
|---|---|---|
| Air drying | Hang in a shaded area | Vibrant, even colors |
| Flat drying | Lay on a towel, avoid folding | Prevents creases |
| Ironing | Use low heat, place cloth between iron and silk | Smooth finish, enhances look |
Taking these steps guarantees your silk scarf retains its beauty and softness. Additionally, staying informed about automation in business can help you understand how technological advancements might impact future textile manufacturing processes.
Tips for Customizing and Troubleshooting Your Design

To make your ice-dyed silk scarf truly unique, experimenting with customization options can elevate your design. Focus on color blending by layering different shades or applying varying amounts of dye to create smooth gradations or bold contrasts. This helps prevent harsh lines and adds depth to your pattern. For pattern symmetry, plan your folding and tying techniques carefully; symmetrical folds produce balanced designs, while asymmetrical ones give a more organic look. If your colors bleed or blend too much, adjust the amount of dye or ice in specific areas. Troubleshooting issues like uneven dye distribution involves re-evaluating your folding method or ensuring the ice melts evenly. Keep experimenting, and you’ll develop a personalized, stunning piece that reflects your creative vision.
Frequently Asked Questions
Can I Use Synthetic or Other Types of Silk for Ice Dyeing?
You can use different silk types for ice dyeing, but synthetic fibers aren’t suitable because they don’t absorb dye like natural silk does. Natural silk fibers, including mulberry, wild, or charmeuse, work best since they absorb the dye beautifully, creating vibrant patterns. Synthetic fibers tend to melt or resist dyeing, so stick to natural silk types for the best results in ice dyeing projects.
How Do I Prevent Color Bleeding During the Rinsing Process?
Did you know that properly rinsing can reduce color bleeding by up to 80%? To prevent color bleeding during rinsing, use colorfast techniques like cold water and gentle agitation. Rinse your silk scarf separately, and avoid scrubbing. Follow specific rinsing tips—such as using a mild, silk-safe detergent and rinsing until water runs clear. This guarantees vibrant, lasting colors and keeps your scarf looking beautiful.
What Safety Precautions Should I Take When Handling Dyes and Ice?
When handling dyes and ice, you should wear personal protective equipment like gloves and a mask to prevent skin contact and inhalation of fumes. Make sure your workspace has proper ventilation to avoid breathing in any harmful vapors. Always read the safety instructions on your dye packages, work in a well-ventilated area, and wash your hands thoroughly afterward. These precautions help keep you safe during the process.
Can I Reuse Leftover Dye or Ice for Multiple Projects?
Ever wondered if leftover dye or ice can live to see another project? You can definitely try dye recycling and ice reuse, but it depends on how much dye remains and how contaminated the ice gets. Reusing dye might dilute the color, affecting your final look, while ice reuse can save resources but could introduce contaminants. Always evaluate the quality first to ensure vibrant, safe results.
How Do I Fix or Enhance Colors if They Appear Faded?
If your colors look faded, you can enhance them by applying dye intensification techniques. First, re-dampen the fabric slightly to boost color saturation. Then, carefully add more dye or use a concentrated dye solution directly on the faded areas. Let it sit longer or gently heat the fabric to encourage dye absorption. These steps help restore vibrancy and improve overall color saturation for a more vivid, lively look.
Conclusion
As you hold your finished ice-dyed silk scarf, imagine the vibrant colors dancing like fleeting fireworks across its surface. Each shade tells a story of your creative journey, frozen in time. Remember, every drip and splash is a whisper of your unique touch. With patience and imagination, you’ve transformed simple materials into a wearable masterpiece. Celebrate your artistry—your scarf is not just dyed, but a vivid tapestry of your personal expression.