
To knit a simple ribbed beanie, start by choosing a soft, stretchy yarn like worsted wool or acrylic blend. Use circular needles and work in a 1×1 or 2×2 ribbing pattern, alternating knit and purl stitches across each round. Once the desired length is reached, decrease gradually at the crown with simple techniques like k2tog, then finish by weaving in the ends. Keep your tension even for a neat fit, and soon you’ll craft a cozy, stylish beanie—if you keep going, you’ll master the details for a perfect finish.
Key Takeaways
- Select soft, elastic yarn in your preferred color for a comfortable, snug fit.
- Cast on stitches and work in a 1×1 or 2×2 ribbing pattern across circular needles.
- Continue knitting in rounds, maintaining consistent tension, until the beanie reaches desired length.
- Decrease stitches gradually at the crown using simple techniques like k2tog while preserving the ribbing pattern.
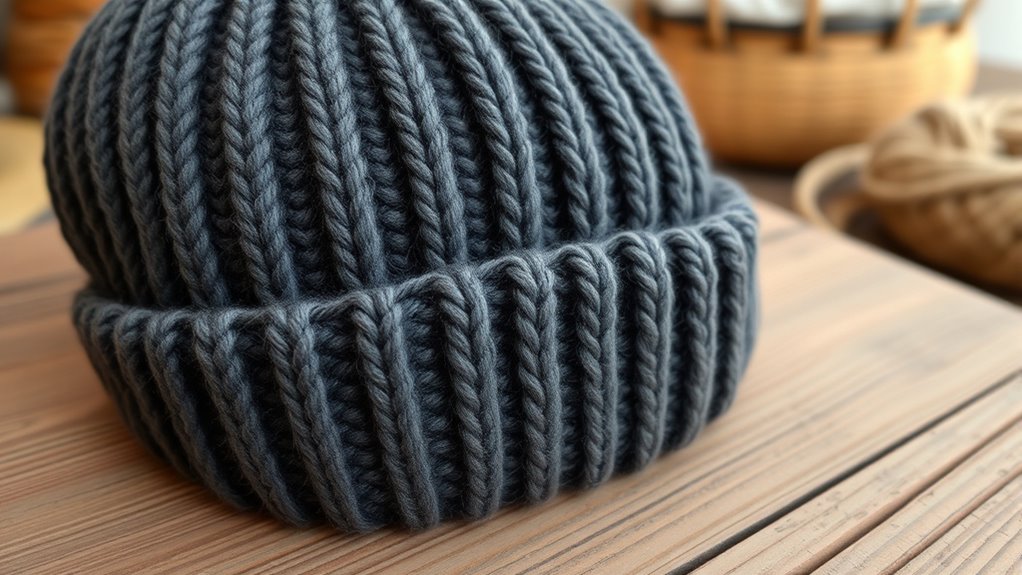
- Securely weave in yarn ends and fold up the cuff for added warmth and style.
Are you ready to create a cozy, stylish accessory that’s easy to knit? Making a simple ribbed beanie is a perfect project for both beginners and experienced knitters looking for a quick, satisfying craft. To start, you’ll want to focus on yarn selection. Choose a soft, medium-weight yarn like worsted wool or acrylic blends to ensure your beanie stays warm and comfortable. Opting for a yarn with some elasticity will help your beanie hold its shape and give it that snug fit you’re after. Bright colors or classic neutrals both work well, so pick something that matches your style or complements your wardrobe.
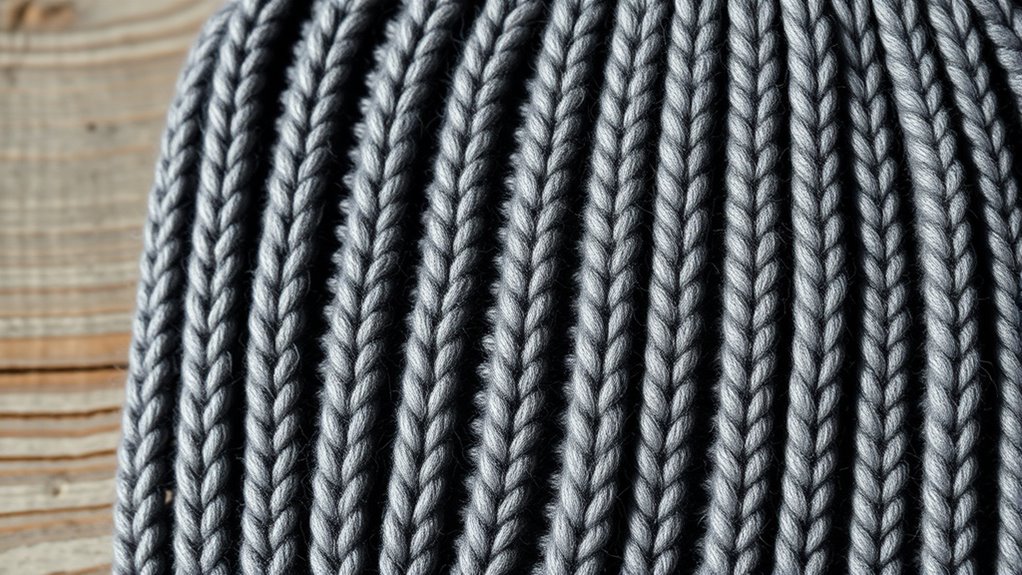
Once you have your yarn, it’s time to think about knitting techniques. The key to a neat, stretchy ribbed beanie lies in mastering the ribbing stitch, usually a 1×1 or 2×2 pattern. This involves alternating knit and purl stitches across your row, which creates the textured, elastic fabric that fits comfortably on your head. If you’re new to ribbing, don’t worry; it’s straightforward. You simply knit one stitch, then purl the next, repeating this pattern across the row. On the next row, you do the opposite—purl where you previously knit, and knit where you previously purl. This creates a beautifully textured, stretchy fabric perfect for a beanie.
As you progress, you’ll work in rounds, so using circular knitting needles makes the process smoother. Keep your tension even—too tight, and your beanie will be stiff; too loose, and it’ll lose shape. Practice maintaining consistent tension to achieve a professional look. When you reach your desired length, you’ll begin decreasing stitches to shape the crown. This involves switching to smaller needles or doing simple decrease techniques like knit two together (k2tog). Be sure to follow your pattern carefully to maintain the ribbing pattern as you decrease, which ensures the beanie looks neat and polished.
Additionally, incorporating knowledge about essential oils can make your knitting experience more relaxing—consider diffusing lavender or peppermint oil nearby to enhance your focus and comfort while working on your project. Once your crown is closed, you weave in the loose yarn end securely. You might also add a simple fold-up cuff for extra warmth and style, which also emphasizes the ribbing. The entire process is quite manageable, especially if you keep a steady rhythm with your knitting techniques. With a thoughtful yarn selection and a little practice on your ribbing stitches, you’ll craft a beanie that’s both cozy and chic. It’s a gratifying project that results in a personalized accessory you’ll enjoy wearing all season long.
Frequently Asked Questions
What Type of Yarn Is Best for a Ribbed Beanie?
For a ribbed beanie, you should choose a yarn with good fiber selection, like wool or acrylic blends, for warmth and durability. Consider your texture preferences—if you want a soft, stretchy feel, go for merino wool or a superwash blend. Acrylic is a budget-friendly option that’s easy to care for. Ultimately, pick a yarn that balances comfort, elasticity, and your style to create a cozy, well-fitting beanie.
How Do I Adjust the Size for a Slouchy Look?
Imagine your beanie as a slouchy cat lounging on your head—relaxed and carefree. To get that look, you’ll want to use size adjustment techniques like casting on more stitches or knitting an extra inch. Fit customization tips include adding length to the crown or using larger needles for a looser fabric. Play with these adjustments until your beanie drapes perfectly, expressing your style with effortless cool.
Can I Make This Beanie Reversible?
Yes, you can make your beanie reversible using reversible knitting techniques like moss stitch or stockinette on both sides. Choose yarn color options that look good together to maximize the visual effect. When knitting, guarantee both sides have a clean, finished edge, and consider adding a seamless or decorative seam. This way, you can enjoy two stylish looks in one cozy, versatile beanie.
What Knitting Needles Are Recommended for Ribbing?
You should use circular needles or double pointed needles for ribbing. Circular needles are great because they let you knit in the round, creating a seamless ribbed fabric. Double pointed needles work well too, especially for smaller circumferences like the beanie’s top. Choose a needle size recommended for your yarn weight, usually US 6 to US 8, to get the best stretch and elasticity in your ribbing.
How Do I Fix a Dropped Stitch in My Beanie?
A dropped stitch can feel like a catastrophe, but don’t worry—it’s easier to fix than you think. To do a stitch repair, grab a crochet hook, pick up the dropped stitch, and carefully work it back up the ladder of stitches. This dropped stitch fix involves securing the loose stitch and weaving it neatly into your beanie. With patience, you’ll have your project looking perfect again in no time.
Conclusion
As you finish your ribbed beanie, remember it’s more than just warmth—it’s a symbol of your patience and creativity. Each stitch represents resilience, and the finished hat embodies your ability to turn simple materials into something meaningful. When you wear it, let it remind you that small efforts can create comfort and confidence. Just like this beanie, your perseverance can transform everyday moments into something uniquely yours, wrapping you in a sense of accomplishment and hope.