
Keeping your laser lens clean in just three minutes is vital for maintaining peak power and performance. Regularly check for signs like foggy surfaces or dim beams, and use soft microfiber cloths with approved cleaning solutions like isopropyl alcohol. Gently wipe in circular motions, avoiding harsh chemicals or excessive pressure. Consistent cleaning prevents dirt buildup that scatters light and causes power loss. Follow these simple steps, and you’ll guarantee your laser stays sharp—continue along for more tips to keep it running smoothly.
Key Takeaways
- Use a microfiber cloth and approved cleaning solutions to gently wipe the lens in circular motions within 3 minutes.
- Inspect the lens regularly for fogginess, dirt buildup, or dim laser beams indicating cleaning is needed.
- Avoid spraying liquids directly; dampen cloths and handle with care to prevent damage.
- Ensure the lens is properly aligned and seated after cleaning to maintain optimal power output.
- Incorporate routine cleaning and inspections into maintenance schedules to prevent power loss and extend equipment lifespan.
Why Keeping Laser Lenses Clean Boosts Power and Performance
Keeping laser lenses clean is essential because dirt, dust, and smudges can substantially reduce the amount of light that passes through the lens. Lens contamination diminishes the laser’s power and efficiency, leading to weaker beams and lower performance. Regular cleaning frequency helps prevent buildup that can cause these issues, ensuring ideal light transmission. When you neglect proper maintenance, contaminants accumulate, blocking or scattering the laser beam. This not only impacts the quality of your work but can also strain the laser components over time. By establishing a consistent cleaning routine, you maintain the lens’s clarity and functionality. Proper maintenance practices emphasize the importance of system reliability, which correlates with proper equipment maintenance like lens cleaning. Additionally, understanding the contrast ratio of your projector can help you better assess how cleanliness impacts image quality. Regular attention to lens cleanliness is a simple step that makes a significant difference, as lens coatings can also degrade if not properly cared for. Proper cleaning methods can also help prevent damage to optics, extending the lifespan of your equipment. Ultimately, keeping your laser lens clean boosts power, enhances precision, and prolongs the lifespan of your equipment.
How to Recognize Signs Your Laser Lens Needs Cleaning
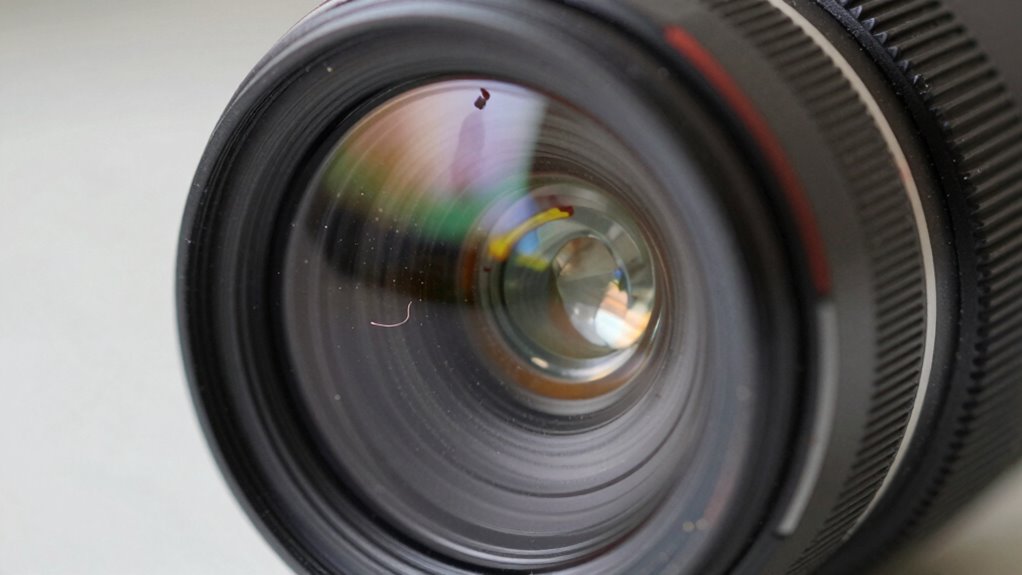
Over time, signs of lens contamination become noticeable during operation. You might see lens fog, which causes a hazy or cloudy appearance that reduces laser intensity. Dirt buildup on the lens surface can lead to scattered or dimmer laser beams, impacting performance. If you notice inconsistent power output or fluctuations in beam quality, it’s a clear sign the lens needs cleaning. Additionally, if the laser spot appears distorted or less focused, dirt or fog could be obstructing the beam path. Regularly inspecting your lens for any visible deposits or cloudiness helps prevent power loss. Recognizing these signs early ensures you can clean the lens before performance deteriorates, maintaining excellent laser efficiency and extending its lifespan. Incorporating laser maintenance best practices and understanding how lens contamination affects performance can help reinforce the importance of timely lens cleaning and ensure consistent performance. Staying informed about proper cleaning techniques can further safeguard your equipment and optimize its operation. Paying attention to optical clarity is essential for preserving the quality of laser output and avoiding costly repairs.
What Tools You Need for Safe Laser Lens Cleaning
To safely clean your laser lens, you’ll need specific tools designed to protect the delicate optical surface and guarantee effective cleaning. First, use a soft, lint-free microfiber cloth to avoid scratches on various lens materials like glass or plastic. A gentle blower or compressed air can remove loose dust without contact, preventing dirt buildup. Optical cleaning solution or 99% isopropyl alcohol is essential for removing smudges and residues, but only in small amounts to prevent damage. Keep cleaning tools clean and dry to maintain their effectiveness. Remember, cleaning frequency depends on your environment—more frequent cleanings are needed in dusty settings. Additionally, understanding environmental factors can help determine how often your lens requires cleaning and maintenance. Proper lens care can significantly extend the lifespan and performance of your laser equipment. Regular inspections for signs of dirt accumulation can help address issues early and avoid potential damage. Being aware of dust exposure and its effects can further inform your cleaning routine, ensuring optimal laser performance.
Quick Step-by-Step: Clean Your Laser Lens in 3 Minutes
Start by gathering your cleaning supplies to make certain you’re ready. Carefully wipe the lens surface with the appropriate material, keeping a gentle touch. Make sure to avoid applying excessive pressure to prevent damage. To maintain optimal laser performance, it’s important to regularly check that the lens remains free of dust and smudges. Regularly inspecting and maintaining your equipment helps preserve its image quality over time. Additionally, understanding the care and maintenance of your laser components can extend their lifespan. Remember that proper safety precautions during cleaning can prevent accidental damage or injury. Finally, check that the lens appears clear and clean before resuming your work. Vetted wave and wind
Gather Necessary Supplies
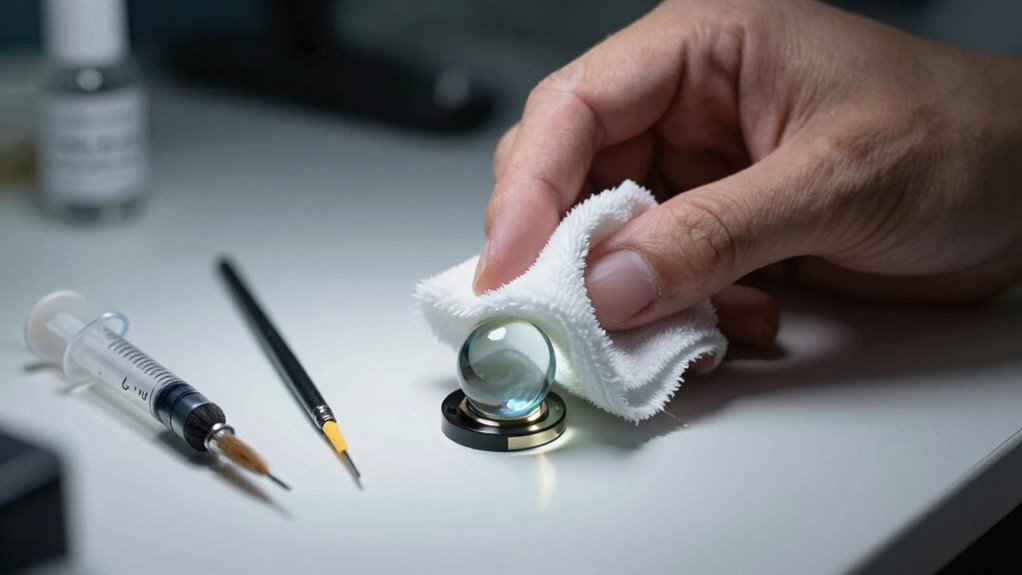
Gathering the right supplies is essential for a quick and effective laser lens cleaning. You’ll need a soft, lint-free cloth or microfiber cloth to avoid scratching the lens surface. Have a small container of lens-cleaning solution or isopropyl alcohol (at least 70%) ready for gentle cleaning. Keep a can of compressed air nearby to blow away dust buildup without touching the lens. Avoid harsh chemicals that can damage lens coatings. Make sure your workspace is clean and free of debris, so you don’t introduce new dust or contaminants. Having these supplies prepared ensures you can clean the lens swiftly and thoroughly, preventing power loss caused by dust buildup or residue that can impair laser performance.
Carefully Wipe Lens Surface
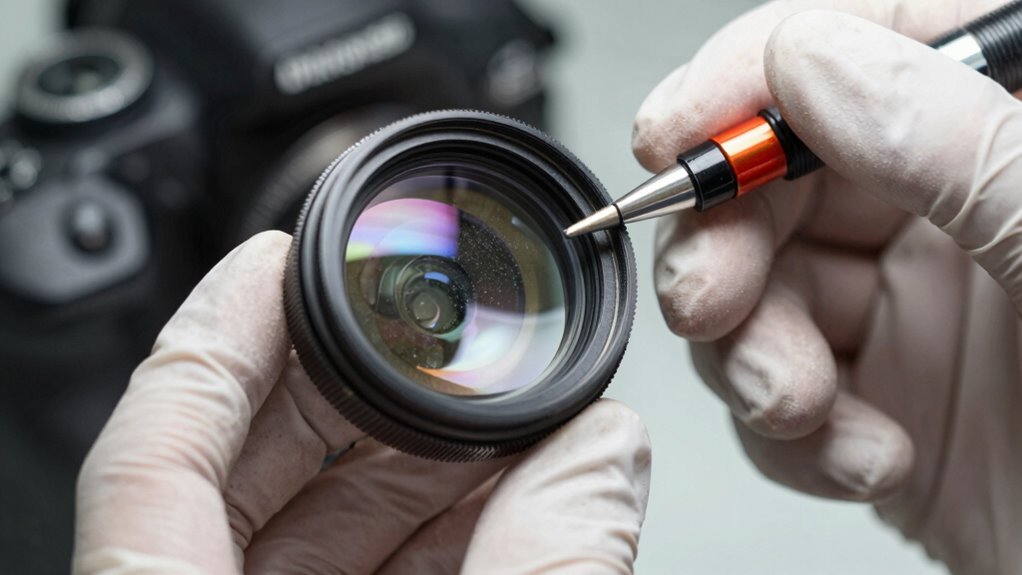
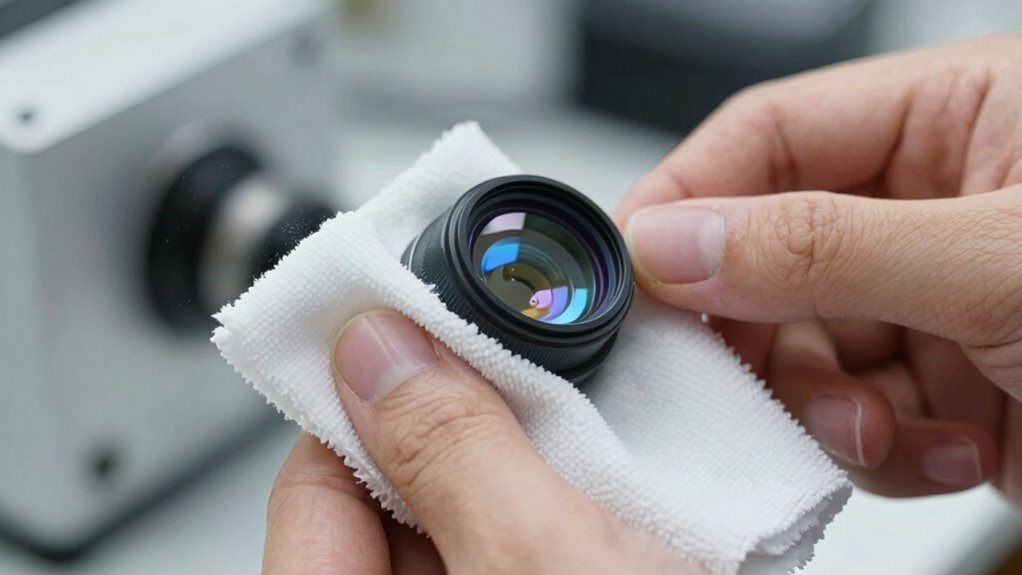
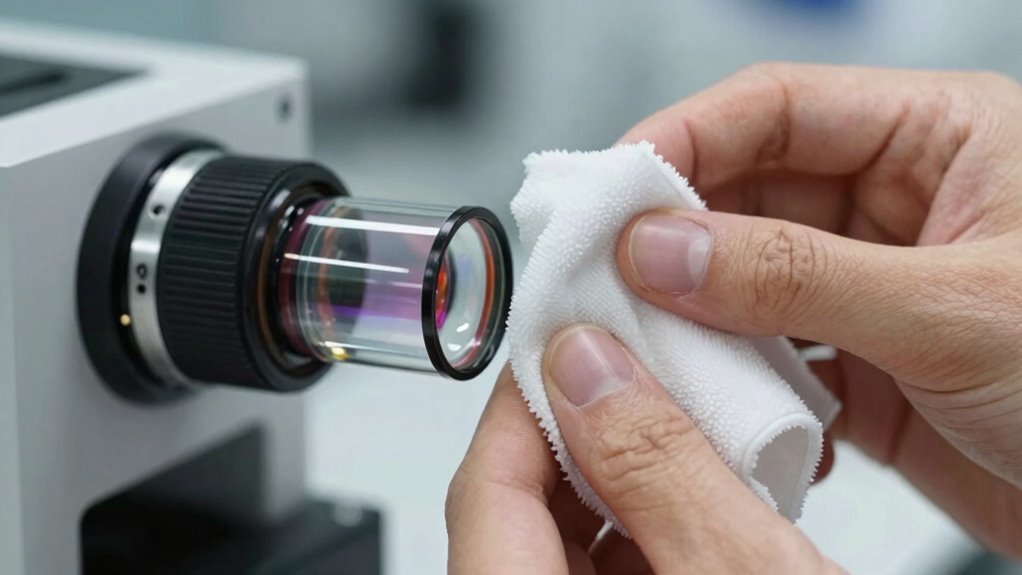
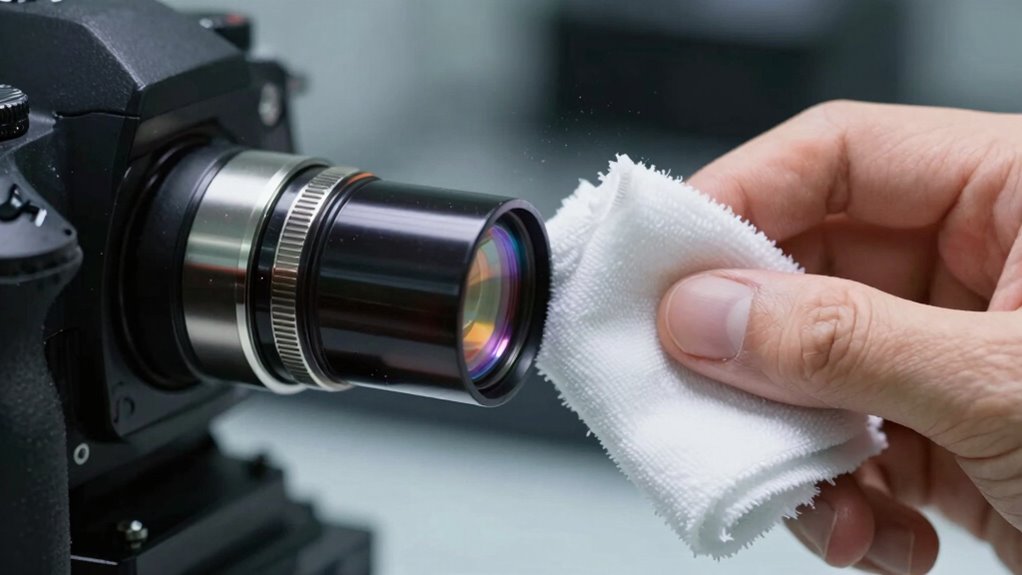
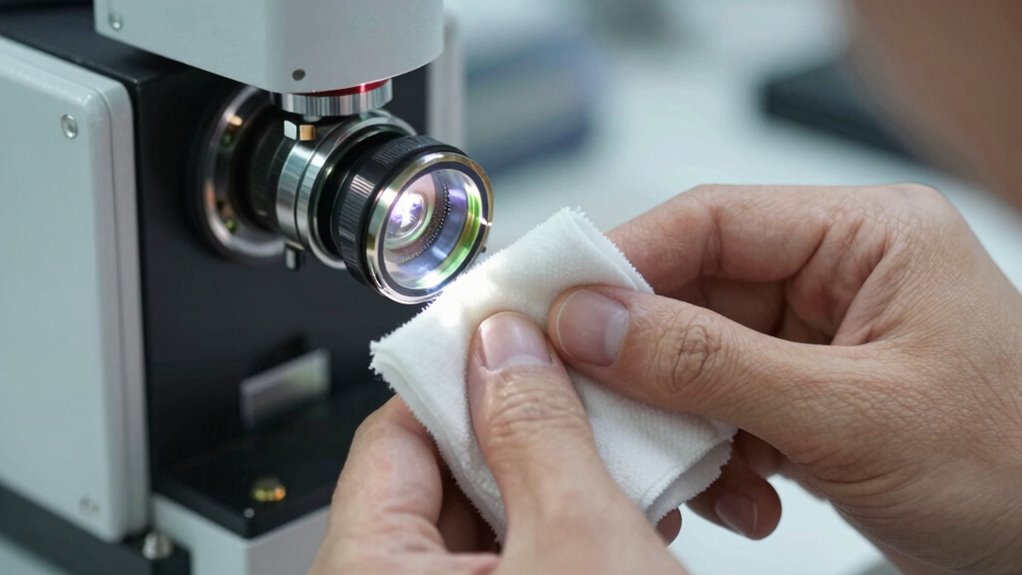
Once you’ve prepared your supplies, it’s time to carefully wipe the lens surface. Use a soft, lint-free cloth or a specialized lens cleaning wipe to avoid scratching or damaging the optical surface. Gently hold the lens and wipe in a circular motion, applying light pressure to remove dust, smudges, and fingerprints. Focus on maintaining a clean, even contact with the lens surface to assure superior optical cleanliness. Avoid using harsh chemicals or excessive force, which can harm the lens coating or cause scratches. Clean the entire surface thoroughly but carefully, making sure no debris remains. Proper wiping restores clarity, improves laser performance, and reduces the risk of power loss caused by dirt accumulation on the lens surface. Regular maintenance of optical surfaces can help prevent power loss and extend the lifespan of your laser equipment. Additionally, understanding proper cleaning techniques and the importance of preventative care ensures that the lens remains in optimal condition over time.
Verify Clear and Clean Results
To make certain your lens is properly cleaned, it is vital to verify that the surface is both clear and free of debris. This step ensures maximum lens clarity, which directly affects your laser’s performance. Use a clean, lint-free cloth or optical verification tool to inspect the lens carefully. Look for any remaining smudges, dust, or streaks that could impair laser output. If the lens appears cloudy or hazy, repeat the cleaning process and recheck. Proper optical verification confirms that your lens is spotless and ready for precise operation. Taking this extra moment guarantees that your laser maintains peak power and prevents power loss caused by dirt or residue. Ensuring clean and clear results is essential for consistent, reliable laser performance. Additionally, understanding laser optics can help you better maintain your equipment’s performance over time. Regularly inspecting the lens surface helps prevent buildup that can affect the laser beam quality and efficiency. Being familiar with lens maintenance techniques can extend the lifespan of your laser components and ensure optimal operation. Incorporating routine checks into your maintenance schedule further safeguards against potential performance issues.
Tips to Avoid Damaging Your Laser Lens During Cleaning
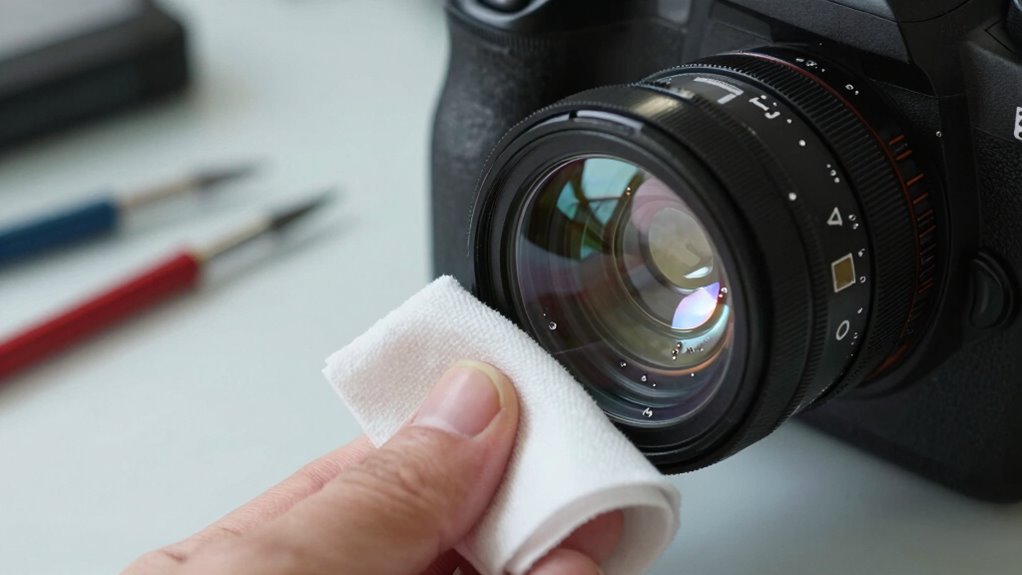
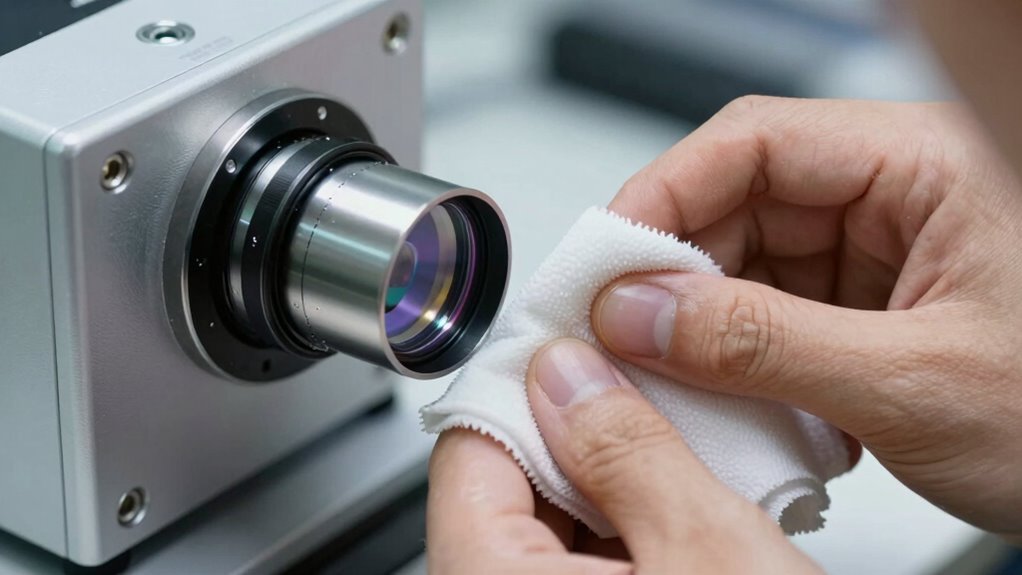
To keep your laser lens safe during cleaning, use proper tools like microfiber cloths and gentle cleaning solutions. Apply light pressure to avoid scratching or damaging the lens surface. Steer clear of harsh chemicals that can harm the lens coating and cause long-term issues.
Use Proper Cleaning Tools
Using the right cleaning tools is essential to prevent damaging your laser lens. Always opt for soft, lint-free cleaning cloths designed for delicate surfaces. Avoid abrasive materials that can scratch or scrape the lens surface. When choosing cleaning solutions, use manufacturer-recommended solutions or distilled water; avoid harsh chemicals that could cause corrosion or residue buildup. Never spray liquids directly onto the lens; instead, lightly dampen the cloth. This prevents excess liquid from seeping into the lens housing. Also, ensure the cleaning cloth is clean and free of debris to avoid introducing dirt during cleaning. Proper tools and careful handling protect your lens’s delicate coating and maintain peak performance, reducing the risk of power loss caused by dirt or damage.
Apply Gentle Pressure
Applying gentle pressure is essential when cleaning your laser lens, as pressing too hard can cause scratches or damage to the delicate surface. Using excessive force increases the risk of lens scratching, which can impair performance. To avoid this, always handle cleaning tools with a light touch.
- Use your fingertip or a soft cloth, not your fingers or rough materials
- Let the cleaning solution do the work, don’t scrub aggressively
- Keep your hand steady to prevent applying uneven or excessive pressure
Avoid Harsh Chemicals
Harsh chemicals can do more harm than good when cleaning your laser lens. Using strong solvents or abrasive cleaners increases the risk of lens damage, which can impair laser performance. Instead, stick to gentle, approved cleaning solutions like isopropyl alcohol in a 70% concentration or specialized lens cleaning wipes. These products effectively remove dust and smudges without risking scratches or deterioration of the lens coating. Avoid household cleaners, ammonia-based products, or anything with harsh chemicals that can weaken or discolor the lens surface. Remember, careful cleaning preserves your lens’s integrity and guarantees ideal laser function. By steering clear of harsh chemicals, you protect your equipment and maintain clear, precise laser output over time.
How Regular Maintenance Keeps Your Laser Running Smoothly
Regular maintenance is essential to keep your laser operating at peak performance. By routinely checking and cleaning your lens, you prevent lens fogging and reduce contamination sources that can impair beam quality. When dirt or debris accumulate, they cause power loss and inconsistent results. Consistent upkeep ensures smooth operation and extends your laser’s lifespan.
To stay on top of maintenance, consider these key steps:
- Regularly inspect for dust and debris buildup
- Clean lenses with proper, gentle methods
- Keep the environment free of airborne contaminants
What to Do If Power Drops After Cleaning
If you notice a drop in laser power after cleaning the lens, it’s important to troubleshoot promptly. Power fluctuation may occur if the lens isn’t correctly aligned, causing the beam to misfire or weaken. First, check the lens positioning and re-align it carefully, following your equipment’s guidelines. Misalignment can happen during cleaning if the lens shifts slightly. Ensure the lens is seated properly and locked into place. If power still drops, inspect for any residual cleaning solution or dust that might interfere with the laser path. Avoid over-tightening or forcing the lens, as this can cause further issues. Correcting lens re-alignment usually restores power, preventing ongoing fluctuations and guaranteeing ideal laser performance.
Best Practices for Ongoing Laser Lens Care
Maintaining your laser lens is essential for consistent performance and ideal results. Regular care ensures maximum laser safety and preserves the integrity of lens coatings. To keep your lens in top shape, follow these best practices:
- Clean the lens gently with approved cleaning solutions and microfiber cloths to prevent scratches and damage.
- Inspect the lens regularly for dust, smudges, or scratches that may affect laser output.
- Store your laser in a clean, dust-free environment to protect lens coatings from contaminants and deterioration.
Frequently Asked Questions
Can Laser Lens Cleaning Improve Overall Laser Lifespan?
Yes, laser lens cleaning can improve your laser’s lifespan by reducing lens degradation caused by dust and debris buildup. Regular cleaning maintains ideal performance and prevents power loss, which can accelerate lens wear. By sticking to a consistent cleaning frequency, you guarantee the lens stays clear, prolonging its life and avoiding costly replacements or repairs down the line. Keep your lens clean, and your laser will perform at its best longer.
Are There Specific Cleaning Products Recommended for Laser Lenses?
Yes, there are specific cleaning product recommendations for laser lenses. You should use lens cleaning solutions designed for optical components, avoiding harsh chemicals that can damage the lens. Look for gentle, alcohol-based cleaning products formulated for delicate surfaces. Always follow manufacturer guidelines to guarantee compatibility and avoid scratches or residue, which can impair laser performance. Regularly using proper lens cleaning solutions helps maintain clarity and extends the lifespan of your laser system.
How Often Should I Perform Laser Lens Cleaning?
You should perform lens cleaning whenever you notice lens contamination, which can cause power loss or beam distortion. Typically, cleaning frequency depends on your environment; in dusty or dirty settings, do it more often, perhaps weekly. In cleaner spaces, monthly might suffice. Regularly inspecting your lens ensures you catch contamination early, maintaining ideal laser performance and preventing unnecessary power loss.
Is It Safe to Clean Laser Lenses With Household Items?
Did you know that poor lens cleaning can reduce laser efficiency by up to 20%? You should never use household items for lens cleaning because they pose significant risks, like scratches or residue that can damage the lens. For safe lens cleaning, stick to manufacturer-recommended solutions and soft, lint-free cloths. This guarantees lens cleaning safety and keeps your equipment functioning at its best, preventing costly repairs or replacements.
What Are Common Mistakes to Avoid During Laser Lens Cleaning?
You should avoid using abrasive tools during laser lens cleaning, as they can scratch or damage the delicate surface. Also, don’t clean the lens excessively; over-cleaning can cause wear and reduce its effectiveness. Instead, use gentle, approved cleaning solutions and soft cloths, and stick to a routine that’s quick and careful. This prevents damage and keeps your laser performing at its best, ensuring long-term reliability.
Conclusion
Keeping your laser lens clean is the key to maintaining peak power and performance. With just a quick three-minute routine, you can prevent power loss and guarantee smooth operation. Remember, “A stitch in time saves nine”—regular care saves you from costly repairs and downtime later. Stay vigilant, follow the steps, and your laser will continue to shine brightly, delivering consistent results whenever you need them most.