
To prevent wavy quilts, guarantee your longarm frame is properly aligned by checking that the rails are square, parallel, and level using a bubble or laser level. Measure the frame’s length and adjust tension screws or bolts to eliminate sag or tilt. Test your setup with a sample quilt or swatch to confirm the fabric stays flat and the stitches are straight. Keep everything locked firmly, and if you keep these steps in mind, you’ll master maintaining perfect alignment throughout your projects.
Key Takeaways
- Ensure frame rails are parallel, square, and level using bubble or laser levels before beginning setup.
- Measure and adjust rail lengths precisely to match specifications, preventing misalignment.
- Use leveling tools to confirm that all frame sections are even and flat throughout the setup process.
- Properly tension and lock the frame components to maintain stability and prevent shifting during quilting.
- Conduct stitch tests on scrap fabric to verify straightness and fabric feed before quilting the final project.

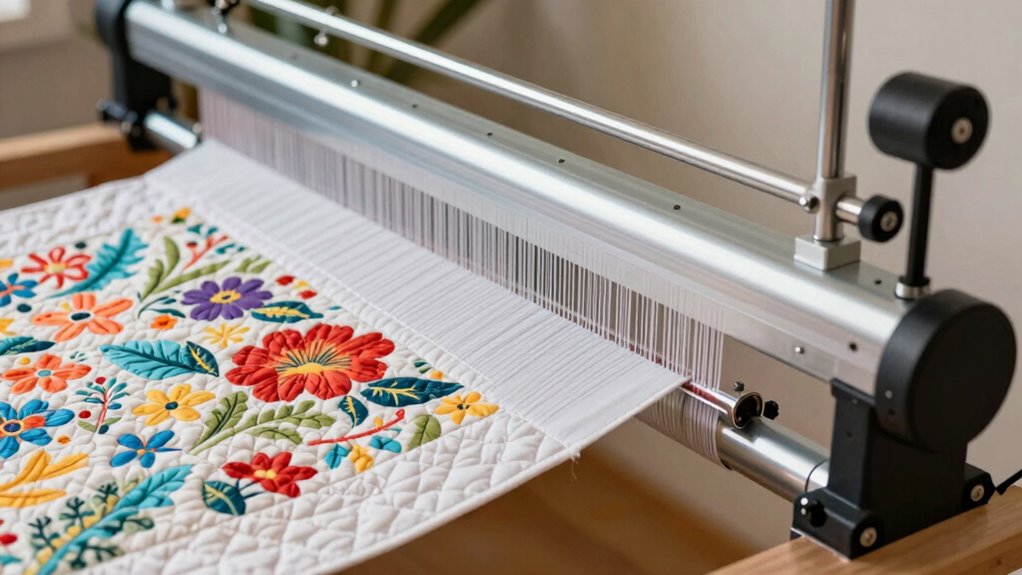
Bequilter Quiting Frame for Free Motion Quilting Template Series 5
Achieve precise and intricate quilt designs with the Bequilter Free Motion Quilting Frame
As an affiliate, we earn on qualifying purchases.
As an affiliate, we earn on qualifying purchases.
Why Proper Longarm Frame Alignment Is Key to Avoid Wavy Quilts

Proper longarm frame alignment is essential because even small misalignments can cause your quilt to develop waves and uneven stitches. When the frame isn’t properly aligned, fabric stretch becomes uneven, leading to puckers or sagging that disrupt smooth quilting. Misalignment also affects thread tension, making it difficult to maintain consistent stitches. If the frame isn’t level or square, fabric may pull unevenly as you quilt, increasing tension in some areas while loosening others. This imbalance results in distorted patterns and a wavy appearance. Ensuring precise alignment helps distribute fabric stress evenly, maintaining proper fabric tension throughout the quilting process. When everything is aligned correctly, your stitches stay even, and your quilt develops a professional, smooth finish without unwanted waves or distortions. Additionally, proper frame alignment minimizes fabric distortion, resulting in a more accurate and flawless quilting pattern. Regularly checking and adjusting your quilt frame can prevent misalignments from occurring, and understanding the importance of precise machine setup can further enhance your quilting results, saving you time and ensuring consistent quality. Proper setup also helps reduce fabric tension issues, which can otherwise compromise your finished quilt’s appearance and durability. Paying close attention to quilt tension during setup is key to achieving a perfectly smooth and professional-looking quilt.

Rail Clips for Rolling Rail Quilting Frame | Quilt Clips | Rail Clips for Quilting Frame | The Grace Company Quilt Clips (Quilt Clips 1.5" Blue)
EASY FABRIC ADJUSTMENT | It’s simple to make quick adjustments, so your fabric will always be nice and…
As an affiliate, we earn on qualifying purchases.
As an affiliate, we earn on qualifying purchases.
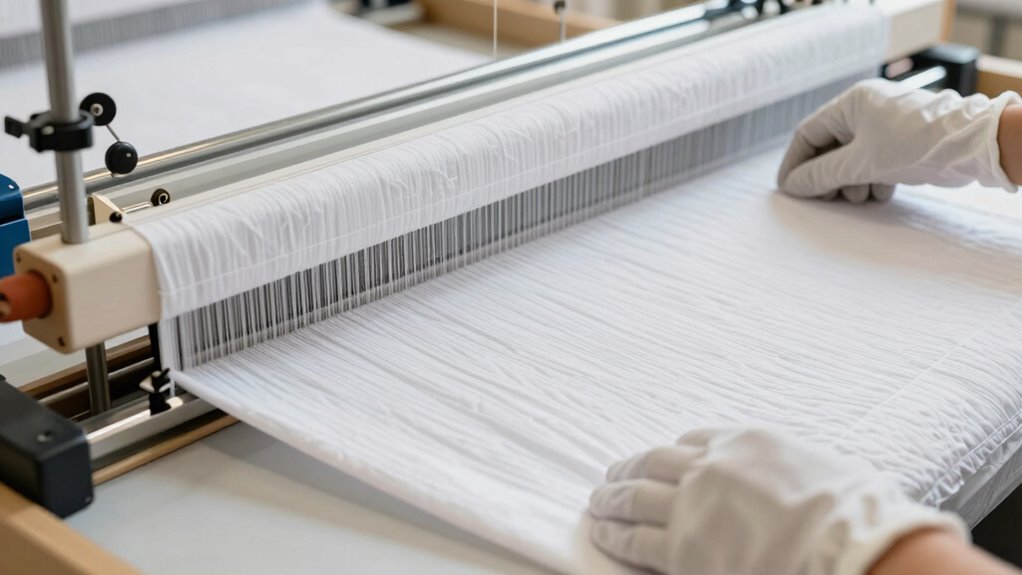
How to Assess Your Longarm Frame for Accurate Setup
Before you begin adjusting your longarm frame, it’s important to assess its current alignment to identify any issues. Start by checking if the frame rails are parallel and square, as misalignment can cause wavy quilting. Examine the thread tension; uneven tension may indicate frame issues or tensioning problems. Additionally, consider your batting selection, as thick or uneven batting can exaggerate misalignments. Run a test quilt, paying close attention to how the stitches lay—if they curve or bunch, it’s a sign the frame needs adjustment. Use a level or straight edge across the frame to spot any dips or warps. Proper assessment helps you pinpoint problems before they affect your quilting, ensuring your setup promotes smooth, even stitches. Being aware of frame alignment fundamentals ensures your quilting stays accurate and professional-looking. Recognizing the tools and materials used in longarm quilting can also help optimize your setup and prevent issues, especially when considering the filtration and maintenance of your equipment to avoid disruptions. Regularly inspecting your machine’s filtration systems can prevent dust buildup that may impact tension and stitch quality.

Cutie Breeze Table Top Hoop Quilting Frame | Beginner Frame for Domestic Machines | Portable Quilting Table, Hoop Frame, and Quilting Supplies
Quilting is now easier than ever! Glide your sewing machine over your quilt to create beautiful patterns. The…
As an affiliate, we earn on qualifying purchases.
As an affiliate, we earn on qualifying purchases.
Step-by-Step Guide to Aligning Your Frame Rails

To align your frame rails properly, start by measuring their lengths precisely to guarantee they match. Use leveling tools correctly to verify that the rails are even and flat. If you notice any sag, make adjustments to keep your frame perfectly aligned for smooth quilting. Additionally, understanding the best rated pinball machines of 2024 can inspire you to appreciate precise craftsmanship and design in your quilting setup. Ensuring your workspace includes proper tools and equipment is essential for achieving a flawless setup and preventing issues like wavy quilts. Paying attention to accurate measurements and tools helps maintain consistent alignment throughout your quilting project. Incorporating quality construction techniques can further enhance the stability and longevity of your frame.
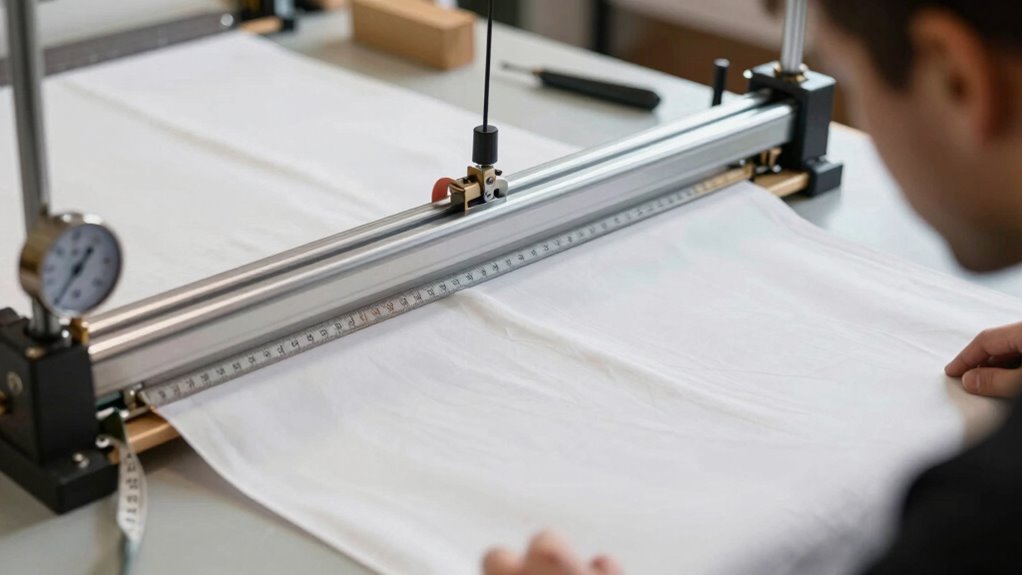
Measure Rail Lengths Precisely
Ensuring your frame rails are the correct length is essential for a smooth quilting process. Use a measuring tape to check each rail carefully, making sure they match the manufacturer’s specifications. Accurate measurement prevents uneven rail spacing, which can cause wavy quilts. Measure from end to end, noting any discrepancies. If a rail is too long or short, trim or adjust it accordingly to fit perfectly within the frame’s design. Consistent rail lengths help maintain proper tension and alignment during quilting. Take your time to double-check each measurement before proceeding. Properly measured rails set a solid foundation for precise quilting, ensuring your finished project looks professional and smooth. Accurate rail length is a key step in achieving a flawless longarm quilting setup.
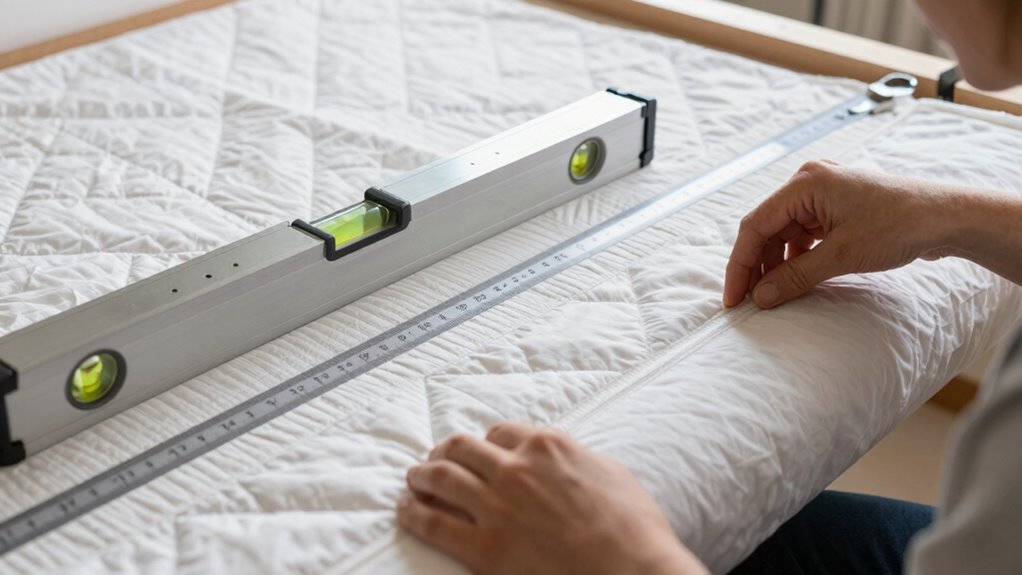
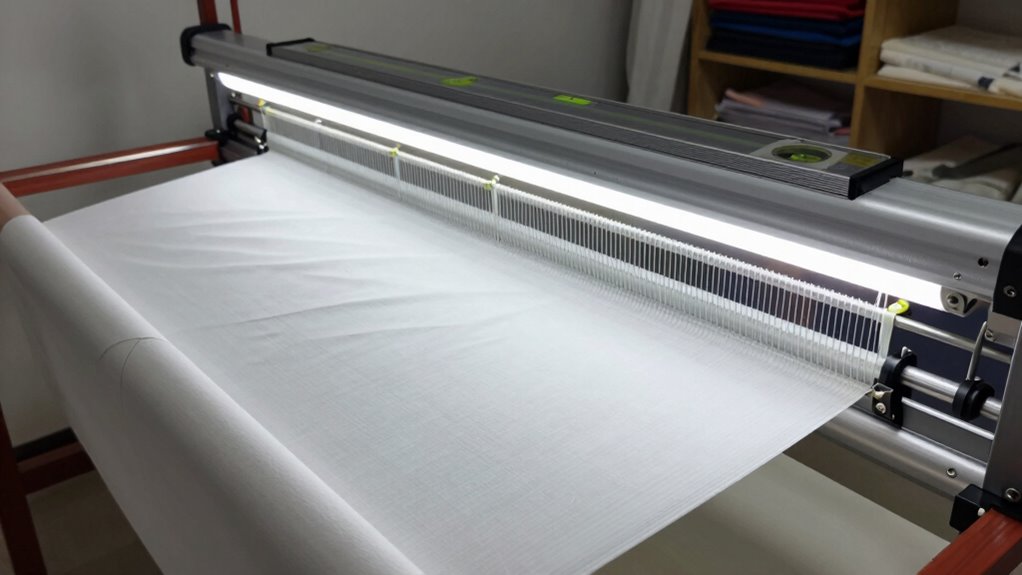
Use Leveling Tools Correctly
Once your frame rails are measured and adjusted to the correct length, the next step is to verify they are perfectly level. Use a reliable leveling tool, like a bubble level or laser level, placed along each rail. Confirm the rails are completely even; any tilt can cause uneven fabric tension, leading to wavy quilts. When checking, consider batting compatibility—if the batting is uneven or thick in some areas, it can exaggerate misalignment. Correct any discrepancies by adjusting the frame supports until the level indicates a flat, even surface. Proper leveling guarantees your quilt layers stay smooth and tension remains consistent throughout. This step is vital for achieving professional-looking quilting results and preventing wavy or distorted fabric. Additionally, regular maintenance checks can help ensure your frame remains properly aligned over time.
Adjust for Frame Sag
Frame sag can cause serious issues with quilt alignment, so addressing it early is essential. To do this, start by checking the frame’s level and identifying any dips. Then, adjust the tension to compensate for sagging areas, ensuring even fabric tension across the frame. Here’s a quick checklist:
- Tighten or loosen frame bolts to minimize sag
- Adjust tension adjustment knobs on the rails
- Use a level to verify evenness across all sections, and consider incorporating precision tools like level sensors or digital gauges to improve accuracy in alignment.
- Regularly inspecting the frame integrity and making necessary adjustments can prevent uneven sagging over time. Taking these steps early keeps your quilt smooth and prevents future issues during quilting, especially when utilizing proper setup techniques for consistent results. Additionally, paying attention to fabric tension and ensuring it remains consistent throughout the process will help maintain proper alignment and prevent puckers or waves.

Laser Level Line Tool, Multipurpose Laser Level Kit Standard Cross Line Laser leveler Beam Tool with Metric Rulers 8ft/2.5M for Picture Hanging cabinets Tile Walls by AikTryee.
【MULTIFUNCTION LASER LEVEL】Laser level tool cool gadgets for men Works For Indoor Designed for any situation where accurate…
As an affiliate, we earn on qualifying purchases.
As an affiliate, we earn on qualifying purchases.
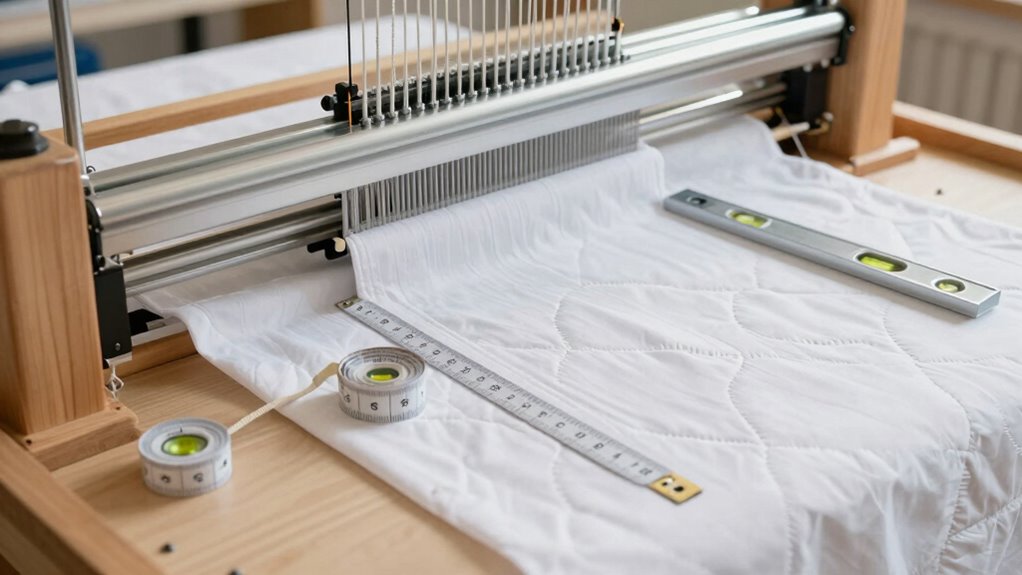
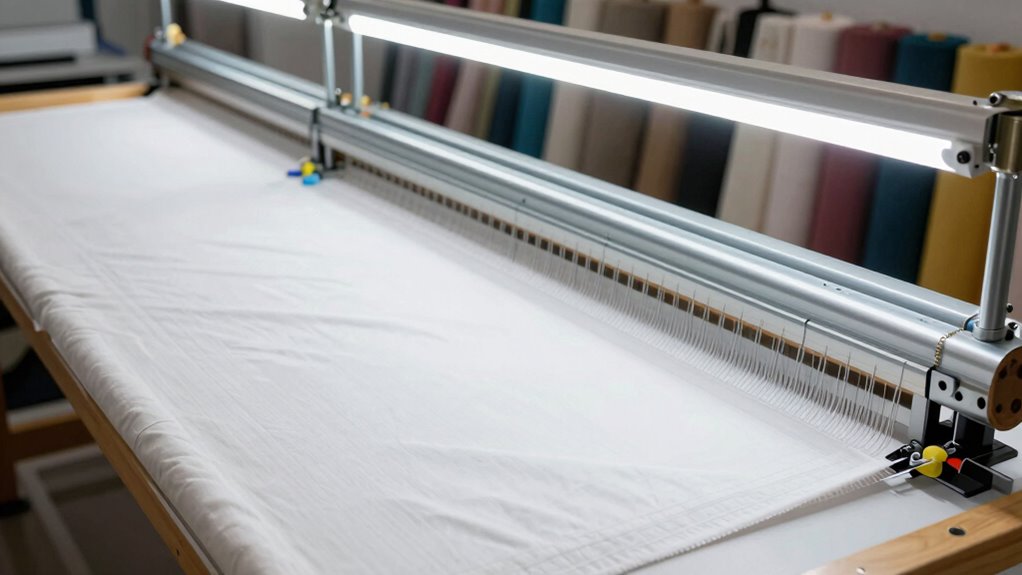
How to Use a Level and Measuring Tools for Perfect Balance
Achieving perfect balance on your longarm quilting frame starts with mastering the use of a level and measuring tools. Begin by placing the level on different sections of the frame, ensuring it’s perfectly horizontal in all directions. Use measuring tools like a tape measure or a carpenter’s square to verify distances between frame components, maintaining even spacing. Proper balance ensures your quilting patterns stay consistent and your fabric selection remains taut without puckering. When aligning the frame, check for levelness at multiple points, adjusting as needed. Keep in mind that uneven fabric tension can cause waviness, so a stable, level frame is essential. Regular checks during setup prevent misalignment, giving you smooth quilting results every time. Understanding the importance of filtration systems in maintaining a clean, dust-free workspace can also contribute to more precise setup and overall quilting quality. Additionally, paying attention to frame stability can help prevent shifts during quilting, ensuring consistent results. To further enhance your setup, consider the use of measuring tools for precise adjustments and alignment.
Adjusting Frame Tension and Locking Devices for Stability
To make certain your quilting remains smooth and accurate, you need to carefully adjust the tension of your frame and secure the locking devices properly. Proper tension adjustment ensures fabric stays taut without warping, while secure locking mechanisms prevent shifting during quilting.
Focus on these key points:
- Loosen or tighten tension adjustment screws until fabric is evenly taut.
- Test tension by gently pulling fabric to check for slack or overstretch.
- Engage locking mechanisms firmly to prevent frame movement.
- Double-check all locks after adjustments to ensure stability.
Testing Your Alignment With a Sample Quilt or Test Swatch
To guarantee your longarm is properly aligned, start by using a test swatch to evaluate your setup. Check for elasticity issues that could distort your stitches and make adjustments as needed. Confirm that your quilt or swatch stays straight and consistent across the frame before starting your project. Additionally, performing a repeatable test pattern can help ensure your machine maintains proper tension and alignment throughout your quilting process. Regularly monitoring your machine’s alignment techniques can help prevent wavy or distorted quilts during longarm quilting.
Use Test Swatch Properly
Have you ever wondered if your quilt is perfectly aligned before starting your longarm quilting? Using a test swatch helps guarantee accuracy. When working with a sample, pay attention to fabric stretching, as uneven tension can cause distortions. Before stitching, check the thread tension to prevent puckering or loose stitches. To use your test swatch effectively:
- Mark your starting point clearly on the fabric
- Quilt a simple pattern or grid to observe alignment
- Observe how the fabric responds to the quilting process
- Adjust your machine settings based on test results
- Ensuring your quilted fabric remains stable during testing can prevent misalignments later
- Remember that fabric stability is crucial for maintaining proper alignment throughout your quilting process
This practice allows you to identify issues early, saving time and preventing wavy quilts. Properly testing your setup ensures your finished quilt looks smooth and professional, with no surprises from fabric stretching or thread tension problems.
Check for Elasticity Issues
Before starting your quilting, making certain there are no elasticity issues that could affect your alignment is essential. Check your fabric and test swatch for fabric stretch, which can cause elasticity issues during quilting. Gently pull on the test piece in different directions to see if it stretches unevenly or feels overly elastic. If the fabric or swatch stretches easily, it may lead to wavy or distorted quilting lines when the quilt is finished. Address any elasticity issues by stabilizing the fabric or choosing a more stable material. Running this quick test helps you identify potential problems early, so you can make adjustments before quilting begins. This step ensures your longarm setup maintains proper alignment, resulting in a smooth, professional-looking quilt.
Confirm Straight Alignment
Ensuring your longarm quilting machine is properly aligned is crucial for achieving straight, professional stitches. To confirm this, test your setup with a sample quilt or test swatch. Choose fabric that closely matches your project and adjust thread tension accordingly. Run a few inches of stitching to evaluate straightness and stitch consistency. Check for fabric puckering or waviness, which can indicate misalignment. Use these tips to verify your setup:
- Inspect fabric feed and ensure smooth movement
- Confirm thread tension is balanced
- Test stitch lines on scrap fabric
- Adjust alignment if stitches drift or become uneven
This process helps identify issues early, guaranteeing your final quilt remains flat and professional-looking. Proper fabric selection and thread tension are key to achieving and maintaining perfect alignment.
Common Frame Alignment Problems and How to Fix Them
Are you struggling with frame alignment issues on your longarm quilting setup? One common problem is uneven fabric tension, which can cause wavy or puckered quilts. When the thread tension isn’t balanced, it pulls fabric unevenly, making it hard to keep layers aligned. Additionally, fabric stretch during setup can throw off your frame’s straightness, especially if you don’t tension your fabric properly beforehand. Loose or tight areas can create dips or waves that ruin your design. To fix this, check your thread tension and adjust it for smooth, even stitches. Always pre-stretch your fabric to eliminate undue stretch and ensure it lays flat. Properly aligning and tensioning your fabric and threads prevents these common issues and helps you achieve a professional, wave-free finish.
Tips for Maintaining Frame Alignment for Consistent, Professional Quilts
Maintaining proper frame alignment is essential for achieving consistent, professional-looking quilts. To do this, regularly check your frame’s setup, ensuring it stays square and tight. Keep a close eye on fabric selection; choose stable, high-quality fabric to prevent shifting that can misalign your quilting. Adjust your thread tension consistently to avoid puckering or uneven stitches that can distort your design. Additionally, periodically re-tighten frame bolts and tracks to prevent sagging or shifting during long quilting sessions.
- Verify the frame remains square before quilting
- Use fabric stabilizers if needed
- Regularly check and adjust thread tension
- Keep the frame clean and well-lubricated
Frequently Asked Questions
How Often Should I Realign My Longarm Quilting Frame?
You should realign your longarm quilting frame whenever you notice issues like fabric bunching or uneven stitches, which are signs of misalignment. Regular maintenance tips include checking the frame’s alignment monthly or after any major transport or setup changes. Troubleshooting steps involve carefully rechecking the frame’s rails and ensuring the machine is level. Consistent realignment helps prevent wavy quilts and keeps your quilting smooth and professional-looking.
Can Uneven Floor Surfaces Affect Frame Alignment?
Uneven floor surfaces can turn your quilting project into a wavy road, affecting your frame’s stability. When the floor isn’t level, it’s like trying to walk on shifting sands—your frame can shift or tilt, making precise alignment difficult. Ensuring a stable, level surface is key to maintaining proper frame alignment, preventing unwanted waves and ensuring your quilt turns out smooth and professional.
What Tools Are Best for Checking Frame Squareness?
You should use a reliable frame square for checking frame squareness, ensuring it’s precise and undamaged. Also, inspect your tools regularly for signs of wear or misalignment, as faulty tools can lead to inaccurate setup. To confirm the frame’s true square, place the square along the edges and measure any gaps. Accurate tools inspection combined with a quality frame square helps you achieve perfect alignment, preventing wavy quilts.
How Do I Correct Misalignment Without Disassembling the Frame?
Your quilting masterpiece depends on perfect alignment—don’t let misalignment turn your project into a tangled mess. To fix it without disassembly, start by adjusting the frame tension, ensuring it’s even across all sides. Check for fabric distortion, which can cause waviness. Slightly tighten or loosen the adjustment knobs to realign the frame, maintaining smooth movement. This quick fix preserves your work and keeps your quilt looking flawless.
Is Professional Calibration Necessary for Beginner Quilters?
Professional calibration isn’t strictly necessary for beginner quilters, but it’s a helpful tip to ensure your machine runs smoothly. As a beginner, focus on mastering basic setup and alignment first. If you notice persistent issues or uneven stitches, consider professional calibration to improve precision. This step can boost your confidence and help you produce better quilts, but it’s not essential right out of the gate.
Conclusion
Ensuring your longarm frame is perfectly aligned can reduce wavey quilts by up to 80%. When you take the time to assess, measure, and lock your frame properly, you’ll achieve smoother, more professional results every time. Regular maintenance and testing help you catch issues early, saving you time and frustration. Remember, a stable, well-aligned frame isn’t just a technical detail—it’s the secret to stunning, flawless quilts that you’ll be proud of.