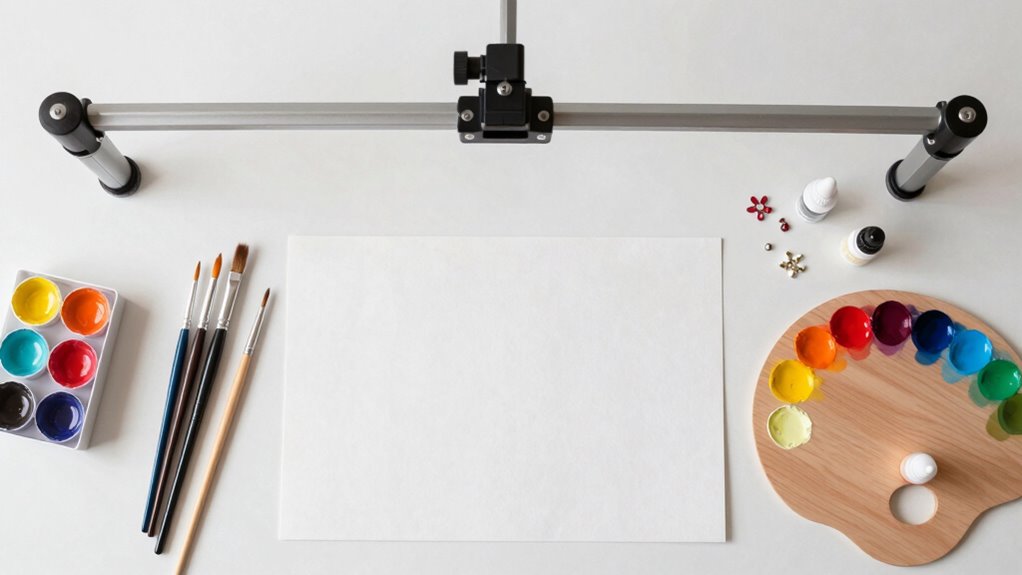
To achieve shake-free top-down craft videos, you need a sturdy overhead mount that securely attaches to your workspace or ceiling. Make certain the mount is compatible with your camera and can support its weight, offering adjustability for perfect framing. Secure all connections tightly, and use stabilization accessories like vibration-dampening pads or sturdy tripods. Proper lighting also helps reduce flickering and shadows. Keep watching to discover detailed tips that will help you set up a flawless, professional overhead filming system.
Key Takeaways
- Choose a sturdy, compatible overhead mount securely attached to ceiling or beam surfaces.
- Use vibration-free mounts and stable tripods or articulating arms to prevent shake.
- Ensure the camera is firmly secured and properly leveled directly above your workspace.
- Optimize lighting with consistent, diffused sources to reduce flickering and shadows.
- Double-check all attachments and adjust the setup before filming to maintain stability throughout.
Why Overhead Mounts Make Craft Filming Easier and Better

Overhead mounts simplify craft filming by giving you a stable, top-down perspective that captures every detail with ease. This setup allows you to experiment with camera angles that highlight your work’s intricacies, making your videos more engaging. With a fixed overhead position, you can easily adjust your lighting techniques to minimize shadows and glare, ensuring your craft is well-lit from all angles. Overhead mounts eliminate shaky footage, so your shots stay smooth and professional-looking. They also save you time, as you don’t need to constantly reposition your camera. This stability and versatility make filming more straightforward, helping you create clear, detailed tutorials or showcase your craftsmanship without hassle. Additionally, using precision and automation techniques can further improve your video consistency and results, especially when combined with high-quality projectors that offer accurate color and contrast. Employing European cloud servers can also enhance your data management and storage, ensuring your workflow remains secure and efficient. Implementing proper mounting techniques ensures your overhead setup remains stable and safe during filming sessions, which is especially important when working with electric tools or delicate craft materials.
How to Choose the Perfect Overhead Mount for Your Craft Projects

How do you choose the right overhead mount for your craft projects? First, consider mount compatibility—ensure the mount fits your workspace and camera setup. Check if it attaches securely to your chosen surface, whether a ceiling, beam, or stand. Next, evaluate the weight capacity; your mount must support the camera and any accessories without strain or risk of collapse. Avoid overspending on a mount with more capacity than needed, but don’t compromise safety by choosing one that can’t handle your gear. Think about adjustability too—look for a mount that offers smooth movement and height adjustments to frame your shots precisely. Ensuring mount stability is crucial to prevent vibrations and shaky footage during filming. By matching compatibility with your workspace and ensuring adequate weight capacity, you’ll set yourself up for stable, shake-free filming.
Step-by-Step: Setting Up a Shake-Free Overhead Camera
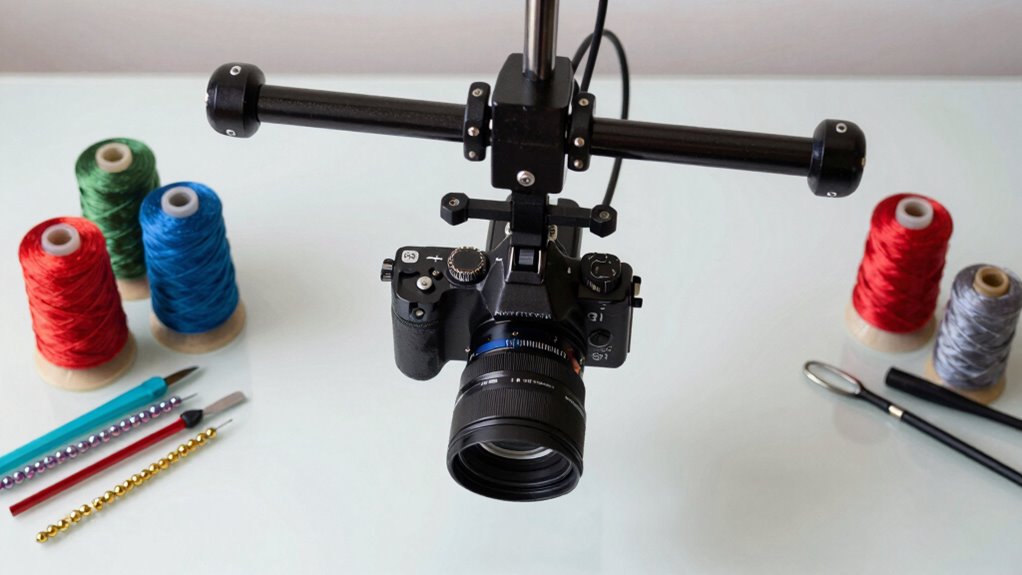
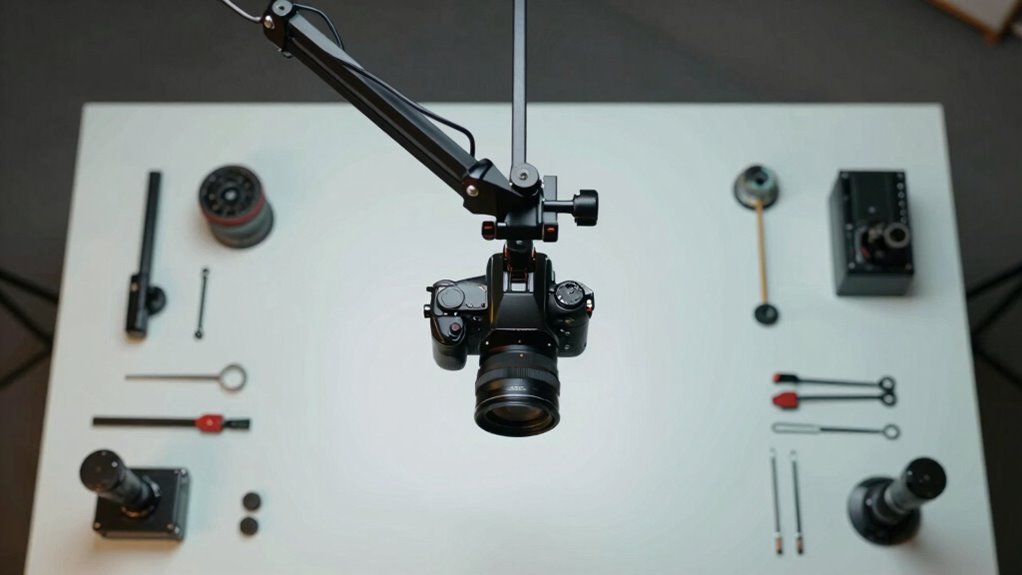
To achieve stable, shake-free footage, setting up your overhead camera carefully is essential. Begin by securing your mount firmly to prevent any movement during filming. Use a sturdy tripod or an articulating arm designed for camera stability, ensuring all joints are tightened. Position the camera directly above your workspace, adjusting the height for ideal framing. Focus on your lighting setup next; use consistent, evenly distributed light sources to eliminate shadows and prevent flickering. Proper lighting not only improves image quality but also reduces the need for camera adjustments. Double-check that your camera is level and securely attached. Small tweaks can make a significant difference in stability, so take your time to fine-tune the setup before recording.
Troubleshooting Common Overhead Filming Problems and Fixes
Even with careful setup, filming from above can still encounter common issues like camera shake, flickering lights, or uneven framing. To guarantee your camera stabilization methods are solid—use sturdy mounts and avoid vibrations. For flickering lights, adjust your lighting setup by changing the bulbs or adding diffusers to achieve consistent illumination. Uneven framing often results from improper camera alignment; double-check your overhead mount’s position. Use this troubleshooting table to identify and resolve problems:
| Issue | Cause | Fix |
|---|---|---|
| Camera shake | Unstable mount or vibrations | Secure mount, add padding |
| Flickering lights | Inconsistent power or bulbs | Adjust lighting, switch bulbs |
| Uneven framing | Poor camera angle | Re-align mount, check setup |
| Focus issues | Poor focus settings | Adjust focus manually |
| Shadows | Poor lighting placement | Add diffusers or reposition lights |
Being mindful of setup stability can help prevent many filming issues before they start, especially when working with smart home gym equipment that requires precise positioning. Ensuring proper weight distribution of your overhead mount is essential to minimize vibrations and achieve steady footage. Additionally, incorporating proper vibration damping techniques can also make a significant difference in achieving steady footage.
Pro Tips for Stable, High-Quality Overhead Videos

Achieving stable, high-quality overhead videos requires attention to detail and the right techniques. Start by carefully selecting your camera angle; keep it directly above your workspace for a clear, even view. Use a tripod or mount with a sturdy, vibration-free base to prevent shaking. Guarantee your lighting setup is consistent—diffused, bright light minimizes shadows and highlights details of your craft. Avoid changing the camera angle mid-shoot, as this can introduce instability. Check your camera’s focus and exposure beforehand, so adjustments aren’t needed during filming. To enhance stability, use a remote shutter or timer to avoid camera shake when pressing record. These small steps will produce clean, professional overhead videos that showcase your work beautifully. Incorporating steady camera techniques can further improve your results and ensure your videos look polished. Additionally, employing camera stabilization tools like gimbals or electronic stabilizers can significantly reduce unintended movements and enhance your video quality.
Frequently Asked Questions
What Are the Best Camera Models for Overhead Filming?
For overhead filming, you should consider cameras like the Sony A7S III or Canon EOS R5, which offer excellent camera stabilization to prevent shake. Look for models with in-body stabilization and use lenses with image stabilization or a tripod for extra steadiness. These options give you sharp, stable footage, and their versatile lens selection helps you achieve the perfect shot from above.
How Do Lighting Conditions Affect Overhead Craft Filming?
Lighting conditions directly impact your overhead craft filming by affecting lighting consistency and shadow management. Inconsistent lighting can cause flickering or uneven brightness, making your footage look unprofessional. To avoid this, use stable light sources with diffusers to guarantee even illumination. Adjust your lights to minimize harsh shadows, helping your craft details stay clear and well-lit. Proper lighting setup enhances your video quality and makes your craft stand out.
Can Overhead Mounts Be Used Outdoors for Craft Projects?
Think of your overhead mount as a sturdy umbrella in a storm — yes, it can be used outdoors. Many mounts are designed with outdoor durability and weather resistance, so they handle sun, rain, and wind. Just make certain you choose a mount specifically rated for outdoor use, and secure it properly. With the right equipment, you can confidently film your craft projects outside, capturing every detail without worry.
What Safety Precautions Should I Take With Overhead Mounts?
You should prioritize mount stability by securely anchoring your overhead mount and regularly performing safety checklists. Make certain the mount is on a sturdy surface and use appropriate hardware to prevent slipping or falling. Always double-check all connections and weight limits before filming. If outdoors, consider additional weatherproofing and wind protection. Taking these safety precautions minimizes risks and keeps your craft filming setup safe and steady.
How Do I Maintain and Clean My Overhead Filming Equipment?
Imagine you’re filming intricate crafts and notice dust on your overhead mount. To preserve and clean your equipment, regularly follow maintenance tips like inspecting for loose parts and tightening screws. Use gentle cleaning techniques, such as a soft cloth or compressed air, to remove dust and debris without damaging sensitive components. This keeps your setup stable and ensures smooth filming, preventing shake or instability caused by buildup or neglect.
Conclusion
With the right overhead mount, your craft videos will be as smooth as a steady hand guiding a brush. Imagine capturing every glittering detail without a single shake—like a bird soaring effortlessly through the sky. When you invest in stability, your audience will see your work in its true light. So, set up confidently, troubleshoot when needed, and watch your craft videos become as polished as the masterpieces you create.