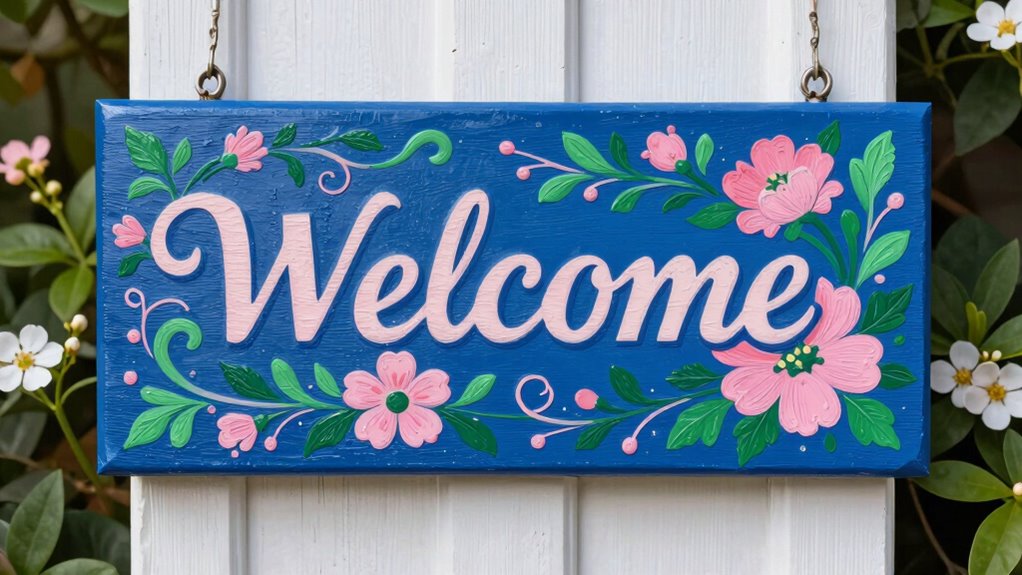
To create a painted welcome plaque for your entryway, start by choosing a color scheme that complements your home or garden, favoring two to three hues for balance. Gather sturdy materials like a wooden board, suitable paints, brushes, and pencils for sketching. Lightly design your text and add natural motifs like leaves or flowers for decoration. After painting, let it dry completely, apply a sealant, and mount it securely. If you keep going, you’ll discover all the tips for a stunning handmade piece.
Key Takeaways
- Choose a complementary color scheme that matches or contrasts nicely with your home and garden.
- Select a sturdy surface and gather suitable paints, brushes, and pencils for sketching and detailing.
- Lightly sketch your desired welcome message and decorative motifs before painting for proper alignment.
- Incorporate natural motifs like leaves or insects to add personalized, nature-inspired accents.
- Allow drying time, seal with a clear protective coat, and mount the plaque securely at the entryway.
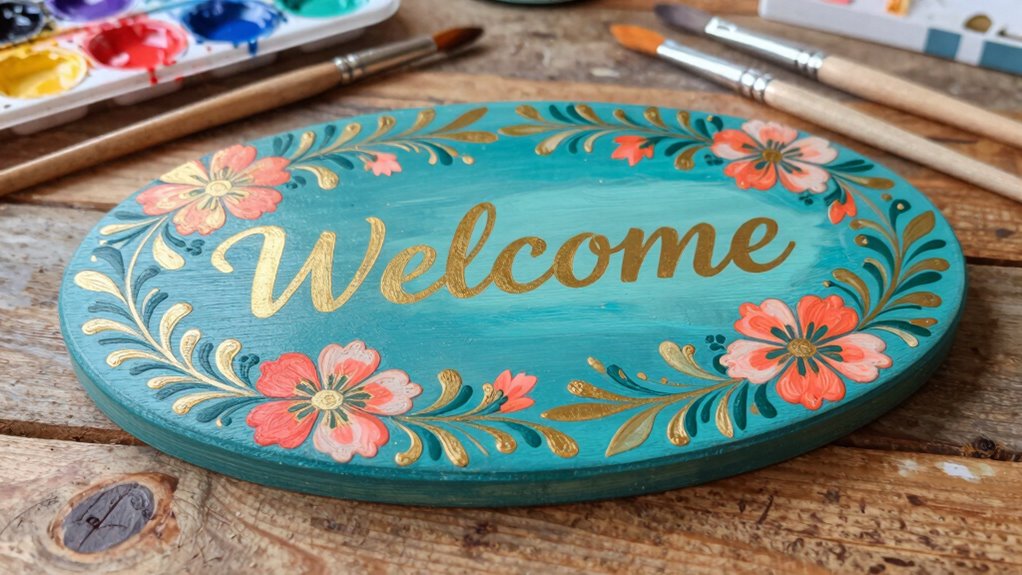
Have you ever wanted to add a personal touch to your home’s entrance? Creating a painted welcome plaque is a fantastic way to do just that. It’s a simple project that can transform your entryway into a warm, inviting space, and it’s easier than you might think. The key is choosing the right color schemes and mastering some lettering techniques that make your plaque stand out. With a bit of creativity and patience, you’ll craft a piece that truly reflects your style.
Start by selecting your color scheme. Think about the existing colors of your home and garden, aiming for a palette that complements or contrasts beautifully. Soft pastels can create a gentle, welcoming vibe, while bold, vibrant hues make a statement and attract attention. If you’re unsure, stick to two or three colors—perhaps a neutral background with one or two accent shades. This balance keeps things visually appealing without overwhelming the eye. Once you’ve decided on your colors, gather your paints, brushes, and a sturdy surface — like a wooden board or slate.
Choose a harmonious or contrasting color palette that enhances your home’s charm and keeps your welcome plaque visually appealing.
Next, focus on your lettering techniques. Your message should be clear and legible, so choose a font style that fits your home’s personality. Hand lettering can add a charming, personal touch, especially if you practice first on paper. Use a pencil to lightly sketch out your words, ensuring proper spacing and alignment. When you’re ready, carefully trace over your sketch with a fine brush or a paint pen. For added flair, incorporate decorative elements like swirls, flowers, or borders around the text, but don’t overdo it—simplicity often has the most impact. Experiment with different lettering styles, such as cursive, block letters, or a mix, to find what suits your taste. Additionally, understanding biodiversity can inspire you to include natural motifs like leaves or insects that enhance your design. Including natural motifs not only beautifies the plaque but also connects it to the environment, making it more meaningful. Incorporating nature-inspired elements can further personalize your design and make it more harmonious with its surroundings.
Once your design is complete, give the plaque ample time to dry. Protect your work by applying a clear sealant, especially if it’s going outside. This will keep your colors vibrant and prevent chipping over time. Hang your finished plaque in a prominent spot at your entryway, ensuring it’s securely mounted and visible to guests. The effort you put into choosing the right color schemes and perfecting your lettering techniques pays off in creating a welcoming focal point that’s both functional and heartfelt. Every time someone approaches your home, they’ll be greeted by the warm personality you’ve infused into this handcrafted piece.
As an affiliate, we earn on qualifying purchases.
Frequently Asked Questions
What Type of Paint Is Best for Outdoor Plaques?
You should use outdoor acrylic paint for your welcome plaque. It’s durable and resists weather, ensuring your color choices stay vibrant. Consider your design themes and select colors that complement your entryway. Opt for high-quality, waterproof paints to prevent fading or peeling over time. This way, your plaque remains inviting and attractive, no matter the weather, and your design themes come through clearly and beautifully.
How Long Does the Paint Typically Last Outdoors?
Think of your painted welcome plaque as a loyal guardian standing watch. Typically, with proper weather resistance coatings, the paint lasts around 3 to 5 years outdoors. Its color longevity depends on exposure to sun and rain, but high-quality outdoor paints can keep vibrant hues alive longer. Regular touch-ups can extend this lifespan, ensuring your entryway remains inviting and colorful, just like a welcoming beacon that endures through seasons.
Can I Use Stencils for Lettering?
Yes, you can definitely use stencils for lettering on your welcome plaque. Choose a stencil design that complements your decorative border for a cohesive look. Secure the stencil firmly, and use a sponge or brush to carefully apply paint, ensuring clean edges. Stencils make lettering neater and more professional-looking, especially if you’re aiming for a consistent style across your decorative border and overall design.
What Tools Are Easiest for Beginners?
Think of beginner tools as your trusted allies. A foam brush or sponge roller simplifies applying paint smoothly, while painter’s tape helps with clean lines and design ideas. When choosing color schemes, opt for easy-to-work-with shades like soft neutrals or bold contrasts. These tools make your project manageable, giving you confidence to experiment and create a welcoming entryway that reflects your style effortlessly.
How Should I Clean the Plaque Before Painting?
To clean your plaque before painting, start with gentle cleaning techniques like wiping it down with a damp cloth to remove dust and dirt. Use mild soap and water for stubborn grime, then rinse thoroughly. Make certain the surface is completely dry before surface preparation. Proper cleaning ensures the paint adheres well, resulting in a smooth, durable finish that looks great and lasts longer.
Conclusion
Now that you know how to create your own painted welcome plaque, you can add a personal touch to your entryway. It’s a fun project that not only enhances your home’s curb appeal but also makes visitors feel warmly received. Did you know that a welcoming entry can boost your home’s value by up to 10%? So, go ahead, get creative, and make a beautiful, inviting sign that reflects your style and hospitality!