
To make a DIY pom-pom garland, start by gathering colorful yarn, scissors, a cardboard or pom-pom maker, and string or twine. Wrap yarn around the cardboard to create fluffy pom-poms, then trim and fluff them for perfect shape. Cut a length of string and attach each pom-pom securely using glue or threading through the center. Space them evenly along the string and hang your garland on a wall or mantel. If you keep going, you’ll discover tips to perfect your design and display.
Key Takeaways
- Gather colorful yarn, scissors, and a pom-pom maker or cardboard to create fluffy pom-poms.
- Wrap yarn around cardboard or use a pom-pom maker, then tie and trim to shape each pom-pom.
- Attach pom-poms to a sturdy string using hot glue or knotting, ensuring even spacing and secure attachment.
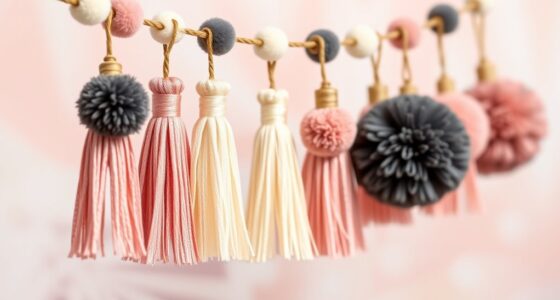
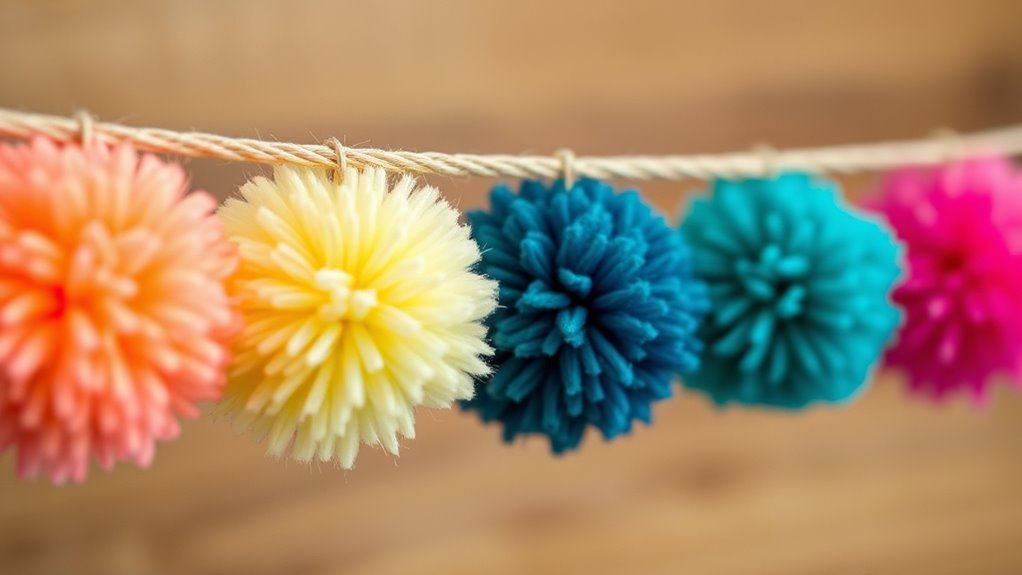
- Arrange the pom-poms along the string for a balanced, visually appealing garland.
- Hang the finished garland on a wall, mantel, or doorway using hooks, nails, or adhesive strips for display.
Gather Your Materials and Tools

Before you begin making your DIY pom-pom garland, gather all the materials and tools you’ll need. You’ll want plenty of yarn in your chosen colors, a pair of sharp scissors, and a sturdy piece of cardboard or a pom-pom maker. Having a measuring tape or ruler nearby helps keep your pom-poms uniform. Consider using a needle or a crochet hook if you plan to string the pom-poms together. Keep a pen and paper handy for any notes or sketches. Make sure your workspace is clear and well-lit, so you can work comfortably. Additionally, familiarizing yourself with safety precautions when handling scissors and hot tools ensures a safe crafting environment. Once everything is within reach, you’ll be ready to start creating your vibrant, fluffy garland. Preparing your materials in advance guarantees a smooth, enjoyable crafting process. Engaging in creative activities like this can also promote mindfulness and presence, much like the way skincare routines foster self-care and relaxation. Incorporating proper storage solutions for your crafting supplies can help keep your workspace organized and ready for your next project. Being aware of material safety can help prevent accidents and ensure a safe crafting experience.
Choose Your Color Scheme and Prepare Yarn

Selecting your color scheme is an exciting step that sets the tone for your garland. Think about the space where you’ll hang it and choose colors that complement your decor. You might go for a vibrant mix of bright hues or opt for a soft, pastel palette for a more subtle look. Once you’ve decided, gather yarn in those shades. Prepare your yarn by cutting it into manageable lengths if needed or organizing it by color for easy access. Consider how many pom-poms you’ll want and buy extra yarn to ensure you have enough. Make sure your yarn is thick enough to create full, fluffy pom-poms but not so bulky that it’s difficult to work with. This planning ensures a cohesive and beautiful finished garland. Additionally, selecting yarn that aligns with best laundry detergents can help keep your colors vibrant and fresh over time. Being mindful of fiber content can also impact the durability and appearance of your pom-poms.
Make Individual Pom-Poms Using a Cardboard or Pom-Pom Maker
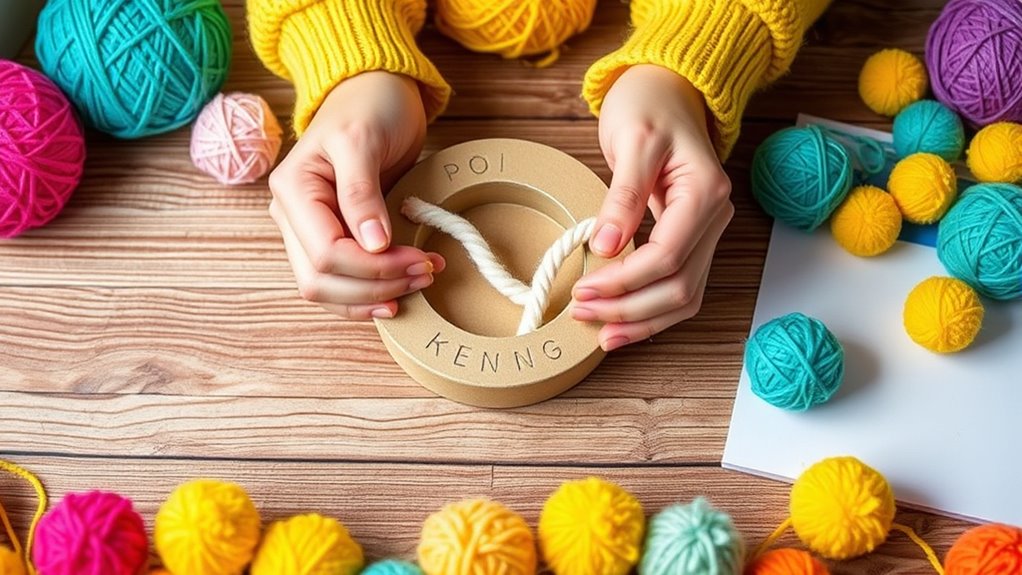
Once you’ve gathered your yarn and decided on your color scheme, it’s time to start making your pom-poms. If you’re using cardboard, cut two identical circles about 3-4 inches in diameter. For a pom-pom maker, open the tool. Wrap the yarn around the cardboard or maker, covering it generously—about 100 wraps for a full, fluffy pom-pom. If using cardboard, slide the yarn off carefully, then tie a tight knot around the center. For a pom-pom maker, close the tool and cut along the groove. Remove the cardboard or open the maker, then trim the loops evenly all around. Fluff out the yarn, trim any uneven ends, and your pom-pom is ready to add to your garland.
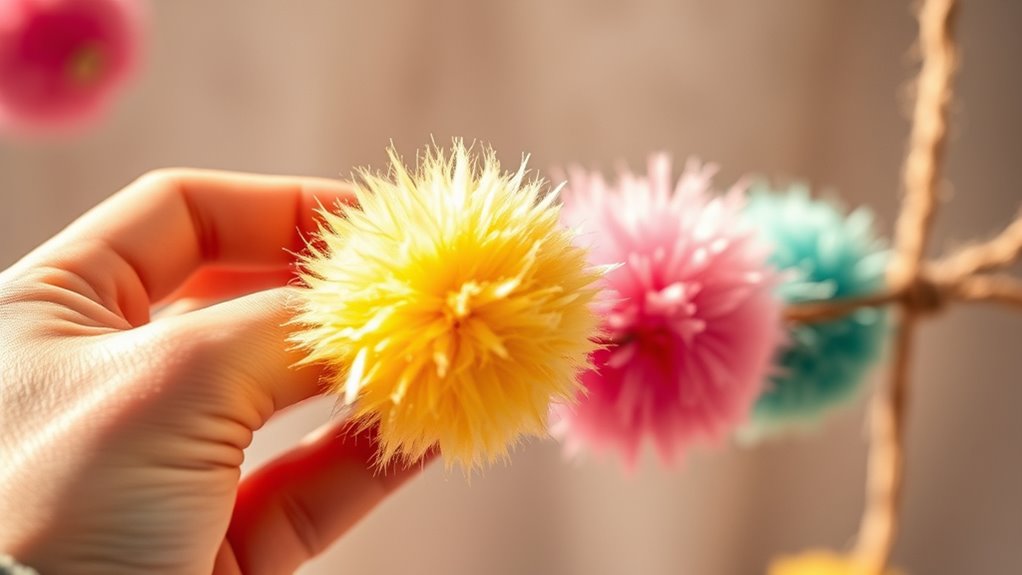
Trim and Fluff Your Pom-Poms for a Perfect Shape

To achieve a polished, rounded look for your pom-poms, start by trimming any uneven or long strands with sharp scissors. Gently trim around the pom-pom, shaping it into a perfect sphere. Be careful not to cut too much at once; small, gradual snips work best. After trimming, hold the pom-pom between your fingers and fluff it by gently pulling apart the fibers. This process helps to even out the shape and create a soft, full appearance. If any areas look sparse, add a tiny trim or fluff with your fingers. Keep checking the shape as you go, ensuring the pom-pom remains rounded and uniform. Proper trimming and fluffing give your pom-poms a professional, finished look perfect for your garland. Additionally, you can enhance the fullness and durability of your pom-poms by using high-quality materials, which ensures a more consistent and attractive final result. Remember that fiber type can also influence the overall look and feel of your pom-poms, making it worth choosing the best options for your craft. For optimal results, consider proper storage to maintain the shape and quality of your pom-poms until you’re ready to use them. Moreover, keeping your materials in a dry environment helps prevent the fibers from becoming misshapen or damaged over time. Understanding the materials and techniques involved in crafting can significantly improve your finished product.
Cut and Prepare the Length of String or Twine

Start by selecting a sturdy, smooth string or twine that won’t fray easily. Measure the length you want for your garland, adding a few extra inches for tying knots. Use sharp scissors to cut precisely, ensuring your garland hangs evenly and looks polished. For a polished look, consider choosing a string that is compatible with secure payment methods to prevent fraying during handling.
Choose Suitable Material
Choosing the right material for your garland is essential to guarantee it looks attractive and holds up well. You want something sturdy enough to support the weight of the pom-poms without sagging or breaking. Twine, jute, or strong craft thread are excellent options because they’re durable and add a rustic charm. If you prefer a sleek, modern look, thin nylon or satin cord works beautifully and adds a touch of shine. Consider the environment where you’ll hang the garland—outdoor setups may require weather-resistant materials. Make sure the material is smooth enough to prevent damage to your yarn or pom-poms. Selecting a durable and aesthetically pleasing material ensures your creation stays intact, looks neat, and lasts longer. Additionally, choosing materials resistant to weather conditions can help extend the longevity of your garland when used outdoors. Being aware of material sustainability can also be beneficial if eco-friendliness is a priority for your project. Incorporating sound design techniques like layering or manipulation can help you visualize how different materials will perform in various environments, ensuring your garland remains beautiful over time.
Measure and Cut Precisely
Before you begin attaching your pom-poms, it’s important to measure and cut your string or twine accurately. Start by determining the length needed for your garland, considering where you want to hang it. Use a ruler or measuring tape to mark the desired length on the string. Cut the string cleanly with scissors, ensuring there are no frayed edges. Keep a little extra length in case you want to tie knots or adjust the placement later. Picture the string stretched out, ready to hold fluffy pom-poms evenly spaced along its length.
- Visualize a long piece of twine lying flat on a table.
- Imagine marking precise points with a fabric chalk or pen.
- See yourself cutting smoothly through the string, leaving neat edges.
- Picture the prepared string, perfectly sized, waiting for your pom-poms.
Attach Pom-Poms to the String or Twine
To attach your pom-poms to the string or twine, simply slide a small piece of hot glue or use a strong fabric adhesive inside each pom-pom’s opening. Carefully insert the string or twine into the opening, making sure it goes through the center. Hold the pom-pom in place for a few seconds to allow the glue to bond securely. Repeat this process for each pom-pom, spacing them evenly along the length of the string. If you want to guarantee extra hold, add a tiny dab of glue on the outside of the pom-pom where it contacts the string. Be cautious not to use too much glue, as it can seep out and create a mess. Once all are attached, give the garland a gentle tug to check stability. For added durability, consider securing the knots to ensure your garland stays intact over time. Incorporating proper adhesive techniques can further enhance the longevity of your garland. Additionally, choosing the right type of adhesive can prevent damage to delicate or fuzzy pom-poms.
Arrange and Space Your Pom-Poms Along the Garland
Once your pom-poms are securely attached to the string, it’s time to arrange and space them evenly along the garland. You want a balanced look, so take a moment to position each pom-pom with care. Space them out to prevent crowding, but avoid leaving too much gap, which can make the garland look uneven. Adjust the positioning so that each pom-pom is centered along the string. Imagine a playful, colorful line of fluffy balls dancing across your space. To help visualize, consider these points:
- Visualize a rhythm, like musical notes along a staff
- Ensure each pom-pom is roughly the same distance apart
- Spread larger pom-poms evenly among smaller ones for variety
- Keep the line straight or gently curved, depending on your style
This step ensures a neat, attractive garland ready for hanging.
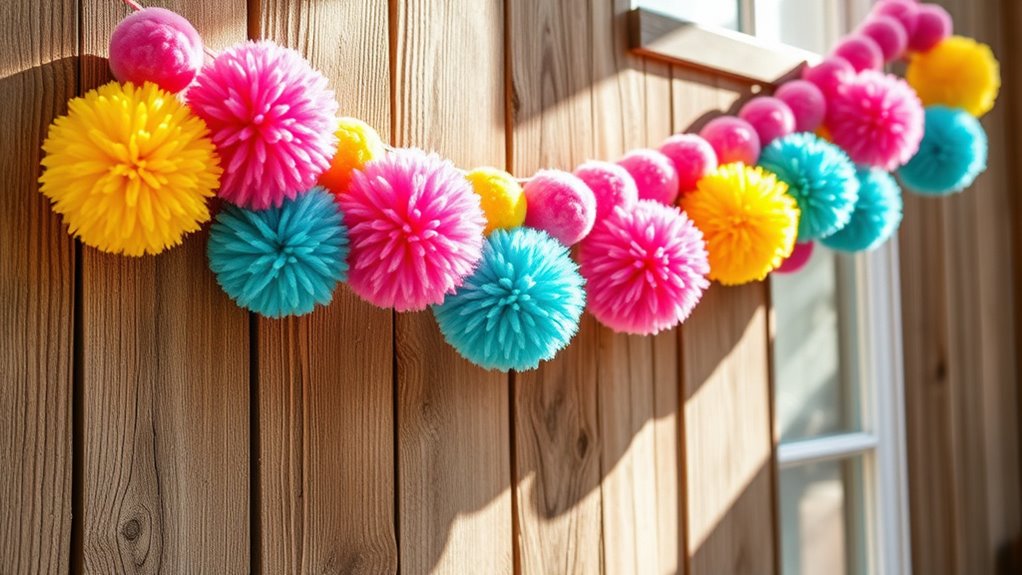
Hang and Display Your DIY Pom-Pom Garland
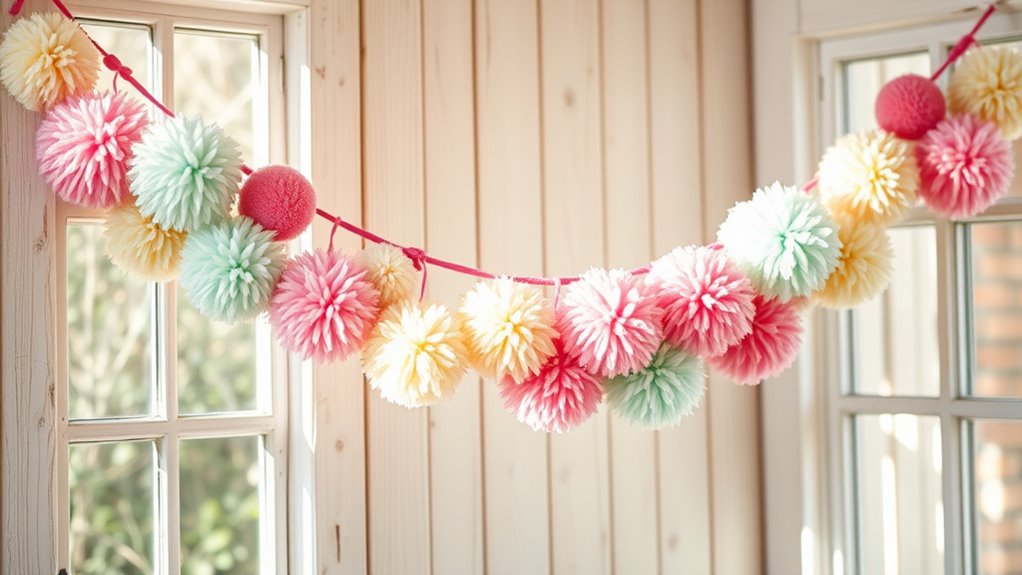
When you’re ready to display your pom-pom garland, choose a sturdy spot where it can be appreciated. Use hooks, nails, or adhesive strips to hang the ends securely. Make sure your surface can support the weight of the garland without sagging. To ensure an even look, gently adjust the spacing between the pom-poms once hung. Consider hanging it across a mantel, doorway, or wall for maximum impact. Keep in mind the surrounding decor to complement your garland. Using the right hanging method prevents damage and keeps your garland looking neat. Below is a quick reference for hanging options:
| Method | Best For |
|---|---|
| Command hooks | Temporary, no damage |
| Nails or tacks | Permanent, sturdy hold |
| Adhesive strips | Light-weight, easy removal |
| Clothespins or clips | Versatile, adjustable |
Frequently Asked Questions
Can I Use Recycled or Leftover Yarn for My Pom-Poms?
Absolutely, you can definitely use recycled or leftover yarn for your pom-poms. It’s a great way to repurpose materials and save money. Just check that the yarn is clean and in good condition, free of tangles or damage. Thinner or fuzzy yarn might make smaller, softer pom-poms, but overall, using what you have on hand works perfectly. Your garland will look unique and eco-friendly!
What’S the Best Way to Store Unused Pom-Poms?
Think of your unused pom-poms as treasures waiting to be rediscovered. To keep them in tip-top shape, store them in a breathable container like a fabric bag or a cardboard box with tissue paper. Avoid plastic bags, which can trap moisture and cause mold. Keep them in a cool, dry place away from direct sunlight to maintain their color and fluffiness, ensuring they’re ready to brighten any future project.
How Long Should the String or Twine Be for Different Spaces?
For different spaces, you should tailor your garland length accordingly. Measure the area where you want to hang it, leaving a bit of extra twine for tying or draping. For small spaces, 3-5 feet usually suffices. For larger areas, like a room or outdoor setting, consider 6-10 feet or more. Always add a few extra inches to make certain you have enough length for secure knots or draping.
Can I Make Themed or Patterned Garlands With Different Colors?
Interestingly, mixing colors in your garland can create stunning themed or patterned designs. You can choose specific color combinations to match your event or room decor, arranging pom-poms in a sequence or pattern. By selecting different shades and placing them thoughtfully, you add visual interest and personalization. So, yes, your garland can be both colorful and themed—just plan your color palette and pattern before attaching the pom-poms for the best effect.
How Do I Prevent Pom-Poms From Shedding or Fraying Over Time?
To prevent pom-poms from shedding or fraying, you should trim loose fibers regularly and use a fabric stiffener or glue on the edges. When making your pom-poms, make certain you cut and tie tightly, sealing the fibers. Store your garland carefully, avoiding moisture and rough handling. These steps will keep your pom-poms looking neat and intact longer, ensuring your decoration stays vibrant and charming.
Conclusion
Don’t worry if your garland isn’t perfect at first—you’ll improve with practice. Remember, the charm of a DIY pom-pom garland is its handmade touch, so even slightly uneven pom-poms add character. Once you’ve made one, you’ll see how easy and fun it is to customize for any occasion. So, give it a try—your decorated space will thank you, and you’ll enjoy creating something unique and festive yourself!