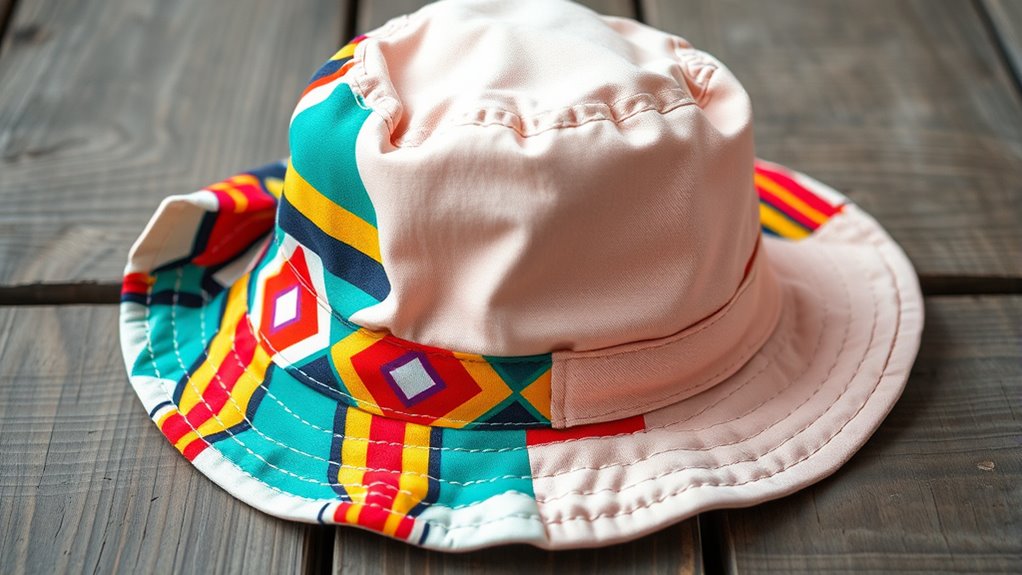

To sew a reversible bucket hat, start by choosing two lightweight, durable fabrics with contrasting colors or patterns. Sew the crown and brim pieces with precise seams, using zigzag stitches to prevent fraying, and press seams flat. Sew the fabrics right sides together, leaving an opening to turn it inside out. After turning, topstitch for a polished finish and attach a lining or inner band for a clean look. For step-by-step guidance, keep exploring the details below.
Key Takeaways
- Use contrasting, lightweight fabrics like cotton or linen, sewing right sides together and leaving an opening to turn the hat inside out.
- Sew precise, reinforced seams with zigzag or serger stitches, pressing seams open for a smooth finish.
- Turn the hat inside out, press seams flat, then topstitch around edges for a polished, durable reversible design.
- Attach the lining or inner band with hidden finishes like understitching to ensure a neat interior.
- Carefully align fabrics and seams, press frequently, and reinforce all edges for a professional, long-lasting reversible bucket hat.

A reversible bucket hat is a versatile accessory that adds both style and function to your wardrobe. When you decide to sew one yourself, choosing the right fabric choices is essential. You want fabrics that are lightweight yet durable, so your hat feels comfortable and holds its shape. Cotton, canvas, or linen are excellent options because they breathe well and are easy to work with. For the reversible aspect, pick two complementary fabrics with contrasting colors or patterns, so each side offers a distinct look. Make sure they’re of similar weight and texture to guarantee the hat feels balanced and looks polished when flipped inside out.
Next, focus on the sewing techniques that will make your hat sturdy and professional-looking. Start by sewing precise seams to prevent puckering, especially around curved edges like the brim. Using a zigzag stitch or a serger helps prevent fraying and adds strength to the seams. When attaching the brim, stay consistent with seam allowances, and consider topstitching around the edge for a clean finish and extra stability. When sewing the crown and the brim, take your time to align the fabrics carefully, especially since you’ll be flipping the hat inside out. Pressing seams open as you sew improves the overall finish and makes turning the hat easier. Incorporating proper seam finishes can help extend the life of your hat and keep it looking neat over time.
For the reversible feature, it’s essential to sew the two fabric pieces together with right sides facing each other, leaving an opening to turn the hat right side out. After turning it, press the seams flat and topstitch around the edges to secure the layers and give the hat a polished look. When attaching the lining or inner band, use sewing techniques that hide raw edges, such as understitching or sewing bias tape, which will keep the inside neat and comfortable against your head.

McCall's M8497A Children's, Teens' and Adults' Bucket Hat Sewing Pattern Packet, Design Code M8497, All Sizes
- Includes pattern pieces and instructions: Complete sewing kit with guides
- All sizes included: Sizes from 9" to 24" in one envelope
- Family-friendly design: Easy lined bucket hat with brim options
As an affiliate, we earn on qualifying purchases.
As an affiliate, we earn on qualifying purchases.
Frequently Asked Questions
What Type of Fabric Is Best for a Reversible Bucket Hat?
You should choose fabric that balances durability and colorfast properties for a reversible bucket hat. Cotton or canvas fabrics are excellent options because they’re sturdy and hold up well over time. Look for colorfast fabrics to guarantee the colors stay vibrant after washing. Avoid lightweight or flimsy materials, as they won’t provide the durability needed for a reversible hat. Opt for high-quality, tightly woven fabrics to make your hat last longer.
How Do I Prevent the Hat From Losing Its Shape?
A hat losing its shape is like a balloon deflating; to prevent this, you should focus on fabric reinforcement and maintaining hat structure. Use interfacing or light fusible fleece inside the brim and crown, and choose sturdy yet flexible fabrics. Sew with precision and avoid over-stretching the fabric. Regularly check your stitches, and store the hat properly to help it keep its shape for longer.
Can I Customize the Size for a Perfect Fit?
Yes, you can customize the size for a perfect fit by making size adjustments during your sewing process. Measure your head carefully and add or subtract seam allowances as needed. To guarantee a snug or relaxed fit, modify the circumference or height of the crown accordingly. This way, you create a hat that fits comfortably and looks great, tailored specifically to your head shape.
Are There Eco-Friendly Materials Suitable for Sewing?
Think of your project as planting a seed of change; eco-friendly materials like recycled fabrics and organic textiles are your nurturing waters. Yes, you can find these sustainable options that are perfect for sewing. They breathe new life into your creation, making it not just stylish but a tribute to caring for the planet. Embrace these materials, and your bucket hat will carry a story of love and responsibility.
How Do I Maintain and Clean a Reversible Bucket Hat?
To keep your reversible bucket hat in great shape, store it properly in a cool, dry place, avoiding crushing it under other items. For stain removal, gently spot clean with mild detergent and cold water, then air dry. Avoid machine washing or harsh chemicals, as they can damage the eco-friendly fabrics. Regularly inspect your hat and handle it carefully to maintain its vibrant colors and reversible quality.
Conclusion
Now that you’ve sewn your reversible bucket hat, you’ve created a versatile accessory just like a chameleon changes colors. It’s perfect for any outfit and mood, offering both style and function. Wearing it, you’ll feel confident knowing you crafted something unique and practical. Keep experimenting with fabrics and patterns—each hat becomes a little adventure. So, go ahead and enjoy your new handmade hat, like a treasure tucked safely in your wardrobe, ready to elevate your look any day.