Layer lines can be frustrating, but the good news is that several fixes work well. Start by perfectly leveling your bed and setting the right first layer height for solid adhesion. Use a smaller layer height and tweak your print speed, temperature, and flow rate for smoother layers. Upgrading hardware or applying chemical smoothing can make a big difference. Keep watching for more tips to achieve flawless, layer-line-free prints.
Key Takeaways
- Properly level your print bed and adjust Z-offset for optimal first layer adhesion.
- Use smaller layer heights and slower print speeds to minimize visible layer lines.
- Ensure consistent filament quality and calibrate extrusion flow for smooth, even layers.
- Post-process with sanding, filling, or chemical smoothing to eliminate surface imperfections.
- Regularly maintain and upgrade hardware components like extruders and heated beds for better print quality.
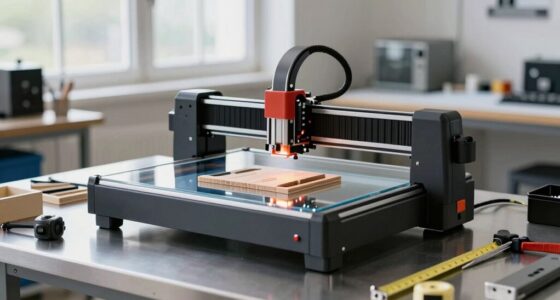
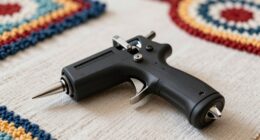
3D printer bed leveling tool
As an affiliate, we earn on qualifying purchases.
As an affiliate, we earn on qualifying purchases.
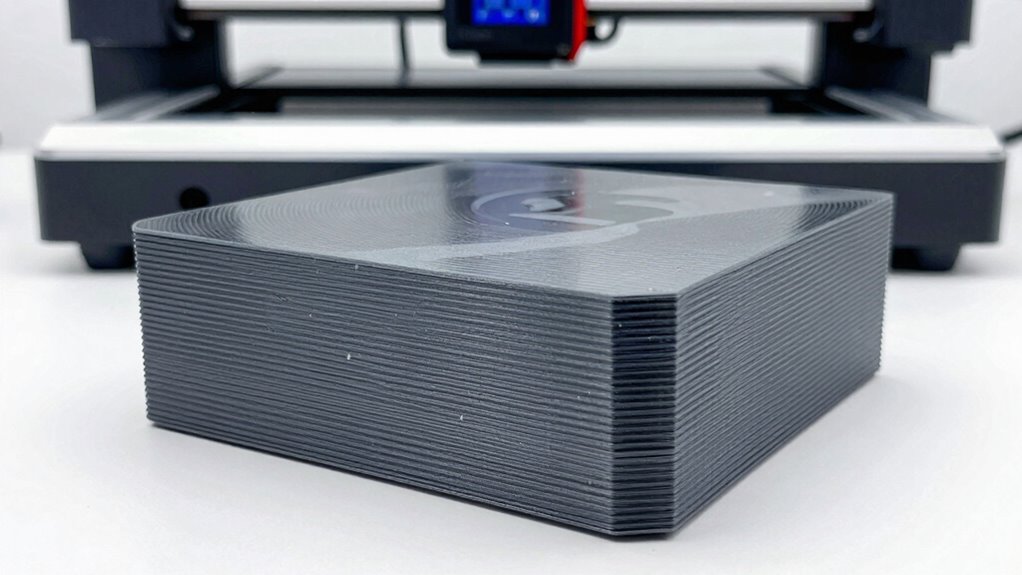
Why Do Layer Lines Appear and How They Impact Your Prints
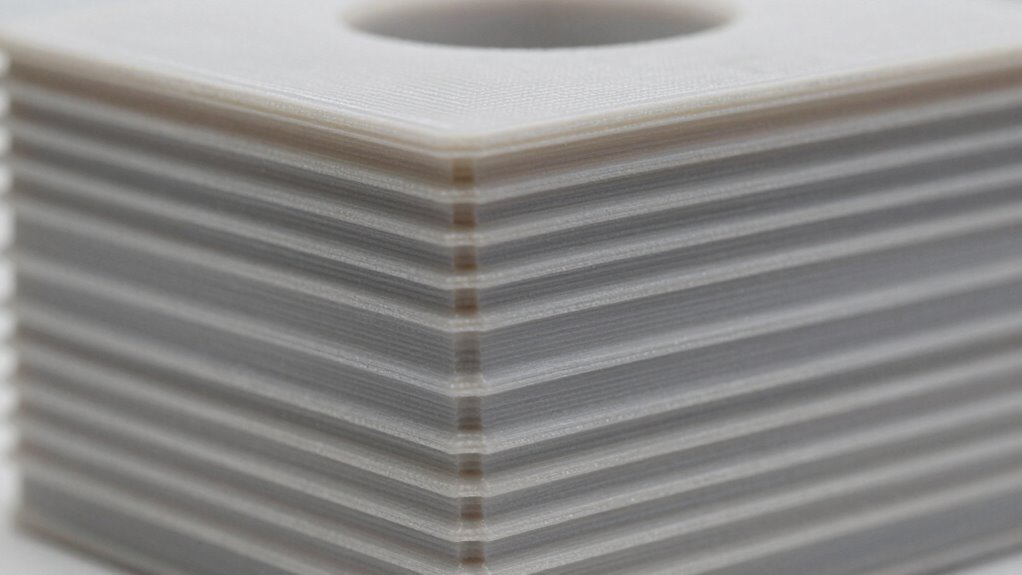
Layer lines appear because 3D printers build objects layer by layer, leaving visible seams where each pass ends. Poor layer adhesion causes these lines to become more noticeable, as layers don’t stick together well, creating gaps or uneven surfaces. The quality of filament plays a pivotal role; low-quality filament often has inconsistent diameter, impurities, or moisture, which can lead to rougher layers and more pronounced lines. When filament quality is high, it flows smoothly and adheres better, resulting in cleaner, more seamless surfaces. Additionally, adjusting print settings such as temperature and print speed can significantly improve layer adhesion and surface finish, leading to fewer visible lines. Ensuring proper print calibration can also reduce the appearance of layer lines and improve overall quality. Furthermore, using proper print environment conditions, such as stable temperature and minimal drafts, can help achieve better adhesion and surface quality. These visible layer lines can affect your print’s appearance and strength. Understanding how layer adhesion and filament quality influence these seams helps you identify the root cause and work toward smoother, more polished results. For example, paying attention to filament storage can prevent moisture absorption that contributes to rougher layers. Additionally, implementing advanced print techniques such as printing at higher temperatures or with different extrusion speeds can further reduce visible lines.
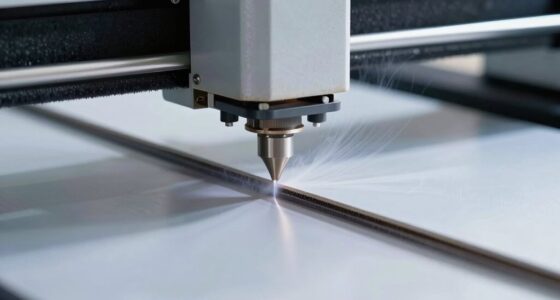
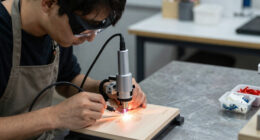
automatic bed leveling sensor for 3D printer
As an affiliate, we earn on qualifying purchases.
As an affiliate, we earn on qualifying purchases.
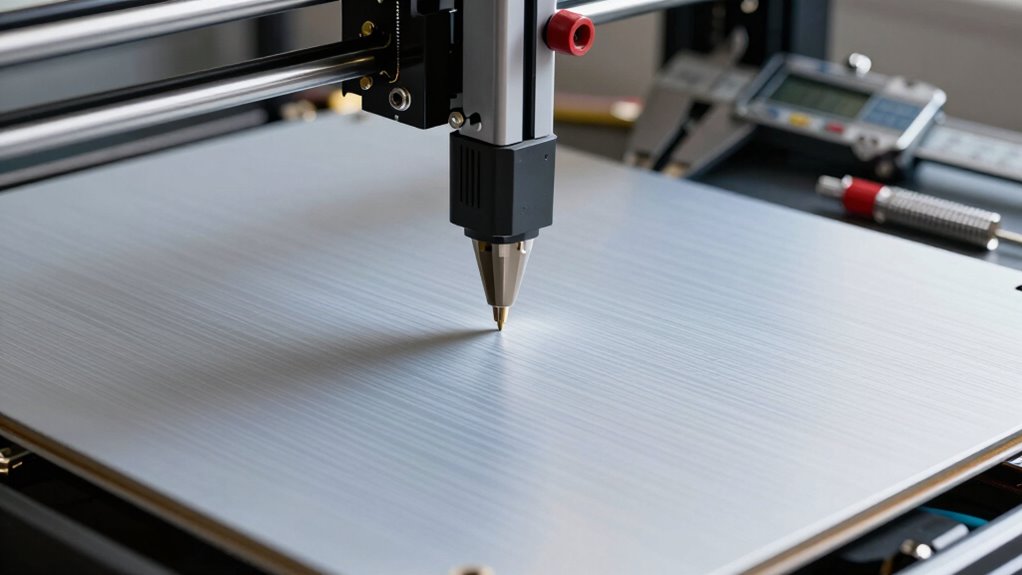
How to Level Your Bed and Set the First Layer for Smooth Results

Start by checking your bed levelness to make sure it’s even across the entire surface. Next, adjust the Z-offset so the nozzle is just the right distance from the bed for a smooth first layer. Using calibration tools can help you fine-tune these settings for consistent, high-quality prints. Incorporating smart automation features can also assist in maintaining optimal print conditions and troubleshooting issues more efficiently.
Check Bed Levelness
Have you ever struggled with uneven first layers causing poor print quality? If so, checking bed levelness is essential. Start by ensuring your print surface is clean and free of debris, as this impacts bed adhesion. Use a leveling tool or paper to verify that the bed is evenly spaced from the nozzle across all points. Adjust the bed screws gradually, making small turns and rechecking each corner. A properly leveled bed guarantees consistent contact between the print surface and filament, leading to better bed adhesion. This helps prevent issues like warping or layer shifting. Take your time to confirm the bed is level before starting a print. A well-leveled bed sets a solid foundation for smooth, high-quality prints with minimal layer lines.
Adjust Z-Offset Properly
Once your bed is leveled, the next step is to adjust the Z-offset to ensure the nozzle is the right distance from the print surface. Proper z offset calibration is essential for a smooth first layer and minimal layer lines. To do this, home your printer and move the nozzle close to the bed, but not touching. Adjust the Z-offset setting until you see a slight squish of filament, indicating good adhesion without crushing the layer. Keep in mind that filament diameter affects this process—thicker filament may require a slightly larger offset. Fine-tuning the Z-offset prevents under- or over-extrusion, creating a uniform first layer and reducing layer lines. Regularly check and calibrate your Z-offset for consistent, high-quality prints.
Use Calibration Tools
Using calibration tools is essential for ensuring your bed is level and your first layer sets properly. They help you achieve consistent adhesion and smooth layer lines. Here’s how to maximize their effectiveness:
- Start with precise measurements to identify uneven spots.
- Use calibration tools to make micro-adjustments, ensuring the bed is perfectly level.
- Regularly check the bed alignment, especially after filament changes, since filament quality impacts adhesion.
- Maintain your calibration tools and keep them clean for accurate readings.
- Remember that proper bed leveling is fundamental to consistent print quality and reducing layer line issues.
- Consistent calibration can also prevent print failures, saving time and filament.
- Additionally, monitoring air quality around your workspace can reduce dust and debris that might interfere with your printer’s operation.
- Ensuring good environmental conditions can further improve print results and help maintain calibration accuracy.
- Incorporating proper workspace organization can help keep calibration tools and printer components in optimal condition.
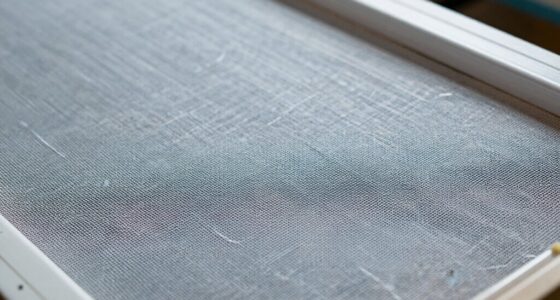
chemical smoothing for 3D prints
As an affiliate, we earn on qualifying purchases.
As an affiliate, we earn on qualifying purchases.
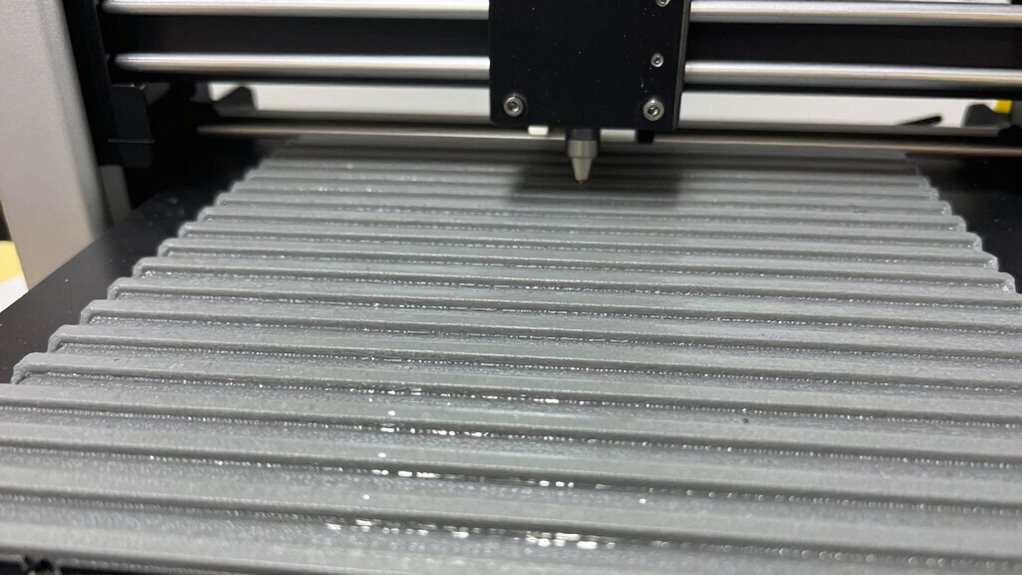
Adjust Layer Height and Print Speed for Better Finish
Adjusting your layer height and print speed can considerably improve your print’s finish. Using ideal layer height settings guarantees better surface quality, while adjusting the speed helps control detail and layer bonding. Finding the right balance between these factors is key to achieving a smooth, professional-looking result. For the best results, consider how power sources like portable inverter generators can provide reliable energy during long or remote printing sessions. Additionally, understanding print bed leveling can prevent layer inconsistencies and improve adhesion, leading to a more uniform finish. Properly calibrating your printer ensures consistent layers and reduces the need for post-processing. Incorporating smart monitoring tools can also help you track and optimize printing conditions in real-time, further enhancing the quality of your prints. Regular maintenance of your 3D printer is crucial to keep components in optimal condition and prevent print defects.
Optimal Layer Height Settings
Finding the right layer height is essential for achieving a smooth, professional finish on your 3D prints. To optimize, consider these key points:
- Match your layer height to your nozzle diameter—typically, use 50-75% of the nozzle size for balanced detail and speed.
- Use a smaller layer height for finer details, but expect longer print times.
- Larger layer heights can speed up printing but might reduce surface quality.
- Adjust layer height based on your filament type and overall print quality goals.
Adjusting Print Speed
Enhancing your print quality often involves balancing layer height with print speed, as they directly influence surface smoothness and overall detail. Slowing down your print speed allows for better layer adhesion, which improves layer consistency and reduces visible lines. When you decrease print speed, each layer has more time to cool and settle, resulting in a smoother finish. Conversely, increasing the speed too much can cause vibrations and layer inaccuracies, making lines more noticeable. Find a speed that maintains good layer adhesion without sacrificing efficiency. Experiment with small adjustments to identify the most effective setting for your filament and printer. Remember, careful tuning of print speed helps produce cleaner, more refined layers, minimizing the appearance of layer lines and enhancing overall print quality. Additionally, understanding print speed and layer height can help optimize your settings for better results. Adjusting print parameters, including layer height, based on your specific filament and printer can further improve surface quality and reduce imperfections. Using the right filtration and pump protection can also help maintain consistent flow and prevent issues that contribute to surface defects. Proper calibration of your extruder and bed leveling can further ensure that layer consistency is maintained, leading to a more polished final product.
Balancing Finish Quality
Have you ever wondered how to achieve a smoother, more professional finish on your 3D prints? Balancing finish quality involves tweaking layer height and print speed. Here’s what to take into account:
- Use a smaller layer height to improve layer adhesion and surface smoothness.
- Slow down print speed for better detail and reduced defects.
- Select filament with a consistent diameter and good flow properties to enhance finish quality.
- Adjust print temperature to optimize filament melting, avoiding rough surfaces or stringing.
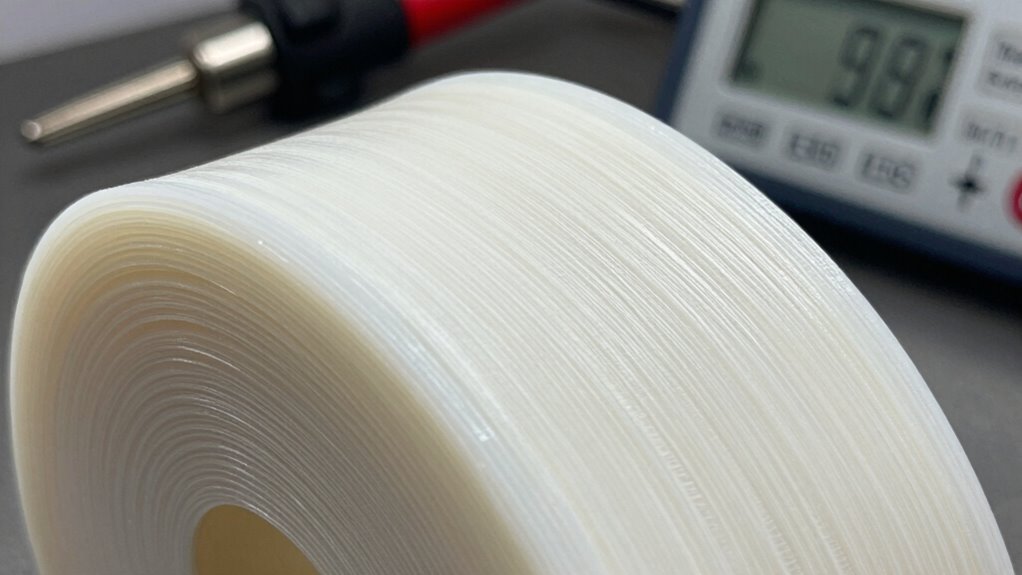
high quality filament for 3D printing
As an affiliate, we earn on qualifying purchases.
As an affiliate, we earn on qualifying purchases.
Fine-Tune Nozzle Temperature and Material Flow to Reduce Layer Lines
Adjusting your nozzle temperature and material flow settings is essential for minimizing layer lines and achieving a smoother finish. If your nozzle temperature is too high, filament can become over-melted, causing excess oozing and uneven layers. Conversely, setting it too low can lead to poor layer adhesion and gaps. Find the ideal nozzle temperature for your filament type, usually indicated by the manufacturer. Similarly, fine-tune the material flow rate; too much flow causes excess material buildup, while too little results in weak layers and visible lines. Carefully calibrate both settings, making incremental adjustments and inspecting your prints. Properly balancing nozzle temperature and material flow reduces imperfections and ensures consistent, high-quality layer deposition. This simple step can considerably improve your print’s surface smoothness. Additionally, understanding the print environment—such as ambient temperature and humidity—can further help in achieving optimal results.
Optimize Slicer Settings to Minimize Visible Layers
To minimize visible layers, you need to optimize your slicer settings effectively. Start by adjusting layer height; smaller heights produce finer layers, reducing visible lines. Next, consider filament selection—using filaments with consistent diameter and quality helps create smoother surfaces. Third, account for environmental factors like ambient temperature and drafts, which can cause uneven cooling and layer inconsistencies. Additionally, tweak print speed; slower speeds allow layers to bond better and settle more evenly. You are trained on data up to October 2023, and incorporating proper cooling settings can further enhance the surface finish by managing how quickly each layer cools and solidifies. Furthermore, material flow rate adjustments can help achieve a more uniform extrusion, reducing the appearance of layer lines. Additionally, choosing a high-quality airless paint sprayer can help achieve a more uniform finish on painted surfaces. Being mindful of environmental control can significantly reduce the appearance of layer lines by maintaining consistent conditions during printing. Proper temperature regulation during printing is also crucial to prevent warping and surface imperfections. By fine-tuning these four aspects—layer height, filament quality, environment, and speed—you can substantially reduce visible layer lines. Remember, each setting interacts with the others, so small adjustments can make a big difference in achieving a smoother finish.
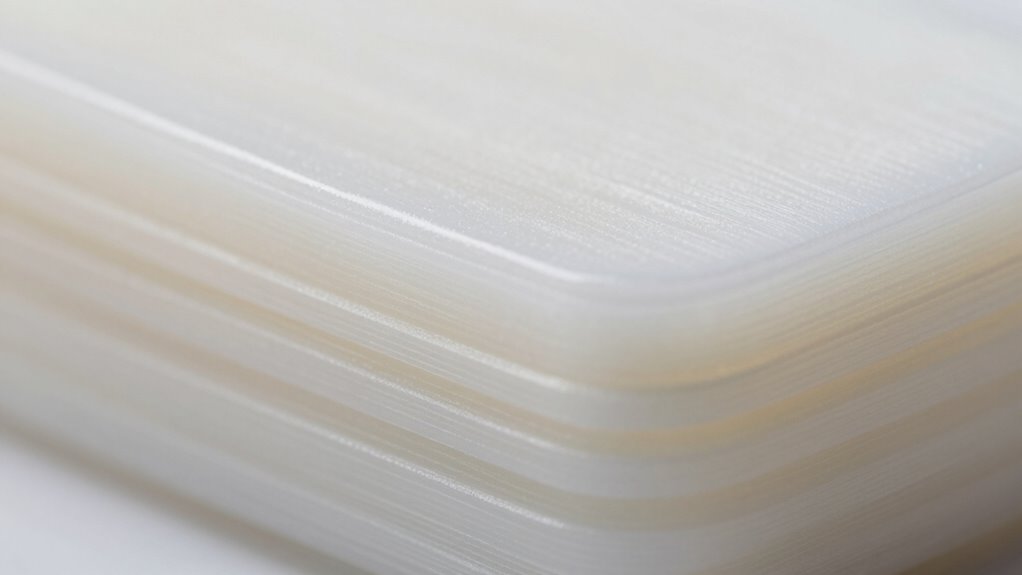
Post-Processing Techniques to Fix Layer Lines After Printing
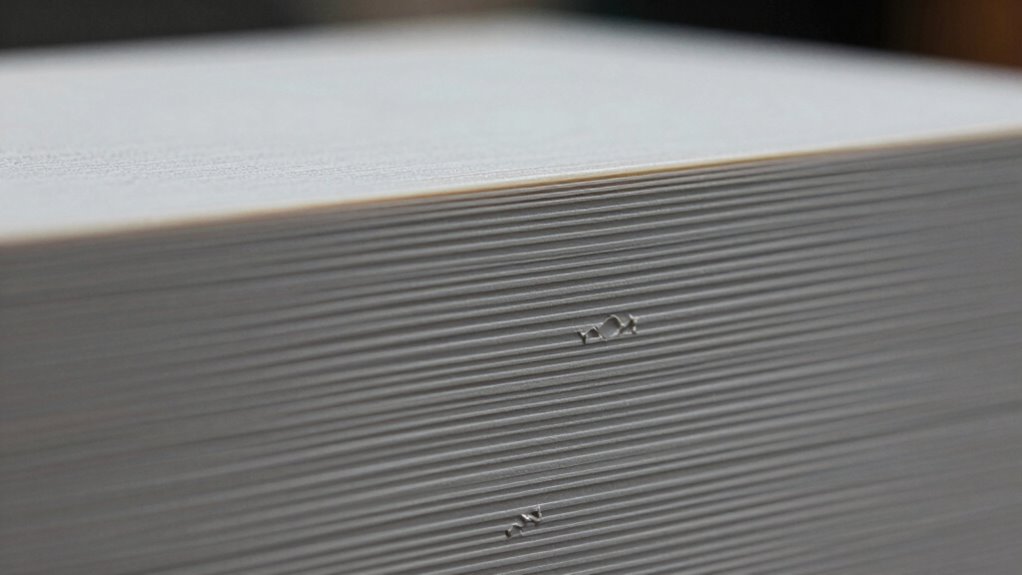
Once your print is complete, you can improve its surface by sanding and smoothing out visible layer lines. Applying filler or primer helps fill gaps and creates a uniform finish before final painting. For a more seamless look, consider post-print heat treatment to relax the material and reduce surface imperfections. Additionally, understanding proper layer line management techniques can help prevent these issues from occurring in future prints.
Sanding and Smoothing Techniques
Sanding and smoothing are essential steps for refining your 3D prints and achieving a professional finish. Proper techniques can reduce visible layer lines and improve overall surface quality. To get the best results:
- Start with coarse grit sandpaper to remove major imperfections.
- Progress to finer grits for a smooth finish, being careful not to damage the print.
- Use water or a lubricant during sanding to improve layer adhesion and prevent heat buildup.
- Always store filament properly, as moisture can cause rough surfaces, making sanding more difficult.
Applying Filler or Primer
Applying filler or primer is an effective way to hide layer lines and create a smooth, uniform surface on your 3D print. This technique enhances layer adhesion by filling in gaps and imperfections, ensuring a more polished finish. When choosing a filler or primer, consider filament compatibility to prevent adverse reactions or weak spots. Use a spray or brush to evenly apply a thin coat, avoiding drips that can worsen surface quality. Once dry, you can sand lightly for extra smoothness or proceed to painting. Filler or primer not only improves appearance but also prepares the surface for additional coatings, making your final print look professional. This simple step considerably boosts the overall quality of your 3D models, especially when layer lines are stubborn.
Post-Print Heat Treatment
Post-print heat treatment is a powerful technique for smoothing out layer lines and improving the surface finish of your 3D prints. It enhances layer adhesion by allowing the material to reflow slightly, reducing visible lines. To succeed, keep these points in mind:
- Check material compatibility: Not all filaments tolerate heat well—ABS, PETG, and certain resins respond best.
- Control temperature carefully: Overheating can cause deformation or warping; use precise settings.
- Gradually increase temperature: Slow heating promotes better layer bonding without damaging the print.
- Ensure even heat distribution: Use an oven or heat chamber for uniform treatment.
Following these steps helps you achieve a smoother surface while maintaining structural integrity, giving your finished product a more professional look.
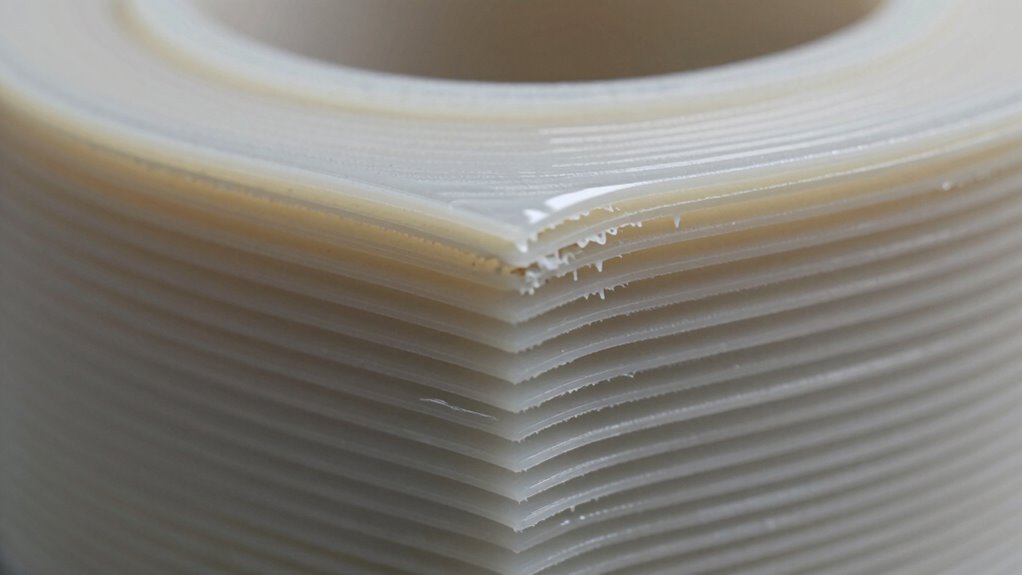
Chemical Smoothing Methods to Reduce Layer Lines (e.g., Acetone or Resin Coats)
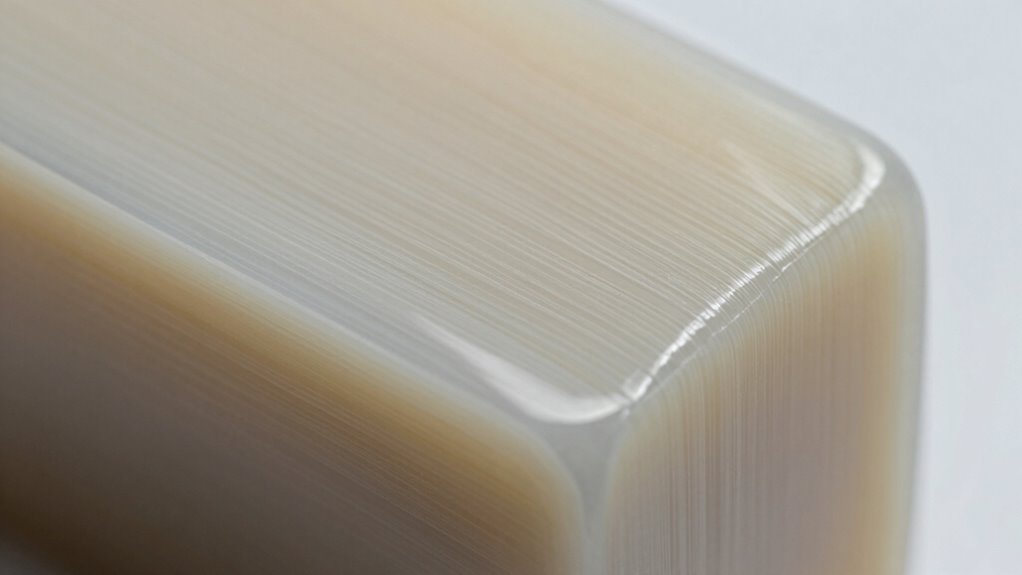
Chemical smoothing methods offer an effective way to reduce layer lines on 3D prints by dissolving or coating the surface. Techniques like chemical smoothing use solvents such as acetone for ABS plastics, which slightly melt the outer layer, creating a smoother finish. Resin coating involves applying a thin layer of resin to fill in gaps and even out surface imperfections. These methods work quickly and can dramatically improve the appearance of your print. However, safety precautions are essential, as chemicals can be hazardous. Work in well-ventilated areas and wear protective gear. While chemical smoothing is effective for certain materials, it’s important to test on small sections first to avoid over-smoothing or damaging your print. Proper application results in a sleek, professional-looking surface free of prominent layer lines.
Upgrade Hardware Components for Consistent Print Quality
Upgrading hardware components can substantially improve the consistency and quality of your 3D prints. Focus on key areas to guarantee better results:
- Filament Selection: Use high-quality filament suited to your printer and project, reducing variability and layer issues.
- Extruder Upgrades: A reliable extruder provides precise extrusion, preventing under- or over-extrusion that causes uneven layer lines.
- Heated Bed: An upgraded heated bed improves adhesion and reduces warping, leading to smoother layers.
- Printer Maintenance: Regularly check and calibrate components like belts, rods, and nozzles to assure consistent performance.
Common Mistakes That Cause Excessive Layer Lines and How to Avoid Them
Many common mistakes during the printing process can lead to excessive layer lines, making your models look rough and less refined. One key mistake is choosing the wrong filament; low-quality or incompatible filament can cause inconsistent extrusion, resulting in visible layer lines. Additionally, neglecting proper print orientation can worsen layer visibility. Printing at a poor angle may cause overhangs or uneven layer bonding, accentuating lines. To avoid this, select high-quality filament suited for your project and experiment with print orientation to find the angle that minimizes visible layers. Proper filament selection guarantees smoother extrusion, while ideal orientation reduces the appearance of layer lines. Being mindful of these factors helps you achieve cleaner, more professional-looking prints.
Tips for Achieving Flawless, Layer-Line-Free 3D Prints
Achieving flawless, layer-line-free 3D prints starts with optimizing your printing settings and techniques. First, guarantee excellent layer adhesion by adjusting your temperature and print speed, which helps layers bond seamlessly. Second, use high-quality filament; filament quality directly impacts surface smoothness and consistency. Third, fine-tune your nozzle height—too high or low causes visible lines, so calibrate precisely. Fourth, enable proper cooling and consider increasing the number of perimeter walls to improve surface finish. By focusing on these key areas, you reduce gaps and irregularities that cause visible layer lines. Remember, consistent filament quality and proper layer adhesion are vital for achieving smooth, flawless prints that look professional and require minimal post-processing.
Frequently Asked Questions
How Does Filament Type Influence Layer Line Visibility?
You’ll notice that filament type greatly influences layer line visibility because filament composition affects how smoothly it extrudes. For example, PLA typically produces cleaner layers, while ABS may show more lines. Adjusting extrusion temperature is essential; too high or low can cause uneven flow. Using the right filament for your printer and dialing in the best extrusion temperature helps minimize layer lines, giving you a smoother, more professional finish.
Can Environmental Factors Affect Layer Line Formation?
Environmental factors markedly impact layer line formation by affecting filament quality and print consistency. You can minimize issues by properly storing filament in airtight containers to prevent moisture absorption and maintaining a stable ambient temperature to avoid warping or uneven extrusion. By controlling these factors, you guarantee smoother prints, reduce visible layer lines, and achieve better surface quality, making your 3D printing experience more predictable and satisfying.
What Role Does Print Orientation Play in Layer Line Appearance?
Print orientation substantially impacts layer line appearance because it influences how the layers are stacked and their visibility. By adjusting your print orientation, you can minimize the appearance of layer lines, especially on visible surfaces. Ensure good print bed adhesion to prevent shifts that worsen lines, and store filament properly to maintain consistent extrusion. These steps help achieve smoother finishes and reduce the prominence of layer lines in your final print.
Are There Specific Nozzle Designs That Reduce Layer Lines?
Think of nozzle designs as the brushstrokes of a painter—certain nozzles can minimize layer lines. You should look for nozzles made from high-quality materials like hardened steel or ruby that promote consistent extrusion patterns. These designs often feature a smoother, more precise flow, reducing imperfections. Switching to such nozzles helps you achieve cleaner surfaces and reduces visible layer lines, turning your prints into true works of art.
How Often Should You Calibrate Your 3D Printer for Optimal Layer Quality?
You should calibrate your 3D printer regularly, ideally once a month, to maintain ideal layer quality. Incorporate calibration into your maintenance routines to prevent issues like uneven layers or stringing. Keep an eye on print quality, and if you notice problems, perform calibration sooner. Consistent calibration ensures your printer stays precise, reducing layer lines and improving overall print finish. Regular maintenance routines help keep your prints smooth and professional.
Conclusion
By understanding and applying these proven fixes, you can significantly reduce or eliminate layer lines. It’s tempting to believe that hardware upgrades alone will solve the issue, but consistent results come from proper calibration and settings. Notably, some experts suggest that a little bit of layer visibility can actually add character to your prints, challenging the notion that perfection is always the goal. Ultimately, patience and fine-tuning lead to the best, smoothest results.