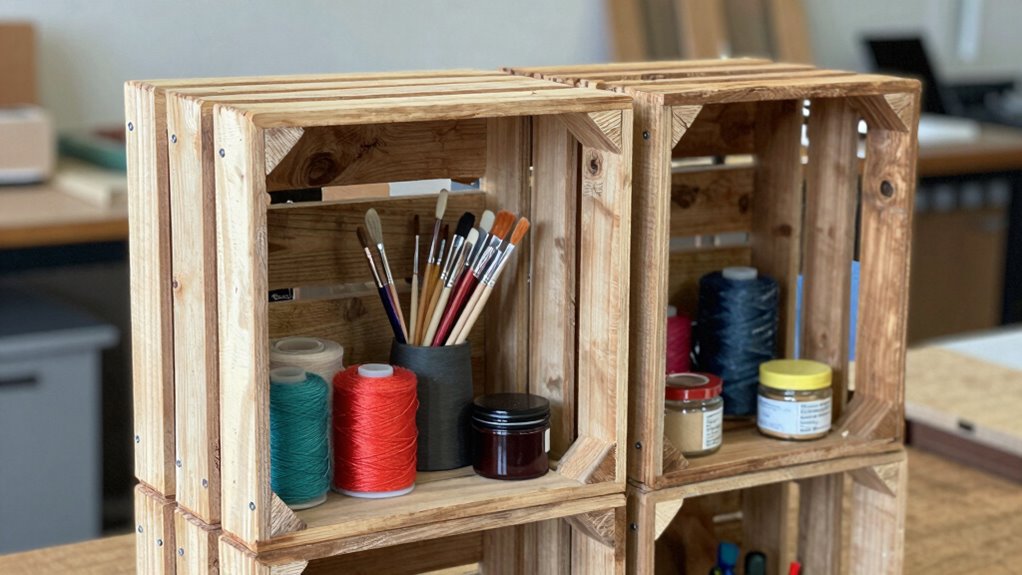

To build a mini crate shelf for craft storage, start by choosing vintage-style crates and lightly sanding them for safety. Decide whether to stack them or wall-mount, then drill pilot holes and secure with screws for stability. Customize with paint, stain, or labels for a vintage look. Attach brackets if wall-mounted or stack and secure for a free-standing unit. With these easy steps, you’ll create a charming and functional craft storage solution that suits your space perfectly. Keep exploring for more tips!
Key Takeaways
- Select small vintage or reclaimed wooden crates, resize if needed, and lightly sand for smooth edges.
- Plan your shelf layout, deciding between stacking crates or mounting them on brackets.
- Secure crates together with screws, drilling pilot holes to avoid splitting.
- Customize with stain, paint, hardware, or labels to enhance vintage aesthetic and organization.
- Arrange on a wall or surface, ensuring stability and easy access for your craft supplies.
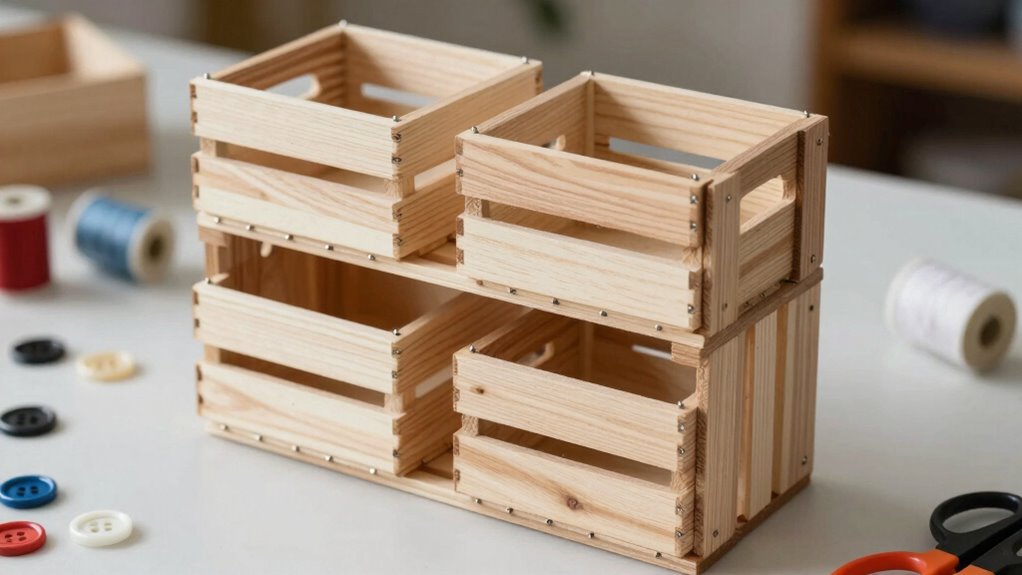
Have you ever thought about creating your own mini crate shelf to organize your space? If you love vintage decor, this project can add a charming, nostalgic touch to your craft area while helping you make the most of limited space. Building a mini crate shelf is a straightforward way to optimize your storage, keeping your supplies tidy and within easy reach. Plus, it’s customizable to fit your specific needs, whether you want more compartments for different craft materials or a unique aesthetic.
Create a vintage-inspired mini crate shelf to organize your craft space with charm and personalized style.
Start by gathering your materials. You’ll need wooden crates, preferably vintage-style with distressed finishes that enhance your decor’s charm. For a sturdy base, choose crates of similar size, or mix sizes for visual interest. You’ll also need screws, a drill, a saw (if you want to resize any crates), sandpaper, and a wood finish or paint if you want to customize the look further. If you’re aiming for a vintage vibe, consider lightly sanding the crates to reveal the natural wood and applying a soft stain or antiquing wax to give them an aged appearance.
Once your materials are ready, plan your layout. Decide whether you want a stacked design, with crates sitting one on top of the other, or a wall-mounted setup for easy access. For a compact, desk-friendly shelf, stacking works well, especially if you secure the crates together using screws through the sides or bottom. If you prefer a wall-mounted style, attach brackets to the crates and secure them to the wall, ensuring they’re level and sturdy. Understanding tools and safety can help ensure a smooth and injury-free project. Additionally, considering proper measurements during planning can help ensure your shelf fits perfectly in your space. Incorporating reclaimed and vintage materials can also enhance the overall aesthetic and support sustainable practices. It’s also helpful to familiarize yourself with DIY assembly techniques to make the process easier and more efficient.
When assembling, drill pilot holes to prevent splitting, especially if you’re working with vintage or reclaimed wood, which can be more fragile. Secure the crates together with screws, making sure they’re tightly fastened for stability. Sand rough edges and corners to prevent splinters and give the piece a polished look. To boost your vintage decor theme, you might add decorative hardware or label the compartments with handwritten tags for a personal touch. Additionally, understanding the importance of biodiversity and conservation can inspire you to incorporate eco-friendly materials or practices into your projects, promoting sustainability.
Finally, load your new mini crate shelf with your craft supplies—threads, beads, paints, or small tools—and enjoy the space optimization it provides. Its compact size makes it perfect for small craft rooms, desks, or even as a decorative accent. This mini crate shelf not only keeps your supplies organized but also adds character to your space, blending practical storage with vintage charm. With just a little effort, you create a custom piece that’s both functional and stylish, transforming your craft area into a cozy, well-organized haven.
vintage wooden crates for storage
As an affiliate, we earn on qualifying purchases.
As an affiliate, we earn on qualifying purchases.
Frequently Asked Questions
What Tools Are Essential for Building the Crate Shelf?
You’ll need basic tools like a saw, drill, screwdriver, and measuring tape to build your mini crate shelf. When selecting materials, focus on sturdy wood or plastic, ensuring they suit your craft storage needs. Remember to follow safety precautions—wear goggles and gloves, keep your workspace clear, and handle tools carefully. Proper tool use and material choice will help you create a durable, functional mini crate shelf safely and efficiently.
How Do I Customize the Size of the Mini Crate?
To customize the size of your mini crate, start by selecting the right materials like lightweight wood or sturdy cardboard. Decide on your desired dimensions, then adjust the length, width, and height in your design variations. Visualize your new size by sketching or using digital tools, which helps you see how it fits your space. Measure carefully and cut your materials accordingly to guarantee a perfect fit.
What Types of Wood Are Best for Durability?
For durability, you should choose hardwoods like oak, maple, or birch, which have strong wood grains that resist wear and tear. These woods also offer better moisture resistance, essential for craft storage areas prone to humidity. Avoid softwoods like pine, which may dent easily. Opt for quality, sealed finishes to enhance moisture resistance further, ensuring your mini crate shelf stays sturdy and long-lasting over time.
Can I Paint or Decorate the Crate?
Imagine your mini crate as a blank canvas waiting for its story. Yes, you can paint or decorate it, turning plain wood into a vibrant masterpiece. Use decorative finishes and creative painting techniques to match your style. Sand lightly before applying paint, and seal with a clear coat for durability. Your personalized touch transforms the crate from simple storage to a charming art piece that showcases your creativity.
How Should I Secure the Crate to the Wall?
You should use wall mounting hardware like brackets or heavy-duty screws to secure the crate to the wall. Make certain to find studs or use wall anchors for safety considerations. Drill pilot holes first, then screw the brackets or mounting plates into the wall and attach the crate securely. Always double-check that the crate is stable and level to prevent accidents and ensure it safely holds your craft supplies.
Conclusion
Now that you’ve built your mini crate shelf, you’ve created more than just storage—you’ve crafted a space for creativity to breathe. Just as the crates hold your craft supplies, your effort holds the potential for endless projects. In this small structure, find the reminder that even the simplest shelves can support big ideas. Sometimes, it’s the tiniest beginnings that hold the weight of your biggest dreams—so keep building, and let your passions grow.