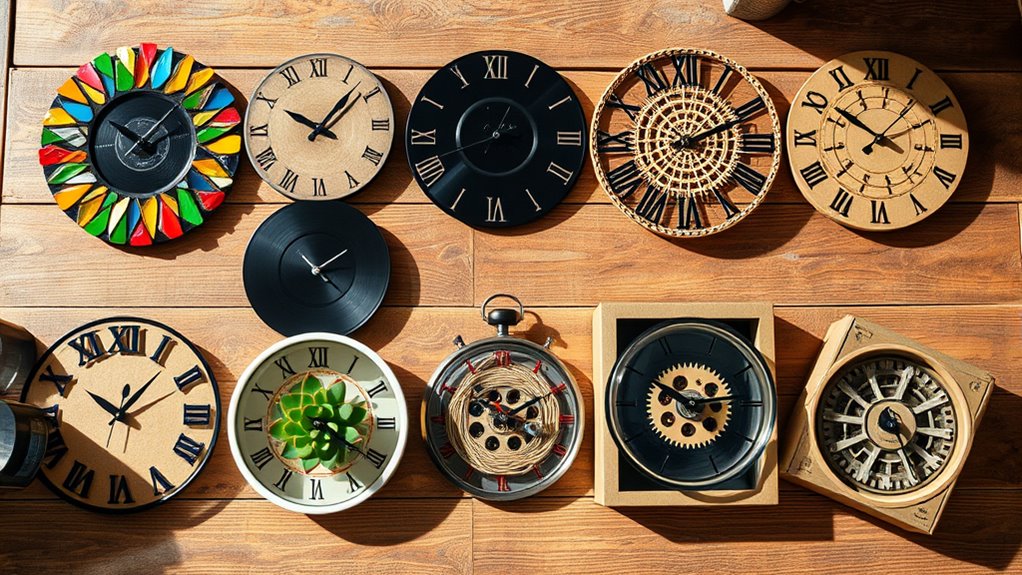

Looking for unique DIY clock crafts? You can repurpose vintage books or vinyl records into stylish wall clocks or create natural-inspired pieces with pressed leaves. Craft modern geometric designs with concrete, or upcycle items like mason jars and old CDs for functional art. Tackle mosaic tile art projects or craft textured clocks with felt and fabric for added flair. Stay with us to explore detailed instructions for these creative projects and inspire your next DIY adventure.
Key Takeaways
- Utilize vintage materials like old books, records, or tiles to create nostalgic, eco-friendly clocks with personalized designs.
- Incorporate upcycled objects such as mason jars, CDs, or natural elements like leaves for unique, artistic timepieces.
- Design modern geometric clocks using concrete molds and minimalist styles for a sleek, contemporary look.
- Combine sustainability and creativity by repurposing recycled items into functional wall clocks.
- Add artistic elements like mosaics or soundwave images for visually striking and one-of-a-kind DIY clock crafts.
Vintage Book Clock

Have you ever thought about turning an old book into a functional clock? It’s a creative way to breathe new life into a vintage piece and add a unique touch to your decor. Start by selecting a sturdy, interesting book with a cover that appeals to you. Carefully remove the pages from the center, leaving a hollow space for the clock mechanism. Install the clock movement and attach the hands to the center of the remaining pages. You can leave the pages blank or add decorative elements like vintage photos or quotes to personalize it. Mount the clock on the wall or place it on a shelf for display. This DIY project transforms a nostalgic book into a charming, functional piece that sparks conversation. Incorporating multi-functional furniture can further enhance your space and complement your creative decor, especially considering how WWE Raw’s financial impact influences the entertainment industry and design trends. Understanding contrast ratio is essential to ensure your DIY clock has the right visual appeal and clarity in different lighting conditions. Additionally, paying attention to clock mechanism quality can significantly improve the durability and accuracy of your handmade timepiece. As an extra tip, selecting a suitable paint or finish can help protect your design and give your clock a polished look.
Canvas and Paint Abstract Clock
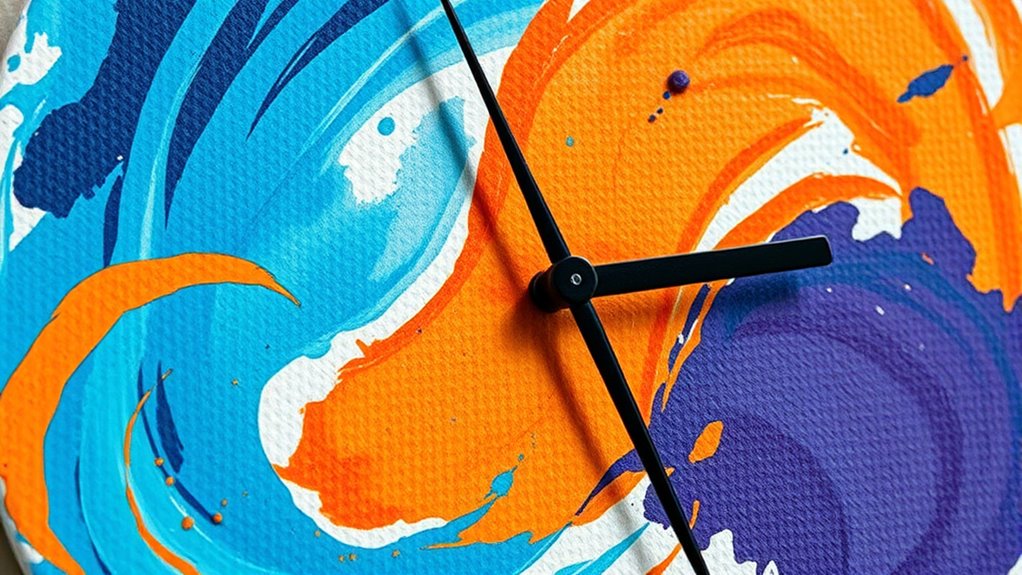
Creating a canvas and paint abstract clock is a fun way to showcase your artistic flair while adding a functional piece to your decor. You can turn a blank canvas into a vibrant, eye-catching clock that reflects your personality. Start by choosing bold colors and dynamic brushstrokes to create an abstract background. Then, follow these steps:
Create a vibrant, abstract clock on canvas to showcase your artistic style and add a unique decor piece.
- Paint the canvas with your preferred abstract design and let it dry.
- Mark the center for the clock mechanism and drill a small hole.
- Attach the clock motor and hands, ensuring they are aligned properly.
- Add any finishing touches or embellishments to enhance your artwork. Incorporating creative designs can further personalize your clock and make it truly unique.
This project combines art and functionality, making it a perfect statement piece for your living space. It’s simple, customizable, and truly unique!
Vinyl Record Wall Clock
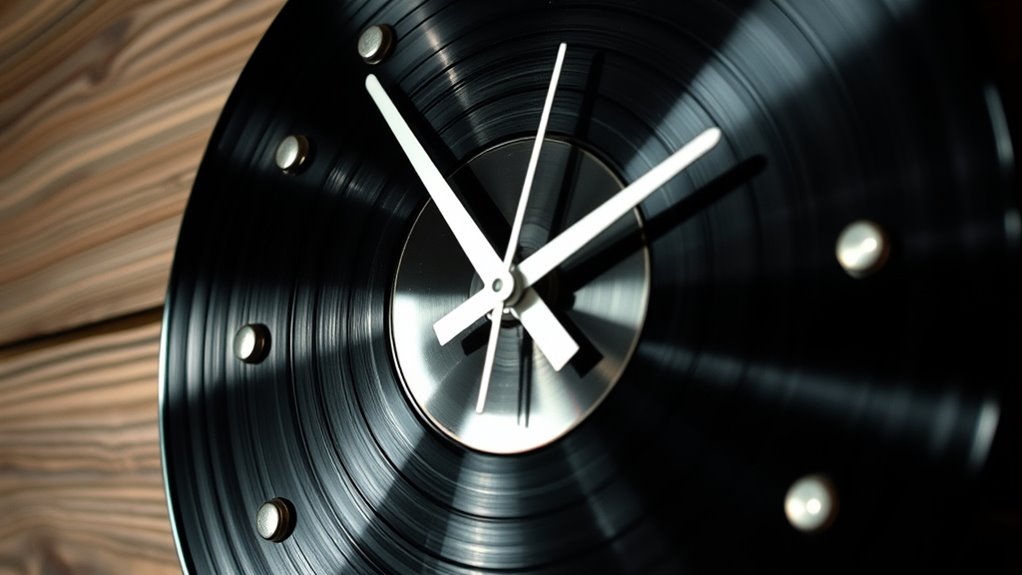
Creating a vinyl record wall clock lets you transform old records into a vintage centerpiece. You can highlight the soundwave design in the center for a unique look. Recycling old records not only gives them new life but also adds character to your decor. Incorporating DIY clock ideas can inspire further creative projects and personalize your space even more. Additionally, using upcycled materials aligns with sustainable crafting practices and enhances the authentic vintage feel. Exploring cultural influences can further elevate your design by incorporating diverse artistic styles and making your clock a conversation piece.
Vintage Soundwave Centerpiece
Transforming a vinyl record into a vintage soundwave centerpiece offers a striking way to showcase music and art simultaneously. To create this unique piece, you’ll need a blank vinyl record, a soundwave image of your favorite song, a printer, and adhesive. First, print the soundwave in the desired size and color. Next, carefully cut out the waveform. Then, adhere the cutout to the record’s surface, aligning it creatively for visual impact. Additionally, incorporating a natural aesthetic can enhance the vintage appeal of your decor. This approach allows for the integration of eco-friendly materials into your craft, making it both stylish and sustainable. Furthermore, exploring mindful design principles can help you achieve a more balanced and visually appealing result. Finally, add clock components in the center or at a strategic point to turn it into a functional timepiece. This project allows you to personalize your space while celebrating music’s visual energy. It’s a simple, eye-catching craft perfect for music lovers seeking a stylish, meaningful decor piece. Additionally, understanding Kia Tuning options can inspire you to incorporate musical themes into your vehicle modifications for a personalized touch. Exploring vehicle customization ideas can further enhance your DIY projects and home decor.
Recycling Old Records
Recycling old records into a vinyl record wall clock is a practical and stylish way to breathe new life into forgotten favorites. You can transform a vintage record into a functional piece of art in just a few steps. Start by selecting a record with visual appeal or sentimental value. Carefully drill a hole in the center if it doesn’t already have one. Attach clock mechanisms and hands through the hole, securing them tightly. You might want to add numbers or markers for better readability, or leave the record as-is for a minimalist look. Mount the finished piece on your wall, and you’ll have a unique, conversation-starting clock that combines nostalgia with practicality. It’s a fun project that personalizes your space while recycling something old. Incorporating recyclable materials into your DIY projects not only enhances creativity but also promotes sustainable practices, which is especially important considering state tax implications that can influence overall costs. Additionally, choosing the right clock mechanism ensures your clock functions accurately and lasts over time.
Wooden Pallet Rustic Clock
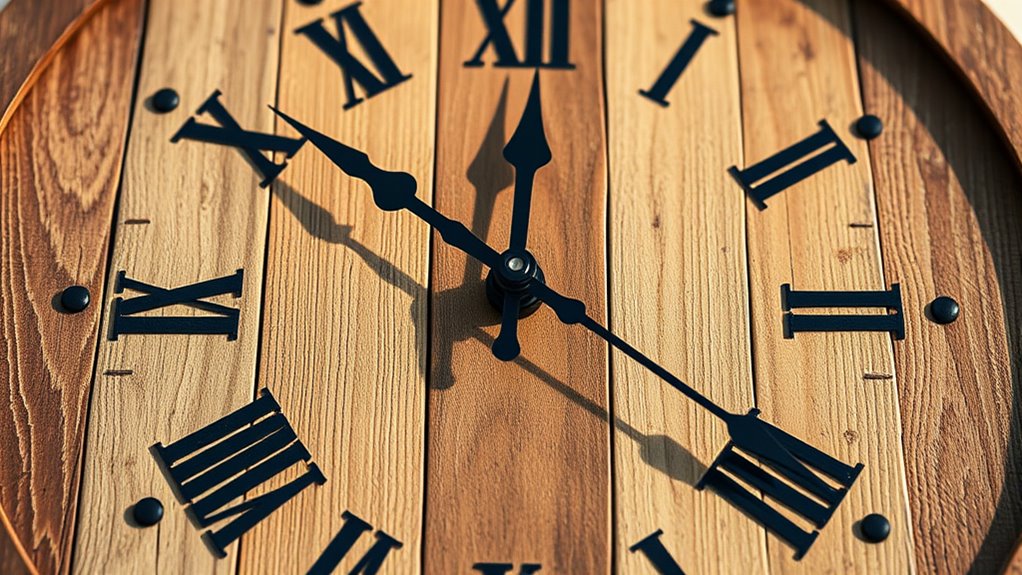
A wooden pallet rustic clock offers a charming, farmhouse-inspired centerpiece for your home décor. You can transform reclaimed pallets into a functional piece that adds warmth and character to any room. To start, select a sturdy wooden pallet with a rustic finish. Next, cut and sand the wood to your desired size, ensuring smooth edges. Then, attach clock mechanisms to the center, choosing a style that complements the rustic look. Finally, add numbers or markers for easy reading, either painted or glued on. Here are some key steps to guide you:
- Choose a weathered wooden pallet.
- Cut and sand to your preferred size.
- Install the clock mechanism and hands.
- Decorate with painted or attached markers for numbers.
- Consider the water-related attractions in your area to create a themed clock design inspired by aquatic fun.
- Staying informed about personal debt forgiveness bills can help you manage your finances better if you plan to fund your DIY projects through savings or loans.
- Additionally, ensuring your security during DIY projects helps protect your tools and supplies from theft or accidents.
Create a unique, eye-catching clock with simple supplies and your creativity.
Mason Jar Gear Clock
A Mason Jar Gear Clock adds vintage charm and practical function to any space. With creative upcycling ideas, you can transform everyday jars into a unique timepiece. We’ll walk through a simple step-by-step guide to assemble yours effortlessly.
Vintage Charm and Functionality
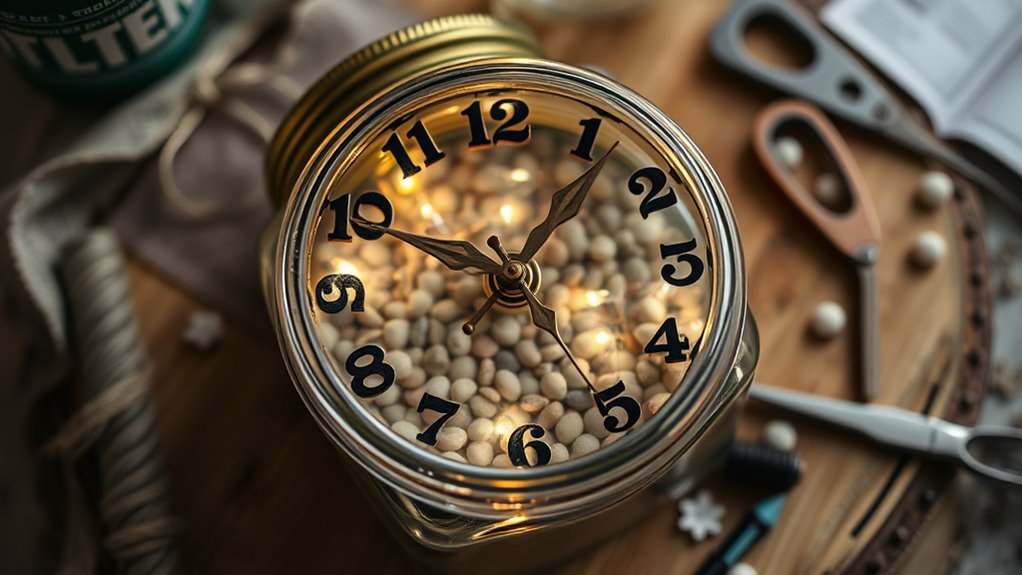
Transforming a mason jar into a clock blends vintage charm with practical functionality, making it a standout piece in any room. You can repurpose a classic jar and add clock components for a unique decor item. To enhance its appeal, consider these ideas:
- Remove the lid and replace it with a clock mechanism attached to the jar’s opening.
- Paint or distress the jar for an aged, rustic look.
- Insert decorative elements like pebbles, flowers, or fairy lights inside for added personality.
- Mount the jar on a wooden or metal base for stability and style.
This project not only adds character but also serves as a functional timepiece. It’s perfect for kitchens, living rooms, or entryways where vintage aesthetics shine.
Creative Upcycling Ideas
Creative upcycling turns ordinary mason jars into eye-catching gear clocks that showcase your ingenuity. You can repurpose these jars by attaching clock mechanisms and decorating the exterior with metallic paints or vintage gears, creating a steampunk-inspired piece. The transparent glass allows you to play with lighting, adding LED strips inside for a subtle glow. Using washers, nuts, or small gears from old machinery, you can craft a unique, industrial look that’s both functional and decorative. This project is perfect for recycling materials and giving new life to items you might otherwise discard. As a bonus, mason jars are versatile, allowing you to customize the design easily. With some creativity, your upcycled mason jar gear clock becomes a striking conversation piece that reflects your eco-friendly approach and inventive spirit.
Step-by-Step Assembly Guide
To assemble your mason jar gear clock, start by gathering all the necessary components, including a clock mechanism with hands, a mason jar, decorative gears or washers, and any additional embellishments. Once you have everything, follow these steps:
- Attach the clock mechanism to the lid of the mason jar, securing it tightly.
- Arrange the decorative gears or washers around the jar’s exterior for a steampunk look.
- Attach the clock hands to the mechanism, ensuring they move freely.
- Customize your clock with embellishments like paint or labels for a personal touch.
Make sure all parts are securely fastened, and test the clock to confirm it keeps accurate time. With these simple steps, you’ll create a unique, functional piece that’s both stylish and fun to craft.
Upcycled CD Disc Clock

If you’re looking for an easy way to give your old CDs a new purpose, creating an upcycled CD disc clock is a fun and practical project. Start by selecting a shiny, undamaged CD and clean it thoroughly. Use a drill to make a hole in the center, ensuring it’s large enough for clock mechanisms. Next, attach a clock movement kit through the hole, securing it tightly. You can customize the look by painting the edges or adding decorative elements around the disc. Once assembled, set the time, hang your new clock on the wall, and enjoy your eco-friendly, eye-catching creation. This project transforms a simple disc into a functional piece of art, perfect for adding a touch of creativity to any room.
Geometric Concrete Clock
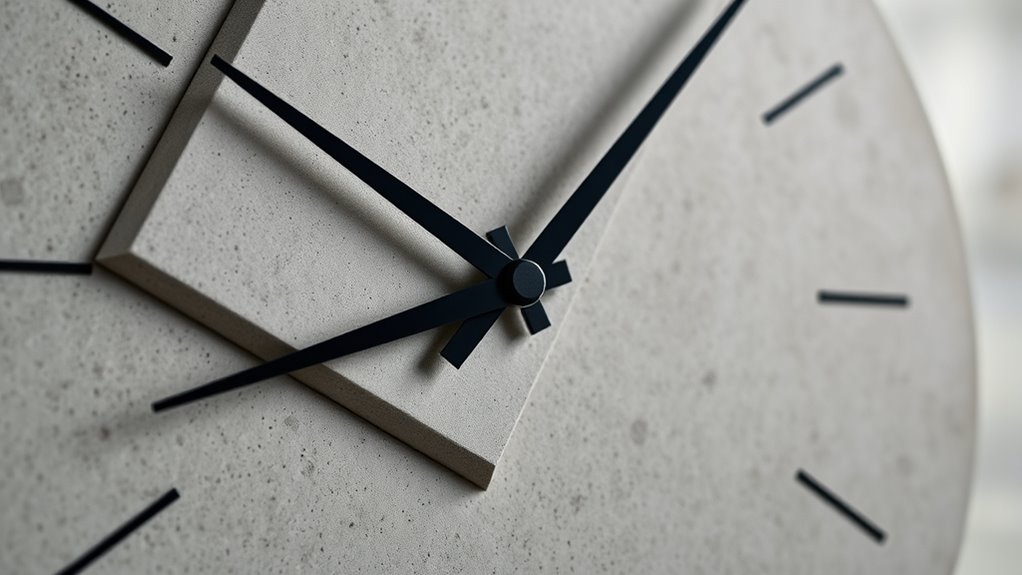
A geometric concrete clock makes a striking statement with its bold shapes and industrial charm. Its clean lines and solid material create a modern, minimalist aesthetic that instantly draws attention. To craft your own, consider these key steps:
A stylish geometric concrete clock adds modern industrial charm to any space.
- Choose geometric molds—triangles, hexagons, or circles—to cast your concrete pieces.
- Mix and pour concrete into the molds, then let it cure until solid.
- Assemble the shapes into a unique pattern, securing them with strong adhesive.
- Attach clock mechanisms and hands, ensuring they’re centered for accurate timekeeping.
This project offers a perfect balance of simplicity and sophistication, adding a contemporary touch to any space. With a little effort, you’ll create a functional piece of art that’s both stylish and durable.
Nature-Inspired Leaf Clock
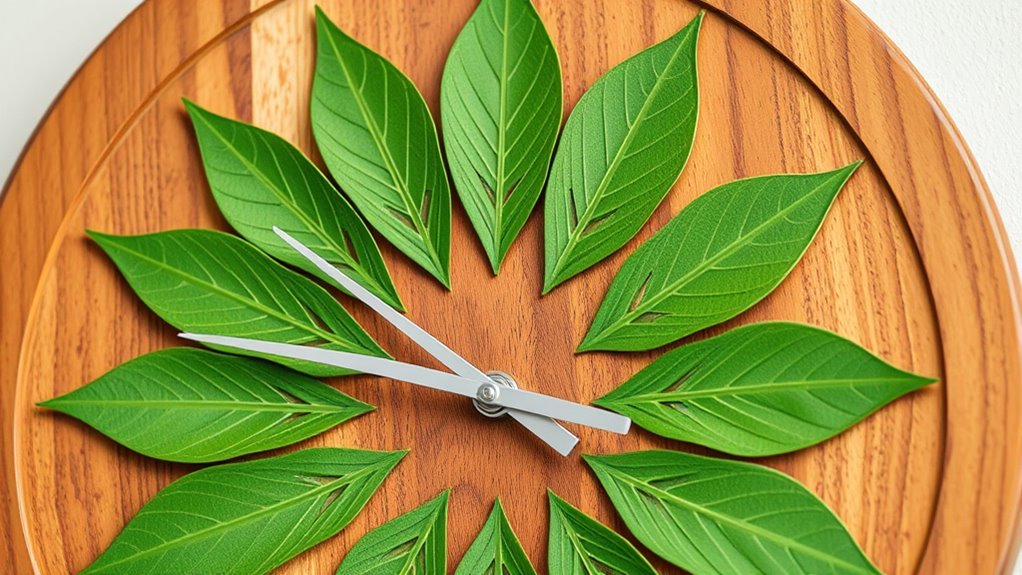
Bringing nature indoors becomes effortless with a DIY leaf clock that captures the organic beauty of the outdoors. To create it, gather a variety of leaves in different shapes and sizes, ensuring they’re clean and dry. Use a sturdy clock mechanism kit and attach it to a lightweight backing, like a wooden or thick cardboard circle. Arrange your leaves around the clock face, securing them with hot glue, and position them to mimic a natural, radiating pattern. For added detail, you can paint or seal the leaves to preserve their color and texture. This project not only transforms your space with earthy elegance but also celebrates the simple beauty of nature, making it a perfect, personalized decor piece.
Reclaimed Tile Mosaic Clock
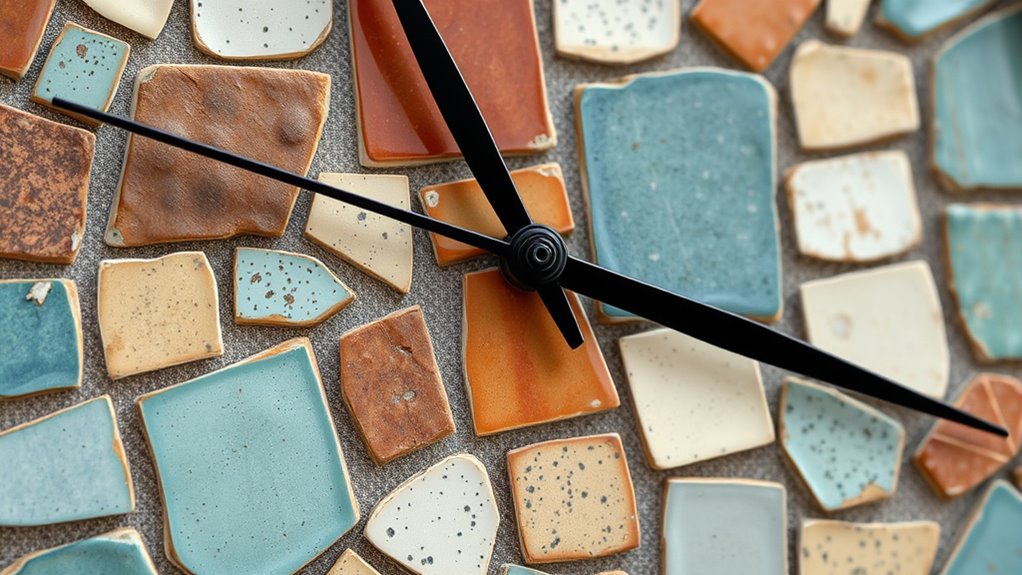
Creating a reclaimed tile mosaic clock allows you to transform leftover or discarded tiles into a stunning piece of functional art. You’ll repurpose old tiles, giving them new life as part of a unique clock face. To start, select tiles with interesting textures or colors that complement your space. Next, arrange them in a pattern or design that appeals to you before gluing them onto a sturdy base. Then, carefully cut a hole in the center for the clock mechanism. Finally, attach the clock hands and movement, ensuring everything is secure.
Create a unique mosaic clock by repurposing leftover tiles into a functional and artistic piece.
Here are some tips to elevate your project:
- Mix different tile shapes and sizes for visual interest
- Use grout to fill gaps and enhance the design
- Incorporate personal or vintage tiles for character
- Seal the surface to protect your mosaic
Felt and Fabric Textured Clock
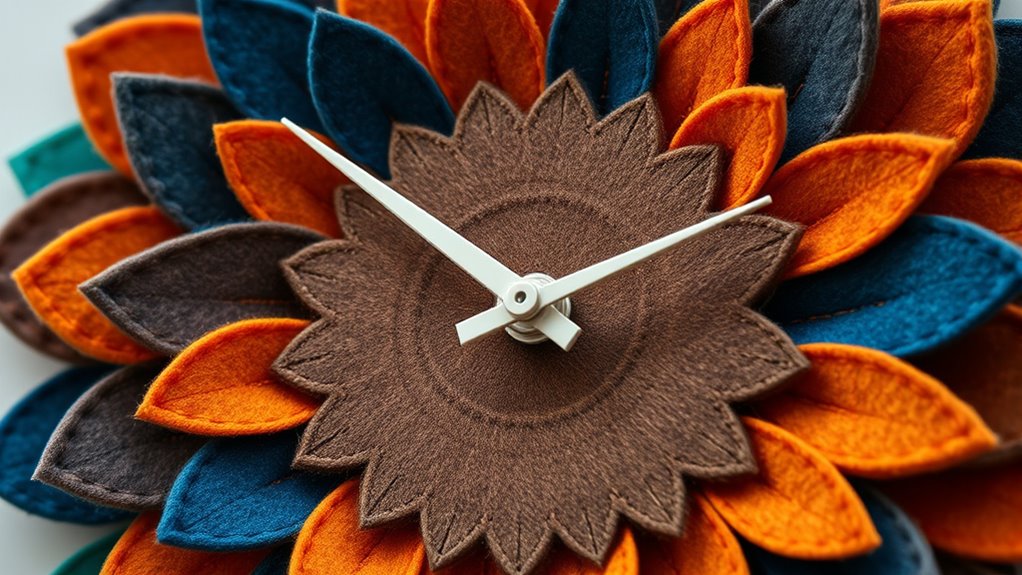
Ever thought about adding texture and coziness to your clock? A felt and fabric textured clock is a simple, stylish project that instantly elevates your space. You can choose vibrant or neutral fabrics to match your decor. To create it, cut felt or fabric into shapes like circles, stars, or abstract designs, then glue or sew them onto a sturdy clock face. Arrange the pieces in a pattern or randomly for a more eclectic look. Use a clock mechanism with hands to complete your piece, ensuring it’s functional as well as decorative. This craft allows you to experiment with different textures, colors, and patterns, making your clock a unique reflection of your style. Plus, it’s a fun way to add warmth and personality to any room.
Frequently Asked Questions
What Are the Best Tools for Beginners to Start DIY Clock Projects?
When starting DIY clock projects, you’ll want simple, beginner-friendly tools. Grab a basic soldering iron for wiring, a small screwdriver for assembling parts, and a drill with drill bits for mounting. A ruler or measuring tape helps with precise placement, while a craft knife is useful for trimming materials. Don’t forget safety glasses! With these tools, you can confidently tackle your project and create a functional, stylish clock.
How Can I Personalize These Clocks With My Own Designs?
You can personalize your clocks by adding your own designs directly onto the clock face using paints, markers, or decoupage techniques. Consider using stencils or stickers for a clean look, or incorporate meaningful images and quotes. You might also customize the clock hands or frame with materials like washi tape or fabric. By experimenting with different textures and colors, you create a one-of-a-kind piece that truly reflects your personality.
Which Materials Are Most Durable for Everyday Use?
They say “a stitch in time saves nine,” and choosing durable materials guarantees your clock stays beautiful and functional. For everyday use, opt for metal or high-quality plastic for the frame and glass or acrylic for the face. These materials resist wear and tear, so your clock keeps ticking smoothly. You’re investing in longevity, so pick sturdy options that can handle daily bumps and spills, making your DIY clock both practical and lasting.
How Can I Ensure Accurate Timekeeping in Handmade Clocks?
To guarantee accurate timekeeping in your handmade clock, you should choose a reliable clock movement or mechanism. Make sure it’s compatible with your design and properly calibrated. Use high-quality batteries and keep the mechanism clean from dust. Position the hands correctly, avoiding any contact that could hinder movement. Regularly check and adjust the clock to maintain precision, and consider testing it over a few days to confirm accuracy.
Are There Eco-Friendly or Sustainable Options for Clock Crafting?
Imagine a clock made from reclaimed wood, its warm grains telling stories of past lives. You can choose eco-friendly materials like bamboo, recycled metals, or repurposed paper for your craft. Using natural dyes or non-toxic paints also helps reduce environmental impact. By selecting sustainable supplies, you create a beautiful, functional piece that not only keeps time but also honors the planet, making your DIY project both creative and environmentally conscious.
Conclusion
Now that you’ve explored these creative DIY clock ideas, it’s time to let your imagination run wild. Whether you choose a vintage book or a concrete geometric design, each project adds a personal touch to your space. Think of your craft as a blank canvas waiting for your unique style—like a painter with a palette of endless colors. Get started and turn everyday materials into stunning, functional art that keeps time in your home.