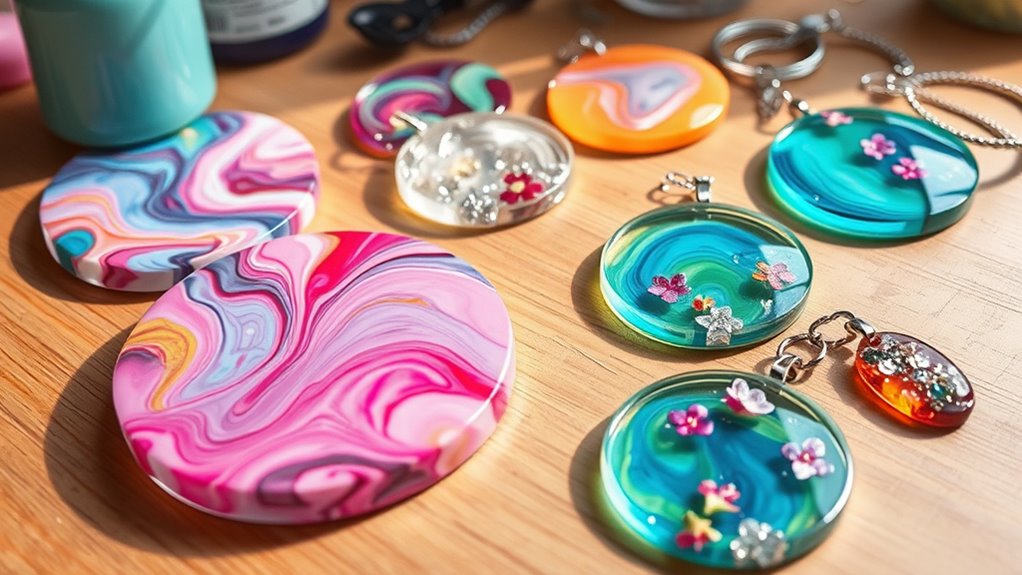

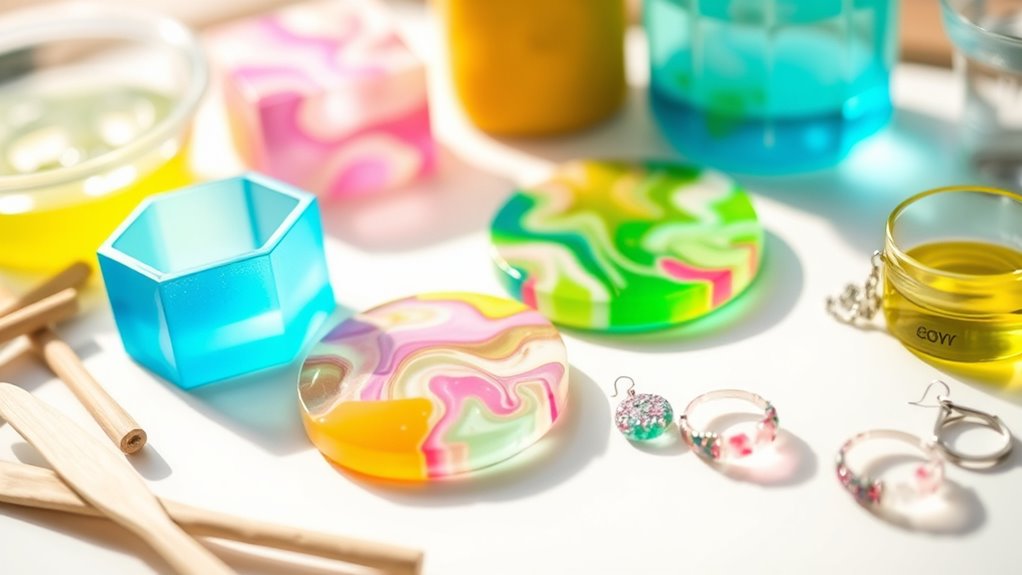
If you’re new to resin crafts, start with simple projects like keychains, coasters, jewelry, or decorative trays. Use epoxy or UV resin for safe, manageable casting, and always work in a well-ventilated area with protective gear. Experiment with adding glitter, dried flowers, or pigments to customize your pieces. By following safety tips and choosing the right materials, you’ll gain confidence and create stunning items. For more ideas and step-by-step guidance, keep exploring what’s possible with resin crafts.
Key Takeaways
- Start with simple projects like resin coasters or keychains to build confidence and practice basic techniques.
- Choose beginner-friendly resin types such as UV resin for quick curing and minimal fumes.
- Follow safety precautions, including proper ventilation and protective gear, to ensure a safe crafting experience.
- Use molds and inclusions like glitter or dried flowers to personalize your resin crafts easily.
- Explore tutorials and guides to learn mixing, pouring, and curing processes for successful results.
Have you ever wondered how to transform simple materials into stunning art? If you’re just starting with resin crafts, the first step is understanding how to work safely and choosing the right materials. Resin safety tips are essential because resin fumes and skin contact can cause irritation or allergic reactions. Always work in a well-ventilated area, wear gloves, and use a mask to avoid inhaling fumes. Keep your workspace clean and free of clutter, and make sure to follow the manufacturer’s instructions carefully. These precautions help you enjoy your crafting process without unnecessary risks. When it comes to selecting resin, you’ll find that there are several popular resin types, each suited for different projects. Epoxy resin is the most common and versatile, great for jewelry, coasters, and decorative pieces. Polyester resin is another option, often used for casting and larger projects, but it tends to emit stronger fumes and requires more ventilation. UV resin is a quick-curing type that works well for small, detailed crafts like jewelry or embellishments. Knowing the differences helps you choose the best resin for your project and guarantees a safer, more enjoyable experience. Additionally, understanding the types of resin can help you select the most suitable material for your specific craft and ensure successful results.
Frequently Asked Questions
What Safety Gear Is Recommended for Resin Crafting?
You should always wear protective gear like gloves, masks, and goggles when working with resin. This keeps your skin and eyes safe from harmful chemicals. Make certain good ventilation by working in a well-ventilated area or using a fan to disperse fumes. Follow ventilation tips to minimize inhalation risks, and avoid working in confined spaces. Proper safety gear and ventilation help you craft confidently and safely with resin.
How Long Does Resin Typically Take to Cure?
Resin typically takes about 24 to 72 hours to cure fully, depending on the resin type and environmental conditions. You should guarantee proper resin mixing and create a controlled curing environment with stable temperature and humidity. Avoid moving or disturbing your project during curing, as this can cause imperfections. Patience is key; waiting the full curing time guarantees a sturdy, glossy finish for your craft.
Can Resin Be Used Outdoors Safely?
Resin can be used outdoors safely if you take proper precautions. You should mix your resin colors thoroughly and store your resin containers in a cool, shaded area to prevent curing issues. When working outside, use a dust cover and avoid direct sunlight during curing. By following resin storage tips and ensuring proper resin color mixing, your outdoor projects will withstand weather conditions and maintain their beauty.
What Are Common Mistakes Beginners Make With Resin?
When starting with resin, you often make mistakes like rushing the resin mixing process or choosing the wrong mold selection. You might not measure accurately, leading to uneven curing, or pick molds that aren’t suitable for resin, causing sticking or damage. To avoid these errors, take your time with resin mixing, follow instructions carefully, and select molds designed for resin crafts. This helps make certain a smooth, successful project.
How Do I Remove Bubbles From Resin?
Think of your resin as a calm lake, and air bubbles as fleeting ripples. To remove bubbles, gently pass a toothpick or a heat gun over the surface during the curing process, guiding bubbles to the edges. This air bubble removal technique guarantees a smooth finish. Patience is key—allow the resin to cure completely, sealing perfection like a glassy mirror, free of imperfections.
Conclusion
Now that you’ve got these 18 resin craft ideas, your creativity can soar like a kite in a clear blue sky. Remember, each project is a chance to turn simple materials into dazzling works of art. Don’t be afraid to experiment and let your imagination run wild—your unique touch is what makes your crafts truly shine. So grab your supplies, plunge in, and watch your newfound skills blossom into beautiful masterpieces that tell your story.