
To effectively photograph your DIY craft projects, focus on good lighting—preferably natural light near windows—and keep backgrounds simple and clutter-free. Use angles and perspectives that highlight textures and details, experimenting with close-ups or unusual shots for variety. Keep your camera steady with a tripod or stable surface, and edit lightly to brighten and sharpen images. For professional-looking results, placing projects in real environments enhances their appeal—discover more tips to elevate your craft photos.
Key Takeaways
- Use natural light near windows or during golden hour to highlight textures without harsh shadows.
- Choose neutral, clutter-free backgrounds like plain paper or fabric to keep focus on your craft.
- Capture details and textures by zooming in, adjusting angles, and using macro settings for depth.
- Keep your camera stable with a tripod or steady surface, and use remote shutter or timer to avoid shake.
- Enhance photos with simple edits—adjust brightness, crop, and sharpen—to make your projects stand out.

K&F Concept 76 inch Camera Tripod with Rotatable Multi-Angle Center Column,Lightweight Travel Outdoor DSLR Tripods with 360 Degree Ball Head Load Capacity 8kg/17.6lbs, Cellphone Clips for Smartphone
- Removable Extension Boom Arm: 360° rotation for panoramic shots
- 360 Degree Ball Head: Allows flexible camera positioning
- Lightweight and Portable: Adjusts from 17.3'' to 76.7''
As an affiliate, we earn on qualifying purchases.
As an affiliate, we earn on qualifying purchases.
Choose the Right Lighting

Good lighting is essential for capturing your craft projects in the best possible way. Natural light is often your best option, so shoot near windows during the day when sunlight is soft and even. Avoid harsh direct sunlight, which can create unflattering shadows and overexposed spots. Incorporating outdoor seating options can also provide ideal natural lighting environments for your photos. Additionally, understanding sound healing science can help you create a peaceful environment that minimizes distractions while photographing your projects. Using color temperature adjustment can further enhance the accuracy of your colors and details in the photos. If natural light isn’t available, use diffused artificial lighting—softboxes or lamps with diffusers work well. Position your light source at a 45-degree angle to reduce shadows and highlight textures. Understanding data privacy challenges can help you ensure your photography setup doesn’t compromise your personal information or digital security.
Consistent, even lighting ensures your project’s details are clear and colors are true to life. Always check your photos before finalizing. Adjust the lighting as needed to avoid dark corners or washed-out areas, so your craft’s details stand out beautifully.
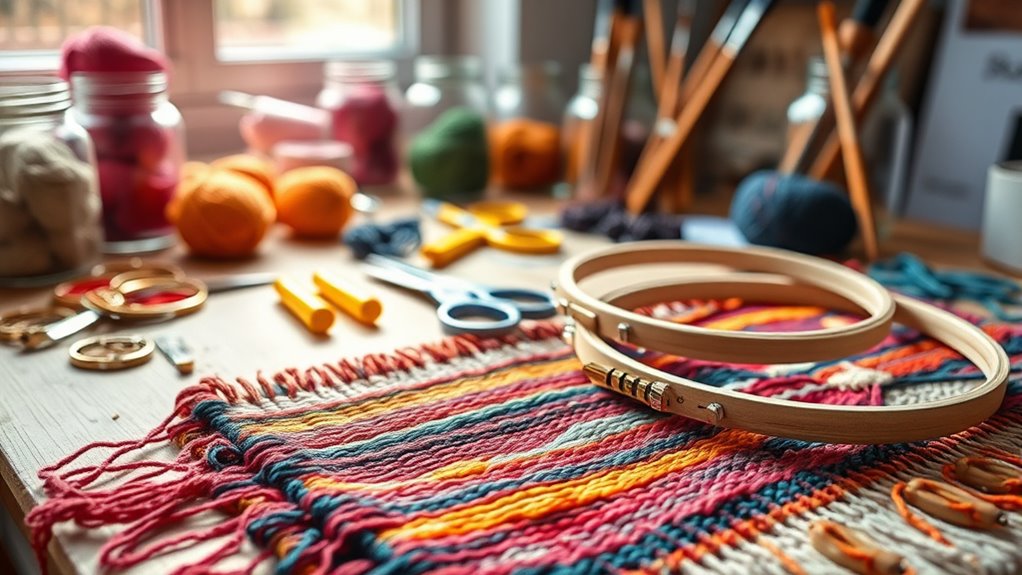
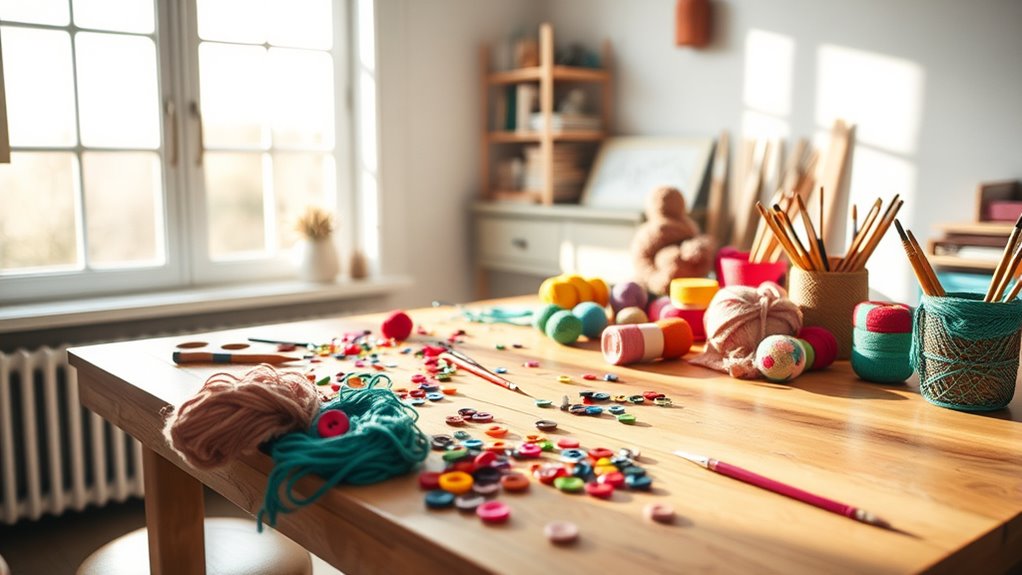
Use a Clean and Simple Background

A clean and simple background helps your craft projects stand out by minimizing distractions. Choose neutral or solid-colored backgrounds like white, beige, or light gray to keep the focus on your project. Avoid busy patterns or cluttered settings that can draw attention away. Incorporating a pet-friendly environment into your setup can also make photographing projects more enjoyable if you have dogs around. If you’re photographing on a table, clear away any unnecessary items. Using a plain backdrop also makes editing easier later. You can use paper, fabric, or a large piece of poster board as a background. Make sure it’s smooth and free of wrinkles or stains. Position your project against the background so it’s centered and well-lit. A simple background highlights your craftsmanship and ensures viewers’ attention stays on your work. Additionally, using appropriate lighting can greatly enhance the clarity and appeal of your photos.
Focus on Details and Textures
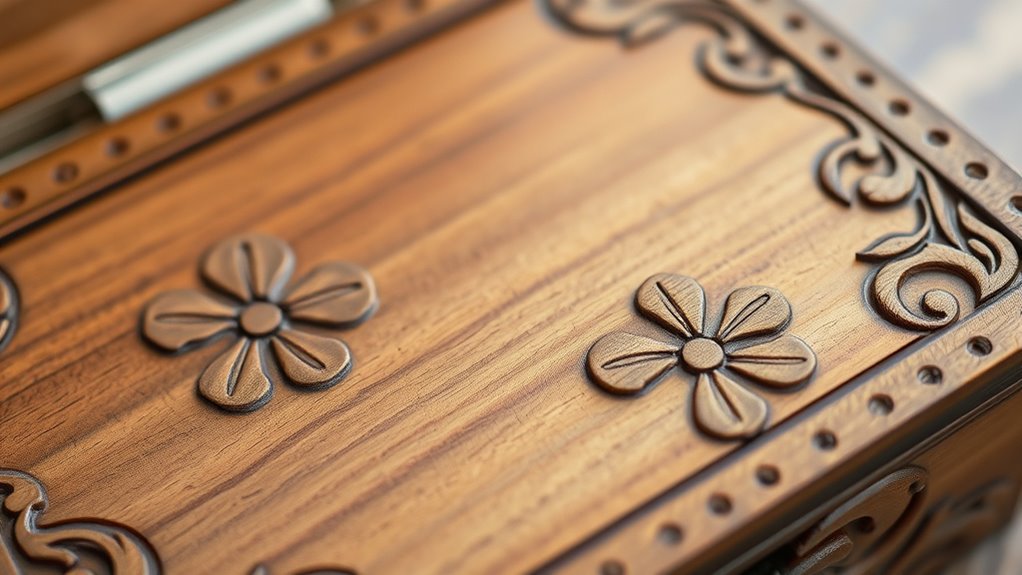
To make your craft projects stand out, focus on capturing the intricate details and textures. Highlight the materials you used, showcase surface patterns, and emphasize fine craftsmanship. These close-up shots will add depth and interest to your photos, drawing viewers into your creative process. Planning your shots around accurate operating hours can also help you capture your projects in the best lighting conditions. Understanding forsale 100 can help you find the best tools and accessories to enhance your photography setup and achieve professional-looking results. Additionally, being aware of regional resources may provide access to specialized equipment or expert advice to improve your craft photography. Incorporating fraud detection techniques into your process can also help you prevent the misuse of images or unauthorized sharing of your work online. Paying attention to dog names can also inspire creative themes or titles for your project displays, adding a personalized touch.
Highlight Craft Materials
Capturing the intricate details and textures of your craft materials brings your projects to life. To do this, get close and focus on the tiny elements that make your work unique. First, highlight the weave of fabric by zooming in on its threads, revealing its softness or roughness. Second, emphasize the shimmer or matte finish of paint or glue, showcasing its surface quality. Third, capture the layered buildup of materials like paper or clay, highlighting the depth and dimension. Use good lighting to bring out these textures and avoid shadows that may obscure details. Incorporating visualization techniques such as experimenting with different angles and lighting setups can also enhance your photography skills and help you better showcase your craft projects. Additionally, using a headphone with clear sound can help you listen to tutorials or music without distraction while working on your photos.
Capture Surface Patterns
When photographing surface patterns, paying close attention to details and textures makes your images stand out. Get in close to capture the intricate designs, whether it’s the weave of fabric, the grain of wood, or the ridges of textured paper. Using a macro lens or the macro setting on your camera can significantly enhance the visibility of these tiny features. Lighting is essential—side lighting emphasizes textures by casting shadows that reveal depth. Avoid flat, even light, which can make surfaces look dull. Focus sharply on the pattern to guarantee every detail is crisp. Experiment with different angles to find the most interesting perspective. Remember, the goal is to showcase the surface’s character, so highlight the unique details that make your craft project special. Incorporating knowledge about surface textures can help you better understand how light interacts with different materials, allowing you to enhance your photographs further. Additionally, understanding the visualization techniques can assist in composing your shots to better highlight these textures. To optimize your results, consider tuning your camera settings for better control over exposure and focus, which is especially important when capturing fine surface details. Exploring light modifiers can also help manipulate shadows and highlights to bring out surface intricacies more effectively. Recognizing the impact of material properties on surface appearance can further refine your approach to capturing compelling images.
Emphasize Fine Details
Focusing on fine details and textures can transform your craft photos from ordinary to striking. When highlighting intricate elements, your images become more engaging and true to the craftsmanship. To emphasize these details, consider these tips: 1. Use a macro lens or the macro setting on your camera to get close-up shots that reveal tiny features. 2. Adjust your lighting to cast gentle shadows that enhance textures without creating harsh glare. 3. Focus sharply on the area with the most intricate work, such as lace, embroidery, or layered patterns, so viewers can appreciate the craftsmanship. Incorporating proper lighting techniques can further bring out textures and fine details, making your photos more vivid and appealing. Additionally, paying attention to camera settings like aperture and shutter speed can significantly improve the clarity of your close-up shots.
Experiment With Different Angles

Trying out different angles can dramatically enhance how your craft projects appear in photos. Instead of shooting everything straight-on, experiment with low, high, or side perspectives to add variety and visual interest.
Get close to highlight textures or step back for a broader view that shows the entire project. Don’t be afraid to tilt your camera or shoot from unconventional positions—this can create dynamic images that draw viewers in.
Sometimes, a slight shift in angle reveals details you might miss from a standard shot. Remember, each angle offers a unique story, so take multiple shots from various perspectives.
This process helps you find the most flattering and engaging way to showcase your craft, making your photos more appealing and professional-looking.
Incorporate Natural Light When Possible
Using natural light can profoundly improve the quality of your craft project photos. It highlights colors, textures, and details that artificial lighting often dulls. To maximize this, shoot near a large window or in a well-lit room during the day.
Here are some tips to make the most of natural light:
- Position your project so that sunlight falls softly across it, avoiding harsh shadows.
- Use sheer curtains or diffusers to soften direct sunlight, creating even lighting.
- Capture photos during the golden hour—the hour after sunrise or before sunset—for warm, flattering tones.
Keep Your Camera Steady
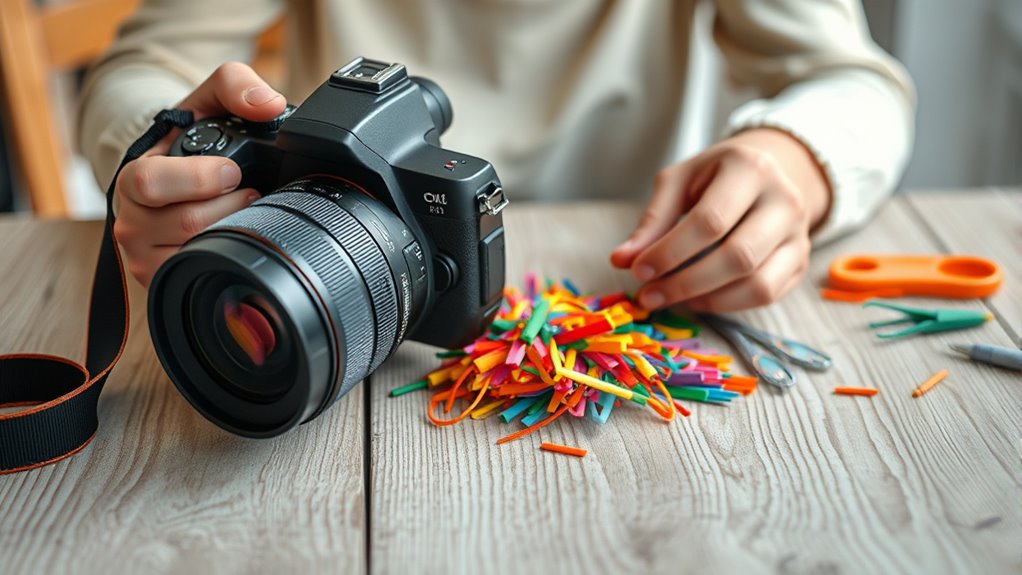
Because even slight camera movements can blur your photos, keeping your camera steady is essential for sharp, clear images of your craft projects. You can achieve stability by using a tripod or placing your camera on a solid surface.
If you don’t have a tripod, brace yourself by holding the camera with both hands, elbows close to your body, and breathing steadily. Avoid touching the camera when pressing the shutter button; instead, use a remote shutter release or the camera’s timer function.
Additionally, consider using image stabilization features if your camera has them. Taking these steps minimizes shake and ensures your photos are crisp, highlighting the details of your craft projects effectively.
Use Basic Editing to Enhance Photos
Once you’ve taken your photos, a little basic editing can make a significant difference in showcasing your craft projects. It helps correct lighting, remove distractions, and highlight details.
Start by adjusting brightness and contrast to make your project pop. Next, crop the photo to focus on the main elements, removing any unnecessary background clutter.
Finally, consider using simple tools to sharpen your image, making fine details stand out. Think of these edits as a way to bring your project to life, making it more appealing and professional-looking.
Showcase Your Projects in Context
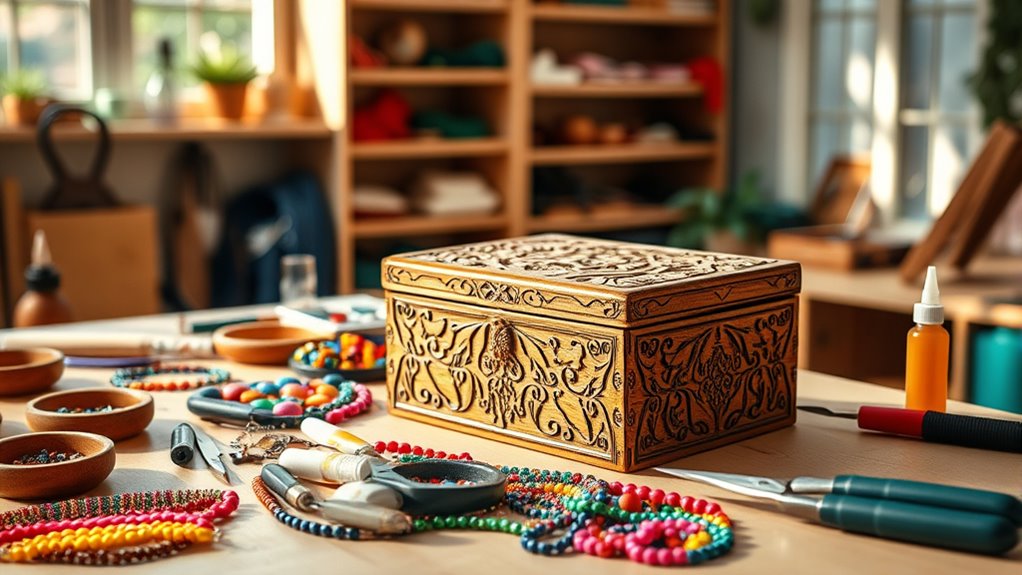
Showing your craft in its natural environment helps viewers imagine how it fits into their lives. Choose backgrounds that complement your project. Adding props can also help give a sense of scale.
These techniques make your photos more engaging and relatable.
Incorporate Real Environments
Incorporating your DIY craft projects into real environments helps viewers see how they fit into everyday life. By placing your crafts where they’re naturally used, you create a relatable and authentic impression.
Imagine photographing a handmade mug on a cozy kitchen countertop, a custom shelf in a living room, or a handcrafted wreath on a front door. These settings give context and tell a story about your project.
To enhance this effect, consider:
- Setting your project on a well-lit table with daily tools around it
- Positioning it in a corner of a room that highlights its purpose
- Using natural light from a nearby window to add warmth and realism
This approach makes your project feel useful and inviting.
Use Complementary Backgrounds
Using complementary backgrounds is a powerful way to make your DIY projects stand out and feel more integrated into their environment. Choose backgrounds that highlight your project’s colors and textures without overwhelming them.
For example, if you’ve created a colorful painted sign, place it against a neutral wall or wooden surface to let the colors pop. If your craft features earthy tones, natural backgrounds like leaves, stones, or linen fabric can enhance its warmth and rustic charm.
Keep the background simple and uncluttered to avoid distractions. Consider the mood you want to convey; bright backgrounds evoke cheerfulness, while muted tones create a calm atmosphere.
Show Scale With Props
Adding props to your photos helps viewers understand the size and context of your DIY projects. Props act as visual cues, making your crafts more relatable. For example, place a coin next to a tiny jewelry piece to show its scale, or set a small plant next to a decorative item to highlight its size.
Consider these options:
- A ruler or measuring tape to display dimensions directly.
- A familiar object, like a coffee mug, to give a sense of scale.
- A person’s hand holding or interacting with your project for live context.
These props don’t just add interest—they help viewers imagine how your craft fits into their space. Keep props simple and relevant to avoid distraction, ensuring the focus stays on your project’s details.
Frequently Asked Questions
What Camera Settings Are Best for Close-Up Craft Photos?
For close-up craft photos, you want sharp, detailed images. Use a macro lens or the macro mode on your camera to capture fine details.
Set your aperture to a smaller number (like f/2.8 or f/4) to create a shallow depth of field, making your craft stand out.
Keep your ISO low (around 100-400) for clarity, and use a tripod to prevent blur.
Adjust focus manually for precision.
How Can I Make My DIY Projects Look More Professional?
To make your DIY projects look more professional, focus on good lighting and a clean background that highlights your work.
Use a tripod to keep your shots steady and guarantee proper framing.
Pay attention to details, like adjusting brightness and contrast in editing, to enhance clarity.
Show your projects from different angles to add interest.
With consistent effort, your photos will reflect the quality and craftsmanship of your DIY creations.
What Props or Accessories Can Enhance My Craft Photography?
You can enhance your craft photography by adding props and accessories that complement your project’s style. Use simple items like flowers, fabric, or textured backgrounds to create visual interest.
Incorporate tools or related materials to tell a story. Keep props minimal so they don’t distract from your craft.
Experiment with colors and arrangements to find what makes your project pop, making your photos more appealing and professional-looking.
How Do I Photograph Shiny or Reflective Craft Materials?
Imagine your shiny craft materials as tiny mirrors catching the light’s dance. To photograph them, position your light source at an angle to avoid unwanted reflections and glare.
Use a polarizing filter to tame reflections and bring out their true colors.
Keep your camera steady with a tripod, and experiment with different angles until the shine feels alive, sparkling just like in real life.
What Are Common Mistakes to Avoid When Photographing Crafts?
When photographing crafts, you might overlook common mistakes like using harsh lighting that causes glare or shadows. Avoid cluttered backgrounds that distract from your project, and don’t forget to stabilize your camera to prevent blurry images.
Also, steer clear of poor focus—ensure your craft is sharp and clear. By paying attention to these details, your photos will highlight your work beautifully and attract more viewers.
Conclusion
So, next time you’re tempted to snap a quick pic of your craft, remember all these tips—though, let’s be honest, who has time to perfect lighting and angles? Ironically, your messy workspace might just add charm, and a blurry photo might still sell your talent. So go ahead, embrace the chaos, snap away, and let your creativity shine—even if your camera doesn’t. After all, authenticity beats perfection every time.