
To make your 3D printed parts less likely to snap, focus on enhancing slicing settings for strength. Use higher infill densities (around 80-100%) and choose durable patterns like grid or honeycomb. Increase wall thickness and use smaller layer heights for better layer bonding. Adjust print orientation for ideal load distribution, and reinforce supports over critical areas. Fine-tuning temperature and filament choices also boost durability. Keep exploring these tips to build resilient, long-lasting parts.
Key Takeaways
- Increase infill density (80-100%) and use strong infill patterns like honeycomb or grid for internal support.
- Orient parts to align load-bearing directions with layer lines to prevent delamination under stress.
- Use thicker walls and multiple perimeter layers to enhance overall durability and impact resistance.
- Fine-tune layer height for better layer bonding and reduce weak points; smaller layer heights improve adhesion.
- Optimize support placement and consider reinforced supports or soluble supports to strengthen complex overhangs and stress areas.

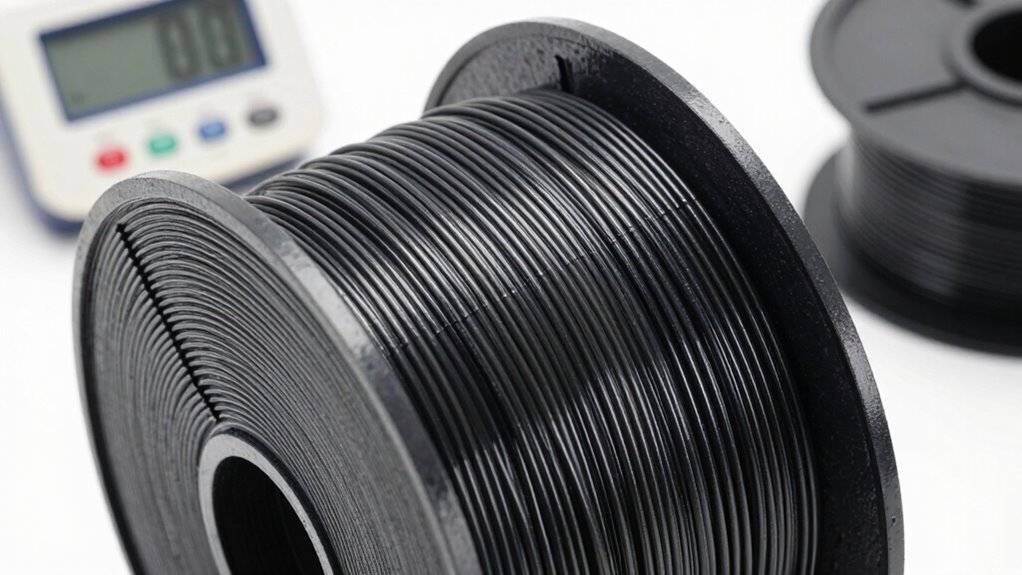
SUNLU PLA 3D Printer Filament PLA Filament 1.75mm, Neatly Wound 3D Printing Filament 1.75mm, Dimensional Accuracy +/- 0.02 mm, Fit Most FDM 3D Printers, 1kg Spool (2.2lbs), Black
①【SUNLU PLA 3D Printer Filament】PLA material is the perfect choice for 3D printing enthusiasts! SUNLU PLA filament is…
As an affiliate, we earn on qualifying purchases.
As an affiliate, we earn on qualifying purchases.
Why Do 3D Prints Break? Understanding the Main Causes of Weakness

Many 3D prints break because of internal weaknesses or poor layer adhesion. Understanding material properties helps you recognize how filament types respond under stress. For example, some materials are more brittle, making them prone to cracking, while others are more flexible but less strong. The print environment also plays a vital role; high humidity can weaken certain filaments, and temperature fluctuations can cause warping or delamination. When you don’t consider these factors, the internal structure of your print becomes compromised, reducing its overall strength. Properly selecting materials suited for your application and controlling the print environment ensures better layer bonding and fewer internal flaws. Additionally, understanding filament properties can help you choose the right material for specific stress conditions. KTM electric dirt bikes are an example of durable, high-performance equipment that relies on materials and design for strength. This foundation is fundamental before tweaking other settings to optimize strength.
To further improve print strength, paying attention to print orientation can significantly influence how well layers bond and withstand stress.
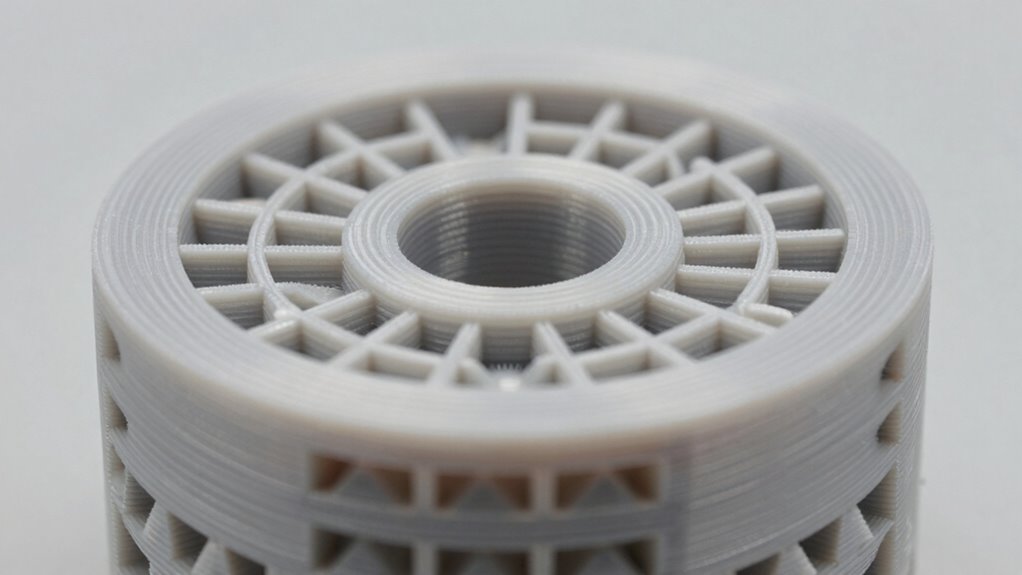
durable honeycomb infill pattern
As an affiliate, we earn on qualifying purchases.
As an affiliate, we earn on qualifying purchases.
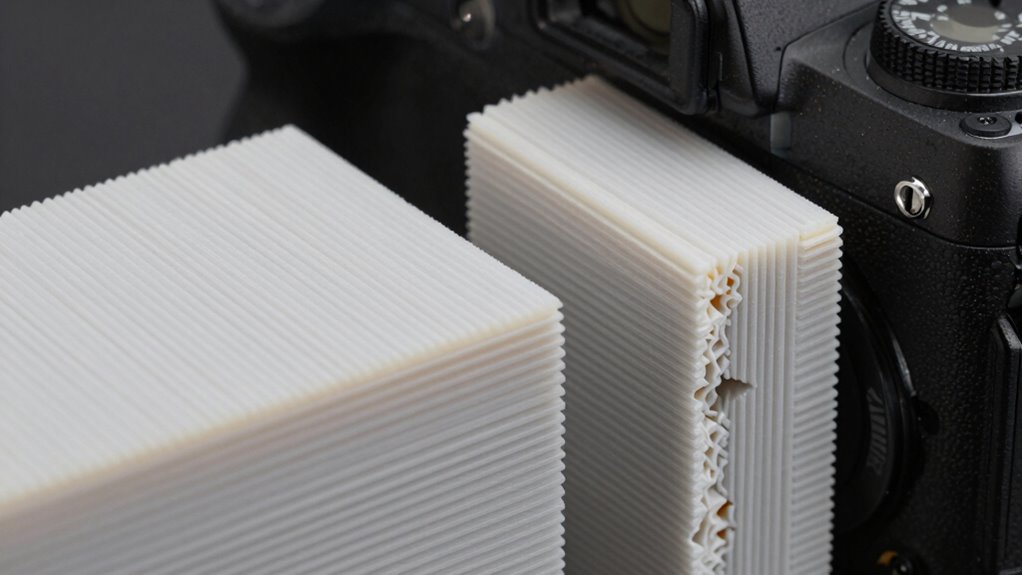
How Slicing Settings Influence Your 3D Print’s Strength

Your print’s strength heavily depends on layer orientation and infill density settings. Adjusting layer angles can improve adhesion and reduce weak points, while increasing infill density boosts overall durability. Additionally, selecting appropriate slicing settings can optimize print strength and performance. By fine-tuning these settings, you can create stronger, more resilient 3D prints. Properly configuring print speed and extrusion parameters also plays a crucial role in achieving optimal strength and minimizing defects.
Layer Orientation Effects
Layer orientation plays a essential role in determining the strength of your 3D print, as it directly affects how the layers bond and distribute stress. Proper orientation can prevent weak points and improve durability. To optimize strength, consider these factors:
- Position parts to align load-bearing directions with layer lines, reducing the risk of delamination. Layer adhesion is critical for ensuring the overall integrity of your print.
- Maintain consistent filament storage to prevent moisture absorption, which can weaken layer adhesion and affect color contrast, making weak spots more visible.
- Adjust slicing angles to avoid steep overhangs that compromise layer bonding, especially with filament prone to warping or brittleness.
- Using appropriate slicing settings can further enhance layer adhesion and overall print strength.
Infill Density Optimization
Adjusting the infill density in your slicing settings directly impacts the strength of your 3D print. Higher infill percentages create denser internal structures, enhancing layer bonding and overall durability. Conversely, lower infill reduces material use but weakens the part. To visualize, consider this table:
| Infill Density | Strength Impact |
|---|---|
| 20% | Light, flexible |
| 50% | Balanced strength |
| 80% | Rigid, durable |
| 100% | Fully solid |
Your filament choice also influences layer bonding process. Stronger filaments, like PETG or ABS, benefit from increased infill to maximize strength. Finding the right equilibrium between infill density and filament properties ensures your parts resist snapping under stress. Additionally, understanding the Material properties helps optimize print strength by adjusting print temperature and speed accordingly. Layer adhesion is crucial for overall durability and can be improved through proper temperature settings and print speed adjustments.
YXPOLYER Breakaway Support Filament 1kg 1.75mm with Upgraded PC Reusable AMS-Compatible Spool, Solvent-Free Support Material for PETG, Nylon, PA-CF, PPS, PC-CF, and More Engineering-Grade Filament
High-Temperature Breakaway Support: Formulated for use with engineering-grade materials, this non-soluble support withstands high heat without softening. Maintains…
As an affiliate, we earn on qualifying purchases.
As an affiliate, we earn on qualifying purchases.
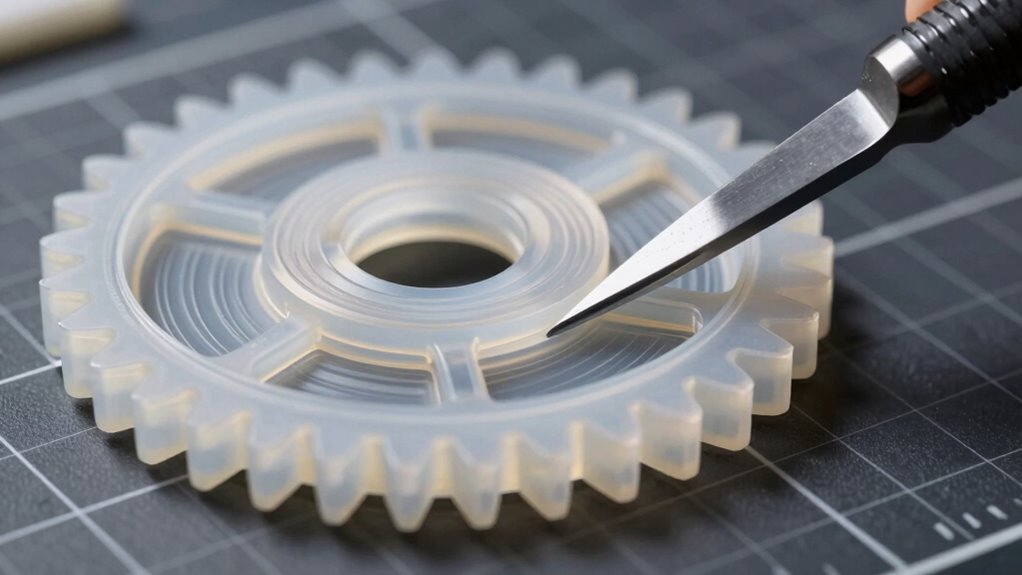
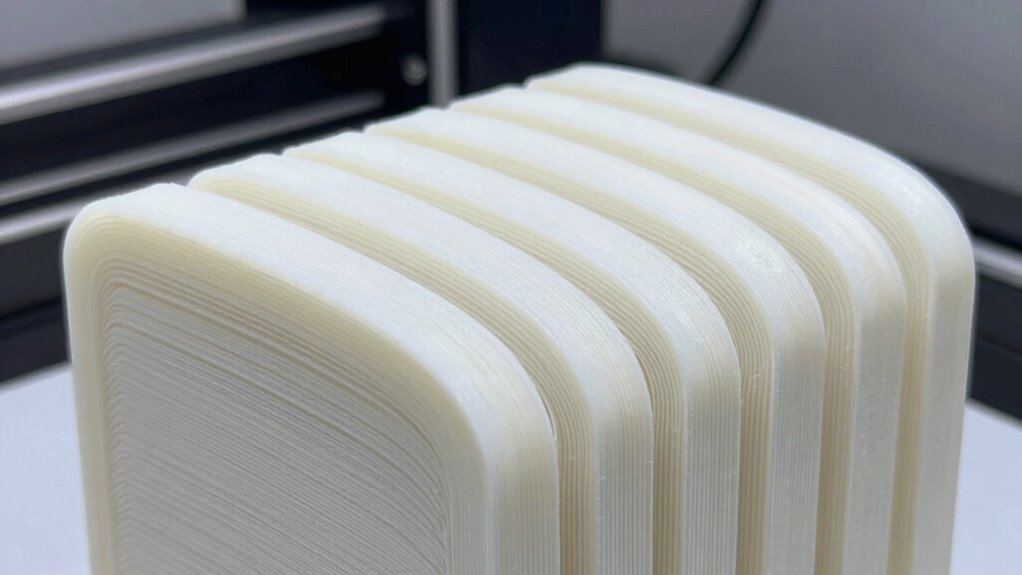
Choosing Infill Patterns to Maximize Durability
Choosing the right infill pattern can considerably boost your print’s durability. By optimizing infill density and selecting patterns with strong interconnections, you improve layer adhesion and overall strength. Understanding how different patterns affect performance helps you create more resilient, long-lasting parts.
Infill Density Optimization
Selecting the right infill density is essential for maximizing the durability of your 3D printed parts. By adjusting infill, you can improve strength without sacrificing print quality or wasting filament. To optimize, consider these factors:
- Match infill density with filament compatibility to prevent warping or weak spots—some materials need lower densities for better adhesion.
- Higher infill increases internal support, but too much can compromise print bed adhesion if the initial layers don’t stick well.
- Balance infill percentage to ensure sufficient strength while maintaining efficient print times; usually, 20-40% offers a good starting point.
- Incorporating adaptive infill techniques can further enhance durability by adjusting density dynamically based on part geometry and load requirements.
Fine-tuning these settings helps create tougher parts that resist snapping, especially when combined with proper print bed adhesion techniques.
Pattern Strength Variations
While infill pattern plays a critical role in determining your print’s overall strength, not all patterns offer the same durability benefits. Choosing the right pattern depends on your filament compatibility and the specific stresses your part will face. For example, grid or cubic patterns distribute load evenly, making them ideal for functional parts. Meanwhile, honeycomb patterns provide excellent strength-to-weight ratios. Keep in mind that some patterns may require different post processing techniques to enhance bonding and finish. Adjusting pattern orientation can further improve durability without changing the pattern itself. Experimenting with infill patterns allows you to optimize strength while minimizing material use. By selecting the appropriate pattern, you ensure your printed parts withstand stress and last longer, maximizing your investment in 3D printing.
Layer Adhesion Impact
Layer adhesion considerably influences the durability of your 3D prints, making it a key factor when selecting infill patterns. Good layer bonding ensures your parts resist cracking and separation under stress. To maximize adhesion, consider the following:
- Choose infill patterns that promote continuous filament flow, like grid or gyroid, which enhance layer bonding.
- Ensure filament compatibility with your printer and environment, as some materials bond better under specific conditions.
- Optimize print bed adhesion by adjusting bed temperature and surface prep, reducing warping and improving overall layer cohesion.

YOTEBLE 3D Print Coating, Seals Fibers & Blocks Moisture, High-Gloss Look, Preserve Part Stiffness Suit for FDM & Fiber 3D Prints (Nylon//PPA/PET/PETG), Clear, 200ml
Smoothing & Finishing – Achieve professional results with our clear 3D Print Coating, expertly designed to smooth and…
As an affiliate, we earn on qualifying purchases.
As an affiliate, we earn on qualifying purchases.
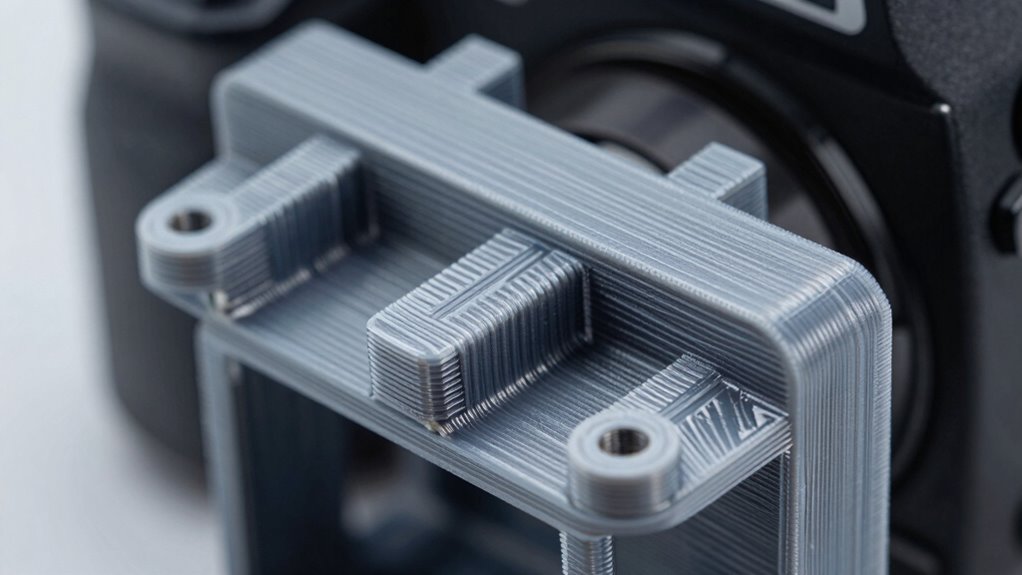
Adjusting Layer and Wall Settings for a Stronger Print
To enhance the strength of your 3D print, adjusting layer height and wall thickness is essential. Use a smaller layer height to improve layer bonding and surface quality, but guarantee your filament compatibility supports this setting. Thicker walls increase durability; aim for at least three perimeter layers to resist snapping. Before changing these settings, verify your nozzle calibration to maintain consistent extrusion and avoid weak spots. Proper calibration ensures your filament flows correctly, maximizing adhesion between layers and walls. Keep in mind that different materials respond differently to layer height and wall thickness adjustments. Combining ideal settings with precise nozzle calibration results in a stronger, more resilient print that’s less prone to breaking under stress. For optimal results, consider using vetted options like Perfect Fit Living to find the best materials and tools for your 3D printing needs. Additionally, choosing the right print settings can significantly impact the overall strength and longevity of your printed parts, especially when considering material properties and their influence on print durability. Understanding the layer adhesion characteristics of different filaments can further help optimize your printing process for maximum strength. Properly adjusting these parameters enhances the overall print quality and ensures your parts are less susceptible to failure.
Reinforcing Supports and Overhangs for Better Strength
Reinforcing supports and overhangs is essential for creating a stronger, more durable 3D print, especially when working with complex geometries. Proper support structures prevent sagging and layer failure, ensuring filament reinforcement where it’s most needed. To maximize strength, consider:
- Adjusting support density to provide adequate filament reinforcement without overusing material.
- Using breakaway or soluble support materials for easier removal and fewer weak spots.
- Optimizing support placement to strengthen overhangs and thin features, reducing stress concentrations.
Testing Your 3D Prints: How to Check for Weak Spots and Breakage
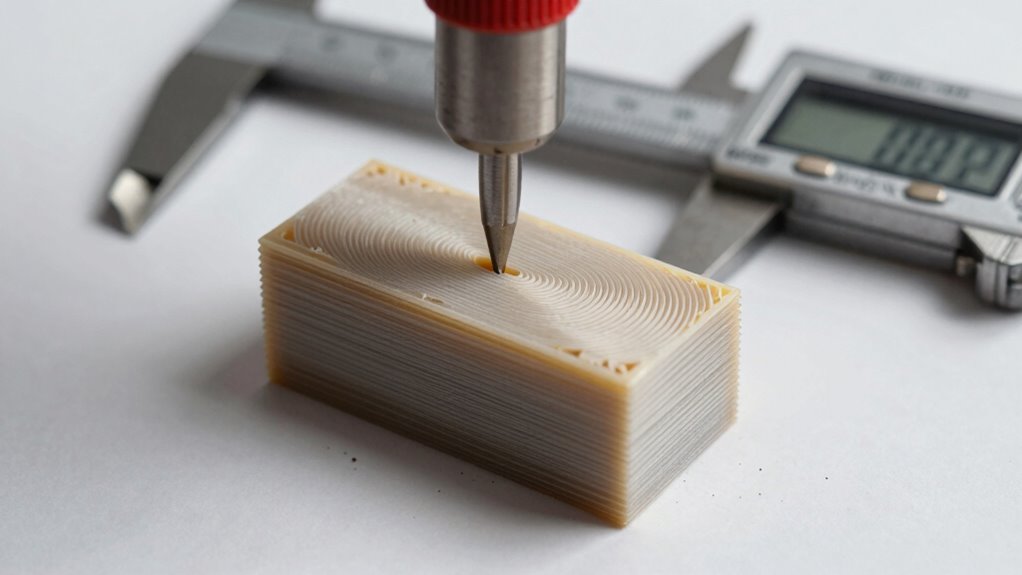
After adding support structures to strengthen your print, it’s important to verify their effectiveness by testing the final piece. You can do this through simple stress tests or by inspecting for weak spots. Check for cracks, delaminations, or areas where the material might have separated. Using post processing techniques like sanding or applying adhesives can help reveal hidden flaws. Keep in mind, material compatibility plays a role; some filaments are more prone to breakage under stress. To evaluate, try applying gentle force or flexing the part to see where it might fail. Here’s a quick guide:
| Test Method | What to Look For | Tips |
|---|---|---|
| Visual Inspection | Cracks, warping | Use bright light for clarity |
| Flex Test | Weak spots, breakage | Apply gentle pressure |
| Stress Test | Material failure | Gradually increase force |
| Post Processing | Hidden flaws, reinforcement | Sand or glue for reinforcement |
Common Slicing Mistakes That Lead to Weak Prints: and How to Avoid Them
Even a small mistake during slicing can substantially weaken your 3D print. Common errors include poor filament storage, which causes moisture absorption and brittle prints, incorrect layer height, and insufficient infill density. To avoid these pitfalls:
Small slicing mistakes can significantly weaken your 3D prints and cause fragility.
- Store filament properly in airtight containers to prevent moisture damage that compromises strength.
- Adjust layer height and print speed to ensure proper bonding and layer adhesion.
- Use suitable infill patterns and densities, and incorporate post-processing techniques like annealing to improve internal strength.
- Regularly perform seasonal maintenance on your 3D printer to keep it operating at optimal settings, which helps ensure consistent print quality and durability.
Ignoring these details can lead to fragile parts prone to snapping. Proper filament storage maintains filament quality, while thoughtful slicing settings and post-processing techniques enhance the overall durability of your prints. Small adjustments make a big difference in strength.
Optimizing Filament and Temperature Settings for Maximum Strength
Optimizing filament and temperature settings is essential for achieving maximum strength in your 3D prints. Proper temperature calibration ensures your filament bonds well, enhancing filament durability and reducing weak points. Start by setting your extruder temperature according to the filament manufacturer’s recommendations, but don’t be afraid to fine-tune within that range based on your specific printer and filament batch. Too hot, and you risk stringing or poor layer adhesion; too cold, and layers won’t fuse properly, weakening the part. Consistent temperature calibration helps maintain ideal filament flow and layer bonding. Additionally, selecting the right filament type and adjusting settings accordingly can greatly improve durability. Remember, the better your temperature control, the more robust and resilient your 3D printed parts will become. Proper calibration ensures your printer consistently produces strong, durable parts with reliable layer adhesion. Maintaining a stable printing environment can also prevent temperature fluctuations that compromise part strength. Moreover, using temperature monitoring tools can help detect and correct deviations during printing, further enhancing part strength.
Troubleshooting Weak Prints: From Cracks to Breaks

Weak prints often result from issues that arise during the printing process, such as improper temperature calibration or inconsistent filament flow. To troubleshoot cracks and breaks, start by checking your filament storage; moisture can weaken filament, leading to weak spots. Moisture content in filament can significantly weaken the print if not properly managed, so proper storage is essential. Next, verify your nozzle calibration—incorrect calibration causes uneven extrusion, resulting in weak or cracked layers. Proper nozzle calibration ensures consistent extrusion and helps prevent layer separation. Additionally, examining your print settings—such as temperature, layer height, and print speed—can promote better layer adhesion. Properly setting these parameters ensures stronger bonds between layers. Finally, examine your print environment; factors like airflow and temperature fluctuations can affect print strength. Consider cleaning your nozzle regularly to prevent clogs. Proper filament storage keeps material dry, which helps uphold strength. Understanding material properties can also help you select the right filament for your specific print, further improving durability. Being aware of print parameter adjustments allows for optimized settings tailored to different filament types, enhancing print strength.
Frequently Asked Questions
What Types of Filaments Provide the Highest Strength for 3D Printed Parts?
You should choose filaments like carbon fiber-reinforced or fiberglass-filled options for the highest strength in 3D printed parts. These filaments incorporate fiber reinforcement, which markedly boosts durability and stiffness. Additionally, using filament additives can enhance layer adhesion and overall strength. By selecting these advanced materials and optimizing your slicing settings, you create parts that resist snapping, ensuring long-lasting, robust prints tailored to demanding applications.
How Does Print Orientation Affect the Overall Durability of a Print?
Your print orientation substantially impacts durability because it affects layer adhesion and filament orientation. When you position your part so that stress aligns with the layers, you strengthen it against breaking, as the filament runs parallel to the stress. Conversely, printing at an angle or vertically can weaken layer adhesion, making the part more prone to snapping. Careful orientation optimizes filament strength and enhances overall durability.
Can Post-Processing Techniques Improve the Strength of 3D Printed Components?
Did you know post-processing can boost your 3D print’s strength by up to 50%? You can improve layer adhesion through techniques like annealing or applying surface treatments. Additionally, choosing filament compatibility ensures better bonding and durability. By carefully post-processing, you enhance the overall toughness of your parts, making them less prone to snapping under stress. It’s a simple step that considerably extends your print’s lifespan and performance.
What Are the Best Practices for Designing Parts to Withstand Mechanical Stress?
To design parts that withstand mechanical stress, focus on robust design considerations like adding fillets to reduce stress concentration and increasing wall thickness where needed. Guarantee material compatibility by selecting the right filament for your application, such as ABS for impact resistance or PETG for durability. Also, orient your parts to optimize strength along load-bearing directions, and avoid sharp corners that can cause stress points. These practices enhance overall part resilience.
How Do Environmental Factors Impact the Long-Term Strength of 3D Printed Objects?
Environmental factors can weaken your 3D printed parts over time. UV degradation causes sunlight to break down the material, leading to brittleness. Moisture absorption can cause swelling, warping, or weakening of the structure. You might think your parts are durable, but exposure to these factors accelerates deterioration. To extend their lifespan, consider using UV-resistant materials and applying protective coatings. Regular maintenance helps guarantee your prints stay strong and functional longer.
Conclusion
Think of your 3D print as a delicate bridge you’re building across a chasm. Every layer, infill pattern, and setting is a plank that strengthens your structure. By choosing the right slicing strategies, you’re not just creating a part—you’re forging a resilient path that withstands the weight of use. With attention and care, you’ll turn fragile beginnings into unwavering creations, transforming your prints from mere illusions into lasting, dependable bridges.