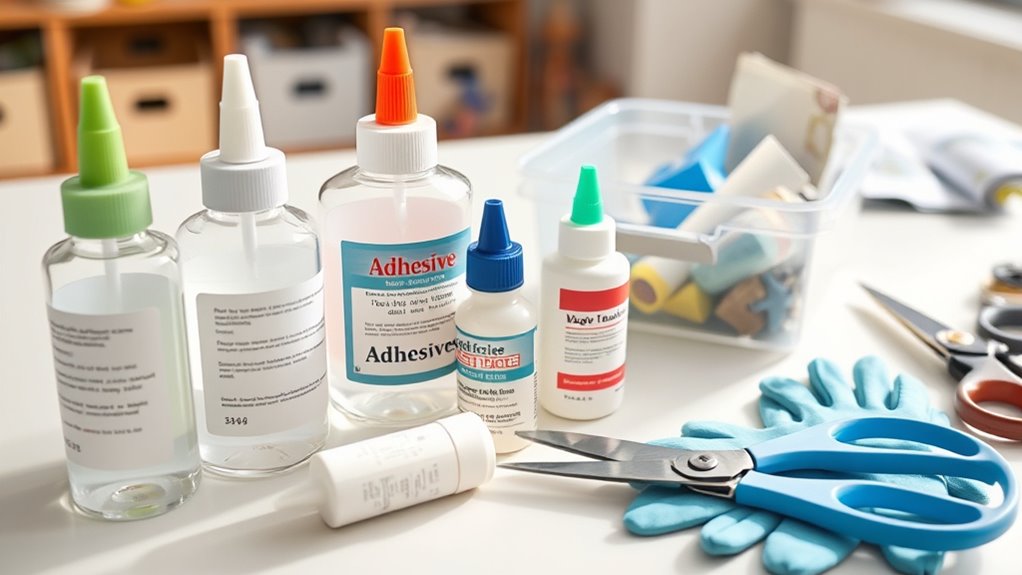
Choosing the right glue depends on your project’s materials and timeframe. For paper and light crafts, go for quick-drying glues like craft glue or glue sticks. For stronger bonds on wood or fabric, select a suitable adhesive with the right flexibility or rigidity. Consider drying time based on your schedule, and always apply glue evenly on clean surfaces. To get more tips on mastering your craft projects, keep exploring these helpful guidelines.
Key Takeaways
- Match the adhesive to the specific material (paper, fabric, wood) for optimal bonding.
- Consider drying time: fast-drying for quick projects, slow-drying for precision.
- Evaluate flexibility versus rigidity needed post-application based on the project.
- Check for compatibility with the project’s surface and whether a clear finish is necessary.
- Prioritize safety and storage instructions to ensure proper handling and longevity of the glue.
Types of Craft Glues and Their Uses

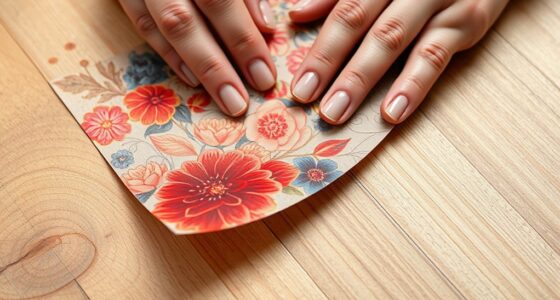
When choosing the right craft glue, understanding the different types and their specific uses is essential. Material compatibility varies among glues, so select one that bonds well with your project’s materials—whether paper, fabric, or wood. For quick projects, drying speed matters; some glues set within seconds, while others take longer. Fast-drying glues are great for tight deadlines but may be less forgiving if you need adjustments. On the other hand, slower-drying options give you more time to position pieces accurately. Think about what you’ll be working with and how quickly you need the bond to form. Picking the right glue based on these factors guarantees your project stays secure and looks professional.
Factors to Consider When Choosing Adhesives

Choosing the right adhesive depends on several key factors that directly impact your project’s success. Consider the materials you’re working with, as some glues bond better with specific surfaces. Think about the drying time needed to meet your timeline, and whether flexibility or rigidity is required for your finished piece. Budget constraints might influence your choice, but also explore adhesive alternatives that offer similar strength at a lower cost. Also, prioritize environmentally friendly options if sustainability matters, as many eco-conscious glues are now available. When selecting adhesives, evaluate:
Choosing the right adhesive depends on materials, drying time, flexibility, budget, and eco-friendliness.
- Compatibility with materials
- Drying and curing times
- Flexibility or rigidity post-application
- Eco-friendliness and adhesive alternatives
- Sound healing science indicates that certain adhesives may influence cellular responses and overall material integrity.
Comparing Strength, Flexibility, and Drying Time

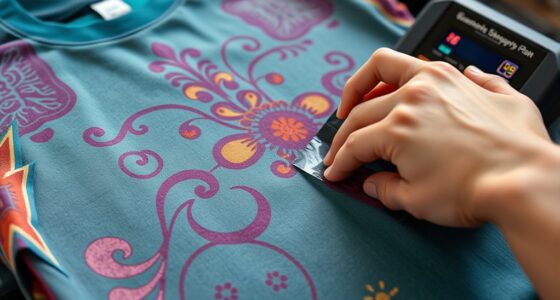
Understanding how adhesives compare in strength, flexibility, and drying time is essential for selecting the right glue for your project. Strong adhesives provide better adhesive longevity, ensuring your bond lasts over time, especially for heavy or load-bearing items. Flexibility matters when working with materials that bend or shift, so choose a glue that maintains its bond without cracking. Drying time affects your workflow; quick-drying glues save time but may be harder to reposition, while slower options allow adjustments. Additionally, consider color matching—some adhesives dry clear, ideal for visible surfaces, while others may leave a tint. Material compatibility is also important, as some glues work better with specific materials like wood, metal, or plastics. By weighing these factors, you can select a glue that balances strength, flexibility, drying time, and aesthetic needs, ensuring your craft project holds up and looks great over time.
Tips for Applying Glue Effectively

Applying glue correctly is key to achieving a strong, clean bond. To do this, master effective glue application techniques that prevent messes and maximize adhesion. First, confirm surfaces are clean and dry before applying; this improves bonding strength. Use a fine tip applicator or a toothpick for precise control, especially with delicate projects. Avoid excess glue to minimize cleanup; a light, even layer is usually sufficient. For easy adhesive cleanup tips, keep a damp cloth nearby to wipe off spills immediately. Additionally, work in a well-ventilated area and use gloves if necessary. Remember, patience is essential—allow the glue to set undisturbed for the recommended time. By applying glue thoughtfully, you’ll achieve neater results and stronger bonds.
Safety Tips and Proper Storage of Craft Adhesives
To guarantee safe use of craft adhesives, always read and follow the manufacturer’s safety instructions. Safety precautions include working in well-ventilated areas, avoiding contact with skin and eyes, and keeping adhesives out of reach of children. Proper storage guidelines are equally important; store glues in a cool, dry place, away from heat sources and direct sunlight. Make certain lids are tightly sealed to prevent spills and evaporation. Label storage containers clearly, and dispose of unused or expired adhesives according to local regulations. Additionally, understanding necessary cookies can help you maintain a healthy environment while crafting. Using specialized storage containers designed for adhesives can further prevent accidental spills and prolong the shelf life of your glues. It’s also beneficial to familiarize yourself with the composition of eye patches to choose suitable products for your skincare routine. Being aware of merchant services and their risks can help you select the most secure and reliable options for your business. By following these safety tips and storage practices, you protect yourself and others from potential hazards, while maintaining the effectiveness of your craft glues. Safety and proper storage are essential for a safe, enjoyable crafting experience.
Frequently Asked Questions
Can I Use Household Glue for All Craft Projects?
You might wonder if household adhesives work for all craft projects, but they often don’t. Different craft glue types are designed for specific materials and purposes, so using just household glue can limit your options and affect your results. For better bonding and durability, choose the right craft glue type for each project. This guarantees your creations stay intact and look professional, no matter what materials you’re working with.
How Long Does Different Glues Take to Dry Completely?
They say patience is a virtue, and it’s true for glue drying times. Different glues have varying drying times and curing processes. For example, white glue dries in about 30 minutes to an hour, while epoxy can take 24 hours or more. Always check the manufacturer’s instructions, as rushing the drying process might undermine your craft’s strength. Proper drying guarantees your project is durable and long-lasting.
Are There Eco-Friendly or Non-Toxic Glue Options?
You’re wondering if eco-friendly or non-toxic glue options exist. Luckily, biodegradable adhesives and non-toxic bonding products are available, making crafts safer for you and the environment. These glues are made from natural ingredients, reduce harmful chemicals, and often have minimal odor. You can confidently choose these options for your projects, knowing you’re supporting sustainable practices while achieving strong, safe bonds without sacrificing quality or safety.
What Is the Best Glue for Waterproof Craft Projects?
For waterproof craft projects, you need reliable waterproof adhesives or sealant options. You should look for glues like epoxy or polyurethane, which create strong, water-resistant bonds suitable for outdoor or wet conditions. These waterproof adhesives prevent water damage and ensure durability. Always check product labels to confirm they offer the waterproof or weatherproof qualities you need, so your craft stays intact regardless of moisture.
How Do I Remove Excess Glue Without Damaging My Project?
Getting rid of excess glue is a delicate matter—you don’t want to throw the baby out with the bathwater. To remove excess glue without damage, gently scrape it with a craft knife or use a damp cloth for soft residues. Always work slowly to prevent damage, and test in a small area first. Patience is key to achieving a clean look while protecting your project’s integrity.
Conclusion
So, after all this, you might think choosing the right glue is just about picking the strongest or fastest-drying one. Ironically, the perfect adhesive often depends on your patience and care. Sometimes, a humble craft glue wins the day over high-tech adhesives, proving that in crafting, a little common sense and proper application matter more than fancy labels. So, glue wisely—and enjoy the surprisingly nuanced art of sticking things together!