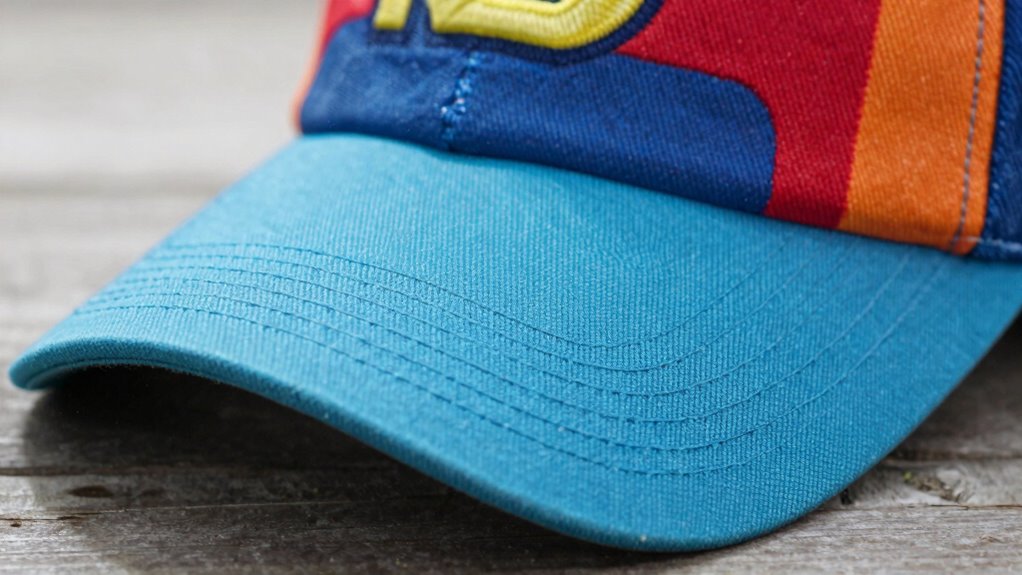

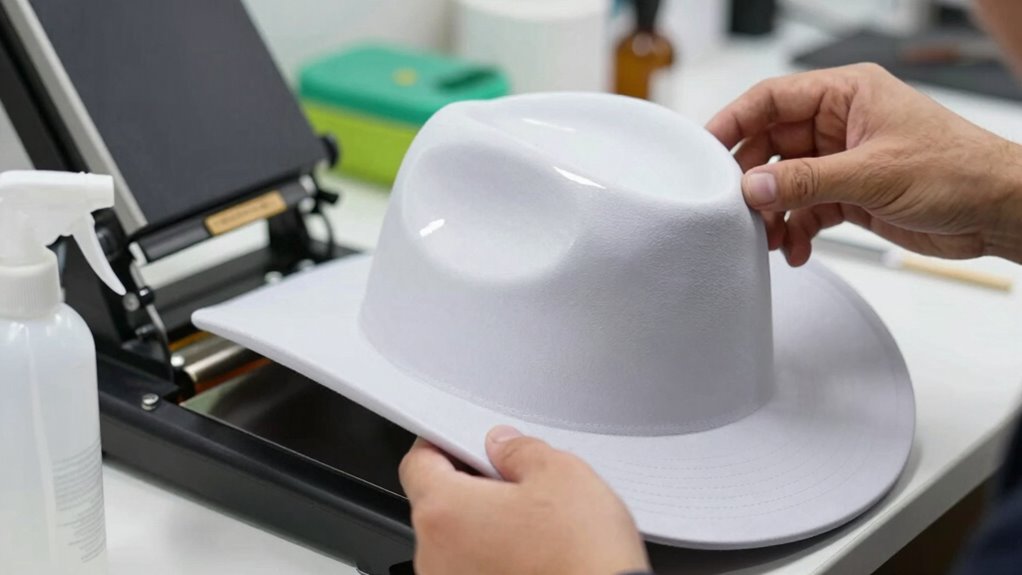
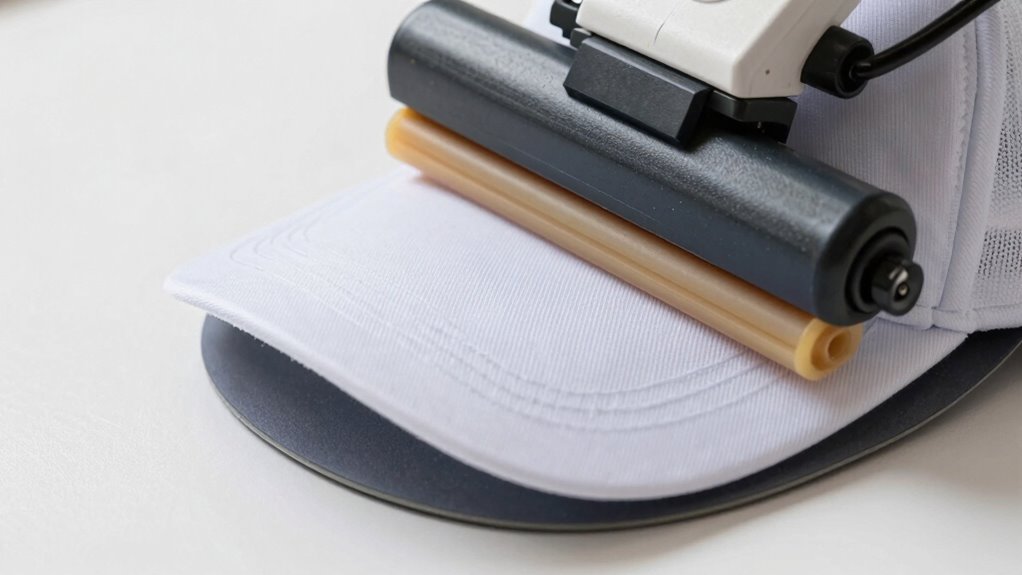
To get the best results, choose a hat press with a curved or concave platen for even pressure on curved surfaces. Make sure to pre-press hats to remove moisture, which can cause warping or peeling. Position your design carefully along the natural curve of the hat using transfer tape and markings to ensure perfect placement. Adjust pressure and temperature based on the hat material for consistent, professional results—continue exploring for more expert tips.
Key Takeaways
- Use a curved or concave platen heat press for even pressure on hat surfaces.
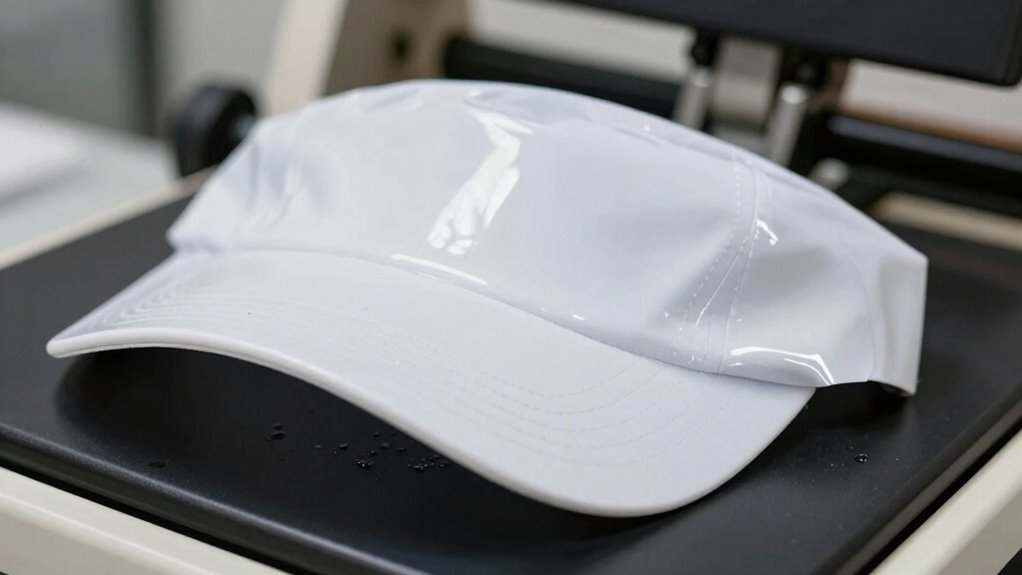
- Pre-press hats to remove moisture and smooth wrinkles for better heat transfer.
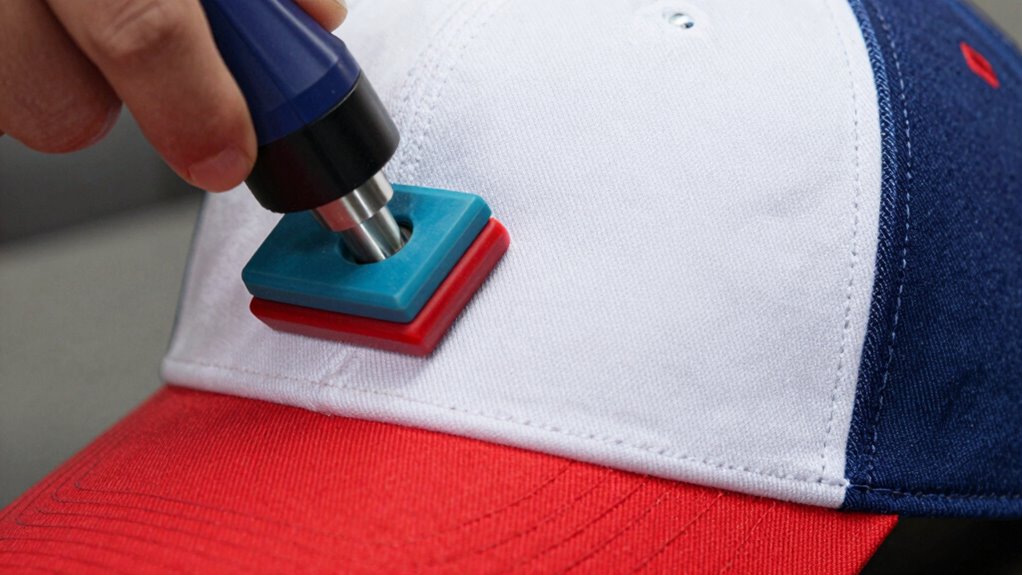
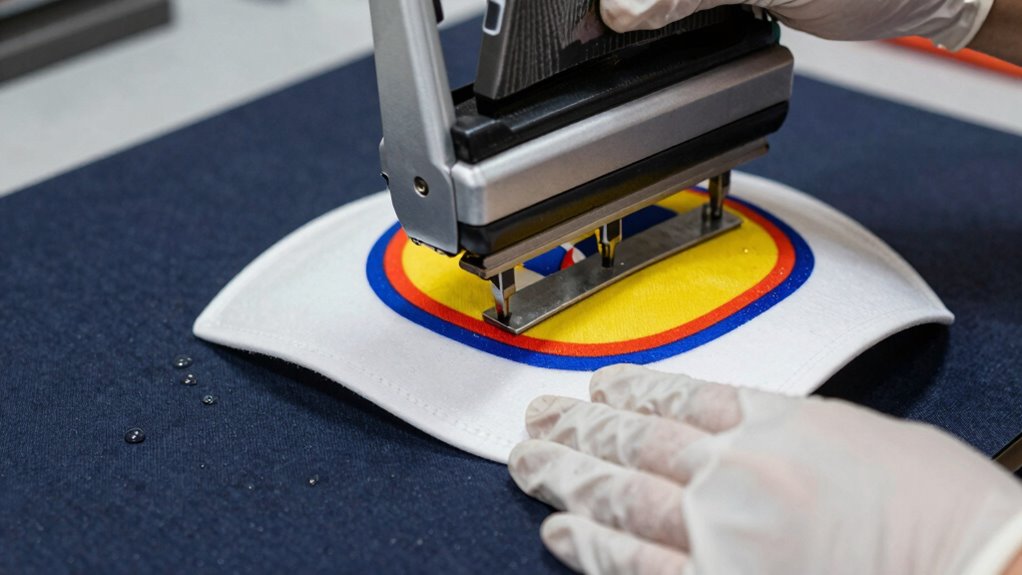
- Secure designs with heat-resistant tape and align along natural hat curves for perfect placement.
- Adjust temperature, pressure, and time carefully to accommodate different hat materials and shapes.
- Regularly check for even heat distribution and proper adhesion to ensure a professional finish.
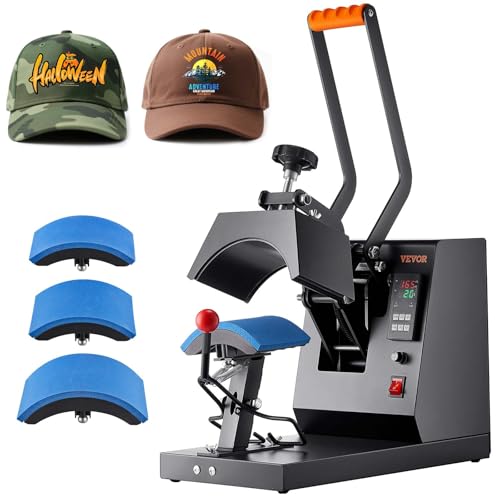
VEVOR 4-in-1 Heat Press Machine for Hats with 6x3inches Curved Teflon-Coated Heat Plate, Easy Temperature Control Non-Slip Base, Four Replaceable Elements 6×3/6.7×2.7/6.7×3.8/8.1×3.5inches
4-in-1 Unforgettable Hat Press: Imagine when you pick up a hat to wear, you can see your children,…
As an affiliate, we earn on qualifying purchases.
As an affiliate, we earn on qualifying purchases.
Choose the Best Heat Press for Hats
Choosing the right heat press for hats is essential to achieving professional-quality results. When it comes to hat customization, you need a heat press specifically designed for curved surfaces. Look for models with adjustable pressure and a swing-away or clam-shell design, which allow you to easily position heat transfer materials accurately. A hat heat press with a curved or concave platen is ideal because it provides even pressure across the hat’s surface, preventing gaps or misalignment. Additionally, consider the size of the platen—larger ones make it easier to work on various hat styles. Using the correct heat press ensures your heat transfer adheres well, giving you clean, crisp designs every time. Proper pressure regulation is crucial for consistent results when pressing on curved surfaces. This investment is key to producing high-quality, professional-looking custom hats. To ensure even results, always monitor moisture levels and allow the hat to dry thoroughly before pressing. Maintaining consistent temperature settings also helps achieve optimal adhesion and durability of your designs. Incorporating a test press before starting your main project can help fine-tune your settings and prevent mistakes. Regularly inspecting your equipment and understanding the pressing techniques can also improve overall quality.

HTVRONT Hat Press Machine – Hat Press Heat Machine for Caps with 2 Platens & Caps Stretcher, White Hat Heat Press Machine for Caps with Memory Mode and Non-Slip Base for Heat Transfer Vinyl
【Heat Up Fast & Evenly】: HTVRONT hat press is designed a one-piece cast aluminum heating plate, compared with…
As an affiliate, we earn on qualifying purchases.
As an affiliate, we earn on qualifying purchases.
Prepare Your Hat and Design for Heat Pressing
Before pressing your design onto the hat, it’s important to start with a clean, dry surface. Ensuring your hat fabric is free of dust and moisture helps achieve better heat distribution and adhesion. Proper preparation prevents uneven transfers and prolongs the durability of your design. Using a high-quality heat press with adjustable temperature and pressure settings can further improve the transfer results. To prepare effectively:
- Clean the hat with a lint roller or cloth to remove debris.
- Pre-press the hat for 5-10 seconds to eliminate moisture and smooth out wrinkles.
- Use a heat-resistant barrier or transfer tape to protect the hat fabric.
- Position your design precisely, ensuring it’s centered and flat, for ideal heat transfer.
Adding a proper fabric preparation step, such as a quick check for moisture levels, can help prevent issues with transfer quality. Incorporating fabric moisture control techniques can further enhance adhesion and transfer longevity. Regularly monitoring air purifier maintenance can also ensure a clean environment, free of dust and humidity that could affect your heat press results. Taking the time for proper fabric prep can make a significant difference in achieving a professional-looking, long-lasting result.

HTVRONT HTV Heat Transfer Vinyl Bundle: 47 Pack 12" x 10" Iron on Vinyl for T-Shirt, 33 Assorted Colors with HTV Accessories Tweezers, Silhouette Cameo or Heat Press Machine
【EASY TO CUT & WEED & TRANSFER】The PU HTV heat transfer vinyl bundle is thin and smooth with…
As an affiliate, we earn on qualifying purchases.
As an affiliate, we earn on qualifying purchases.
Understand Common Challenges When Pressing Curved Hat Surfaces
When pressing curved hat surfaces, achieving even heat distribution can be tricky. You’ll also need to carefully manage alignment to guarantee your design stays centered. Addressing these challenges helps you get a professional, long-lasting press. Additionally, understanding modern car tech concepts like temperature control and pressure application can improve your results. A deeper knowledge of heat transfer principles can further help you optimize your press settings for different hat shapes and materials. Recognizing how pressure distribution impacts heat transfer can lead to more consistent results across various curved surfaces. Being aware of material properties such as fabric thickness and heat responsiveness can also significantly enhance your pressing outcomes. Moreover, considering device calibration ensures your heat press functions accurately, leading to better control over temperature and pressure settings.
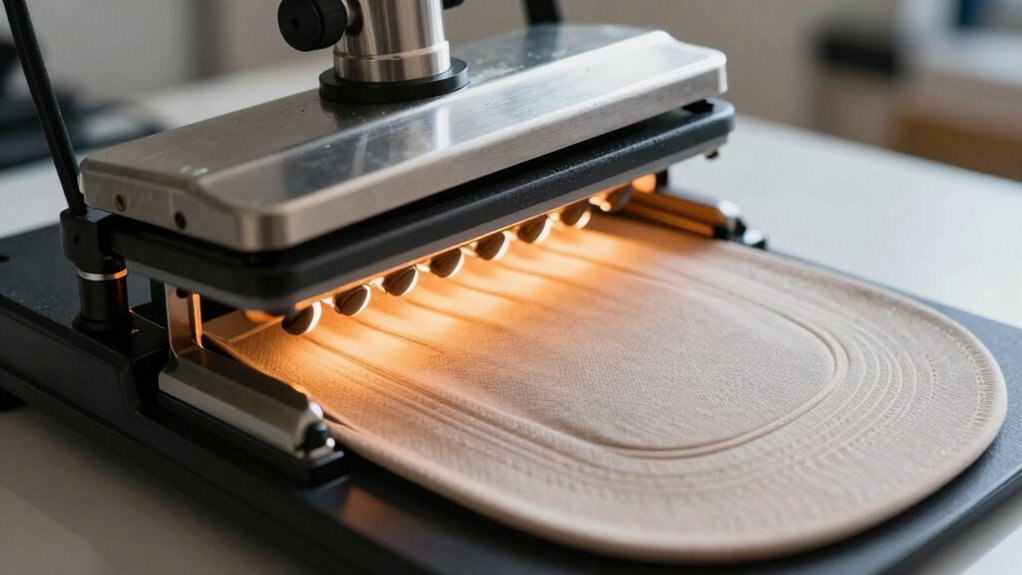
Achieving Even Heat Distribution
Achieving even heat distribution on curved hat surfaces can be challenging because the shape causes hot spots and uneven pressure. This affects heat transfer and makes moisture control difficult, risking inconsistent results. To improve, consider these tips:
- Use a well-designed hat press with a curved platen to ensure uniform contact.
- Apply consistent pressure across the entire surface to promote even heat transfer.
- Pre-press the hat to remove excess moisture, aiding uniform heat distribution.
- Adjust pressing time and temperature carefully, especially around the curves, to prevent hot spots and ensure even heat flow.
- Regularly check and maintain the sauna heater and cooling system to ensure consistent performance and prevent temperature fluctuations that can affect heat application. Additionally, understanding the thermal conductivity of materials can help optimize heat transfer and prevent uneven spots during pressing.
- Incorporate temperature sensors to monitor heat levels in real-time and make adjustments as needed for precise control. Monitoring heat distribution across the surface can help identify problem areas early and improve overall results.
Managing Curved Surface Alignment
Managing curved surface alignment is one of the most common challenges when pressing hats, as the hat’s shape can cause the transfer material to shift or misalign. To overcome this, focus on material flexibility—you need transfer materials that can bend and conform to curved edges without wrinkling or detaching. Using curved edge techniques, such as pre-pressing or creating a slight stretch in the transfer, helps ensure a smooth, even application. Properly securing the hat with heat-resistant tape prevents shifting during press. It’s also essential to apply consistent pressure and use a press with adjustable settings to accommodate the hat’s contours. Additionally, understanding Free Floating principles can help optimize pressure distribution and prevent bunching or misalignment during application. Employing pressure mapping techniques can further identify uneven pressure points, leading to more precise results. Incorporating these techniques into your process allows for better control over the transfer on complex, curved surfaces. Being mindful of pressure distribution can make a significant difference in achieving professional-looking results despite the curved surface challenges. With these strategies, you’ll improve alignment and achieve professional-looking results despite the curved surface challenges.

MEBMIK 4 Rolls 20mm x16m(52FT) Heat Tape High Temperature Heat Resistant Tape Heat Transfer Tape for Heat Sublimation Press Vinyl,No Residue
Heat transfer tape is a polyimide film tape with a high temperature resistant adhesive.
As an affiliate, we earn on qualifying purchases.
As an affiliate, we earn on qualifying purchases.
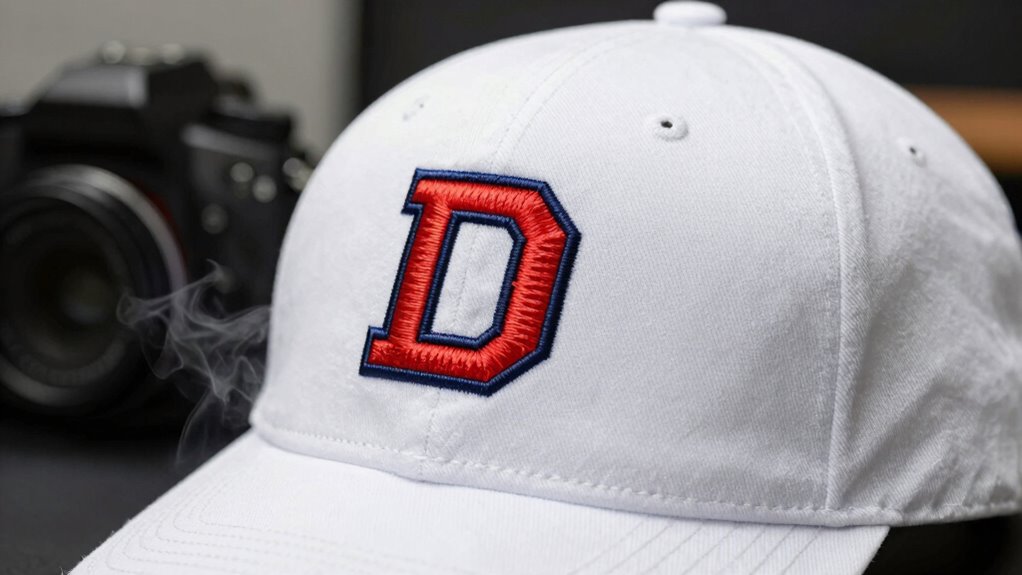
How to Position Designs Correctly on Curved Hats?
To position designs correctly on curved hats, start by aligning your design along the natural curve, ensuring it sits evenly. Use transfer tape to hold the design in place, making adjustments as needed before pressing. This approach helps achieve a smooth, professional look on even the most challenging hat surfaces. Additionally, understanding how air-based cooking fundamentals influence heat transfer can assist in applying even pressure and avoiding scorching or uneven pressing. Properly managing pressure application techniques based on material characteristics is crucial for achieving consistent results, especially when considering the total‑cost clarity involved in maintenance and proper application. Recognizing the importance of creative storytelling can also help craft a compelling brand narrative around your hat designs, increasing customer engagement and loyalty.
Aligning Design on Curve
Aligning your design on a curved hat can seem tricky at first, but with the right technique, it becomes much easier. Proper design placement and curve alignment ensure your artwork looks professional and well-positioned. To achieve this:
- Mark the center point of your design to match the hat’s front center.
- Use a template or draw guidelines that follow the hat’s natural curves.
- Place your design slightly above the brim, considering how the curve affects visibility.
- Double-check the curve alignment by holding the design in place before pressing, ensuring it contours smoothly.
Using Transfer Tape Effectively
Using transfer tape correctly is key to positioning your design precisely on a curved hat. Start by securing the transfer tape firmly over your design, ensuring it adheres smoothly without bubbles or wrinkles. This helps with accurate design alignment, especially on the curved surface of a hat. Before placing the design, mark the hat’s center and desired placement points to guide you. When applying, align the transfer tape with these marks, then gently press down from the center outward to avoid shifting. Using a squeegee or your fingers, ensure good contact between the transfer tape and the fabric. Once positioned correctly, carefully peel back the transfer tape, leaving the design perfectly aligned on the hat’s curve. Proper use of transfer tape guarantees a professional, centered look every time.
Strategies to Minimize Moisture and Prevent Warping During Pressing
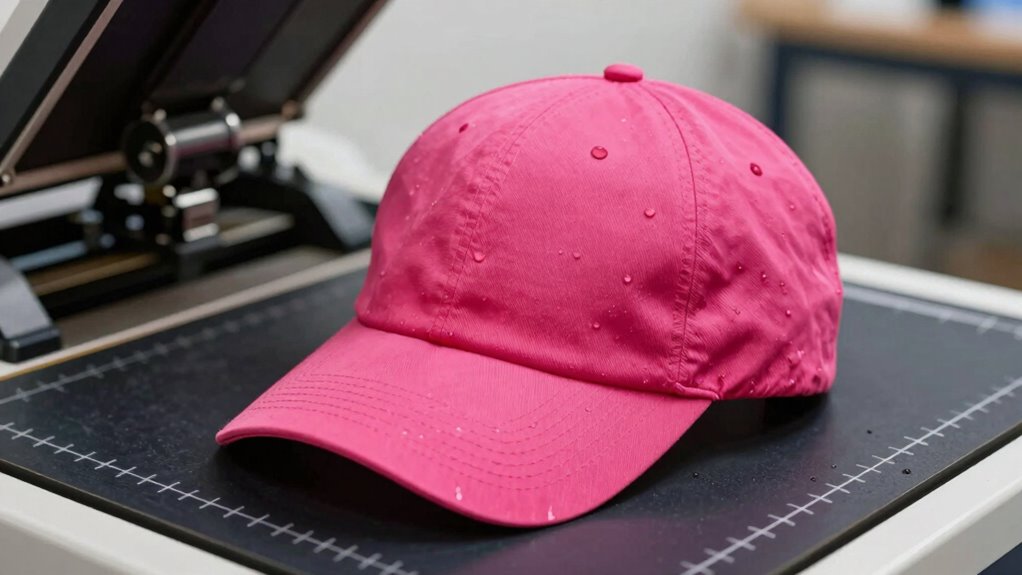
Moisture trapped in the fabric or transfer materials can cause pressing issues, so managing humidity levels is essential for a smooth, warping-free press. To improve moisture control and ensure warping prevention, follow these strategies:
Controlling humidity prevents moisture-related pressing issues and warping for a flawless finish.
- Store hats in a cool, dry place to reduce moisture buildup before pressing.
- Use a moisture-absorbing desiccant pack inside storage containers.
- Pre-press hats for a few seconds to release excess moisture and smooth out wrinkles.
- Maintain consistent, moderate heat settings to prevent rapid moisture evaporation, which can cause warping.
How to Handle Different Hat Materials and Textures?
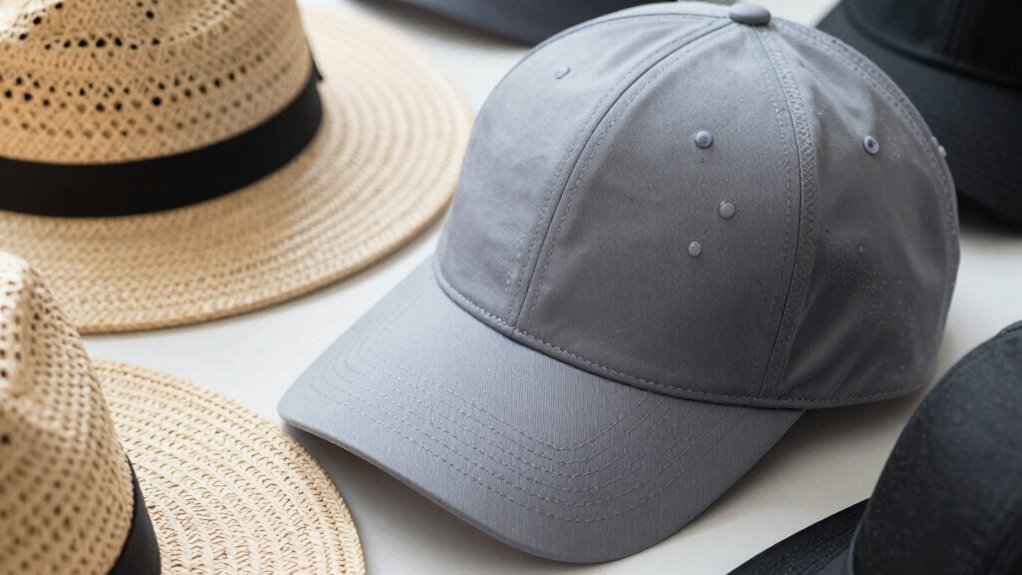
Different hat materials and textures require tailored pressing techniques to achieve the best results without damaging the fabric. Knowing the fabric textures helps you select the right heat, pressure, and time for each material. For example, cotton blends are more forgiving, while polyester or wool need gentler settings to prevent melting or warping. Confirm material compatibility by checking manufacturer instructions. Use a pressing pillow or curved platen to accommodate textured surfaces.
| Material | Recommended Technique | Caution |
|---|---|---|
| Cotton | Moderate heat, firm pressure | Avoid overheating |
| Polyester | Low heat, quick press | Prevent melting or shine |
| Wool | Low heat, gentle pressure | Protect delicate fibers |
| Synthetic | Very low heat, minimal pressure | Prevent damage or discoloration |
Top Mistakes to Avoid When Applying Heat to Curved Areas
Applying heat to curved areas can be tricky, and mistakes here often lead to uneven transfers or damage to the hat. To prevent issues, prioritize safety precautions to prevent burns or accidents. Make sure your heat press is clean using proper cleaning techniques to maintain even heat distribution. Here are common mistakes to avoid:
Avoid uneven transfers by practicing safe, careful heat application on curved hat areas.
- Applying too much pressure, which can distort the hat’s shape.
- Using incorrect temperature settings, risking damage or poor adhesion.
- Not adjusting for curvature, causing uneven transfer coverage.
- Neglecting safety precautions, like wearing heat-resistant gloves or working in a well-ventilated area.
How to Set Pressure and Temperature for Consistent Results?

To achieve consistent heat transfer on hats, you need to carefully set both pressure and temperature on your heat press. Start with proper pressure calibration by using a pressure gauge or test samples to ensure even force across the curved surface. Too much pressure can cause damage or uneven transfers, while too little results in poor adhesion. For temperature, use a reliable thermometer to verify your heat press’s actual temperature, maintaining temperature consistency between presses. Adjust the settings based on your transfer instructions and fabric type. Consistent pressure calibration and accurate temperature control are essential for uniform, professional results. Regularly check and calibrate your equipment to guarantee repeatability and avoid surprises during production.
Troubleshooting Common Issues: Misalignment, Peeling, Bubbles
Misalignment, peeling, and bubbles can ruin your hat press results if not addressed properly. You can fix misalignment by adjusting your hat’s positioning and ensuring your equipment is level. To prevent peeling and bubbles, use the right heat, pressure, and application technique every time.
Misalignment Causes and Fixes
Misalignment during heat pressing is a common issue that can lead to uneven transfers or peeling. To fix this, focus on proper hat positioning and design centering. Here are four key tips:
- Use a template or guide to guarantee consistent hat positioning.
- Check that the design is centered before pressing, using a ruler or grid.
- Secure the hat firmly to prevent shifting during heat application.
- Adjust the heat press settings if the hat’s curve causes uneven pressure.
Proper alignment depends on meticulous setup and attention to detail. Take your time to verify the design placement and guarantee the hat is stable. Correct hat positioning and design centering are vital for a flawless transfer.
Peeling and Bubbles Prevention
Peeling and bubbles are common issues that can ruin a professional-looking hat transfer, but they’re often preventable with proper techniques. First, verify fabric compatibility by selecting the right heat transfer material for your hat’s fabric type. Using incompatible materials can cause poor adhesion and bubbling. Additionally, maintain your heat press regularly; clean the plates and check for even heat distribution to prevent hot spots that cause bubbles. Properly pre-press the hat to remove moisture and wrinkles, as trapped moisture can lead to bubbling during pressing. Always apply consistent pressure and follow recommended temperature and time settings. Taking these precautions helps ensure a smooth, durable transfer and minimizes peeling and bubbles, resulting in a professional finish every time.
Final Checks for Durable and Professional Hat Designs
Before finalizing your hat design, it’s essential to perform thorough checks to guarantee durability and a professional appearance. Focus on the curved surface to ensure the design is evenly applied without wrinkles or bubbles. Moisture control is vital; any residual moisture can cause peeling or poor adhesion.
To confirm your hat is ready, check these key points:
- Confirm the design is centered and aligned on the curved surface.
- Ensure the hat is completely dry, free of moisture, before pressing.
- Verify the pressure and temperature settings match the material specifications.
- Inspect for any wrinkles or uneven areas that could affect the final look.
Doing these checks helps you achieve a clean, durable, and professional hat design every time.
Frequently Asked Questions
How Do I Prevent Design Distortion on Curved Hat Surfaces?
To prevent design distortion on curved hat surfaces, you should follow contour-specific heat pressing techniques. Use a curved hat press or a customized hat hat form to match the surface contours, ensuring even pressure. Carefully align your design to avoid stretching or warping, and consider using heat-resistant transfer tape for secure placement. This approach helps maintain design integrity and prevents distortion, giving you a professional, smooth finish every time.
What Tools Help Achieve Precise Design Placement on Uneven Hat Areas?
Think of achieving precise design placement like building a sturdy bridge—accuracy matters. Measuring rulers and placement templates are your best tools for this. I once used a placement template on a curved hat, and it kept my design perfectly aligned despite the uneven surface. These tools help you measure and mark exact spots, ensuring your design stays centered and professional, even on tricky, uneven hat areas.
How Can I Tell if My Hat Material Is Suitable for Heat Pressing?
To determine if your hat material is suitable for heat pressing, start with fabric testing by applying a small, inconspicuous area of the hat to see how it reacts to heat and pressure. Check the label for material compatibility, ensuring it can withstand the temperature and pressure settings of your heat press. If the fabric responds well during testing, you’re good to proceed; if not, consider alternative methods or different materials.
What Techniques Reduce Moisture Buildup in Hats Before Pressing?
To prevent moisture buildup before heat pressing, you should focus on hat drying techniques. Use a clean towel to absorb excess moisture or let your hat air dry in a well-ventilated area. Applying gentle heat with a hairdryer can also speed up moisture prevention. Ensuring your hat is completely dry helps achieve better adhesion and prevents issues caused by trapped moisture during the heat press process.
How Do I Adjust Heat Press Settings for Different Hat Textures?
You should adjust the heat settings based on your hat fabric type. For delicate materials like polyester or cotton blends, lower the temperature to prevent damage. For sturdier fabrics like wool or denim, increase the heat slightly for better adhesion. Always start with a lower setting and test on a small area first. This guarantees you get the best results without harming the hat, regardless of its fabric type.
Conclusion
With the right tips and techniques, you’ll master the art of heat pressing hats like a pro. Think of it as guiding a delicate dance—curves, moisture, and placement all in harmony. Stay patient, keep your settings consistent, and watch your designs come to life perfectly. Remember, each hat is a canvas, and with practice, you’ll turn every press into a work of art that lasts as long as your passion for craftsmanship.