
To screen print at home, start with sturdy frames and coat them evenly with emulsion in a dark room, then expose your design using a UV light source. Once the emulsion is properly set, rinse out your stencil, set up your screen, and use consistent pressure with your squeegee to pull ink across the surface. Proper drying techniques guarantee crisp results, and mastering these steps helps create professional-quality prints—keep exploring to perfect your process.
Key Takeaways
- Choose the right frame size and secure it properly for accurate alignment during printing.
- Apply emulsion evenly onto the screen and use a light source for exposure to create your stencil.
- Use a squeegee with appropriate pressure and angle to ensure consistent ink pulls on your design.
- Maintain a clean workspace and clean screens immediately after printing for optimal results.
- Dry prints thoroughly using heat guns, flash dryers, or household ovens to prevent smudging and cracking.
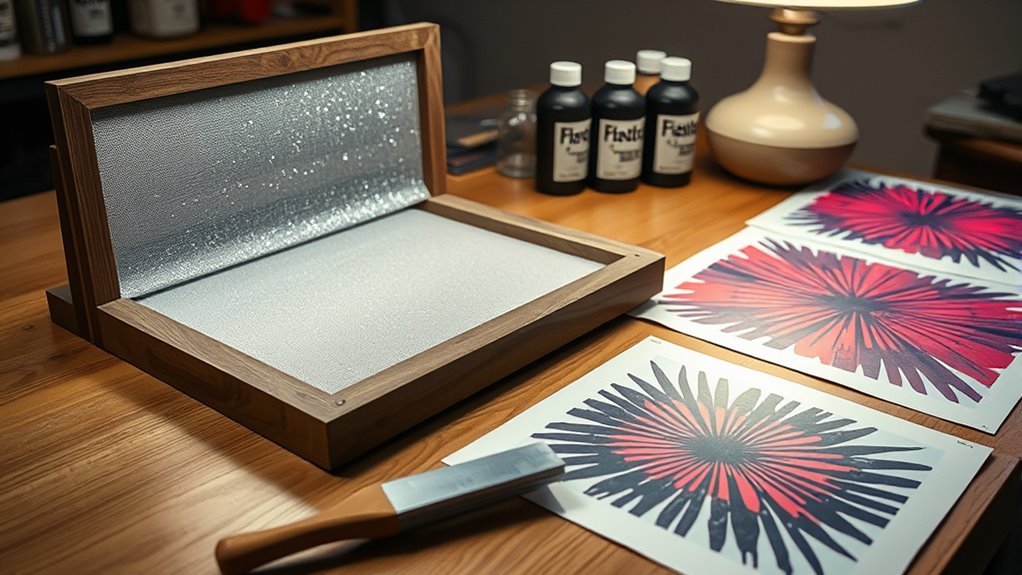
Ever wondered how to create professional-looking designs right in your own space? The key begins with choosing the right ink and mastering drying techniques. When selecting ink, you want options that suit your project—water-based inks are great for eco-friendly, easy-to-clean prints, while plastisol inks provide vibrant colors and durability. Consider the fabric or surface you’re printing on, as different inks perform better on specific materials. Once you’ve picked your ink, pay attention to drying techniques; proper drying ensures your design stays crisp and prevents smudging or cracking later. Using a heat gun, flash dryer, or even a household oven, you can control the drying process to achieve a smooth, durable finish. Keep in mind, thin layers of ink dry faster and more evenly, so don’t overload your screen during printing.
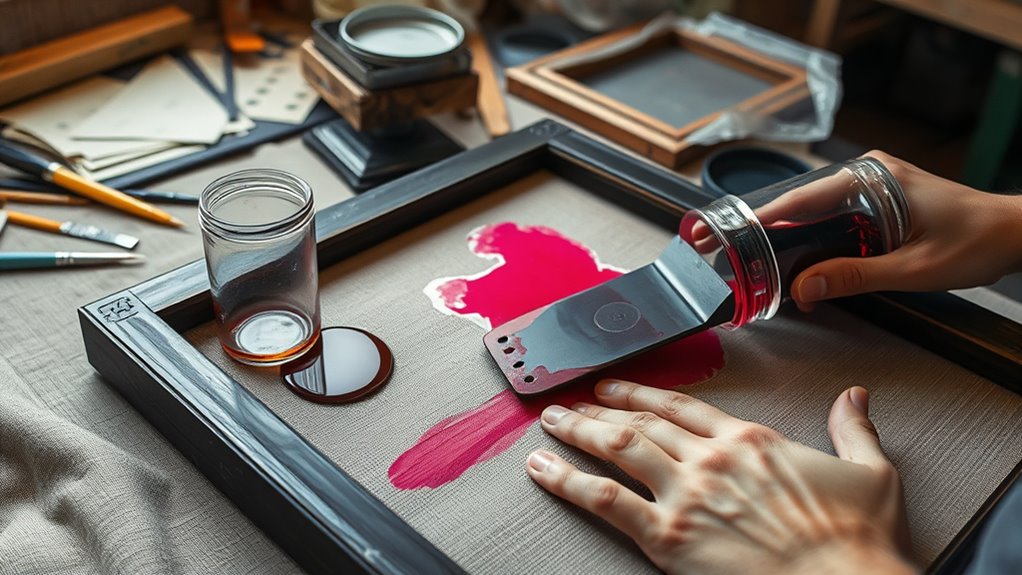
When you’re ready to start printing, ensure your workspace is well-ventilated and organized. Set up your frame securely, making sure your design is aligned properly. As you pull the squeegee across the screen, maintain consistent pressure for even distribution of ink. The ink’s consistency will influence your print quality—thicker inks may require more careful handling, but they often produce more vibrant results. After each print, check the ink’s dryness before stacking your items. Rushing this step can lead to smudges or fingerprints in your final design. If you notice the ink isn’t drying quickly enough, adjust your drying techniques by increasing airflow or using a higher temperature source. Conversely, if the ink dries too fast, it might clog your screen or cause uneven prints, so find the perfect balance.
Handling your inks properly extends their life and keeps your prints looking sharp. Always stir the ink thoroughly before use to prevent pigment separation, which can cause inconsistent color. Cleaning your screen immediately after printing with appropriate solvents helps prevent clogging and maintains clarity for future designs. When it comes to drying, patience is key—rushing the process can ruin your work. Place your printed items in a dust-free, well-ventilated space, and allow adequate drying time based on the ink type and thickness. For larger batches, consider investing in a conveyor dryer or a dedicated drying rack, which can streamline your workflow and ensure uniform results. Additionally, selecting the appropriate ink for your specific project can significantly impact the durability and quality of your prints. Mastering ink selection and drying techniques empowers you to produce professional-quality prints at home, turning your creative ideas into tangible, eye-catching designs with ease.
Frequently Asked Questions
What Types of Fabrics Are Best Suited for Home Screen Printing?
You should choose fabrics with minimal stretch and good dye absorption for home screen printing. Cotton is ideal because it stays stable during printing and absorbs ink well, resulting in vibrant images. Linen and hemp also work well, offering similar qualities. Avoid stretchy fabrics like jersey or spandex, which can distort your design. Focus on fabrics that hold their shape and absorb dye efficiently to make certain of clean, crisp prints every time.
How Long Does It Take for Emulsion to Fully Dry?
Emulsion typically takes about 15 to 30 minutes to fully dry under ideal drying conditions. You should guarantee good air circulation, avoid direct sunlight, and keep the room at a moderate temperature to speed up the emulsion drying time. If the environment is humid or too cold, it might take longer. To get the best results, wait until the emulsion feels dry and slightly tacky before exposing it to light.
Can I Reuse My Screen Frames Multiple Times?
They say “a stitch in time saves nine,” and that applies to your screen frames too. You can absolutely reuse your screen frames multiple times if you handle them with care. Proper cleaning and reuse techniques help maintain screen frame durability, ensuring they stay in good shape for future projects. Just make sure to thoroughly clean emulsion and ink residue, so your frames remain reliable and ready for the next print run.
What Safety Precautions Should I Take During the Process?
You should always wear protective gear like gloves and goggles to prevent exposure to chemicals. Make certain good ventilation by working in a well-ventilated area or using fans to avoid inhaling fumes from emulsion and cleaning solvents. Keep your workspace clean and follow manufacturer instructions carefully. Taking these ventilation precautions and wearing protective gear helps protect your skin, eyes, and respiratory system during the screen printing process.
How Do I Fix Mistakes or Blotches on My Print?
Think of fixing mistakes like mending a tiny tear in a tapestry. To correct blotches, gently touch up the area with a fine brush using the same ink or emulsion. To prevent future blotches, make sure your screen is clean and evenly coated, and watch for uneven ink application. Touch-up techniques help hide errors, but consistent blotch prevention keeps your prints crisp and professional.
Conclusion
Now that you’ve learned the basics of screen printing at home, you’re ready to bring your designs to life. Think of it like painting with a thousand tiny brushes, each one creating a masterpiece. With patience and practice, you’ll turn simple frames and emulsions into works of art that reflect your creativity. So, roll up your sleeves and start printing—your next masterpiece is just a few pulls away.