To fix your handmade photos and make them look more professional, start with proper lighting setup. Use natural light near windows during the day or soft artificial sources, and place lights at angles like 45° to soften shadows. Incorporate diffusers or bounce surfaces to diffuse harsh light, and adjust your camera settings for perfect exposure, white balance, and clarity. Small tweaks can make a big difference—keep exploring these simple tricks to elevate your pictures even more.
Key Takeaways
- Use diffusers or bounce light to soften harsh shadows and create a more polished, professional look.
- Position lights at angles (around 45°) to evenly illuminate your handmade items and avoid unflattering shadows.
- Incorporate reflectors or white surfaces to bounce light and enhance brightness without harshness.
- Control color temperature by choosing natural light or adjusting artificial lights for true-to-life colors.
- Fine-tune camera settings like white balance, aperture, and ISO to optimize exposure and color accuracy.

NEEWER 22 Inch/60 Centimeter Light Reflector Light Diffuser 5 in 1 Collapsible Multi Disc with Bag – Translucent, Silver, Gold, White, and Black for Studio Photography Lighting and Outdoor Lighting
Use it stand alone or simply zip on whichever surfaces you wish to use to changes the lighting…
As an affiliate, we earn on qualifying purchases.
As an affiliate, we earn on qualifying purchases.
Why Good Lighting Makes Your Handmade Photos Look Professional
Good lighting is essential because it highlights the details and colors of your handmade creations, making them look more polished and professional. The right color temperature can warm up or cool down your photos, giving your items a true-to-life appearance. Proper light intensity ensures your products aren’t washed out or too dark, maintaining clarity and vividness. When your lighting matches the color temperature of your surroundings, your photos will look natural and appealing. Adjusting light intensity helps you avoid harsh shadows or overexposure, which can detract from your work’s quality. By controlling these elements, you create a balanced, inviting scene that showcases your craft in the best light possible, elevating your photos from amateur to professional. Additionally, understanding contrast ratio can help you achieve a more dynamic and visually compelling image. Using a simple lighting setup can make a significant difference without requiring expensive equipment. Moreover, experimenting with light positioning allows you to find the most flattering angles and effects for your handmade items. Incorporating lighting modifiers can further refine the quality of your light and enhance your overall presentation. Paying attention to light diffusion also helps produce softer shadows and a more natural look.

Skytex Softbox Lighting Kit(2Pack), 20x28in Soft Box | 85W 2700-6400K E27 LED Bulb Continuous Photography Lighting, Photo Studio Lights Equipment for Camera Shooting, Video Recording
The kit included: 2pcs 20" x 28"/50cm x 70cm Softbox +2pcs 85W 2700-6400K 100V-240V LED Light Bulb +…
As an affiliate, we earn on qualifying purchases.
As an affiliate, we earn on qualifying purchases.
How to Check Your Photos for Lighting Problems
Before you can fix lighting issues in your photos, it’s important to identify what’s wrong. Start by examining your images for uneven lighting or harsh shadows. Check the color temperature—does the photo have a warm, yellowish hue or a cold, bluish tint? These clues reveal if your light source is too warm or too cool. Also, look at how light diffusion affects your shot; if light is harsh and direct, it creates unflattering highlights and shadows. Soft, well-diffused light produces more even exposure and better color accuracy. Use your camera’s histogram or review the photo’s highlights and shadows to spot areas of overexposure or underexposure. Recognizing these lighting problems is the first step toward improving your photos. Additionally, understanding the differences between lighting styles like pomade, putty, and styling cream can help you achieve the right look for your shoot’s mood and texture to enhance your overall setup. Being aware of lighting quality can significantly improve the professionalism of your images and make your subject stand out. Properly assessing your lighting setup enables you to detect and correct issues more effectively.

Meking 12" x 8" Light Reflector, 3 in 1 Photography Reflector Cardboard, Folding Light Diffuser Board for Food and Product Photography Lighting- Black, Silver and White
3 Color in One Light Reflector: White, black and silver surface, both front and back can be used….
As an affiliate, we earn on qualifying purchases.
As an affiliate, we earn on qualifying purchases.
Choosing the Best Light Source: Natural or Artificial?
Choosing the right light source is essential for capturing clear, appealing handmade photos. Natural light offers a soft, consistent light color that enhances colors and textures naturally. It’s ideal if you want a warm, authentic look, especially during the day near windows. Artificial light gives you more control over light intensity, allowing you to adjust brightness precisely to avoid harsh shadows or overexposure. When selecting between natural and artificial sources, consider your space and timing. Natural light shifts throughout the day, so it’s best for consistent results to shoot in the same conditions. Artificial lighting can be customized to match your desired light color and intensity, giving you flexibility regardless of the time. Both options can produce professional-looking photos with proper setup.

Photography Lighting Kit Dimmable 5600K USB Led Video Studio Streaming Lights with Adjustable Tripod Stand and Color Filters for Table Top/Photo Video Shooting
【MULTIPLE-USE LED LIGHTING SET】 The small LED panel light (5.73×3.78 inches/14.5× 9.6 centimeters) can be 180 degree adjustable,…
As an affiliate, we earn on qualifying purchases.
As an affiliate, we earn on qualifying purchases.
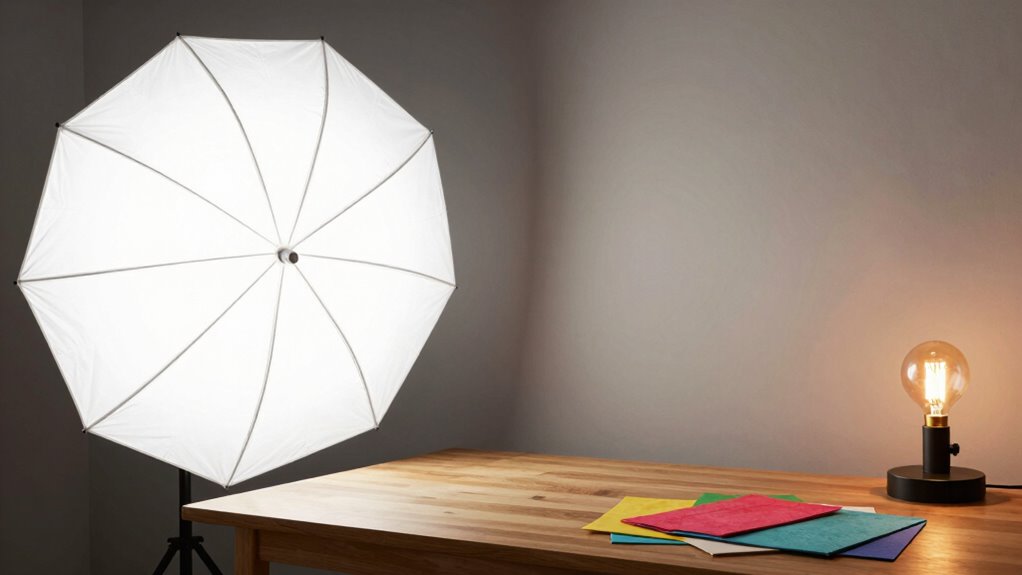
How to Set Up a Simple DIY Lighting Station at Home
Setting up a DIY lighting station at home is easier than you think. Start by choosing the right light source that fits your space and needs, whether natural or artificial. Then, arrange your setup simply to get the best lighting angles without hassle. Additionally, consider proper lighting techniques to enhance photo quality and avoid a “cheap” look. Using energy-efficient lighting options can also help reduce power consumption while maintaining excellent illumination. Understanding lighting fundamentals can further help you achieve a professional appearance in your photos. Properly managing lighting setup and selecting the appropriate space-heating solutions can make a significant difference in your final images.
Choosing the Right Light Source
Selecting the right light source is essential for capturing clear, vibrant handmade photos. You want a light with a consistent light color, ideally a neutral white around 5000K, to accurately showcase your work’s true colors. Avoid overly warm or cool tones that can distort your images. When choosing a light, consider adjustable power levels to control brightness without changing your setup. This flexibility helps you fine-tune your lighting for different objects and backgrounds. LED lights are a popular choice because they offer adjustable color temperatures and brightness, plus they produce less heat. Make certain your light source provides even illumination and minimizes shadows, helping your handmade items look professional and appealing in every shot. Additionally, choosing a diffused light source can help soften shadows and create a more evenly lit scene, enhancing the overall quality of your photos.
Arranging Your Setup Effortlessly
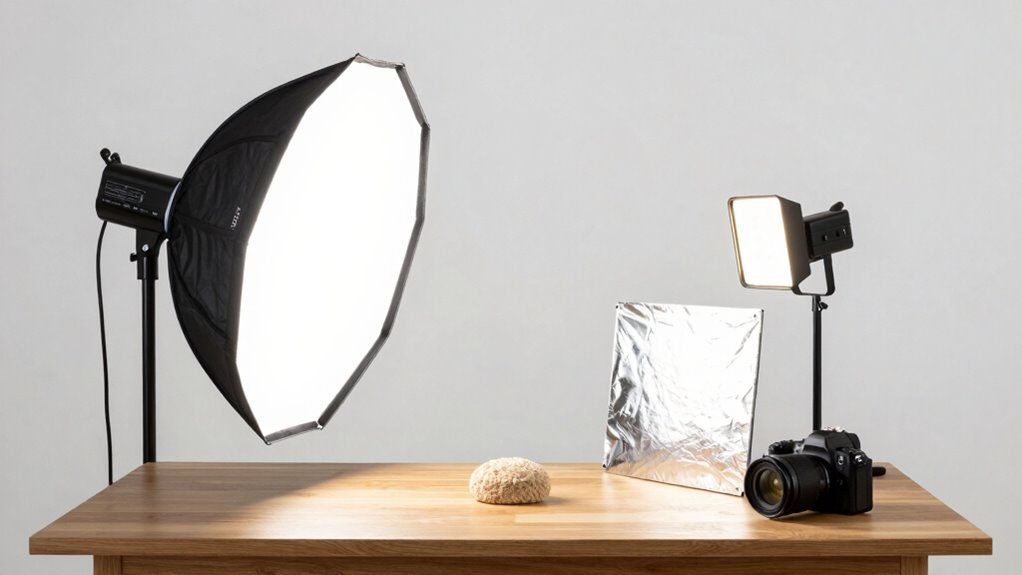
Creating a simple DIY lighting station at home is easier than you might think and can make a big difference in your handmade photos. To arrange your setup effortlessly, focus on proper lighting placement and keeping equipment organized. Start by placing your light sources at an angle that avoids harsh shadows but highlights your details. Use simple stands or household items to hold lights steady. Keep your equipment organized by designating a dedicated space for cords, reflectors, and diffusers. Consistent lighting quality is essential for professional-looking results. Understanding cloud computing principles can help you better manage your digital assets and ensure your workflow remains smooth and secure. Proper lighting placement helps achieve even coverage and highlights your subject without unwanted shadows. Additionally, maintaining a clean setup minimizes distractions and makes adjustments easier. To further enhance your setup, consider using diffusers and reflectors to control light softness and direction. Here’s a quick guide:
| Step | Action | Tip |
|---|---|---|
| 1 | Choose a neutral background | Avoid clutter in shot |
| 2 | Position lights at 45° angles | Softens shadows |
| 3 | Use reflectors/diffusers | Soften light evenly |
| 4 | Keep cords tidy | Prevent accidents |
| 5 | Adjust for even coverage | Test before shooting |
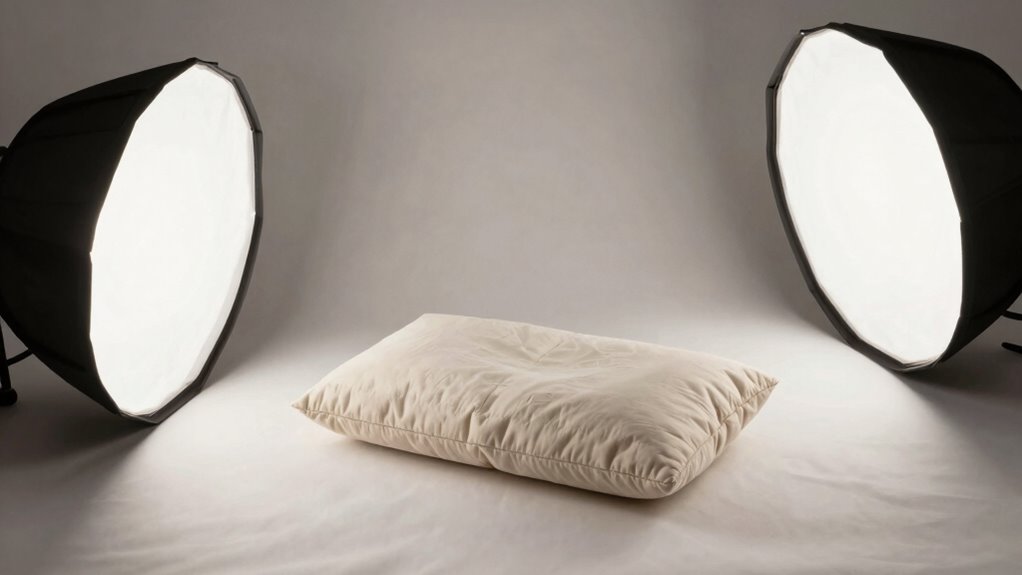
Positioning and Diffusing Light to Eliminate Shadows
To effectively eliminate shadows in your handmade photos, you need to carefully position your light sources and use diffusers. Proper diffuser placement is key to softening light and reducing harsh shadows. Place your diffuser close to the light source to spread light evenly across the subject, ensuring no sharp edges or dark spots appear. Experiment with angling the diffuser slightly to direct light where you need it most, which helps with shadow elimination. If shadows still persist, try adding additional diffusers or bouncing light off nearby surfaces. The goal is to create a uniform, gentle glow that minimizes contrast and shadows. By thoughtfully positioning your diffusers and adjusting their placement, you’ll achieve a well-lit scene that enhances your handmade product’s appeal. Understanding the importance of lighting setup can help you optimize your entire photography environment for better results.
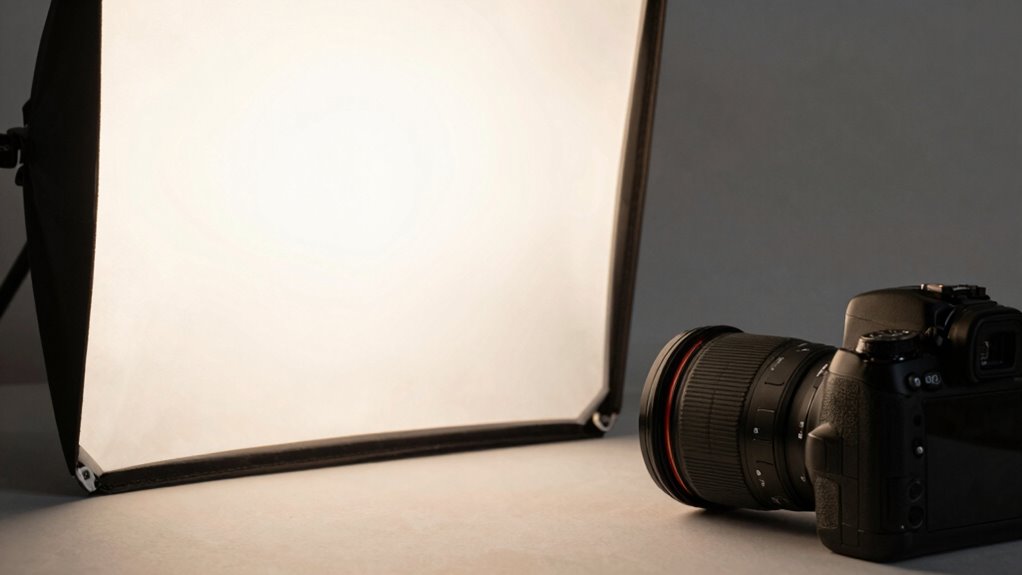
Adjusting Camera Settings for Perfect Lighting
Once you’ve positioned your diffusers to soften the light, fine-tuning your camera settings can make a significant difference in capturing the best possible image. Adjust your white balance to match your lighting setup, ensuring colors appear natural and accurate. If your camera has multiple modes, switch to aperture priority or manual mode to control exposure precisely. Lower ISO settings reduce noise, giving your photos a cleaner look, while adjusting the aperture allows you to control depth of field, making your subject pop. Keep an eye on the exposure meter to avoid over- or underexposure. Experiment with these settings until you achieve balanced lighting. Properly adjusting your camera settings helps your handmade photos look professional and inviting, elevating their overall quality. Understanding camera modes can help you make more precise adjustments for optimal results. Additionally, familiarizing yourself with electronic components such as camera sensors and their impact on image quality can further enhance your photography skills. Exploring sensor performance can provide deeper insights into how your camera captures light and detail.
Troubleshooting Common Lighting Issues and Fixing Them
When your photos don’t look right, start by evaluating the ambient light around you to identify any inconsistencies. Next, experiment with adjusting the placement of your lights to eliminate harsh shadows or uneven brightness. These simple steps can often resolve common lighting issues quickly and effectively. Additionally, consider the use of adaptive lighting features to enhance your photos and create more balanced illumination. Proper lighting setup is essential for achieving professional-looking images and avoiding a “cheap” appearance. To further improve your results, learn to recognize and control light diffusion for softer, more natural light, which can also be enhanced with lighting modifiers for optimal results.
Assess Ambient Light Conditions
Evaluating your ambient light conditions is a crucial first step in troubleshooting common lighting issues. Start by observing the ambient light in your space—note whether it’s natural or artificial, and how intense it is. The quality of this light greatly impacts your photos; harsh or uneven ambient light can create unwanted shadows or color casts. Check if the light source is consistent and whether it causes glare or flickering. If your ambient light is too dim or uneven, it can make your photos look flat or poorly lit. Understanding your current light conditions helps you decide if you need to supplement or modify the existing light to improve overall light quality. Proper assessment ensures you’re addressing the root cause of lighting issues before making adjustments.
Adjust Light Placement
Are your photos suffering from uneven lighting or unwanted shadows? The key is adjusting light placement to achieve better shadow control and even illumination. Experiment with different angles and distances of your light source to find the best setup. Moving the light closer can soften shadows, while angling it slightly above or to the side helps reduce harsh lines. If shadows are still prominent, try placing a reflector or white card opposite the light to bounce and diffuse it. Avoid placing lights directly in front or behind your subject, as this can create flat or unflattering results. Proper light placement ensures your handmade photos look professional, with balanced brightness and minimal shadow distraction. Small adjustments can make a significant difference in the overall quality.
Frequently Asked Questions
What Are the Best Affordable Lighting Options for Beginners?
You should start with natural light whenever possible; it’s free and creates a soft, natural look. For affordable bulbs, opt for LED or daylight bulbs, which give bright, consistent light without breaking the bank. Set up near a window during the day, and use inexpensive reflectors or white surfaces to bounce light and eliminate harsh shadows. These simple, budget-friendly options will instantly improve your handmade photos’ quality.
How Can I Improve Lighting Without Professional Equipment?
To improve lighting without professional equipment, start by utilizing natural light from windows, shooting during the day for soft, even illumination. You can also create DIY diffusers with white sheets or parchment paper to soften harsh sunlight. For example, placing a sheet of white fabric between your subject and the window reduces shadows and creates a more professional look. This simple setup boosts photo quality using only everyday items and natural light.
What Are Common Lighting Mistakes That Make Photos Look Cheap?
You often make your photos look cheap when you ignore lighting shadows and color temperature. Harsh shadows can create unflattering contrast, while inconsistent color temperature makes images look dull or unnatural. To fix this, soften shadows with diffusers or bounce light, and adjust your light source’s color temperature to match natural daylight. These simple steps help your handmade photos appear more polished and professional.
How Does Background Color Affect Lighting and Photo Quality?
Background color markedly impacts your photo’s lighting and overall quality. When you choose a background with good contrast, it helps your subject stand out clearly. Conversely, a background color that clashes or lacks harmony can make your image look flat or unprofessional. To improve your photos, select backgrounds that complement your subject’s colors, creating a balanced contrast and color harmony. This simple choice elevates your handmade photos instantly.
Can Editing Software Compensate for Poor Lighting in Photos?
Yes, editing software can help compensate for poor lighting in your photos. With photo editing, you can perform lighting correction to brighten dark areas, reduce harsh shadows, and enhance overall clarity. While it won’t replace good lighting entirely, it’s a useful tool to improve your images and make them look more professional. Just be mindful not to overdo it, as excessive editing can make photos look unnatural.
Conclusion
Don’t let poor lighting make your handmade photos look cheap. With a simple DIY setup, you can easily improve your images without expensive equipment. Even if you think you lack photography skills, adjusting your light source and positioning can make a huge difference. Remember, practice makes perfect—so experiment with different setups until your photos genuinely shine. You don’t need to be a pro to achieve professional-looking results; just a little effort and the right tips.