
To work safely and effectively with woodburning, always wear safety gear like eye protection, a dust mask, and heat-resistant gloves, and keep your workspace organized and well-ventilated. During shading, vary pressure and speed to create depth, layering strokes gradually for darker areas. Use different pen tips for varied effects and practice on scrap wood. Focusing on safety and technique helps produce professional results—and mastering these details can elevate your craft even further.
Key Takeaways
- Always wear safety glasses, masks, and gloves, and work in a well-ventilated, organized space to ensure safety during pyrography.
- Unplug tools when not in use and never leave hot tools unattended to prevent burns and fires.
- Use varying pressure and speed with different pen tips to create realistic shading and depth in your artwork.
- Build shading gradually with layered strokes, practicing on scrap wood to develop control and consistency.
- Combine safety precautions with patient, precise shading techniques for professional and safe pyrography results.

Woodburning can be a rewarding craft, but safety should always come first. When you’re working with heated tools, protecting yourself is essential to prevent accidents and health issues. Always wear appropriate safety gear, such as safety glasses to shield your eyes from stray sparks or wood splinters, and a dust mask to avoid inhaling fine particles. Consider wearing heat-resistant gloves if you’re handling the tool for extended periods or working on detailed designs to prevent burns. Ensuring a well-ventilated workspace is equally important, as fumes from the wood or the burning process can be harmful over time. Keeping your workspace organized and free of clutter minimizes the risk of accidental fires or injuries.
Prioritize safety with protective gear and a clutter-free, ventilated workspace during woodburning projects.
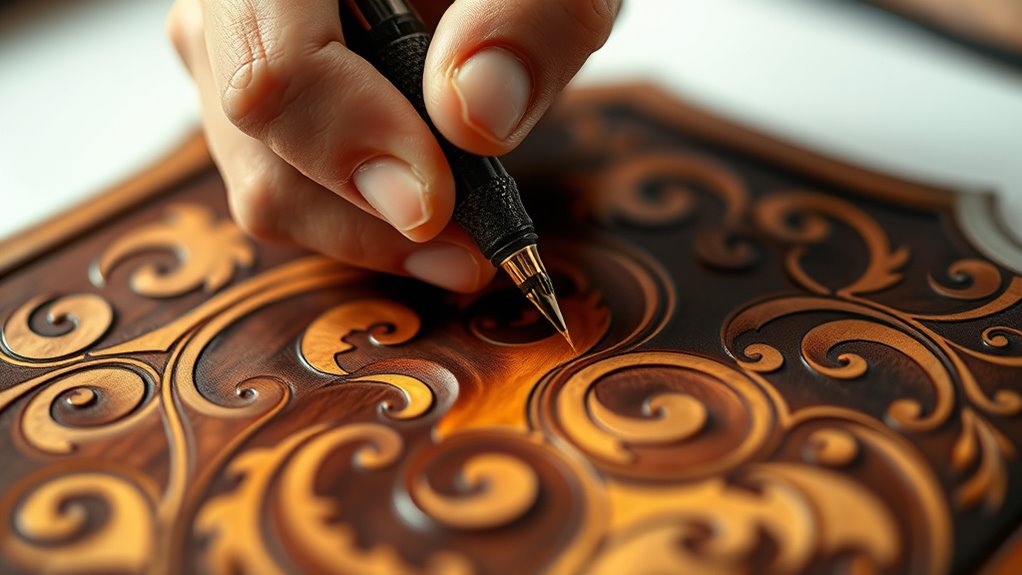
As you begin your project, mastering shading methods will greatly enhance the depth and realism of your artwork. Shading involves varying the pressure and speed of your pyrography tool, which allows you to create subtle progressions between light and dark areas. Light shading is achieved by using a gentle touch and moving the tool quickly across the surface, producing a soft, pale tone. For darker shading, press slightly harder and slow down your motion, depositing more heat and creating richer, deeper tones. Layering your strokes gradually builds the desired depth, so don’t try to achieve perfect shading in a single pass. Instead, work in multiple light layers, allowing each to cool before adding the next, which helps maintain control and prevents scorching the wood.
Another shading technique involves crosshatching, where you make intersecting lines to build up darker areas. You can also experiment with circular or stippling patterns for different textures and effects. Maintaining consistent pressure and speed is vital, as uneven shading can detract from the overall appearance. Using different pen tips can also influence shading style, with broader tips covering more area quickly or fine points offering detailed control. Remember, practice is key—try shading on scrap wood first to get a feel for your tool’s response and develop your technique. Additionally, understanding how financial considerations can influence your art supplies and safety investments can help you budget effectively for your craft.
Throughout your work, keep safety gear on at all times and be mindful of your surroundings. Never leave your pyrography tool unattended while hot, and always unplug it when not in use. Proper shading methods will help you achieve professional-looking results, but they require patience and attention to detail. By combining safety precautions with thoughtful shading techniques, you can enjoy the art of woodburning while protecting yourself and elevating your craft.
pyrography safety gear set
As an affiliate, we earn on qualifying purchases.
As an affiliate, we earn on qualifying purchases.
Frequently Asked Questions
Can I Use Regular Pencils to Practice Shading Before Pyrography?
Yes, you can use regular pencils for pencil shading to practice before pyrography. Graphite practice helps you understand shading techniques, tonal values, and blending, which are essential skills for pyrography. By experimenting with different pencil hardnesses, you learn how to control pressure and create smooth gradients. This preparation boosts your confidence and improves your shading skills, making your pyrography work more realistic and polished.
What Are the Best Ways to Remove Mistakes Without Damaging the Wood?
To remove mistakes without damaging your wood, you should use gentle eraser techniques first. A soft rubber eraser can lift light marks carefully. If the mistake is deeper, surface sanding with fine-grit sandpaper works well, but do so cautiously to avoid gouging the wood. Always test these methods on a small, hidden area first. This approach helps you correct errors while keeping your work smooth and intact.
How Do I Prevent My Pyrography Tool From Overheating During Long Sessions?
Think of your pyrography tool as a race car on a long track—you need to keep it cool to avoid overheating. To prevent this, practice good temperature management by adjusting the heat settings, and use cooling techniques like turning off the tool periodically or applying a fan nearby. Regular breaks help the tool breathe, ensuring it stays at the right temperature and performs smoothly during your long sessions.
Are There Eco-Friendly or Non-Toxic Materials for Woodburning Projects?
You can choose eco-friendly materials like sustainably sourced wood and natural, non-toxic finishes for your pyrography projects. Look for non-toxic sealants and dyes that are safe for the environment and your health. These options help reduce your ecological footprint while ensuring your artwork stays safe and beautiful. Always verify product labels to confirm they’re environmentally friendly and free from harmful chemicals, making your creative process both sustainable and safe.
How Can I Safely Store My Pyrography Tools to Prolong Their Lifespan?
To safely store your pyrography tools and prolong their lifespan, use proper storage solutions like heat-resistant cases or padded containers to prevent damage. Always unplug and let your tools cool completely before storing. Keep the tips clean and well-maintained by wiping away residue regularly. Organize your tools in a dry, safe place to avoid rust and corrosion. Consistent tool maintenance and thoughtful storage make certain your tools stay in top condition for future projects.
woodburning shading pen tips
As an affiliate, we earn on qualifying purchases.
As an affiliate, we earn on qualifying purchases.
Conclusion
Remember, safety keeps you secure, precision keeps your work perfect, and patience keeps your progress steady. Protect your eyes, work in a well-ventilated space, and always handle your tools with care. Practice shading techniques to add depth and dimension, and stay mindful of your craft’s details. Embrace safety, master shading, and enjoy every step of your pyrography journey. With focus and care, you’ll create beautiful, safe artwork that truly shines.
pyrography dust mask
As an affiliate, we earn on qualifying purchases.
As an affiliate, we earn on qualifying purchases.
heat-resistant gloves for woodburning
As an affiliate, we earn on qualifying purchases.
As an affiliate, we earn on qualifying purchases.