To stop echo and muffling in your craft room, start by adding soft materials like acoustic panels, foam wedges, or fabric wall hangings to absorb sound. Use soundproof curtains over windows and consider placing furniture away from reflective surfaces. Using a good quality microphone placed close to your voice also helps. Combine these solutions for better clarity, and if you keep exploring, you’ll find even more tips to improve your audio quality naturally.
Key Takeaways
- Install soundproof curtains and acoustic panels to absorb reflections and reduce echo within the craft room.
- Use soft materials like foam panels and fabric hangings on walls to dampen sound and minimize muffling effects.
- Arrange furniture strategically and avoid reflective surfaces to prevent sound bouncing and improve audio clarity.
- Position microphones close to your mouth, ideally 6-12 inches away, to capture clearer audio and reduce echo.
- Apply audio editing techniques such as noise reduction and equalization to enhance sound quality and eliminate background static.
Facing Echo and Muffled Voice in Your Craft Room? Here’s How to Fix It

Facing echo and muffled sound in your craft room? Here’s how to fix it. If you’re experiencing echo and muffled sound in your craft room, it can make recording tutorials frustrating. To fix this, start by adding soundproof curtains, which absorb sound and reduce reverberation. These curtains are easy to install and can be moved when not needed. Additionally, placing acoustic panels on your walls helps dampen sound reflections, creating a clearer recording environment. Acoustic panels are designed to absorb sound waves, preventing echo and improving audio quality. Understanding luxury soundproofing techniques can help you select the most effective materials for your space. Incorporating sustainable materials into your soundproofing approach can also enhance the eco-friendliness of your setup. Combining soundproof curtains with acoustic panels offers a simple, effective way to minimize echo and muffling. This setup doesn’t require complex construction and can be tailored to your space, making your tutorial recordings much more professional and enjoyable. Considering sound absorption strategies can further enhance your room’s acoustics and provide a more controlled audio environment. Additionally, using diffusers can help scatter sound waves evenly, reducing focal points of echo and improving overall sound clarity. Exploring contrast ratios in your room’s acoustics setup can help you optimize sound reflection and absorption for better audio quality.
Why Does My Craft Room Echo? Understanding Acoustic Challenges
Your craft room likely echoes because sound waves bounce off hard surfaces like walls, floors, and ceilings, creating reverberation. This bouncing sound causes your voice to echo, making it hard for viewers to hear clearly. To reduce this, consider installing soundproof curtains, which absorb some sound and prevent it from bouncing around. Acoustic panels are another effective solution; they are designed to absorb excess sound energy and improve overall acoustics. These panels can be strategically placed on walls to minimize echo and muffling. Understanding these acoustic challenges helps you create a space where your voice sounds natural and clear, improving the quality of your tutorials. Addressing echo with soundproof curtains and acoustic panels makes a noticeable difference in your recording environment. Acoustic treatment is a key step in optimizing your craft room for clear audio recordings. Incorporating sound absorption techniques such as diffusers or soft furnishings can further enhance your space’s acoustics, especially when combined with smart home automation to control sound-absorbing devices. Additionally, adding soft furnishings like rugs or cushions can help dampen sound reflection and improve overall audio clarity. Recognizing the role of sound reflection in echo can help you choose the most effective solutions for your space.
How to Reduce Echo and Improve Sound Reflection in Your Space
To effectively reduce echo and improve sound reflection in your space, start by adding soft, porous materials that absorb sound waves. Soundproof curtains are an easy, stylish way to dampen reflections and block noise from other rooms. Hang them over windows and doorways to minimize echo and improve clarity. Acoustic panels are another effective solution; place them on walls where sound tends to bounce most. These panels absorb sound energy, creating a balanced acoustic environment. Combining soundproof curtains with acoustic panels offers a noticeable reduction in echo and enhances sound quality for your tutorials. Remember, the goal is to break up sound waves and prevent them from bouncing around freely. Understanding acoustic properties can help you choose the right materials and placement for your specific space. Using sound absorption techniques effectively can make a significant difference in your recording space’s acoustics. Incorporating sound reflection principles can further optimize your setup for clearer audio. Additionally, considering room size and shape can help tailor your acoustic treatment to achieve the best results. Recognizing room acoustics is essential for developing an effective sound treatment plan.
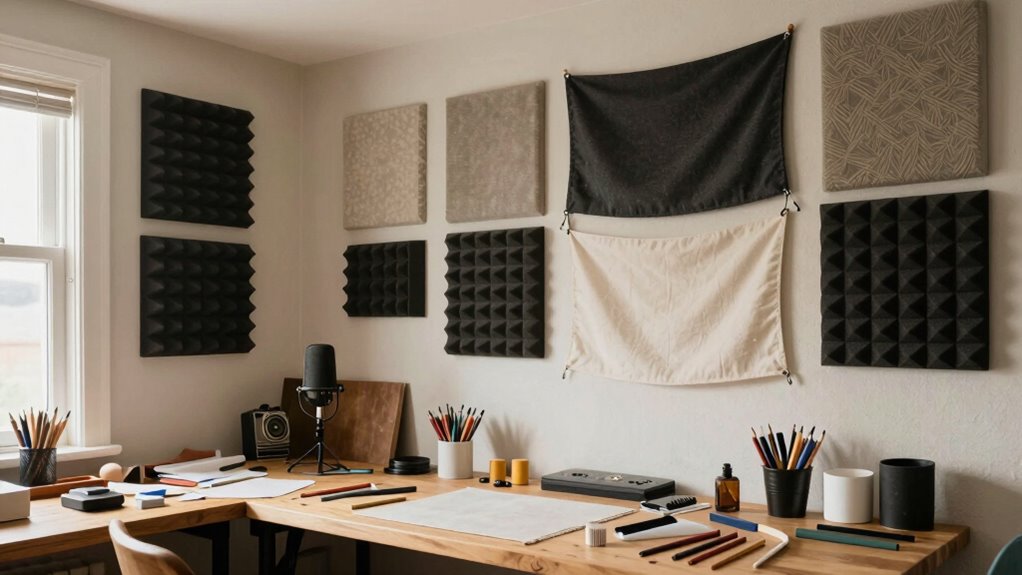
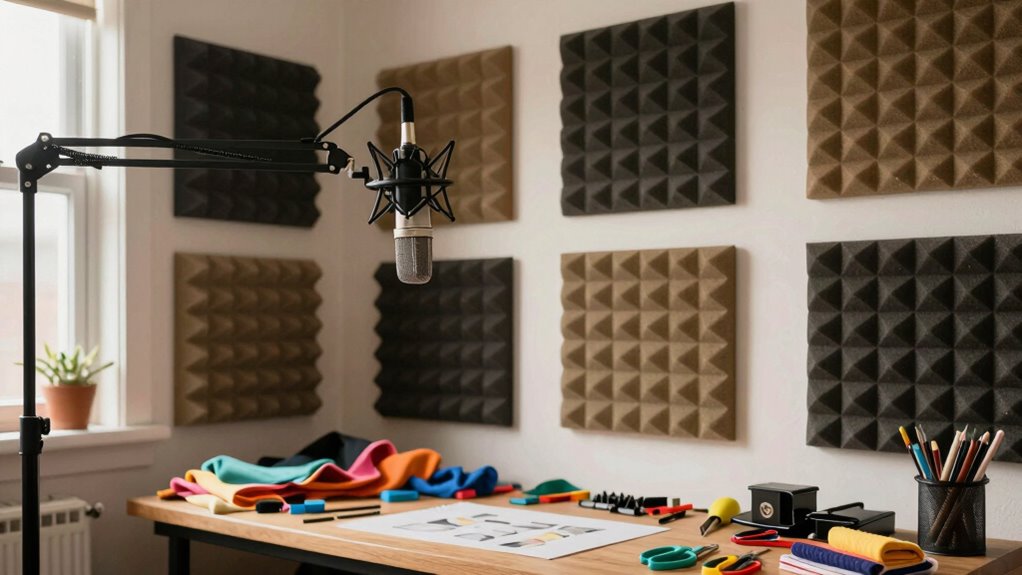
Using Sound Absorbers and DIY Treatments to Enhance Room Acoustics
To improve your room’s acoustics, choosing the right sound absorbers is essential. You can also craft effective DIY treatments that fit your space and budget. By selecting and making these solutions, you’ll create a clearer, more professional sound environment for your tutorials. Incorporating elements of Free Floating design can also help minimize sound transmission and improve overall acoustics. Additionally, understanding room acoustics principles can guide you in optimizing your setup for better sound quality. Applying soundproofing techniques can further enhance your space by reducing unwanted noise and echo. Exploring best laundry detergents can also help maintain your space by preventing odors that could interfere with audio clarity. Learning about sound absorption materials can help you choose the most effective options for your needs.
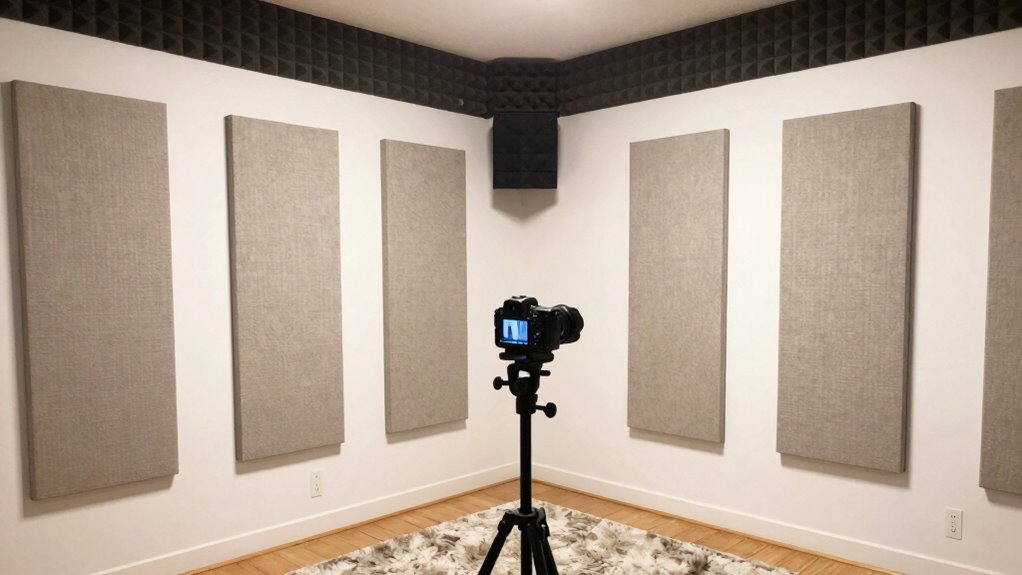
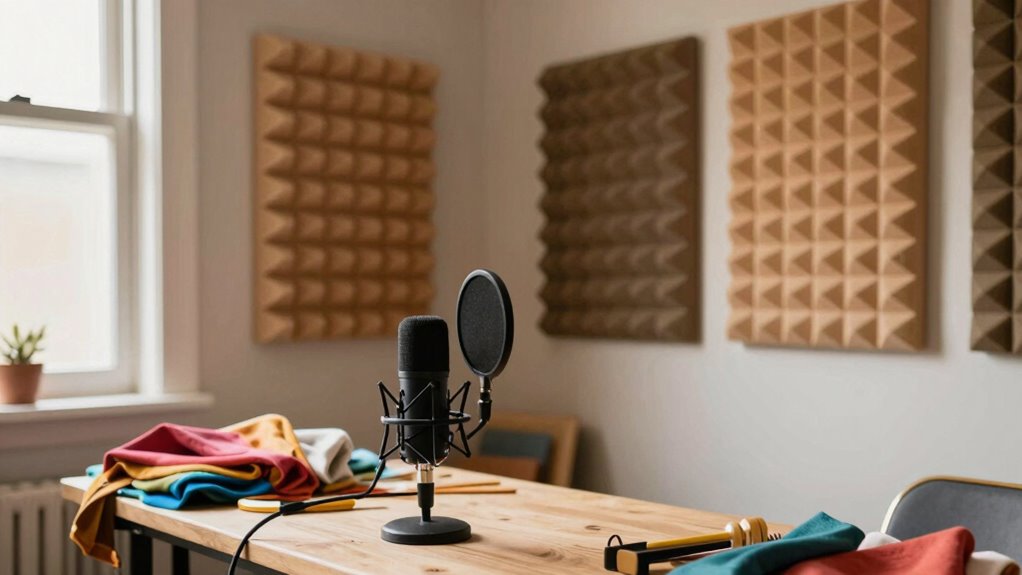
Selecting Effective Sound Absorbers
Choosing the right sound absorbers is essential for improving your room’s acoustics, especially if you’re aiming for clearer audio or a more balanced sound environment. Soundproof curtains can block out external noise and reduce echo, making your recordings cleaner. Acoustic foam panels are effective at absorbing mid and high frequencies, preventing muffling and echo buildup. When selecting absorbers, consider the room’s size and shape; larger or irregular spaces benefit from strategically placed panels. Incorporating proper room acoustics can significantly enhance sound quality and clarity. Combining soundproof curtains with acoustic foam panels gives you versatile options for controlling sound reflection and noise. Always aim for a balanced setup that covers key reflection points without overcrowding the space. Properly chosen sound absorbers will make your tutorials sound professional and clear. Additionally, understanding the cosmic influence on sound perception can help optimize your room setup for the best auditory experience. To further improve sound quality, consider the listener’s environment and how external factors may impact audio clarity. Knowing how to optimize room acoustics can make a substantial difference in your recording quality. Being aware of cultural symbolism related to sound and environment can also inspire creative ways to enhance your audio space.
Crafting DIY Acoustic Treatments
Creating DIY acoustic treatments is a practical way to improve your room’s sound quality without breaking the bank. You can use simple materials like foam panels and soundproof curtains to absorb echoes and reduce muffling. Foam panels are easy to install on walls, while soundproof curtains can block sound leaks from windows or doorways. Combining these solutions enhances your room’s acoustics effectively. Consider this table for ideas:
| Treatment Type | Placement Tips | Benefits |
|---|---|---|
| Foam Panels | Mount on walls around your workspace | Absorbs high-frequency echoes |
| Soundproof Curtains | Hang over windows and doors | Reduces external noise |
| DIY Bass Traps | Fill corners for bass control | Tightens overall sound quality |
| Fabric Wall Hangings | Cover large wall areas | Adds absorption without bulk |
| DIY Panel Frames | Use cardboard or wood for framing | Easy to customize and install |
Additionally, using sound-absorbing materials in strategic locations helps create a balanced acoustic environment. Incorporating acoustic treatment techniques can further optimize your craft room for better sound clarity and muffling reduction. For optimal results, consider room layout adjustments and proper placement to maximize sound control.
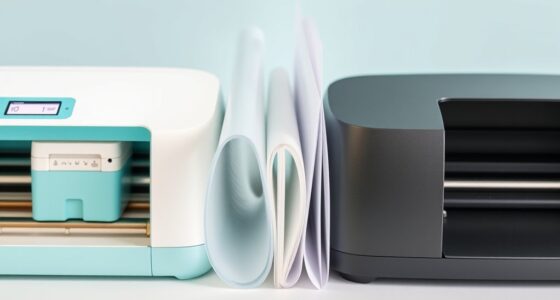
How to Pick the Best Microphone for Clear Craft Room Recordings
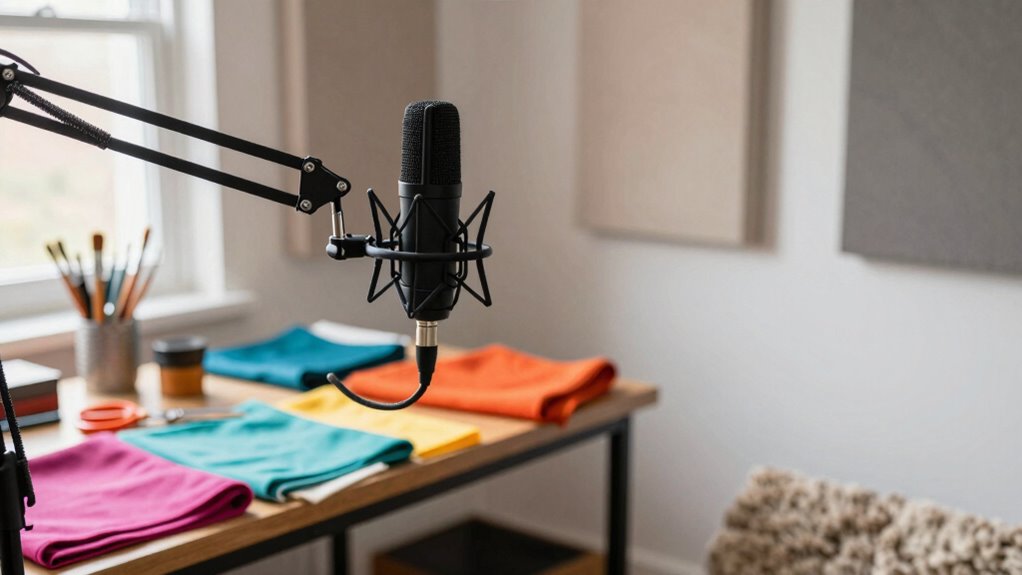
Choosing the right microphone can make a big difference in your craft room recordings. You need to contemplate the type of mic, how to position it, and setup tips to get the best sound. Let’s explore how to select and set up your mic for clear, professional-quality audio.
Choosing the Right Microphone Type
Selecting the right microphone is essential for capturing clear and professional-sounding recordings in your craft room. Understanding different microphone types helps you choose one that enhances sound quality. Dynamic microphones are durable and handle loud sounds well, making them ideal if you record in a noisy environment. Condenser microphones capture more detail and are perfect for capturing your voice clearly, especially in controlled spaces. Lavalier microphones are small and discreet, great for hands-free recording. USB microphones offer convenience and decent sound quality for beginners, while XLR microphones often provide higher audio fidelity for more advanced setups. By choosing the appropriate microphone type, you guarantee your recordings are crisp and free of echo or muffling, creating a polished tutorial that engages your audience.
Positioning and Setup Tips
Once you’ve picked the right microphone type for your craft room, proper positioning and setup make a big difference in achieving clear recordings. Place your microphone close to your mouth, about 6-12 inches away, to minimize room echo and muffling. Keep an eye on speaker placement; avoid positioning speakers directly behind or beside the mic to prevent sound interference. Arrange furniture to reduce sound reflection and echo—soft materials like curtains and mats help absorb sound. Use the table below for ideal furniture setup:
| Positioning Tip | Reason | Example |
|---|---|---|
| Microphone close to mouth | Reduces room noise, improves clarity | 6-12 inches away |
| Avoid speaker behind mic | Prevents sound interference | Place speakers in front |
| Soft furnishings around | Absorbs echo and muffling | Curtains, foam panels |
| Furniture arrangement | Minimizes sound reflection | Rearrange to reduce echoes |
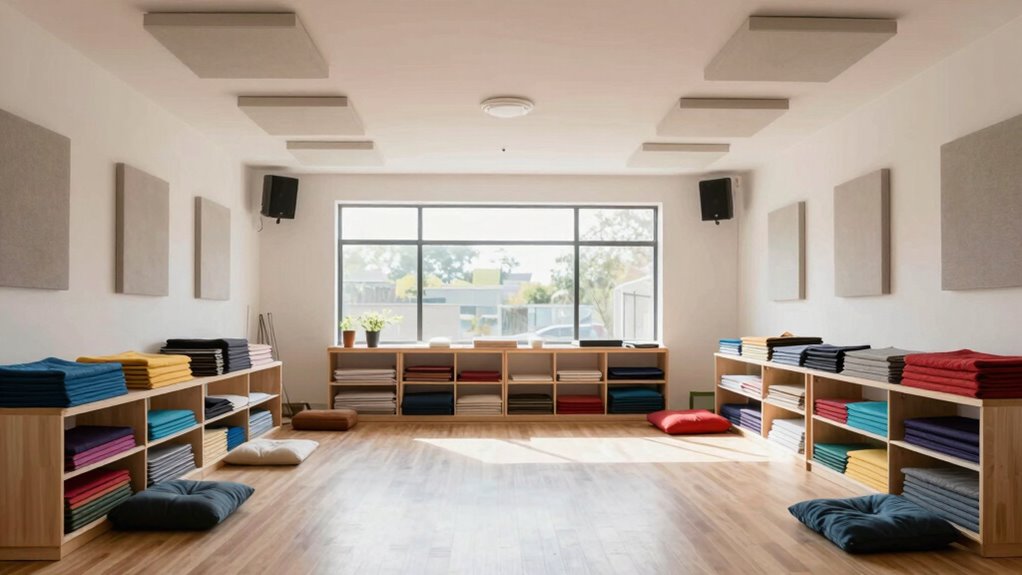
Setting Up Your Space for Better Audio Quality
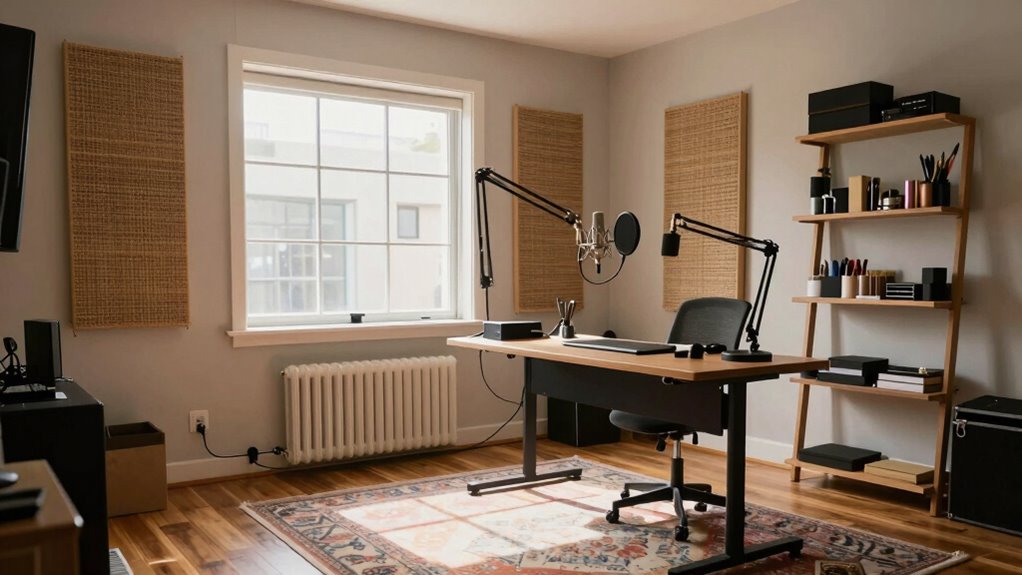
Creating an ideal recording environment starts with setting up your space to minimize unwanted noise and echoes. Start by choosing a quiet area, away from busy household sounds. Incorporate decorative wall art to help absorb sound reflections, reducing echo and muffling. Use soft furnishings or acoustic panels if possible. Good lighting arrangements matter too—you want to avoid harsh, reflective lights that can bounce sound waves. Position your lights thoughtfully to prevent glare that might cause you to shift and disrupt your recording. Keep your space organized and free of clutter, which can reflect sound. By paying attention to these details, you create a more controlled environment that enhances audio clarity and minimizes echo, making your tutorials sound professional and easy to follow.
Tips for Recording Your Voice Clearly in a Craft Room

To guarantee your voice sounds clear and professional in your craft room recordings, pay attention to how you position yourself and your equipment. Keep your microphone at mouth level and a consistent distance to ensure even audio capture. Use acoustic panels strategically around your workspace to absorb reflections, reducing echo. Installing soundproof curtains can block external noise and minimize muffling, creating a quieter environment. Avoid sitting too close to reflective surfaces like windows or hard walls. Test your setup with short recordings to identify issues and adjust positioning accordingly. Proper microphone placement, combined with acoustic treatments, helps your voice stand out clearly without muffling or echo. These simple steps make a noticeable difference in producing high-quality tutorial audio.
Editing Your Audio: How to Reduce Background Noise and Muffle
When editing your audio, reducing background noise and muffling can substantially improve the clarity of your tutorial. Sound editing techniques like noise reduction and equalization help clean up your recordings, making your voice stand out. Effective audio mixing ensures your voice remains clear, even if your environment isn’t perfect. Use tools like noise gates and filters to eliminate unwanted sounds. Here’s a quick overview:
| Technique | Benefit |
|---|---|
| Noise Reduction | Removes background hum and static |
| Equalization | Enhances voice clarity and diminishes muffling |
| Compression | Balances volume levels for consistency |
Focusing on sound editing allows you to craft professional-sounding tutorials that keep your audience engaged and focused on your craft.
Affordable Equipment and Tricks to Stop Echo and Muffling
After cleaning up your audio through editing techniques, addressing echo and muffling on a budget becomes much more manageable. You don’t need expensive gear to improve sound quality. Start with budget microphones that capture clearer audio without breaking the bank. Additionally, DIY sound panels are a cost-effective way to absorb reflections in your craft room, reducing echo. Here are some quick tricks:
- Use soft materials like blankets or foam to dampen sound reflections.
- Build your own sound panels with inexpensive insulation and fabric.
- Rearrange your space to minimize sound bounce points.
- Place your microphone closer to your mouth to pick up more direct sound and reduce room noise.
These simple, affordable solutions can dramatically improve your tutorial audio without a hefty investment.
Frequently Asked Questions
Can Portable Soundproof Booths Improve My Craft Room’s Acoustics?
Yes, portable soundproof booths can improve your craft room’s acoustics. They offer soundproofing benefits by reducing echo and muffling noise, making your recordings clearer. You can set them up quickly and move them as needed, which is perfect if your space is limited or you want flexibility. Using portable booths helps create a focused environment, ensuring your tutorials sound professional and free from distracting background noise.
What Are the Best Materials for DIY Sound Absorption Panels?
The best materials for DIY sound absorption panels include foam panels and fabric choices. Opt for high-density foam, like open-cell foam, which effectively absorbs sound. Cover these with breathable fabrics such as acoustic fabric or thick cotton to prevent muffling. These fabric choices help improve sound quality by reducing echo, while foam panel types provide the necessary sound dampening. Combining these materials creates effective, affordable panels for your craft room.
How Does Room Size Affect Echo and Muffling Issues?
Think of your room as a singing bowl; larger spaces with greater room dimensions tend to amplify echo, making muffling tougher. Smaller rooms with tight acoustic properties often trap sound, causing muffling. When your room is big, sound waves bounce more, so you’ll need more sound absorption materials. By adjusting your setup based on room size, you can tame echo and improve clarity, creating a more professional-sounding tutorial space.
Are There Specific Microphone Settings to Minimize Echo During Recording?
To minimize echo during recording, adjust your microphone placement by keeping it close to your mouth and away from reflective surfaces. Use gain adjustment to avoid capturing background noise and reverb. Set your microphone’s sensitivity low enough to prevent room echoes from being recorded but high enough to pick up your voice clearly. Experiment with these settings until you find a balance that reduces echo and muffling effectively.
How Often Should I Update or Replace Sound Treatments in My Craft Room?
Did you know that sound treatments typically last around 5-10 years? You should regularly check your craft room’s sound treatment and follow a maintenance schedule, replacing or updating materials as needed. Over time, dust, wear, and changes in room acoustics can reduce effectiveness. Keep an eye on your setup annually, and replace or add new treatments when they show signs of wear or no longer improve your audio quality.
Conclusion
Think of your craft room as a musical instrument—you hold the power to tune it. By addressing echoes and muffling, you’re not just improving sound; you’re sharpening your creative voice. Clear audio becomes your beacon, guiding your audience through every project. When you craft a space with mindful acoustics, you’re composing harmony from chaos, transforming your recordings into a symphony that resonates with clarity and purpose. Your craft room is now ready to sing its true song.