To achieve professional, bubble-free resin pours, select the right resin formulated for clarity and smoothness, and prepare a dust-free workspace with stable temperature and humidity. Mix slowly and precisely to avoid trapping air, and consider degassing in a vacuum chamber or bursting surface bubbles with a heat gun. Pour steadily, avoiding drafts, and maintain ideal curing conditions. For a flawless finish, use gentle polishing techniques—keep exploring for more tips to perfect your resin art.
Key Takeaways
- Use compatible, low-viscosity resins and additives designed to reduce bubbles and improve flow.
- Prepare a dust-free, temperature-controlled workspace to prevent moisture and airborne debris from causing bubbles.
- Mix resin slowly and gently, then degas in a vacuum chamber or use heat to release trapped bubbles before pouring.
- Pour steadily, avoid drafts, and use heat tools or torches to surface-bubble surface during the process.
- Maintain stable curing conditions and carefully finish with sanding and polishing for a smooth, bubble-free final result.
Choosing the Right Resin and Materials
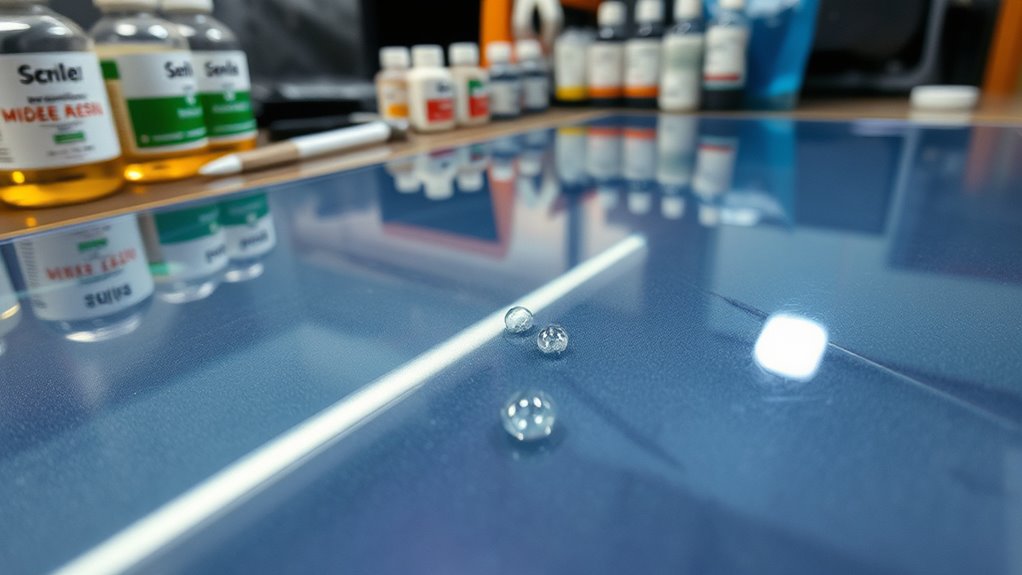
Selecting the right resin and materials is essential for achieving a bubble-free pour. You want a resin that works well with your project, so check for resin additives that can help reduce bubbles and improve flow. Not all resins are compatible with every additive, so understanding material compatibility is key. Choose a resin formulated for clear, smooth finishes, and ensure it’s suitable for your application—whether casting, coating, or embedding. Using high-quality, compatible materials minimizes the risk of air entrapment and uneven surfaces. Always read manufacturer instructions carefully to confirm that your chosen additives won’t interfere with curing. Incorporating resin properties, such as viscosity and curing time, into your selection process can help optimize your results and prevent common issues like bubbles or uneven surfaces. Incorporating data privacy considerations into your process can help protect sensitive project information and ensure compliance with safety standards. By selecting compatible resins and incorporating appropriate additives, you set a solid foundation for a flawless, bubble-free result.
Preparing Your Workspace for Bubble-Free Results
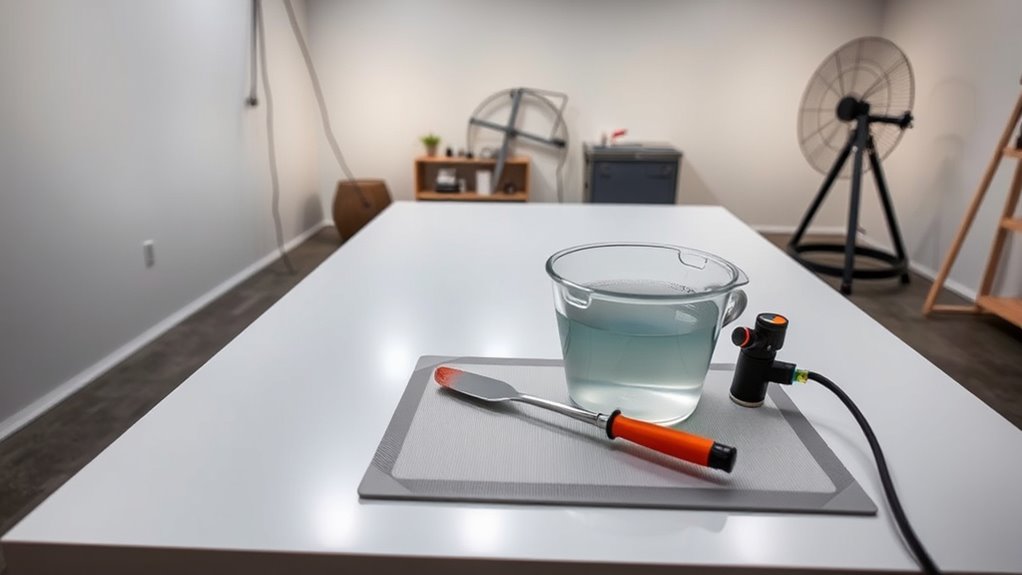
To achieve bubble-free resin pours, you need to carefully prepare your workspace to minimize airborne dust, debris, and humidity. Start by organizing your workspace to keep clutter out of the way, creating a clean, dedicated area for your project. Focus on surface prep; make certain your work surface is smooth, level, and dust-free before pouring. Control humidity levels, as high moisture can cause bubbles. Consider using a sealed or enclosed space to limit airborne particles. Keep tools and materials ready to reduce movement and disruptions during the pour. Proper workspace organization helps maintain a controlled environment, reducing the chance of bubbles forming. Additionally, paying attention to lifestyle habits, such as maintaining a consistent environment and avoiding sudden temperature changes, can further enhance your resin pouring success. Implementing air circulation strategies can also help disperse any residual bubbles that may form during the process. Maintaining a stable temperature minimizes thermal fluctuations, which can lead to bubble formation in the resin. Being aware of environmental factors can help you anticipate and prevent issues before they arise.
Proper Mixing Techniques to Minimize Air Entrapment
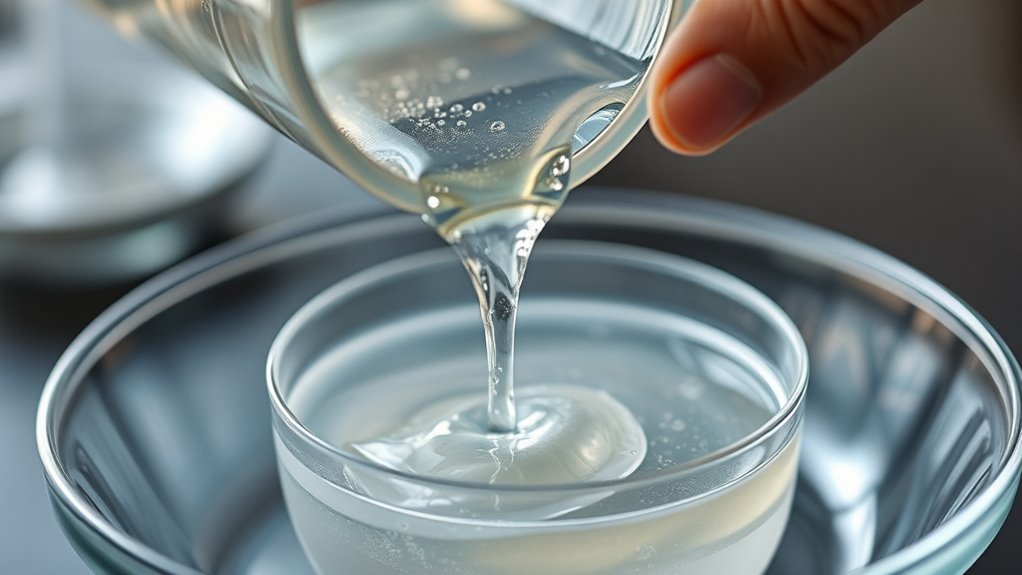
You need to measure each component carefully to make certain the right ratio. When mixing, stir gently and consistently to avoid trapping air bubbles. Proper technique here makes a big difference in achieving a smooth, bubble-free pour. Additionally, using appropriate stirring tools can help ensure even mixing without introducing unnecessary air. Regularly inspecting your equipment for clogs or debris can further prevent air entrapment during the process. Incorporating air entrapment prevention techniques into your workflow can significantly improve the clarity and quality of your resin pours. Employing proper mixing methods also reduces the likelihood of air bubbles forming during the process.
Measure Components Precisely
Accurately measuring each component is essential for achieving bubble-free resin pours, as even slight discrepancies can introduce air pockets during mixing. Precise measurements ensure your resin color remains consistent and prevents unwanted air bubbles caused by improper ratios. When selecting a mold, accurate component measurement helps avoid trapped air caused by uneven surfaces or incompatible materials. To improve your process, consider these tips:
- Use a digital scale for exact resin and hardener weights
- Follow manufacturer’s mixing ratios strictly
- Measure resin and color additives separately before combining
- Double-check measurements before pouring into the mold
Stir Gently and Consistently
When mixing resin, gentle and consistent stirring is key to minimizing air bubbles. Rapid or aggressive stirring introduces air into the mixture, which can trap bubbles in your pour. When color tinting your resin, stir slowly to evenly incorporate the pigment without creating foam. Maintain a steady motion and avoid whipping or flicking the mixture. Proper mold preparation also benefits from gentle mixing; thoroughly combine the resin components without agitating the mixture too much. Consistent stirring ensures a homogeneous blend, reducing the risk of air entrapment. Take your time, and stop stirring once the resin and color are fully integrated. This careful technique helps you achieve a smooth, bubble-free finish in your resin projects.
Techniques for Removing Bubbles Before Pouring
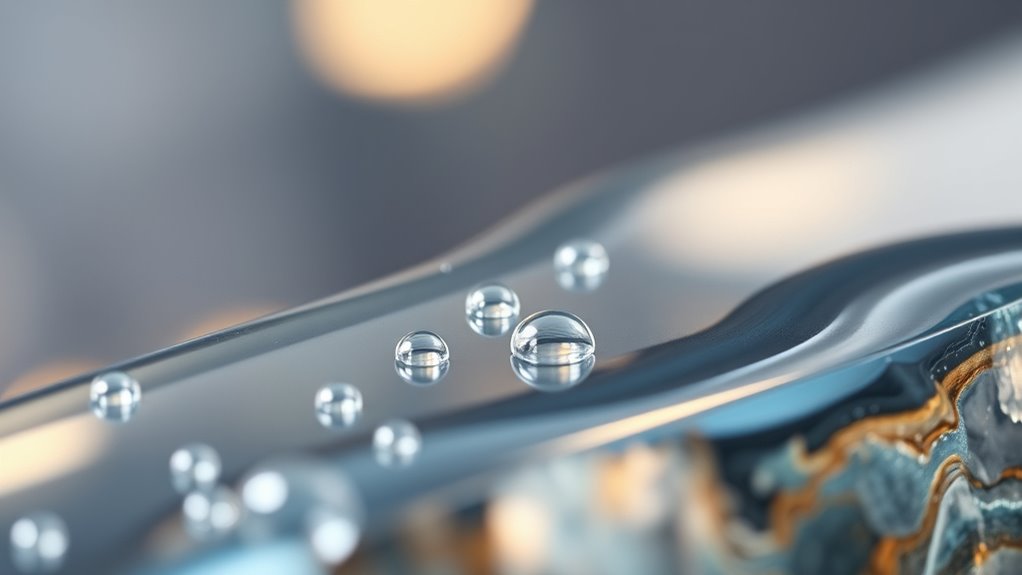
To guarantee a smooth, bubble-free resin pour, it is vital to proactively remove any trapped air before pouring. Air bubble formation often results from surface tension effects, which trap air pockets during mixing or handling. To minimize this, you can:
- Use a heat gun or torch briefly over the resin’s surface to release bubbles
- Degas the resin in a vacuum chamber if possible
- Gently tap or vibrate the container to encourage bubbles to rise
- Pour slowly and steadily to reduce air entrapment and surface tension effects
- Proper storage techniques can also help prevent pre-existing bubbles and ensure a more uniform pour
These techniques help break the surface tension that traps air, preventing bubbles from forming during the pour. Preparing the resin this way ensures a cleaner, clearer finish with fewer imperfections.
Best Practices During the Curing Process

During the curing process, keeping the temperature stable is essential to prevent bubbles from forming. You should also minimize air disturbances around your work to avoid introducing new bubbles. Ensuring a proper curing environment helps your resin set smoothly and bubble-free.
Maintain Stable Temperature
Maintaining a stable temperature throughout the curing process is essential for achieving bubble-free resin pours. Fluctuations can cause inconsistent resin viscosity, leading to trapped air bubbles. Keep the environment consistent to ensure smooth curing.
To do this, consider these best practices:
- Use a temperature-controlled workspace or heat mat to avoid sudden changes.
- Monitor ambient humidity, as high humidity can increase bubbles.
- Avoid drafts or temperature shifts that can disturb the resin’s setting.
- Allow the resin to reach the recommended working temperature before pouring.
Stabilizing temperature helps control resin viscosity, making it easier for bubbles to escape and preventing new ones from forming. Consistency is key to a clear, bubble-free finish.
Minimize Air Disturbances
Keeping your workspace stable during the curing process helps prevent air disturbances that can trap bubbles in the resin. Sudden air flow, even minor gusts, can disrupt surface tension, causing bubbles to form or rise to the surface. To minimize this, avoid drafts, fans, or open windows near your curing area. If you need to improve air circulation, use a slow-moving, gentle fan directed away from the resin surface. Maintaining a consistent environment helps the resin’s surface tension stay intact, reducing the risk of air entrapment. Remember, even small air disturbances can compromise a bubble-free finish. By controlling air flow and keeping your workspace still, you’ll ensure a smoother, clearer resin pour with minimal bubbles during curing.
Use Proper Curing Environment
Creating the right curing environment is essential for a bubble-free resin pour. Proper humidity control prevents moisture from causing bubbles or cloudiness, while maintaining stable temperatures reduces shrinkage and cracks. Good ventilation strategies help disperse any residual fumes and prevent dust from settling on the surface. To optimize curing conditions, consider these practices:
- Keep humidity levels between 40-50%
- Use fans or ventilation to improve air circulation
- Maintain a consistent temperature, ideally around 70°F (21°C)
- Avoid drafts and sudden temperature changes during curing
Tips for Finishing and Polishing for a Flawless Finish

Achieving a flawless finish on your resin pour requires careful finishing and polishing techniques. First, verify your resin is compatible with your polishing tools and products, as incompatible materials can cause cloudiness or scratches. When sanding, use progressively finer grits to smooth the surface without introducing new imperfections. Pay attention to surface tension; a properly mixed resin and smooth application help reduce imperfections and make polishing easier. After sanding, clean the surface thoroughly to remove dust and debris. Use a polishing compound suitable for resin, and apply with a soft cloth or buffer in gentle, circular motions. This will bring out a high-gloss, bubble-free shine. Proper light reflection enhances the final appearance and reveals a flawless surface. Additionally, understanding cookie management can help you optimize your browsing experience when researching resin techniques. Taking your time and maintaining consistent pressure during polishing can significantly improve the quality of your finish, making your project look professional and polished. Patience and attention to detail during this process are key to achieving the professional, flawless finish you desire.
Frequently Asked Questions
How Can I Tell if My Resin Is Suitable for Bubble-Free Pours?
To determine if your resin is suitable for bubble-free pours, check its clarity—high-quality resin should be clear and free of cloudiness. Also, review the curing time; longer curing times often allow bubbles to escape more effectively. If your resin has a smooth, transparent finish and a predictable curing process, it’s likely good for bubble-free pours. Always follow manufacturer instructions for the best results.
What Environmental Factors Most Affect Bubble Formation During Curing?
When it comes to bubble formation during curing, you need to stay ahead of the game. Humidity control is key—excess moisture in the air can cause bubbles to form, so keep the environment dry. Proper airflow management helps prevent dust and uneven curing, reducing bubbles. You’ll want to maintain a stable temperature and avoid drafts. Think of it as keeping everything in perfect harmony to achieve a smooth, bubble-free finish.
Are There Specific Brands of Resin Known for Fewer Bubbles?
Some resin brands are known for fewer bubbles, especially those with self-degassing formulas. You should look for resins that match your desired resin color, as some pigments can increase bubble formation. Also, consider curing time; longer curing allows bubbles to escape more effectively. Brands like ArtResin and EnviroTex often produce clearer pours with fewer bubbles, making your project look professional and smooth.
How Do Temperature Changes Impact Bubble Development in Resin?
Temperature fluctuations greatly impact bubble development in resin. When the temperature changes, resin viscosity varies; cooler temperatures increase viscosity, trapping more bubbles, while warmer temps decrease viscosity, allowing bubbles to escape more easily. To minimize bubbles, keep your workspace consistent, avoid sudden temperature shifts, and work in a controlled environment. This way, you guarantee a smooth pour with fewer bubbles, resulting in a professional-looking finish.
Can Additives Help Reduce Bubbles in Resin Pours?
Additives can be quite effective in reducing bubbles during resin pours, but their success depends on choosing the right additive and resin. You should look for additives designed specifically for bubble suppression, as their effectiveness varies with resin type. Proper resin selection combined with suitable additives helps create a smoother, bubble-free finish. Always test small batches first to see how the additive interacts with your chosen resin, ensuring ideal results.
Conclusion
Think of your resin pour like planting a garden—you need the right tools, careful preparation, and patience. When I first started, I struggled with bubbles until I mastered proper mixing and surface techniques. Now, each flawless pour feels like watching a garden bloom without a single weed. Keep refining your process, and soon you’ll be producing crystal-clear, bubble-free resin art that’s as beautiful as a well-tended garden—proof that attention to detail truly makes all the difference.


