
If your photos look flat even with a ring light, it’s likely because of poor placement or improper setup. Position your ring light directly in front of your face at face level or slightly above, experimenting with angles and distance. Avoid harsh illumination by diffusing the light and use reflectors or extra lights to add depth. Adjust your camera settings too—for better dimension—so your photos pop with natural charm. Keep exploring for more tips to perfect your glow.
Key Takeaways
- Position the ring light directly in front at face level or slightly above to create natural, three-dimensional lighting.
- Avoid placing the ring light too close or at improper angles, which can flatten shadows and reduce depth.
- Incorporate diffusion filters and reflectors to soften harsh shadows and add dimensionality.
- Adjust the light’s distance, angle, and height to control shadow placement and enhance facial contours.
- Match the light color temperature to your environment to prevent dullness and maintain natural skin tones.

UBeesize 12'' LED Ring Light with 62'' Tripod Stand, Selfie Ring Light for Video Recording, Live Streaming, TikTok & YouTube, Compatible with iPhone & Android (Black)
【12” Powerful LED Ring Light with 240 LEDs】This upgraded 12-inch ring light features 240 high-efficiency LEDs delivering 10W…
As an affiliate, we earn on qualifying purchases.
As an affiliate, we earn on qualifying purchases.
Why Do My Photos Look Flat Even With a Ring Light?
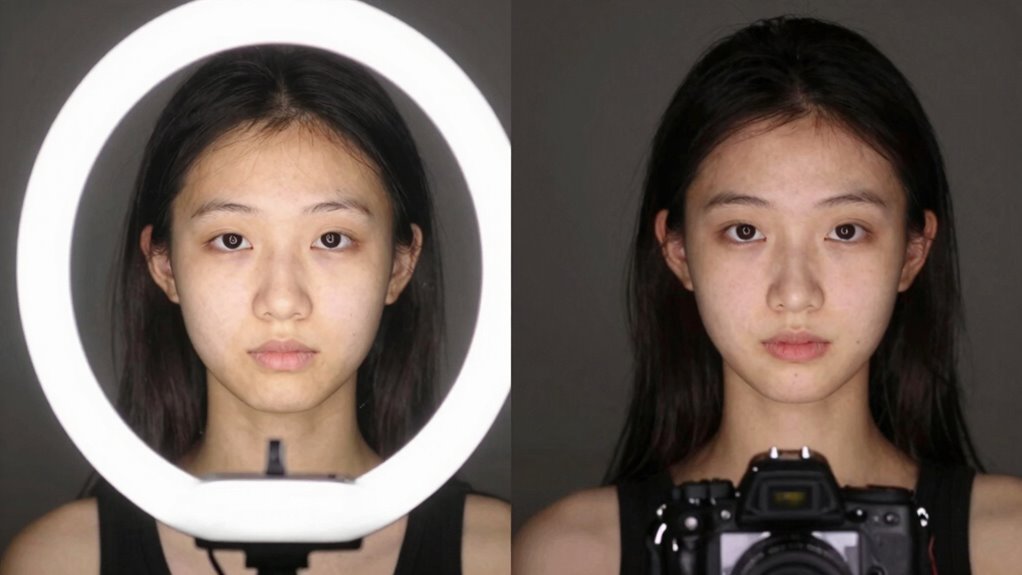
Even with a ring light, your photos can still look flat if the lighting isn’t positioned correctly. One common mistake is neglecting the lighting color; using a harsh or overly cool/warm tone can wash out depth and dimension. Additionally, background contrast plays a big role—if the background blends with your lighting, your subject can appear washed out or two-dimensional. To fix this, choose a ring light with adjustable color temperature to create natural skin tones. Also, make certain there’s enough contrast between your subject and the background, which helps the lighting define shapes and add depth. Proper positioning of the light relative to your subject is essential for preventing flat-looking photos, even when the lighting color and background contrast are optimized. Adjusting light placement can significantly enhance the three-dimensional feel of your images.

Weilisi 10" Ring Light with Stand 72'' Tall & Phone Holder,38 Color Modes Selfie Light with Tripod Stand,Stepless Dimmable/Speed LED Ring Light for iPhone & Android,YouTube, Makeup,TIK Tok
New RGB Dynamic Modes and 3 Normal Colors: Selfie ring light has warm light,white light,daylight,red,yellow,green,sky blue,blue,purple,RGB light provide…
As an affiliate, we earn on qualifying purchases.
As an affiliate, we earn on qualifying purchases.
How to Properly Position Your Ring Light for a Flattering Glow
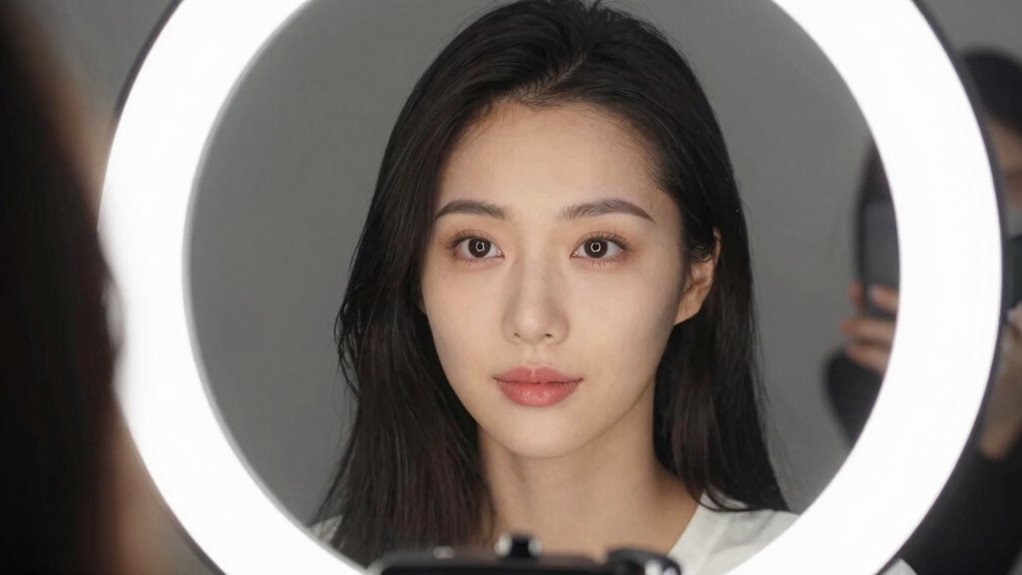
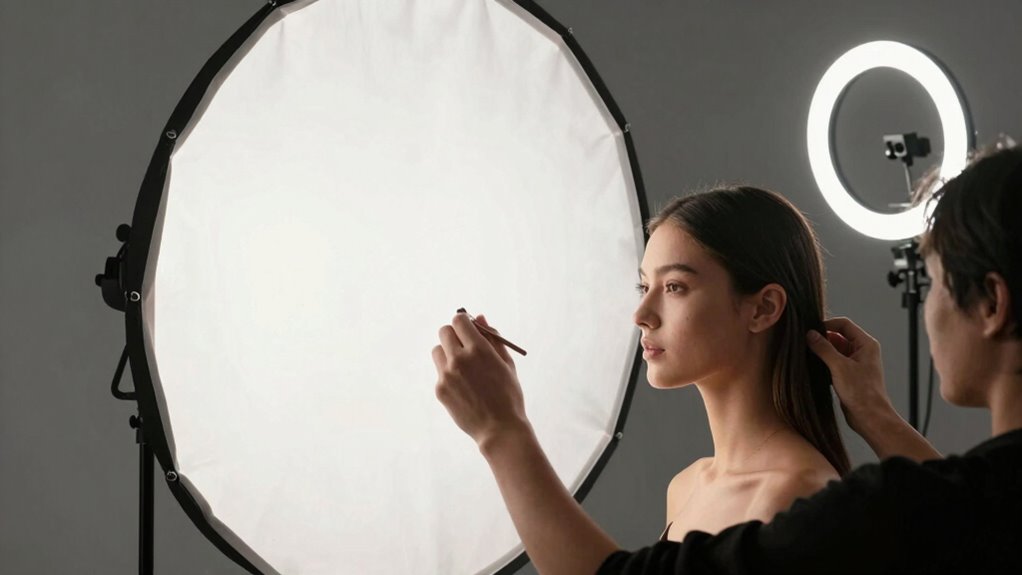
To achieve a flattering glow with your ring light, positioning it correctly is essential. Start by placing the light at face level or slightly above, ensuring even light distribution and reducing unflattering shadows. The ideal light placement is directly in front of you, about 45 degrees to your face, so the light wraps evenly around your features. Adjust the face angle to avoid harsh shadows and ensure your eyes catch the light for a natural sparkle. Keep the ring light close enough to illuminate your face thoroughly without causing overexposure or a flat look. Experiment with slight shifts in light placement and face angle to find the most flattering, radiant glow. Proper positioning enhances your features and prevents the flatness that often results from poor light placement. Understanding light placement fundamentals helps you achieve more professional and natural-looking photos, especially when considering lighting techniques for different environments. Mastering these lighting principles allows you to adapt to various settings and achieve consistent, flattering results. Additionally, paying attention to the cultural significance of lighting can inspire creative and meaningful visual storytelling. Incorporating proper light positioning into your setup can also help you avoid common mistakes that lead to flat images.

RAHHLIZS 2 Packs Diffusion Gels Filter Sheet 11.81 x 8.31in Photography Video Film Light Diffuser for Led Flash Strobe Light Subtle Warm Color
【Superior Light Diffusion】This PET diffusion film effectively spreads light softly and evenly, transforming harsh glaring LED lights into…
As an affiliate, we earn on qualifying purchases.
As an affiliate, we earn on qualifying purchases.
Adjusting Camera Settings for Better Ring Light Photos
Once you’ve positioned your ring light effectively, the next step is to fine-tune your camera settings to maximize its impact. Adjusting the right settings helps prevent flat-looking photos and enhances the ring light’s glow. Focus on:
- Color temperature: Set it to match your environment; warmer tones create a softer glow, while cooler tones add clarity. Using the correct white balance setting can significantly improve your photo quality.
- ISO settings: Keep ISO low (around 100-400) to reduce graininess and preserve detail. Being aware of aviation regulations can also help you understand the importance of precise adjustments and standards.
- Aperture and shutter speed: Use a wider aperture for a blurred background and adjust shutter speed to control exposure, avoiding overexposure or underexposure. Proper exposure ensures your photos are vibrant and well-lit. Additionally, exploring camera calibration options can help you achieve consistent and professional results. You can also check your camera’s passive voice detection feature to ensure your instructions remain clear and engaging. Fine-tuning these settings guarantees your photos are well-lit, vibrant, and avoid the common mistake of looking flat.

WELLMAKING 32 Inch (80cm) Reflector Photography, Collapsible Light Reflector with Bag & tilt Adapter, 5 in 1 Handle Reflector for Studio & Outdoor Lighting -Translucent, Silver, Gold, White and Black
【5-In-1】 A 32’’/80cm 5-in-1 interchangeable reflector (silver/gold/white/black/translucent) lets you bounce light with ease: silver to reflect light without…
As an affiliate, we earn on qualifying purchases.
As an affiliate, we earn on qualifying purchases.
Soft vs. Harsh Light: Which Is Better for Your Photos?
Choosing between soft and harsh light can make a significant difference in your photos. Diffuse lighting creates a gentle glow that minimizes shadows, resulting in a flattering, natural look. It’s ideal for portraiture or beauty shots because it softens skin textures and reduces blemishes. On the other hand, harsh light produces strong shadows and high contrast, which can add drama and dimension but may also emphasize imperfections. Whether you prefer soft or harsh lighting depends on your desired mood and style. Generally, diffuse lighting is better for a balanced, professional appearance, while harsh light works for bold, artistic effects. Understanding when to use each type will help you avoid flat-looking photos and achieve more dynamic, visually interesting results. Proper lighting techniques play a crucial role in enhancing photo quality and creating the desired atmosphere. Additionally, knowing how to control light diffusion can significantly improve your photography outcomes. Being aware of lighting conditions such as time of day and weather can also help you make better lighting choices for your photos, and using lighting modifiers can further refine your results. Incorporating light positioning strategies can also optimize your lighting setup for more flattering and engaging images.
Angles and Positioning Tips to Add Depth and Dimension
The way you position your light source and subject can dramatically enhance the sense of depth and dimension in your photos. To create compelling shadow play, experiment with angles that cast shadows revealing contours and texture. Shift the ring light slightly off-center to emphasize focal points and add visual interest. Also, try varying the height and tilt of the light to highlight different areas of your subject, avoiding flatness. Incorporating proper lighting techniques can further elevate your images by emphasizing natural features and creating a more three-dimensional look. These techniques help your photos gain depth, making them more engaging and lively. Adjusting your lighting setup and understanding how different angles affect shadow placement are essential for achieving professional-looking results. Mastering lighting angles allows you to control how shadows fall and enhances the overall dimensionality of your photos. Additionally, integrating adaptive lighting methods can help you dynamically optimize your setup for different subjects and settings, ensuring consistent quality. Exploring creative shadow placement can also add unique artistic effects and further enhance the perception of depth.
Using Reflectors and Extra Lights to Improve Your Photo Depth
Adding reflectors and extra lights can considerably boost the depth and dimension in your photos by controlling shadows and highlights. Reflector techniques involve positioning reflective surfaces to bounce light into shaded areas, softening shadows and revealing details that a ring light alone might miss. Use different reflector colors—white for soft fill, silver for more contrast, or gold for warm tones—to achieve diverse effects. Extra light options, like small strobes or portable LEDs, can be added to create layered lighting, emphasizing depth. These lights help sculpt your subject, preventing flatness caused by uniform illumination. Additionally, understanding AI Ethicist Jobs can guide you in responsibly integrating new lighting technology and tools. Incorporating lighting setup principles can further enhance your control over light placement. By combining reflectors with extra lights, you gain precise control over light placement, adding richness and depth to your images. Experiment with different setups to find the most flattering and dimensional look, and consider how lighting techniques can help you achieve consistent results.
Common Setup Mistakes That Dull Your Ring Light Photos
While reflectors and extra lights can enhance your photos, many setups fall into common traps that weaken the impact of your ring light. One mistake is neglecting to use diffuse filters, which can soften harsh shadows and prevent flat-looking images. Incorrectly matching the light color can also dull your photos, making skin tones look off or washing out details. Additionally, setting your ring light too close or at an improper angle can create uneven lighting that diminishes depth. Exploring different art styles, such as abstract art, can inspire techniques to add visual interest and dimension to your lighting setups. To avoid these issues:
- Use diffuse filters to spread light evenly and add dimension
- Adjust the light color to match your environment and subject
- Experiment with the distance and angle of your ring light for balanced illumination
- Be aware of lighting techniques that can enhance your photos’ depth and richness
- Incorporating lighting modifiers can further improve the quality and depth of your images.
- Incorporating light positioning strategies can also help create more dynamic and three-dimensional photos.
Testing and Fine-Tuning Your Lighting Setup for Perfect Results
Once you’ve set up your ring light, take time to adjust the light intensity to find a balanced look. Try moving the light to different angles to see how it changes the shadows and highlights on your subject. Fine-tuning these details can make a big difference in achieving professional-looking results. Additionally, understanding the basics of lighting techniques can help you create more dynamic and flattering photos.
Adjust Light Intensity
Adjusting the light intensity is a crucial step in achieving professional-looking results with your ring light. Proper exposure control ensures your photos aren’t flat or overly harsh. To find the ideal balance, start by gradually increasing or decreasing the light until your subject is evenly lit. Keep in mind, too much light can wash out details, while too little creates shadows and dullness.
Consider these tips:
- Test different light levels to see how they affect your subject’s features
- Use your camera’s exposure controls to fine-tune brightness
- Observe how changes in light intensity impact shadows and highlights
Experiment With Angles
Experimenting with angles is essential for finding the most flattering and effective lighting setup. A perspective shift can dramatically change how the light interacts with your subject, highlighting features or softening shadows. Try moving the ring light slightly above, below, or to the side to see how the shadows and highlights shift. This creative framing can add depth and dimension, preventing your photos from looking flat. Don’t be afraid to experiment with different angles—each adjustment offers new insight into how light shapes your subject. Small tweaks can produce big results, so take the time to test various positions. By fine-tuning your angle, you guarantee your lighting complements your shot, resulting in a more dynamic and professional-looking photo.
Frequently Asked Questions
How Do I Choose the Right Ring Light Size for My Setup?
To choose the right ring light size, consider your setup compatibility and space. If you’re shooting close-up or doing makeup, a smaller ring light (around 10-14 inches) works well and fits compact spaces. For full-body shots or larger setups, opt for a bigger size (18 inches or more). Make certain the ring light fits comfortably in your workspace and provides even lighting without overwhelming your scene.
Can Different Color Temperatures Affect Photo Depth?
Sure, changing your color temperature can totally transform your photo depth—if you enjoy flat, dull images. Cooler temps (blueish light) tend to flatten features, while warmer (orange) tones add warmth and dimension. So, if you want your photos to have depth, avoid extremes and find a balanced color temperature. Otherwise, you’ll end up with images as flat as a pancake, no matter how fancy your ring light is.
What Are Common Mistakes When Using Ring Lights Indoors?
When using a ring light indoors, you often make mistakes with lighting angles and accessory compatibility. Keep the light at eye level or slightly above for even, flattering illumination—avoid placing it too low or directly in front of you. Also, make certain your accessories, like diffusers or filters, fit your ring light properly to prevent uneven lighting or glare. These small adjustments help you avoid flat-looking photos and achieve professional results.
How Does Distance From the Subject Impact Lighting Quality?
Your distance from the subject substantially impacts lighting quality by affecting the distance impact and lighting consistency. If you’re too close, the light may create harsh shadows and overexpose certain areas, making your photos look flat. Conversely, staying at the right distance ensures even, soft illumination, enhancing your shot’s depth and clarity. Adjust your proximity to achieve balanced lighting, preventing flatness and maintaining consistent, professional-looking photos.
Are There Specific Camera Settings for Close-Up Ring Light Photos?
When shooting close-up ring light photos, especially in macro photography, you should use a smaller aperture like f/8 or higher to increase depth of field and keep more details sharp. Adjust your camera’s macro mode if available, and manually set the aperture to control background blur and highlight your subject. Keep the ISO low and shutter speed appropriate for lighting conditions to avoid overexposure and ensure crisp, well-lit images.
Conclusion
Remember, mastering your ring light is like opening a secret door to stunning photos. By avoiding common mistakes and fine-tuning your setup, you can turn flat, dull images into vibrant, mesmerizing shots. Think of your ring light as your magic wand—when used correctly, it transforms your photos from ordinary to extraordinary. So, don’t settle for good enough—keep experimenting, and watch your photography glow with depth and life. Your perfect shot is just a few tweaks away.