
To achieve a smooth, professional finish on your craft wood, start by selecting boards with tight, consistent grain patterns, then sand gradually from medium to fine grit, always following the grain and covering all surfaces. Use gentle, even pressure and avoid rushing to prevent scratches. Apply finishes like stain or varnish in thin, even coats, lightly sanding between layers for a flawless look. Keep exploring for tips to enhance your sanding and finishing skills even further.
Key Takeaways
- Select boards with tight, consistent grain patterns and minimal flaws for easier sanding and a smooth finish.
- Start sanding with medium-grit (around 120) and progress to finer grits (220-320) for optimal smoothness.
- Always sand with the grain, applying even pressure, and pay close attention to edges and corners.
- Apply thin, even coats of stain or finish, lightly sanding with very fine grit (e.g., 400) between coats for a polished look.
- Proper finishing enhances wood’s natural beauty, provides protection, and ensures a durable, professional-quality craft.

Sanding and finishing wood are vital steps to achieve a smooth, professional-looking craft project. The foundation of a great finish starts with how you select and prepare your wood. Grain selection plays an essential role because it influences both the appearance and the ease of finishing. When choosing your wood, look for boards with tight, consistent grain patterns and minimal knots or flaws. This consistency helps guarantee a uniform finish and reduces the need for extensive sanding later on. If you want a sleek, polished look, opt for woods with fine grain, such as maple or cherry, which respond well to finishing techniques. Conversely, if you prefer a rustic feel, you might choose woods with more prominent grain patterns, but be prepared for more detailed sanding to smooth out rough areas.
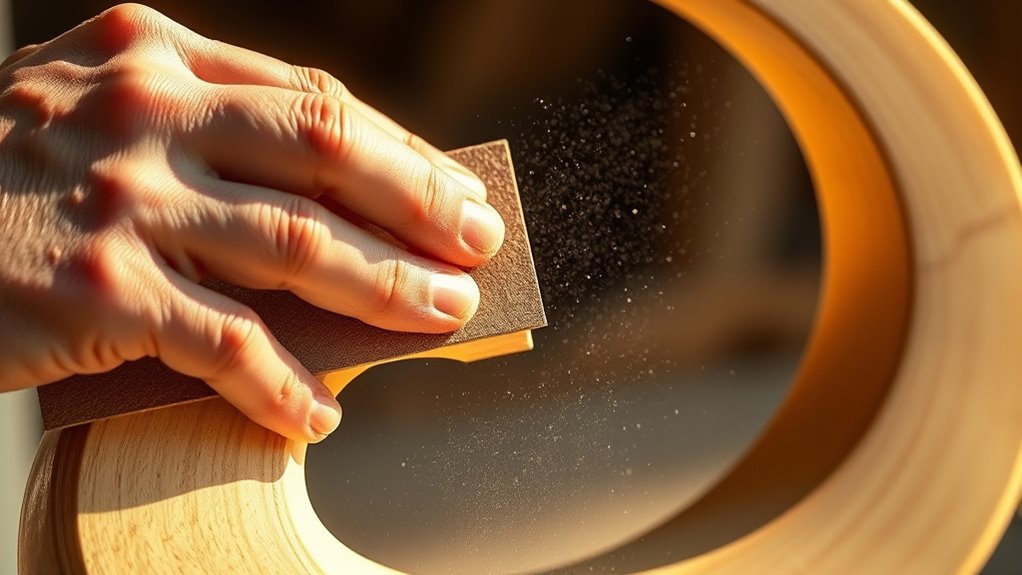
Once you’ve picked your wood, the next step is to sand it thoroughly. Start with a medium-grit sandpaper, around 120 grit, to remove any rough spots or splinters. Progressively move to finer grits, such as 220 or 320, to achieve a smooth surface. Sand with the grain of the wood, applying even pressure, and make sure you cover every inch. This process not only makes the surface silky to the touch but also helps the finish adhere better. Remember, the smoother the surface, the more professional your final product will look. Pay close attention to edges and corners, and don’t rush—skipping grits or rushing through sanding can leave scratches or uneven patches that will show up after finishing.
Finishing techniques are just as important as grain selection and sanding. After your surface is smooth, consider applying a wood conditioner or sealant, especially on soft or uneven woods, to promote even absorption of stain or finish. When applying stain or varnish, use a brush or cloth, working in thin, even coats to prevent drips and blotches. Wipe away excess stain to guarantee a consistent color. For a polished, durable finish, sand lightly between coats using very fine grit paper, like 400 grit, to remove any imperfections. Always follow the manufacturer’s instructions and allow each coat to dry thoroughly before applying the next. Proper finishing techniques not only enhance the wood’s natural beauty but also protect your craft from moisture, scratches, and wear, giving it a professional, lasting appearance.

Hand Sanding Block Set of 16,Interchangeable Assorted Contoured Profile Sanding Pad Kit,Hook and Loop Abrasive Sanding Chassis for Sand Wood Furniture, Auto Paint and Crafts,Red
Hand Sanding Block Set:This Sanding Block Set includes 16 sanding blocks in assorted shapes, each 3.8 inches long,…
As an affiliate, we earn on qualifying purchases.
As an affiliate, we earn on qualifying purchases.
Frequently Asked Questions
What Safety Gear Is Recommended During Sanding and Finishing?
You should wear protective gloves to avoid splinters and skin irritation, and respirator masks to prevent inhaling dust and fumes. These safety gear items are essential for your protection during sanding and finishing. Make sure your gloves fit well, and choose a respirator mask rated for dust and fumes. Staying safe helps you work more comfortably and ensures your health isn’t compromised by dust or chemical exposure.
How Long Should I Wait Between Sanding and Applying Finish?
You should wait at least 24 hours between sanding and applying the finish to guarantee proper drying time. This pause helps the wood dry completely, which promotes better finish adhesion and prevents issues like peeling or uneven coverage. If the wood feels dry to the touch and isn’t tacky, it’s a good sign you can proceed. Rushing this step can compromise the quality of your craft’s final look and durability.
Can I Use a Household Vacuum for Dust Removal?
Yes, you can use a household vacuum for dust removal, but it’s like bringing a spoon to a sword fight—less effective. Household vacuums often lack proper dust containment, risking spreading fine particles into the air. For better results, consider vacuum alternatives with HEPA filters or air purifiers designed for dust. These tools guarantee cleaner workspaces and safer finishes, helping you keep dust off your project and out of your lungs.
Are There Eco-Friendly Finishing Options Available?
Yes, eco-friendly finishing options are available. You can choose biodegradable finishes like plant-based oils or waxes, which are safe for the environment. Natural sealants such as beeswax or shellac also provide effective protection without harmful chemicals. These options not only help reduce your ecological footprint but also enhance the natural beauty of your wood crafts. Switching to these finishes makes your projects more sustainable and safer for you and your home.
How Do I Fix Uneven or Rough Spots After Sanding?
Did you know that improper surface preparation causes 70% of finishing problems? To fix uneven or rough spots, start by reassessing your sanding techniques, focusing on gentle, even strokes. Use a finer grit sandpaper to smooth out imperfections and blend them seamlessly. Always remove dust thoroughly before applying finish. Patience and proper surface preparation guarantee a flawless, professional-looking result, making your craft project truly stand out.

Sand Paper, 48 PCS Sandpaper, 120 to 5000 Assorted Grit Sandpaper Sheets, 9 x 3.6 Inch Premium Wet Dry Sandpaper for Wood Furniture Finishing, Metal Sanding, Automotive Polishing
Meets All Your Needs: 48 pcs sand paper kit, 16 grits sandpaper assortment, including 3 sheets of each…
As an affiliate, we earn on qualifying purchases.
As an affiliate, we earn on qualifying purchases.
Conclusion
As you finish sanding and applying your chosen finish, envision your craft as a blank canvas enthusiastic to glow with life. The smooth surface reflects your patience and effort, like a calm lake mirroring the sky. When you step back, see how your hands transformed rough wood into a polished masterpiece, ready to bring joy. Every stroke and coat adds a layer of warmth and character—reminding you that patience turns raw materials into lasting beauty.

MOLLOR Water Based Polyurethane Acrylic Wood Sealer, 32 OZ Matte Clear Coat with Tool Kit, Scratch & Stain Resistant Waterproof Wood Varnish Finish for Indoor & Outdoor Furniture
Formulated with polyurethane and acrylic resins in a single, user-friendly formula, providing superior scratch resistance and weather resistance…
As an affiliate, we earn on qualifying purchases.
As an affiliate, we earn on qualifying purchases.

Pro Grade Paint Brushes, 5-Piece Paint Brush Set, Flat & Angle Brushes for Walls, Trim, Cabinets, Interior & Exterior Latex and Oil Paints, Stains
COMPLETE 5-PIECE BRUSH SET FOR EVERY PAINTING TASK — Includes 1 Inch Flat, 1.5 Inch Angle, 2 Inch…
As an affiliate, we earn on qualifying purchases.
As an affiliate, we earn on qualifying purchases.