
To create a framed fabric collage, start by gathering your fabric scraps and sturdy adhesive. Arrange your fabrics in a rough sketch, working from background to foreground, and layer different textures and colors to add depth and contrast. Use small adjustments like pleating or folding for visual interest, then secure each layer and let it dry completely. Finally, frame your artwork neatly, smoothing out wrinkles. Keep exploring for more tips to perfect your fabric collage technique.
Key Takeaways
- Gather diverse fabric scraps, a sturdy frame, scissors, and strong fabric adhesive for assembly.
- Arrange fabrics in a rough sketch, layering from background to foreground, and let each layer dry thoroughly.
- Incorporate varied textures and colors, blending shades and adding three-dimensional elements for depth.
- Use techniques like pleating, folding, or gathering to create contrast and visual interest.
- Secure the finished collage in a frame, smooth out wrinkles, and trim edges for a polished presentation.
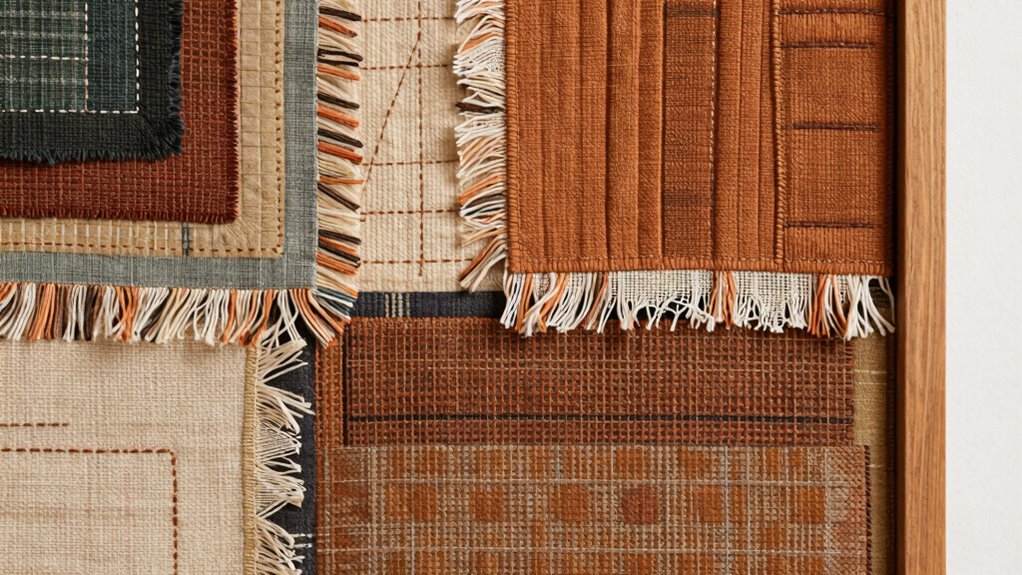
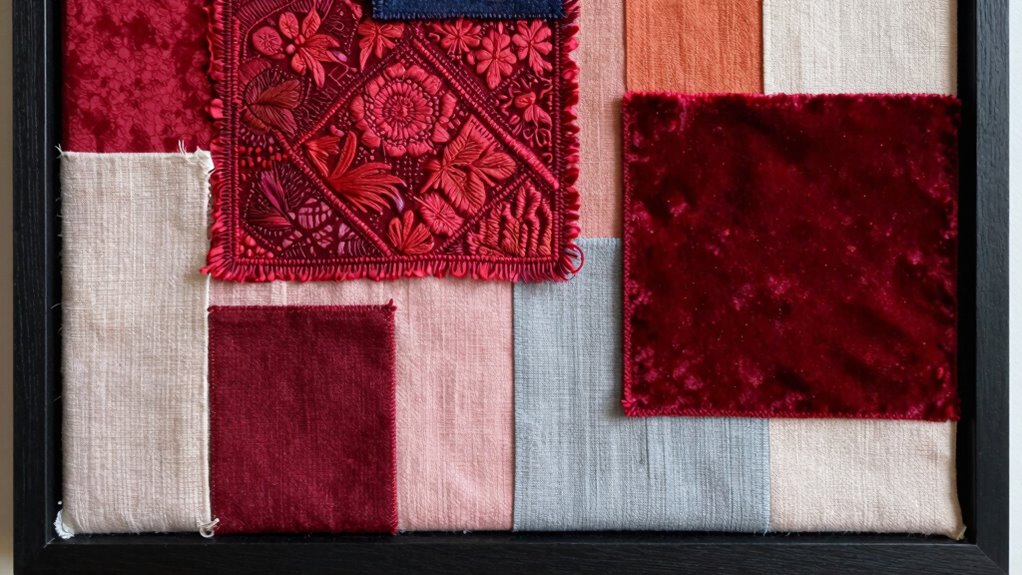
Creating a framed fabric collage art piece is a fun and rewarding project that allows you to showcase your creativity. To start, gather your fabric scraps, scissors, glue, and a sturdy frame. The key to a captivating fabric collage lies in how you use texturing techniques and color blending to add depth and visual interest. When selecting fabrics, choose a variety of textures—smooth silks, rough burlaps, soft felts, and shiny satins—to create contrast. This variety not only makes your collage more tactile but also adds richness to the overall design.
Creating a fabric collage with varied textures and colors adds depth and visual richness to your artwork.
As you lay out your fabrics, think about how different textures will interact. For example, place rougher textiles next to smoother ones to highlight their differences. Once you’ve arranged your pieces in a rough sketch or concept, start attaching them with glue, working from the background to the foreground. Use a strong adhesive suitable for fabric to guarantee your collage stays intact over time. When gluing, press each piece firmly and allow it to dry completely before moving on to the next layer. This prevents shifting and keeps your design clean.
Color blending is vital to unify your collage and make it visually cohesive. You can achieve seamless color transitions by overlapping fabrics with similar hues or by layering fabrics with slightly different shades. For instance, blending shades of blue from navy to sky can evoke a sense of depth or sky in your artwork. Consider adding small fabric pieces of varying tones to create gradients or subtle transitions. You might also experiment with fabric dyes or paints to customize your textiles further, enhancing color blending and matching your desired palette.
To enhance texture and depth, incorporate techniques like pleating, folding, or gathering fabric before gluing. These texturing techniques introduce three-dimensional elements that draw the eye and add physical interest. For example, a crumpled piece of fabric can mimic natural textures like leaves or clouds, giving your collage a more dynamic appearance. Layering fabrics at different angles and depths creates shadows and highlights, making the piece pop. Additionally, incorporating textural techniques can elevate the tactile quality of your artwork and make it stand out even more. Exploring different layering methods can also help create a more dynamic visual effect. When working with various textures, experimenting with different layering techniques can help you achieve the most engaging result. Furthermore, understanding the role of fabric selection can significantly impact the overall harmony of your piece.
Once everything is glued and dried, carefully place your fabric collage into the frame. Make sure it’s centered and smooth out any wrinkles or air bubbles. Finish by securing the edges, either by trimming excess fabric or attaching it neatly behind the frame backing. The result is a beautiful, textured fabric collage that reflects your style and creativity, with thoughtfully blended colors and rich textures that invite viewers to explore every detail.
As an affiliate, we earn on qualifying purchases.
Frequently Asked Questions
What Types of Fabric Are Best for Collage Art?
For your fabric collage art, choose textiles with interesting textures like cotton, silk, or burlap to add depth and dimension. These fabrics blend well in color, giving you flexibility with color blending and layering. Avoid overly stretchy or flimsy materials that may warp or shift. Instead, opt for sturdy fabrics that hold their shape, making it easier to create a visually compelling piece with varied textile textures and seamless color blending.
How Do I Prevent Fabric Fraying Over Time?
To prevent fabric fraying over time, you should focus on fabric stabilization and fray prevention techniques. Start by applying a fabric sealant or fray check along the edges to keep fibers intact. You can also use pinking shears or zigzag stitches to minimize fraying. Additionally, adhering fabric securely to your backing with a strong adhesive or stitching helps maintain stability, ensuring your collage stays intact and looks polished over time.
Can I Incorporate Non-Fabric Materials Into the Collage?
Yes, you can definitely incorporate non-fabric materials into your collage using mixed media techniques. This adds diversity and depth, enhancing fabric texture options and creating an engaging contrast. For example, try adding paper, beads, or natural elements like leaves. Just ensure all materials are securely attached and compatible to prevent peeling or damage over time. Experimenting with different textures will make your framed fabric collage uniquely yours and visually vibrant.
What Tools Are Essential for Fabric Collage Assembly?
To assemble your fabric collage, you’ll need essential tools like fabric adhesive to secure pieces smoothly and needle tools for precise stitching or attaching details. Keep a pair of sharp scissors handy for cutting fabric accurately. Using fabric adhesive saves time and provides a strong bond, while needle tools help add texture and depth. These tools make your process easier, ensuring your collage stays intact and looks professionally crafted.
How Do I Choose the Right Frame for My Artwork?
Selecting the right frame starts with considering your fabric collage’s color coordination and style. Opt for a frame style that complements your artwork—sleek modern designs work well for contemporary pieces, while ornate frames suit vintage styles. Don’t worry about matching every color perfectly; instead, choose a frame that enhances the overall aesthetic and makes your artwork stand out. This thoughtful choice will elevate your fabric collage beautifully.
Conclusion
Once you finish your fabric collage, you’ll realize you’ve created a masterpiece that outshines even the most legendary artworks. Your unique blend of textures and colors transforms a simple idea into a breathtaking focal point. With your new skills, you can craft art pieces that captivate and inspire, turning everyday materials into extraordinary works of art. Remember, your creativity has the power to turn the ordinary into something truly spectacular—nothing can stop your artistic journey!