
To make homemade soap, gather your supplies like oils, lye, a scale, and safety gear. Carefully measure water and lye, mixing them slowly in a well-ventilated area. Melt your solid oils gently and then combine the cooled lye solution with the oils, stirring until it reaches a pudding-like consistency called trace. Add fragrances, colors, and other additives, then pour into molds. Proper curing time guarantees your soap is safe and ready—keep going to learn all the details.
Key Takeaways
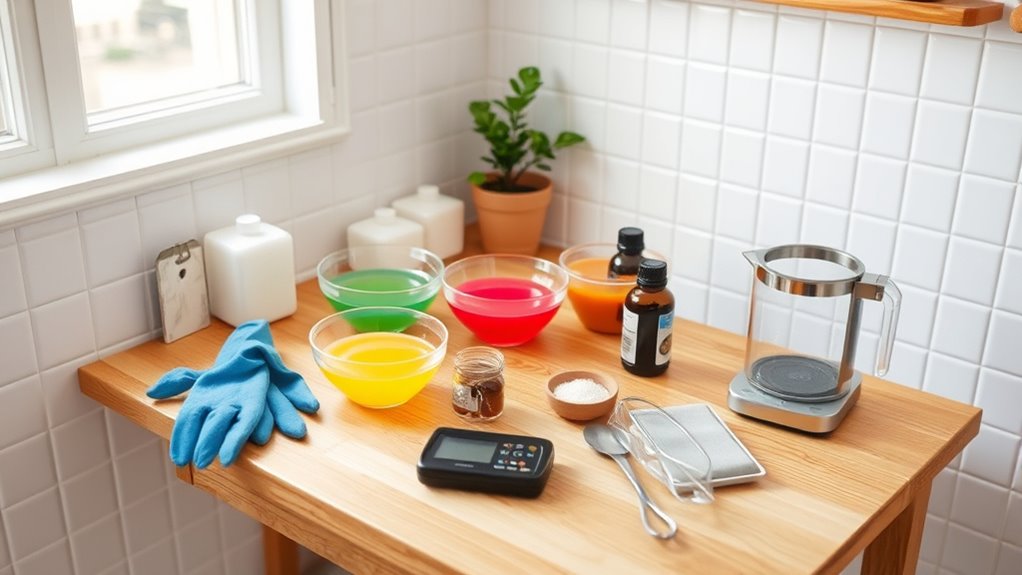
- Gather essential tools, ingredients, and safety gear, and work in a well-ventilated, organized area.
- Carefully measure and mix water with lye, then melt and warm oils to the appropriate temperature.
- Slowly combine cooled lye solution with melted oils, stirring until the mixture reaches trace.
- Add fragrances, colorants, and additives, then pour the soap batter into molds and smooth the surface.
- Allow the soap to cure in a cool, dry place for the recommended time before unmolding and use.
Gather Your Supplies and Ingredients
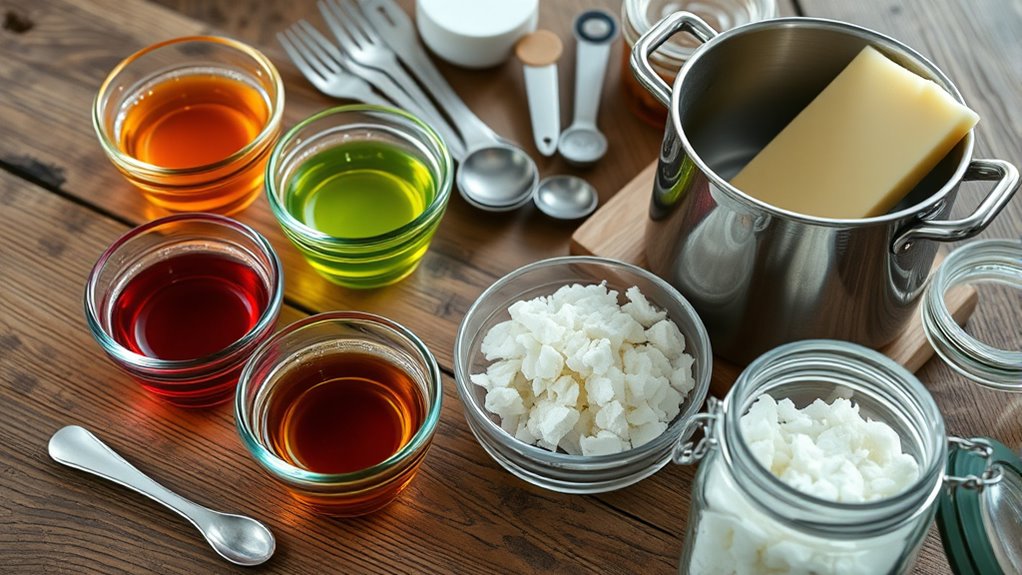
Before you begin making your soap, it’s important to gather all the necessary supplies and ingredients. You’ll need basic items like a digital scale to measure your ingredients accurately, a mixing bowl, and stirring utensils. Make sure you have safety gear, such as gloves and goggles, to protect your skin and eyes from caustic lye. Additionally, choosing the right safety equipment is crucial to ensure a secure soap-making process. Properly handling lye is essential, as it is a caustic substance that requires careful precautions. You’ll also need lye (sodium hydroxide), oils (like coconut or olive oil), and optional additives like fragrances, colorants, or herbs. Keep everything organized in one place to streamline the process. Double-check your ingredient list to verify nothing is missing. Having everything ready beforehand helps prevent interruptions and keeps the soap-making process smooth and enjoyable. Proper preparation and understanding of safety procedures set a solid foundation for successful soap crafting. Additionally, understanding water to lye ratios can help ensure your soap turns out correctly and safely.
Prepare Your Workspace Safely
Creating a safe workspace is essential to guarantee a smooth and accident-free soap-making process. Start by choosing a well-ventilated area with plenty of space to work comfortably. Clear the surface of any clutter or items that could get in the way or cause accidents. Wear protective gear like gloves, goggles, and long sleeves to shield yourself from hot oils and lye splashes. Keep a bottle of vinegar nearby; it can neutralize lye spills. Make sure your workspace is dry; moisture can cause dangerous reactions. Have your tools and ingredients organized and within reach to avoid unnecessary movement. It is also helpful to familiarize yourself with Bike safety tips to stay motivated and positive during your project. Additionally, understanding local safety regulations can further minimize risks. Being aware of proper chemical handling procedures is crucial when working with lye and oils. Finally, inform others nearby about your project so they won’t accidentally disturb you. Taking these precautions helps guarantee your soap-making experience stays safe and enjoyable.
Measure and Mix the Lye Solution
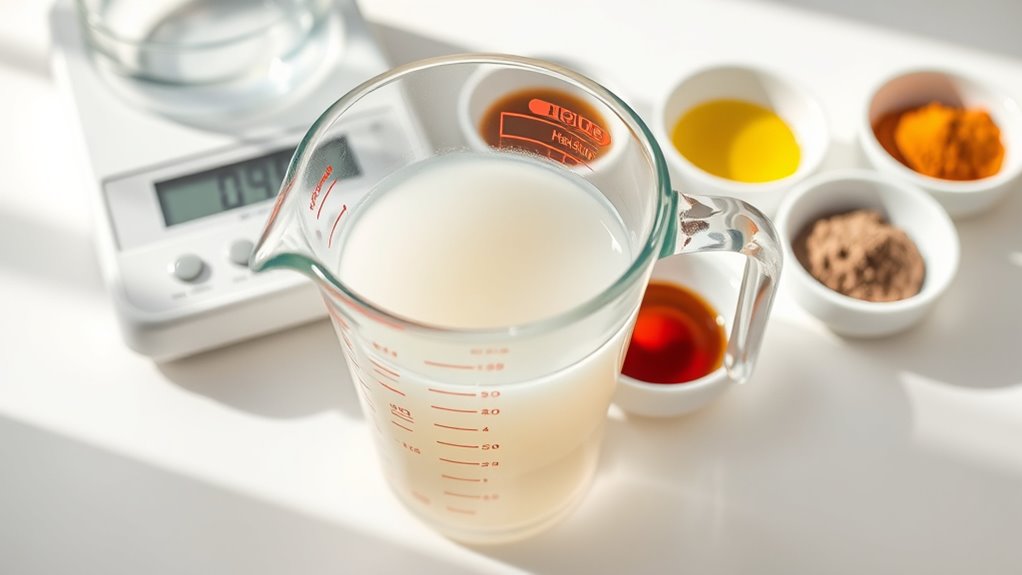
To safely measure and mix the lye solution, start by putting on your protective gear—gloves, goggles, and long sleeves—to prevent burns from splashes. Carefully measure the required amount of distilled water in a heat-resistant container. Next, slowly add the lye crystals to the water, never the other way around, to avoid dangerous reactions. Stir gently with a stainless steel or silicone spoon until the lye dissolves completely; it will heat up and release fumes, so do this in a well-ventilated area. Keep a close eye on the mixture, ensuring it cools to the recommended temperature before combining it with your oils. Always handle lye with respect, and never rush this step to ensure your safety and a successful soap batch. Monitoring the mixture closely with a temperature gauge can help you achieve the proper cooling point. Being aware of industry safety standards and proper handling procedures can further help you maintain a safe working environment while working with lye. Additionally, understanding the potential hazards associated with lye use emphasizes the importance of careful handling and preparation.
Heat and Melt Your Oils
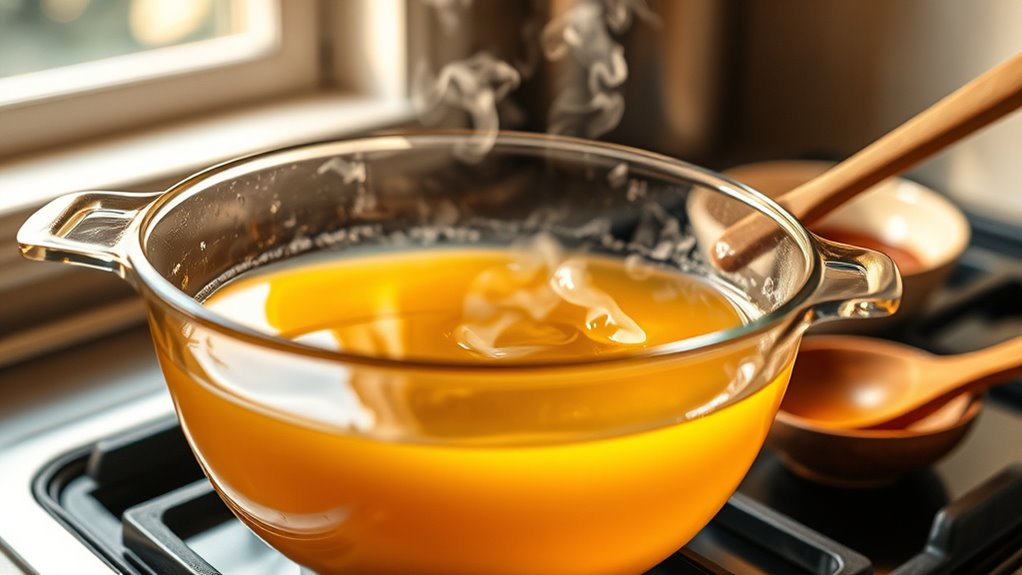
Once your lye solution has cooled to the proper temperature, you can start heating and melting your oils. Use a double boiler or a microwave to gently liquefy your solid oils, like coconut or shea butter. Keep the heat low to prevent overheating or burning. Stir occasionally to ensure even melting. For liquid oils such as olive or castor, you can warm them slightly if needed, but they usually don’t require melting. Here’s a quick overview to help you manage your oils:
| Oil Type | Melting Point | Tips |
|---|---|---|
| Coconut Oil | 76°F (24°C) | Solid at room temp |
| Olive Oil | 32-40°F (0-4°C) | Warm gently if needed |
| Shea Butter | 95°F (35°C) | Melt slowly to avoid separation |
Additionally, understanding the sound vibrations involved in various healing practices can enhance your awareness of how temperature and energy interact during soap making. Proper temperature control helps prevent separation of oils, which can impact the quality of your soap. Being mindful of energy flow during the process can contribute to a more harmonious and effective soap-making experience, aligning with the on-device AI capabilities that optimize performance and outcomes.
Combine Lye Solution With Oils
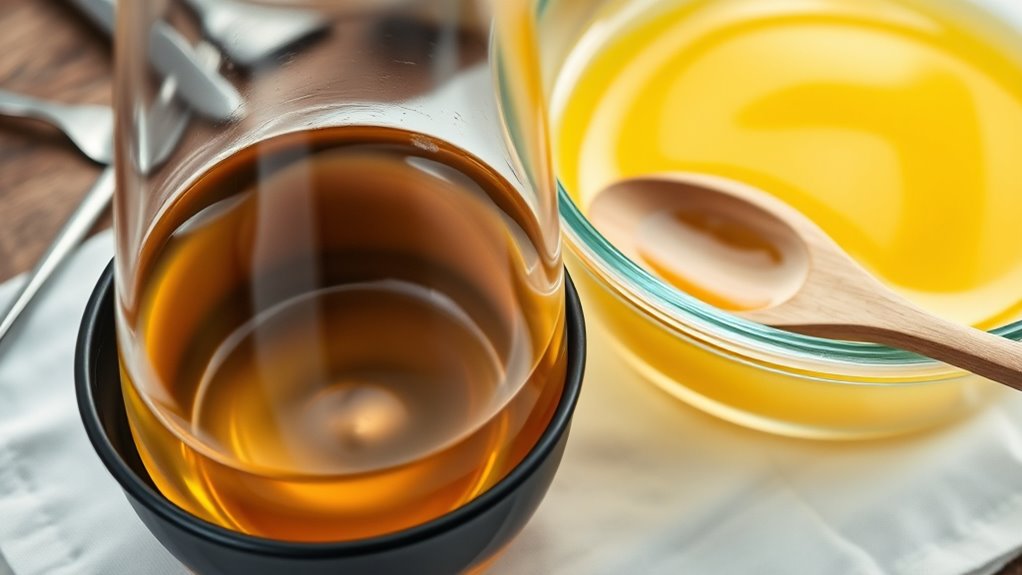
When your lye solution has cooled to the appropriate temperature, carefully pour it into the melted oils while stirring continuously. Use a steady, slow pour to prevent splashing or splattering. As you add the lye solution, keep stirring to combine the two liquids thoroughly. Maintain a consistent motion, ensuring the mixture stays even and well-blended. This step is vital for achieving a uniform soap batter later on. Be cautious and avoid rushing, as sudden movements can cause spills or uneven mixing. Keep your workspace well-ventilated and wear protective gear, like gloves and goggles, to stay safe from fumes or splashes. Once combined, continue stirring until the mixture begins to thicken slightly, signaling you’re ready for the next stage in the soap-making process. Monitoring the soap batter’s consistency carefully can help you determine the optimal time to move forward in the process. Additionally, paying attention to the temperature of the mixture ensures proper saponification and prevents issues like separation or overly rapid thickening.
Blend Until Trace Is Reached
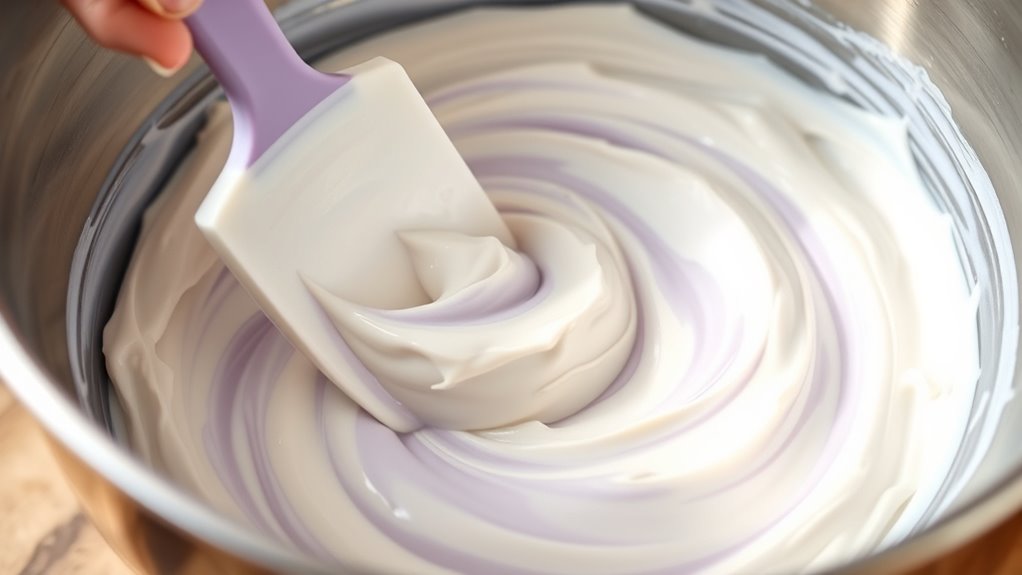
As you blend the mixture, keep an eye on its consistency to reach trace. You’ll notice it thickens slightly and leaves a visible trail on the surface when you lift the spoon. Unsettling tales evoke curiosity about the Tooth Fairy’s true nature, reminding us that even magical stories have mysterious aspects. Monitoring this change guarantees your soap reaches the right stage for the next step. Paying attention to indoor gardening techniques can also inspire creative ways to display your homemade soap.
Achieving the Right Consistency
Achieving the right consistency in your soap mixture requires blending until you reach a stage called “trace.” This is when the mixture thickens enough that, when you drizzle some over the surface, it leaves a visible trail before sinking back in.
To check, lift your spoon or blender and drizzle some of the soap back into the bowl. If a clear trail or “trace” appears and holds for a moment, you’ve reached the right thickness. This indicates your mixture has emulsified properly and is ready for the next step.
Be patient and keep blending steadily. Don’t overmix, as it can affect the final texture. Achieving trace ensures your soap will set correctly and have the right consistency for pouring and curing.
Monitoring the Mixture
Monitoring the mixture closely as you blend helps guarantee you’ve reached the perfect trace. You’ll notice the soap batter thickening and leaving a visible trail when drizzled across the surface. Keep blending until the mixture leaves a slow, lasting trail that stays on top for a few seconds. To help identify trace, compare the consistency at different stages:
| Stage | Description |
|---|---|
| No Trace | Mixture is thin, flows easily |
| Light Trace | Slight thickening, trail begins to hold |
| Thick Trace | Mixture is thick, leaves a clear trail |
Once you see a thick, pudding-like consistency, your soap has reached trace. Don’t rush; properly monitoring ensures your soap sets perfectly.
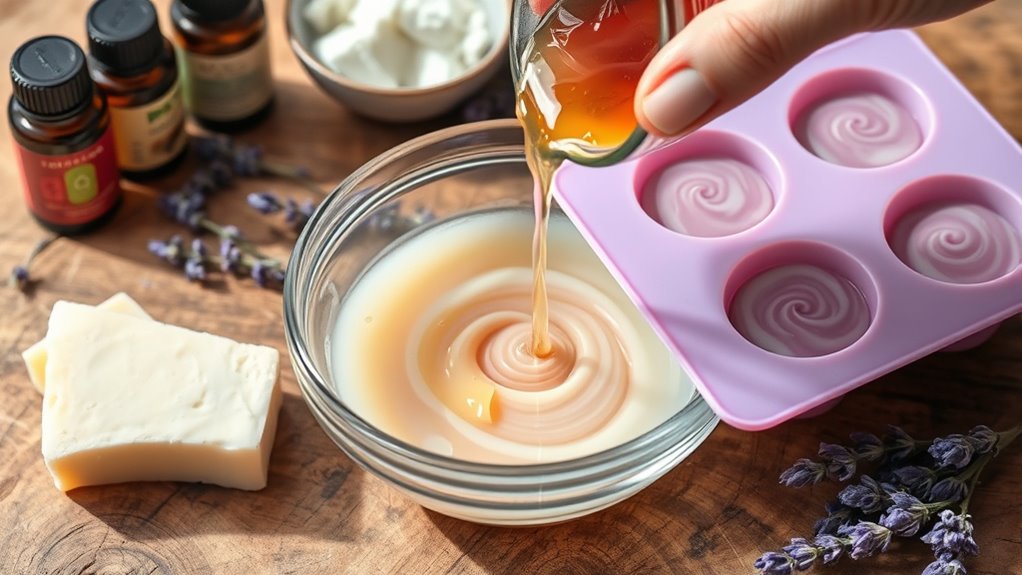
Add Fragrances, Colors, and Additives

Adding fragrances, colors, and additives can transform plain soap into a personalized creation. Start by choosing your preferred scent—essential oils or fragrance oils work well. Add a few drops at a time, stirring thoroughly after each addition to evenly distribute the aroma.
Enhance your soap with personalized scents, colors, and textures for a unique, handcrafted touch.
For colors, use soap-safe dyes or natural options like clays and herbs. Add small amounts until you reach your desired hue, mixing well to avoid streaks.
Additives such as oatmeal, dried herbs, or exfoliants can be incorporated to enhance texture and benefits. Be mindful not to overdo it; too much can affect the soap’s consistency or appearance.
Always measure carefully and blend thoroughly to ensure even distribution of all ingredients. This step allows you to customize your soap to suit your preferences perfectly.
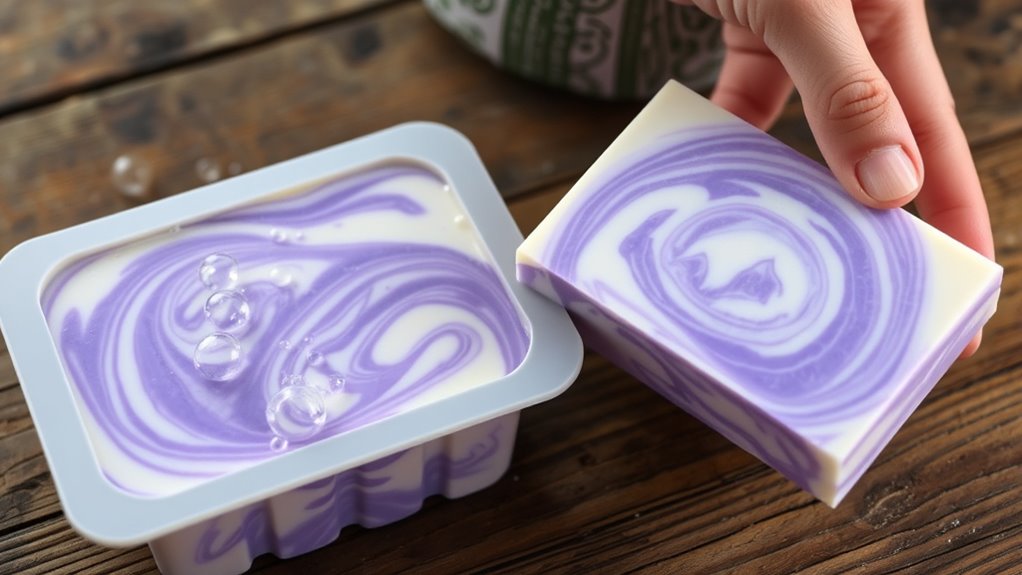
Pour the Soap Batter Into Molds

Once your soap batter is fully mixed and ready, carefully pour it into your prepared molds. Take your time to avoid spills or splashes, and fill each mold evenly to ensure uniform bars.
Gently tap the molds on a flat surface to release any air bubbles and settle the batter. If using multiple molds, work systematically to prevent overflow.
Use a spatula or spoon to smooth the surface of the soap if needed. Keep the molds on a stable, level surface to prevent spilling.
Cover the molds loosely with plastic wrap or a towel to prevent dust from settling. Finally, note the amount of batter poured to track how many soap bars you’ll produce.
This step ensures your soap sets properly and shapes are consistent.
Cure and Unmold Your Handmade Soap
After pouring the soap batter into molds and smoothing the tops, the next step is to let your soap cure and fully harden. Place the molds in a cool, dry area away from direct sunlight.
This curing process usually takes 24 to 48 hours for melt-and-pour soap and up to 4-6 weeks for cold process soap. During this time, the soap will firm up, and excess moisture will evaporate, making it milder and longer-lasting.
Once the soap feels solid and has cooled completely, carefully unmold it by gently pressing or flexing the mold. If the soap sticks, refrigerate it for a short time to make unmolding easier.
Proper curing guarantees your soap is safe, durable, and ready to use.
Frequently Asked Questions
Can I Make Soap Without Using Lye?
You might wonder if you can make soap without lye. While traditional soap requires lye for saponification, you can create “soap” using melt-and-pour bases. These bases are pre-made, so you don’t handle lye directly.
Keep in mind, though, that these aren’t true soap by chemical standards, but they’re easy, safe, and great for beginners. Just melt, add your favorite scents and colors, then pour into molds.
How Long Does Homemade Soap Typically Last?
Imagine you made a batch of homemade soap, and you’re wondering how long it stays good. Typically, homemade soap lasts about 1 to 2 years if stored properly in a cool, dry place.
Factors like ingredients and exposure to air can affect its lifespan. You’ll know it’s past its prime if it develops a sour smell or changes in texture.
Proper storage guarantees your soap remains fresh and effective longer.
What Are Natural Alternatives to Synthetic Fragrances?
You’re curious about natural alternatives to synthetic fragrances, and there are plenty to choose from. You can use essential oils like lavender, peppermint, or citrus to add pleasant scents without chemicals.
Herbs such as rosemary, thyme, or chamomile also work well. These options not only smell great but are gentle on your skin and better for the environment, giving your soap a natural, fresh aroma.
Can I Customize Soap Shapes and Sizes?
You can definitely customize soap shapes and sizes to match your style and needs. Think of your soap as a blank canvas—molds turn it into flowers, stars, or your favorite shapes.
You control the thickness, length, and form, turning simple soap into a personal masterpiece. Use silicone molds, cookie cutters, or even handmade molds to craft unique pieces.
With a little creativity, your soap becomes a reflection of your imagination.
Is It Safe to Reuse Soap Molds for Food?
Reusing soap molds for food isn’t safe because they can retain soap residues or chemicals that might contaminate your food. Even if the molds look clean, soap residues can be difficult to eliminate completely.
To keep your food safe, use dedicated food-grade molds for edible items. Always wash thoroughly and avoid cross-contamination to ensure your food stays safe and hygienic.
Conclusion
Now that you’ve mastered the method, mold your magic and make marvelous, moisturizing soap. With patience and practice, you’ll perfect your process and produce pristine, personalized bars. Keep your workspace safe, stay steady, and savor the satisfying scent of success. So, soak in the skills, savor your soap-making journey, and soon, you’ll be selling stunning, soothing soap that’s sure to shine. Happy soap crafting—your sudsy success starts here!