
To safely remove emulsion without damaging your mesh, start by choosing the right remover compatible with your emulsion type and mesh material. Gently soak or spray the screen with an eco-friendly solution, then use soft, lint-free tools to wipe away the emulsion—avoid harsh scrubbing. Rinse thoroughly, inspect for damage, and handle the screen with care. Following these steps guarantees your mesh stays intact and ready for reuse; more tips await to help you master the process.
Key Takeaways
- Use gentle soaking or spraying methods with appropriate emulsion removers to loosen emulsion without harsh scrubbing.
- Choose eco-friendly, compatible chemicals and follow manufacturer instructions to prevent mesh damage.
- Avoid abrasive tools; use soft, lint-free cloths or sponges for wiping away emulsion carefully.
- Rinse thoroughly with lukewarm water from both sides, paying attention to edges and corners.
- Inspect the screen post-removal for tears or stretching and handle with care to maintain mesh integrity.

Ecotex® Screen Printing Emulsion Remover (Pint – 16oz.) – Diazo Photo Emulsion Cleaner for Silk Screens and Stencil Remover – Screen Print Direct®
Biodegradable and Eco Friendly – Whether you use it on your silkscreen equipment, in your shop or in…
As an affiliate, we earn on qualifying purchases.
As an affiliate, we earn on qualifying purchases.
Why Proper Emulsion Removal Extends Your Screen’s Life
Proper emulsion removal is essential because leftover emulsion can degrade your screen’s integrity over time. When emulsion isn’t thoroughly cleaned, it can cause the mesh to become clogged or weakened, reducing its overall lifespan. Maintaining emulsion longevity is vital for consistent print quality and cost efficiency. By removing all traces of emulsion, you preserve the mesh’s structure, preventing damage that could lead to tears or stretching. Clean screens are less prone to pixelation, uneven ink application, and premature failure. Properly reclaiming your screen ensures it remains durable and functional, saving you money and effort in the long run. Additionally, understanding the importance of proper cleaning techniques helps prevent residual emulsion buildup that can compromise the mesh’s strength. Using appropriate solvents and tools is crucial for effective removal without damaging the mesh or emulsion layer. Employing correct removal methods can also reduce the risk of chemical damage, extending the life of your screen. Regularly inspecting your screen for signs of wear and performing routine maintenance can further enhance its durability. Consistent maintenance and adherence to best practices are key factors in enhancing screen durability and ensuring optimal performance with each print run. Ultimately, diligent emulsion removal protects your investment, keeps your mesh in top condition, and guarantees peak performance with each new print run.

WHOOSH! Electronic Screen Cleaner Refill, 32.1 fl oz | Screen Cleaning Liquid Refill designed for Pro Premium Screen Cleaner, Eco-Friendly, Safe, Screen Cleaner Spray Refill for TVs, Computer Monitors
PERFECT PAIRING FOR PRISTINE SCREENS: Specifically designed as a refill for our popular WHOOSH! Pro Screen Cleaner, this…
As an affiliate, we earn on qualifying purchases.
As an affiliate, we earn on qualifying purchases.
How to Choose the Best Emulsion Remover for Screen Reclaiming
Choosing the right emulsion remover can make a significant difference in your screen reclaiming process. First, identify your emulsion types—whether it’s diazo, dual-cure, or photopolymer—as each requires specific removal methods. Different emulsion types respond better to certain removal solvents, so understanding their compatibility is vital. Some removers contain harsh chemicals, so consider eco-friendly options if you’re concerned about safety and environmental impact. Check the product’s effectiveness on your specific emulsion type and whether it’s suitable for your mesh material. Also, review user feedback and manufacturer instructions to ensure proper application. Selecting the right remover tailored to your emulsion type and using appropriate removal solvents will make reclaiming faster, safer, and more efficient. Additionally, understanding emulsion removal techniques can help optimize your process and prevent mesh damage.

MagicFiber Microfiber Cleaning Cloths, 2 Pack – Premium Cloth for Glasses, Lens, Screens & More
Glasses cleaner – Sourced from the highest quality microfiber that absorbs and removes dust, oil, smudges, fingerprints, dirt,…
As an affiliate, we earn on qualifying purchases.
As an affiliate, we earn on qualifying purchases.
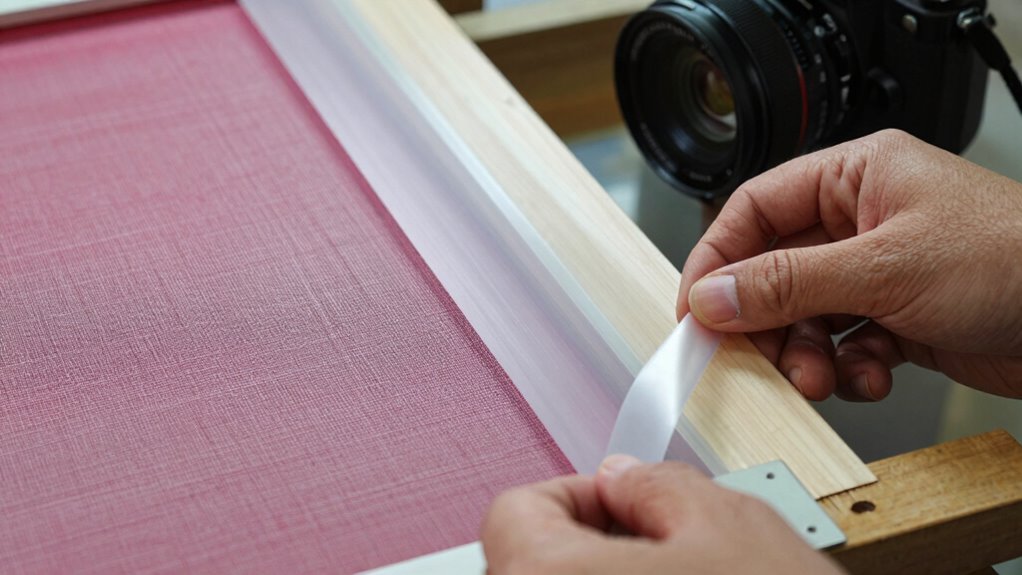
Preparing Your Screen for Emulsion Removal: Essential Steps
Before removing the emulsion, gather all your supplies to make certain a smooth process. Rinse the mesh thoroughly to eliminate any residual emulsion or debris, and then inspect the screen for leftover residue. Taking these steps helps you prepare the screen effectively for emulsion removal. Additionally, ensuring proper tool maintenance can prevent damage to the mesh during cleaning. Proper screen preparation is essential to maintain the longevity of your mesh and ensure successful emulsion removal in future projects. Regular inspection and cleaning of your tools can also help avoid unnecessary wear or damage to delicate screen components, which is especially important when working with precise mesh to maintain consistent results. Incorporating proper cleaning techniques ensures your screen stays in optimal condition for repeated use.
Gather Necessary Supplies
To effectively prepare your screen for emulsion removal, gather all the necessary supplies beforehand. Having everything ready guarantees a smooth process and prevents unnecessary delays. First, grab a gentle, non-abrasive scrub brush to help with screen cleaning without damaging the mesh. Second, select a safe emulsion remover suited for your screen type—avoid harsh chemicals that could harm the mesh. Third, prepare a spray bottle filled with water for rinsing off residues. Fourth, get a clean cloth or sponge to wipe away stubborn emulsion during removal. These tools will make the emulsion removal process safer and more efficient, protecting your mesh while restoring your screen’s clarity. Proper preparation is key to reclaiming your screen without risking damage. Additionally, understanding the ALR screen properties can help you choose the right cleaning techniques to preserve brightness and contrast.
Rinse Mesh Thoroughly
Once you’ve gathered your supplies, it’s time to rinse the mesh thoroughly to remove any remaining residues. Use a gentle stream of water to wash away leftover emulsion and debris. Making sure even rinsing helps maintain proper mesh tension and preserves emulsion consistency. Pay close attention to areas with tight spots or uneven tension, as residues can linger there. To stay organized, refer to this quick guide:
| Step | Tip |
|---|---|
| Use lukewarm water | Prevents damaging the mesh or emulsion |
| Rinse both sides | Ensures all residues are removed |
| Gentle pressure | Avoids damaging delicate mesh |
| Inspect for streaks | Confirm no emulsion remains |
Thorough rinsing sets a solid foundation for the next steps in your reclaiming process.
Inspect for Residue
Have you thoroughly checked your screen for any remaining residues? Residue buildup, especially emulsion residue, can sabotage your next print. Ensuring your screen is free of all traces is essential. Here’s what to do:
- Examine every inch of your mesh under bright light to spot any stubborn emulsion residue.
- Run your fingers gently across the mesh to feel for any sticky or rough spots.
- Use a soft brush to identify areas with lingering emulsion buildup.
- Double-check the edges and corners, where residue tends to hide and cause issues later.
- Keep in mind that proper cleaning techniques are crucial to prevent residual buildup and ensure your mesh remains in top condition.
- Regularly inspecting your mesh helps detect emulsion residue early, preventing damage and ensuring a smooth reclamation process.
Removing all traces of emulsion residue before reclaiming prevents damage to your mesh and guarantees a clean, ready surface for your next project. Don’t skip this critical inspection step—it’s necessary for successful screen reclamation.

LRVAE 2 Pcs Screen Repair Tool, Including Upgrade Rolling Tool and Spline Hook, Easy to Use, Ergonomic Roller Equipped with Bearings for Patio, Porch, RV, Garden Screen and More
START WITH LRVAE: Your DIY journey starts here with LRVAE as your trusted partner. Our mission is to…
As an affiliate, we earn on qualifying purchases.
As an affiliate, we earn on qualifying purchases.
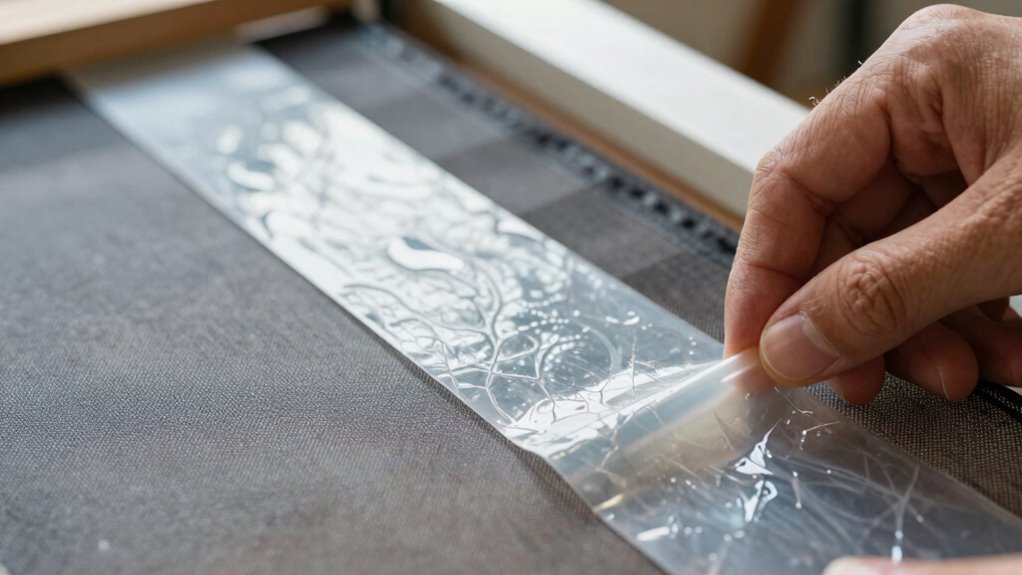
How to Remove Emulsion Safely Without Damaging Your Mesh
To remove emulsion safely, use gentle cleaning techniques that won’t harm your mesh. Proper emulsion removal involves carefully dissolving the emulsion without scrubbing too hard or using harsh chemicals. By following these methods, you safeguard your screen’s integrity and ensure it’s ready for reuse. Additionally, understanding the scientific skepticism surrounding certain cleaning methods can help you choose the most effective and safe approach. Incorporating gentle cleaning techniques supported by scientific research can further enhance your results and prolong the life of your mesh. Recognizing the importance of proper chemical selection can also prevent damage and ensure a thorough cleaning process.
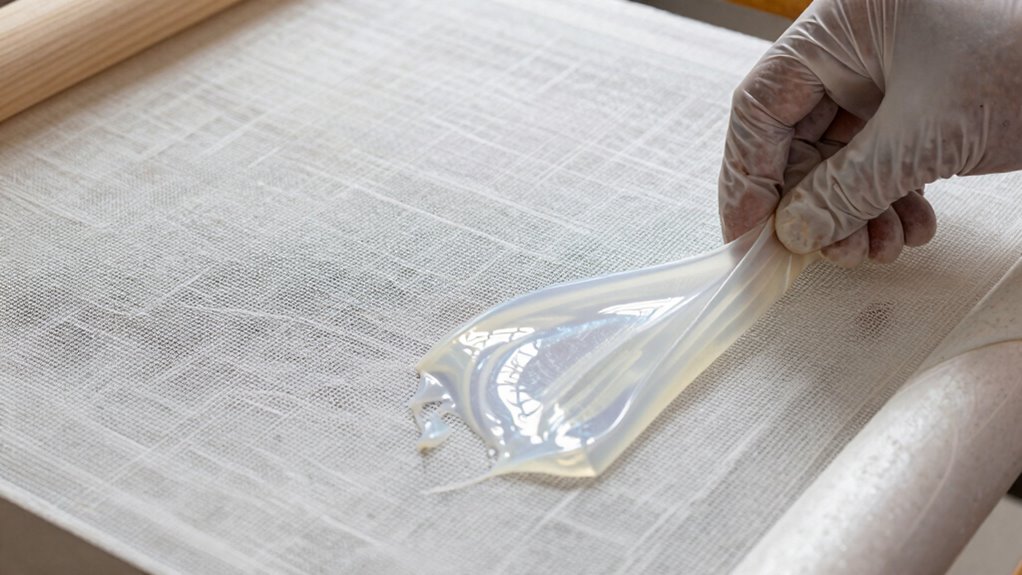
Gentle Cleaning Techniques
Cleaning emulsion from your mesh requires a gentle touch to prevent damage. You want to preserve the fine detail and integrity of your screen. Here are four techniques to help you do it safely:
- Use eco friendly solvents that are gentle yet effective, reducing harm to both your mesh and the environment.
- Prepare DIY cleaning solutions with natural ingredients like vinegar or baking soda, avoiding harsh chemicals.
- Gently spray or soak the mesh, allowing the solution to loosen the emulsion without scrubbing aggressively to maintain screen durability.
- Carefully wipe with soft, lint-free cloths or sponges, ensuring you don’t tear or distort the mesh.
- Incorporate gentle cleaning techniques, such as avoiding abrasive tools, to further protect your screening mesh during the process.
These methods protect your screen while removing emulsion thoroughly, keeping your workspace eco-conscious and your mesh in pristine condition.
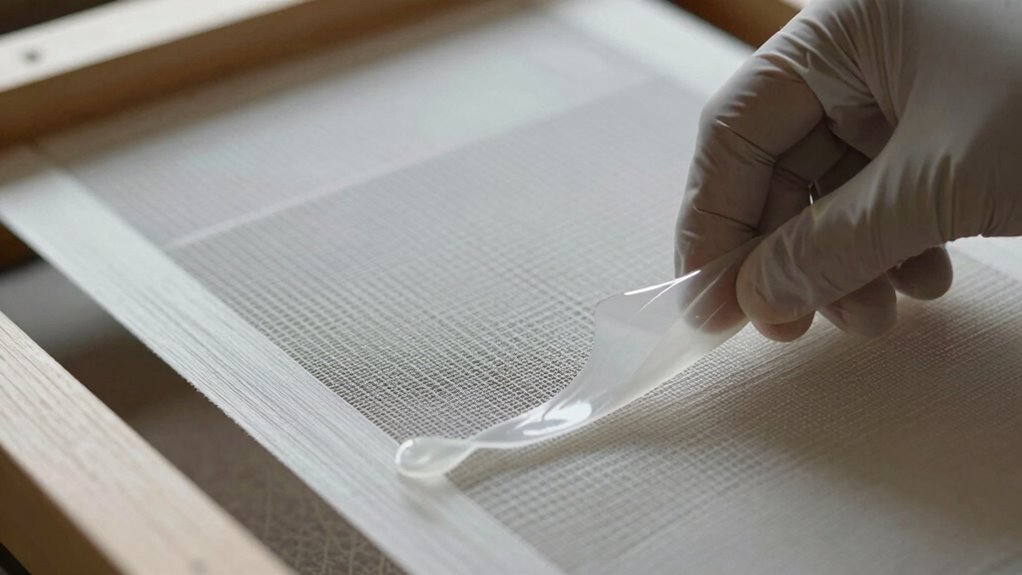
Proper Emulsion Removal
Wondering how to remove emulsion without risking damage to your mesh? Understanding emulsion chemistry is key. Use the right remover designed for your specific emulsion type, ensuring it breaks down the chemicals safely. Always follow the manufacturer’s instructions to prevent overexposure, which could weaken or distort the mesh. When choosing a remover, consider environmental considerations—opt for eco-friendly options that minimize harmful runoff. Proper removal involves soaking or spraying the emulsion remover evenly, then gently scrubbing with a soft brush or sponge. Rinse thoroughly with clean water to ensure no residue remains. Effective cleaning methods can help you achieve thorough results without compromising your mesh’s integrity. Additionally, understanding filtration principles can help you select the most suitable cleaning methods and products. Maintaining the correct emulsion removal process is essential for successful reclaiming without damaging your screen. Incorporating proper technique into your process can further reduce the risk of damage and prolong the lifespan of your mesh. Being aware of chemical interactions can also guide you in choosing compatible cleaning agents and improve your overall process.
Common Mistakes to Avoid When Removing Emulsion

Are you aware of the common pitfalls that can trip you up when removing emulsion from your screens? One major mistake is emulsion misapplication, which can make removal more difficult. Additionally, using improper removal techniques can damage your mesh. Furthermore, rushing the process often leads to tears or stretching. Proper temperature control during removal is crucial to prevent damage and ensure the emulsion dissolves evenly. Maintaining the correct solvent temperature can significantly influence removal success. Consistent application methods help ensure even coverage and easier removal later. Finally, neglecting to test your screen afterward might hide damage that affects future prints. Avoid these errors by applying emulsion evenly to prevent misapplication and following manufacturer instructions for removal. Use gentle, consistent techniques instead of force. Rushing or skipping testing can cause costly setbacks. Being mindful of these mistakes ensures you protect your mesh and extend your screen’s lifespan. Proper removal is vital for a successful reclaiming process.
How to Test Your Mesh for Damage After Reclaiming

After reclaiming your screen, verifying the mesh for damage before proceeding with printing is essential. Mesh testing helps you identify any tears, holes, or stretched areas that could affect print quality. To conduct damage detection, hold the screen up to a light source and examine the mesh closely, looking for irregularities or thin spots. You can also run your fingers gently over the mesh to feel for inconsistencies. Additionally, perform a test print on scrap material to see if the ink passes evenly through all areas. If you notice any damage, repair it immediately or consider re-reclaiming and re-meshing. Proper damage detection ensures your screens remain durable and produce high-quality prints each time.
Best Practices for Maintaining Screen Durability Over Time
Maintaining your screen’s durability over time requires consistent care and proper handling. To preserve your screen mesh and emulsion formulation, follow these best practices:
Consistently handle and clean screens to prolong their durability and emulsion integrity.
- Handle screens gently to prevent tears or scratches that can weaken the mesh.
- Clean the screen thoroughly after each use, avoiding harsh chemicals that can degrade the emulsion.
- Store screens in a cool, dry place to prevent stretching or warping of the mesh.
- Reapply emulsion periodically to maintain ideal coating and prevent breakdown over time.
Troubleshooting Difficult Emulsion Removal Challenges
When removing emulsion from your screen proves difficult, it often indicates underlying issues like hardened residue or improper cleaning techniques. Emulsion chemistry plays a key role; some emulsions are more stubborn due to their formulation, requiring specific solvents or techniques. If your mesh tension is too tight, the mesh may be less flexible, making emulsion removal harder and risking damage. Conversely, loose mesh might not hold the emulsion evenly, leaving residues behind. To troubleshoot, ensure you’re using the right chemical for your emulsion type and maintain proper cleaning procedures. Adjust mesh tension if necessary, but avoid overstretching, which can cause uneven removal. Addressing these factors helps you overcome stubborn residues and ensures a safe, effective reclaiming process.
Essential Tools and Products for Safe Screen Reclaiming
To reclaim screens safely and effectively, having the right tools and products is essential. Understanding emulsion chemistry helps you choose the safest options, minimizing mesh damage. Here are four must-have items for reclaiming safety:
Essential tools and knowledge ensure safe, effective screen reclaiming while protecting mesh integrity.
- Emulsion Remover – Breaks down emulsion without harming mesh, ensuring thorough removal.
- Scraper or Squeegee – Gently lifts emulsion without scratching or tearing.
- Protective Gloves and Mask – Shields you from harsh chemicals and fumes.
- Water Spray Bottle – Rinses residue safely, preventing emulsions from drying or clogging mesh.
Using these tools with proper technique keeps your process safe and efficient, preserving mesh integrity and ensuring successful reclaiming every time.
Frequently Asked Questions
Can I Reuse My Screen After Removing the Emulsion?
Yes, you can reuse your screen after removing the emulsion if you thoroughly clean it with appropriate cleaning solvents. Make sure to use the right cleaning method for the emulsion types you applied, whether it’s water-based or solvent-based. Carefully remove all residue without damaging the mesh. Once the screen is completely clean and dry, it’s ready for a new design, saving you time and money on future projects.
How Long Should I Wait Before Applying New Emulsion?
You should wait at least 24 hours before applying new emulsion, giving it ample time for curing and drying. Rushing this step is like trying to bake a cake with wet flour—you’re just asking for trouble. Proper emulsion curing and drying time ensure your screen’s surface is perfectly prepared. So, resist the urge to rush, and give your screen the break it deserves for best print quality.
Is It Necessary to Wear Protective Gear During Emulsion Removal?
Yes, you should wear protective equipment during emulsion removal. Safety precautions are essential to avoid skin irritation and inhaling harmful fumes from chemicals. Always wear gloves, goggles, and a mask to safeguard your hands, eyes, and respiratory system. This gear minimizes risks and ensures you handle the process safely. Prioritizing protective equipment helps prevent accidents and keeps you safe while reclaiming your screens.
How Often Should I Reclaim My Screens for Optimal Longevity?
Think of your screens like a garden—regular tending keeps them healthy. Reclaim your screens every 4-6 uses for maximum longevity, as this helps maintain screen durability and extends emulsion lifespan. If you wait too long, residual emulsion can clog mesh, weakening it over time. By reclaiming proactively, you guarantee your screens stay in top shape, saving you money and effort in the long run.
What Are Signs That My Mesh Has Been Damaged During Removal?
You’ll notice mesh damage if the mesh looks torn, frayed, or stretched after removal. Also, if emulsion deterioration causes uneven coating or peeling, it may suggest the mesh was compromised. Keep an eye out for persistent scratches or holes, which indicate damage during removal. Recognizing these signs early helps prevent future issues and ensures your screens stay durable for multiple uses.
Conclusion
By following these proper techniques, you can extend your screen’s lifespan and guarantee top-quality prints. Did you know that improper emulsion removal can reduce your mesh’s lifespan by up to 50%? Taking the time to reclaim your screens safely not only saves money but also preserves your investment. Stay diligent, avoid common mistakes, and your screens will perform reliably, print after print, for years to come.